Bedroom Renovation 2
Following on from patching up the floor, the next step was a dividing wall. Cue some 2x4s and a chop saw montage.
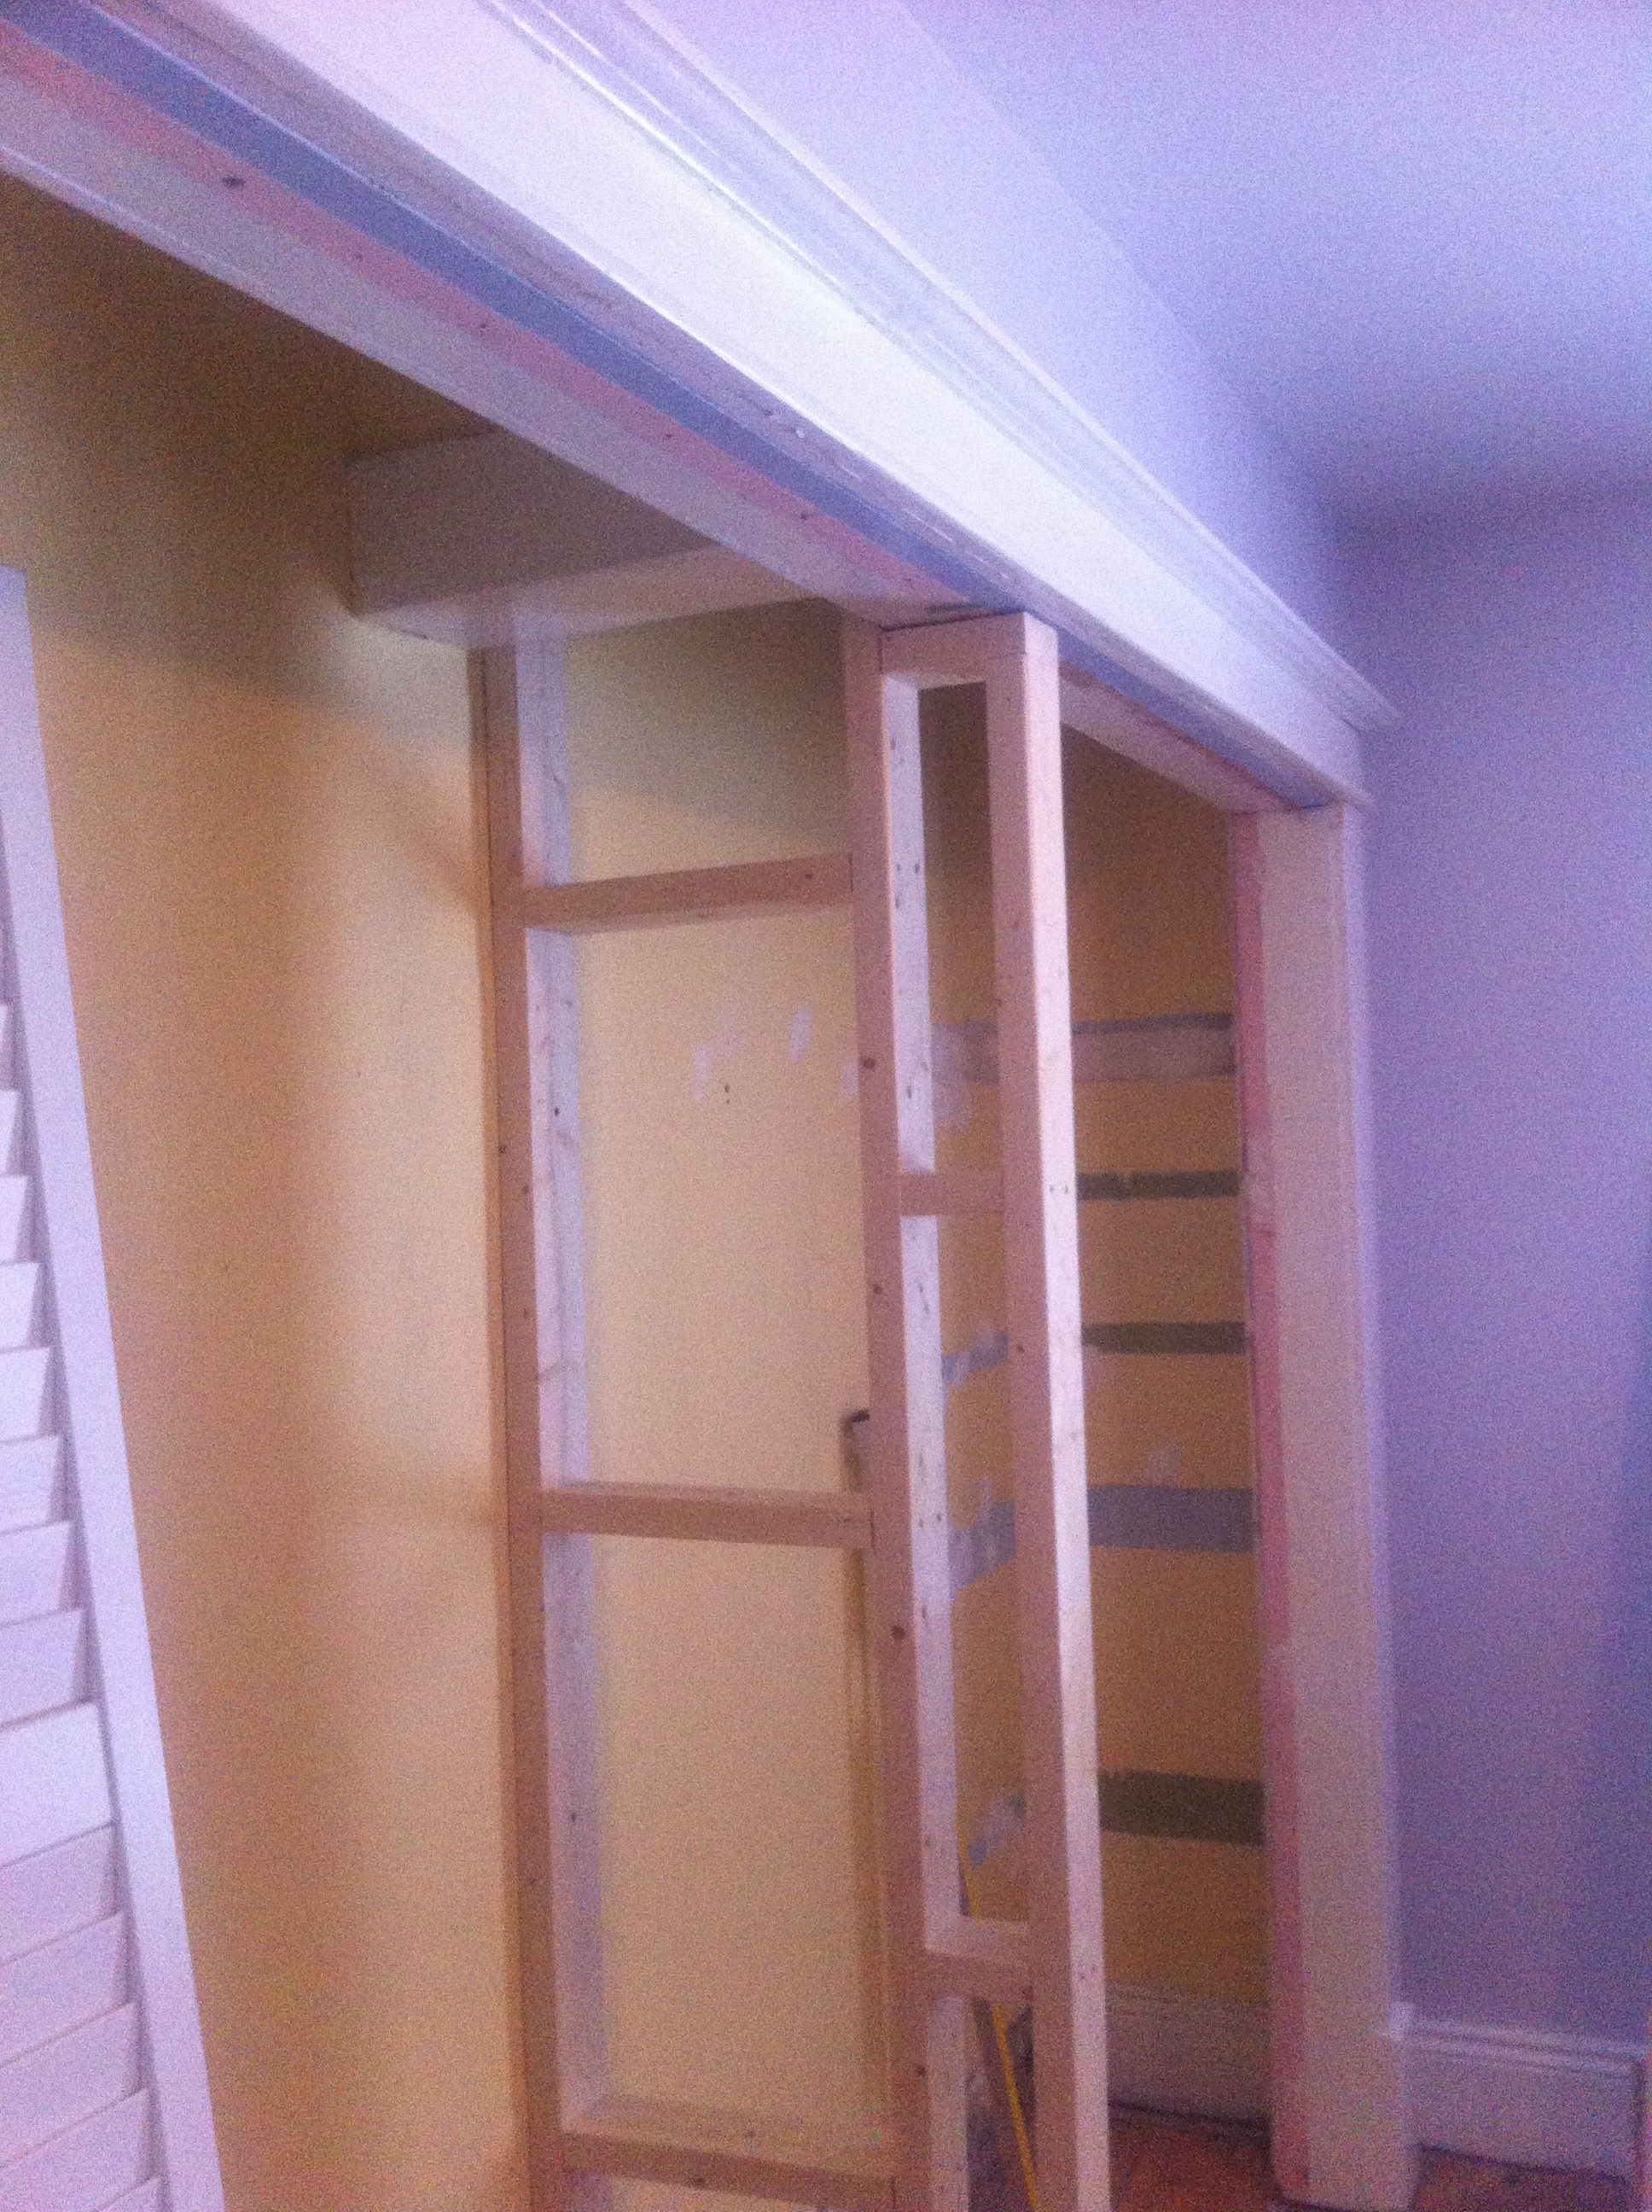
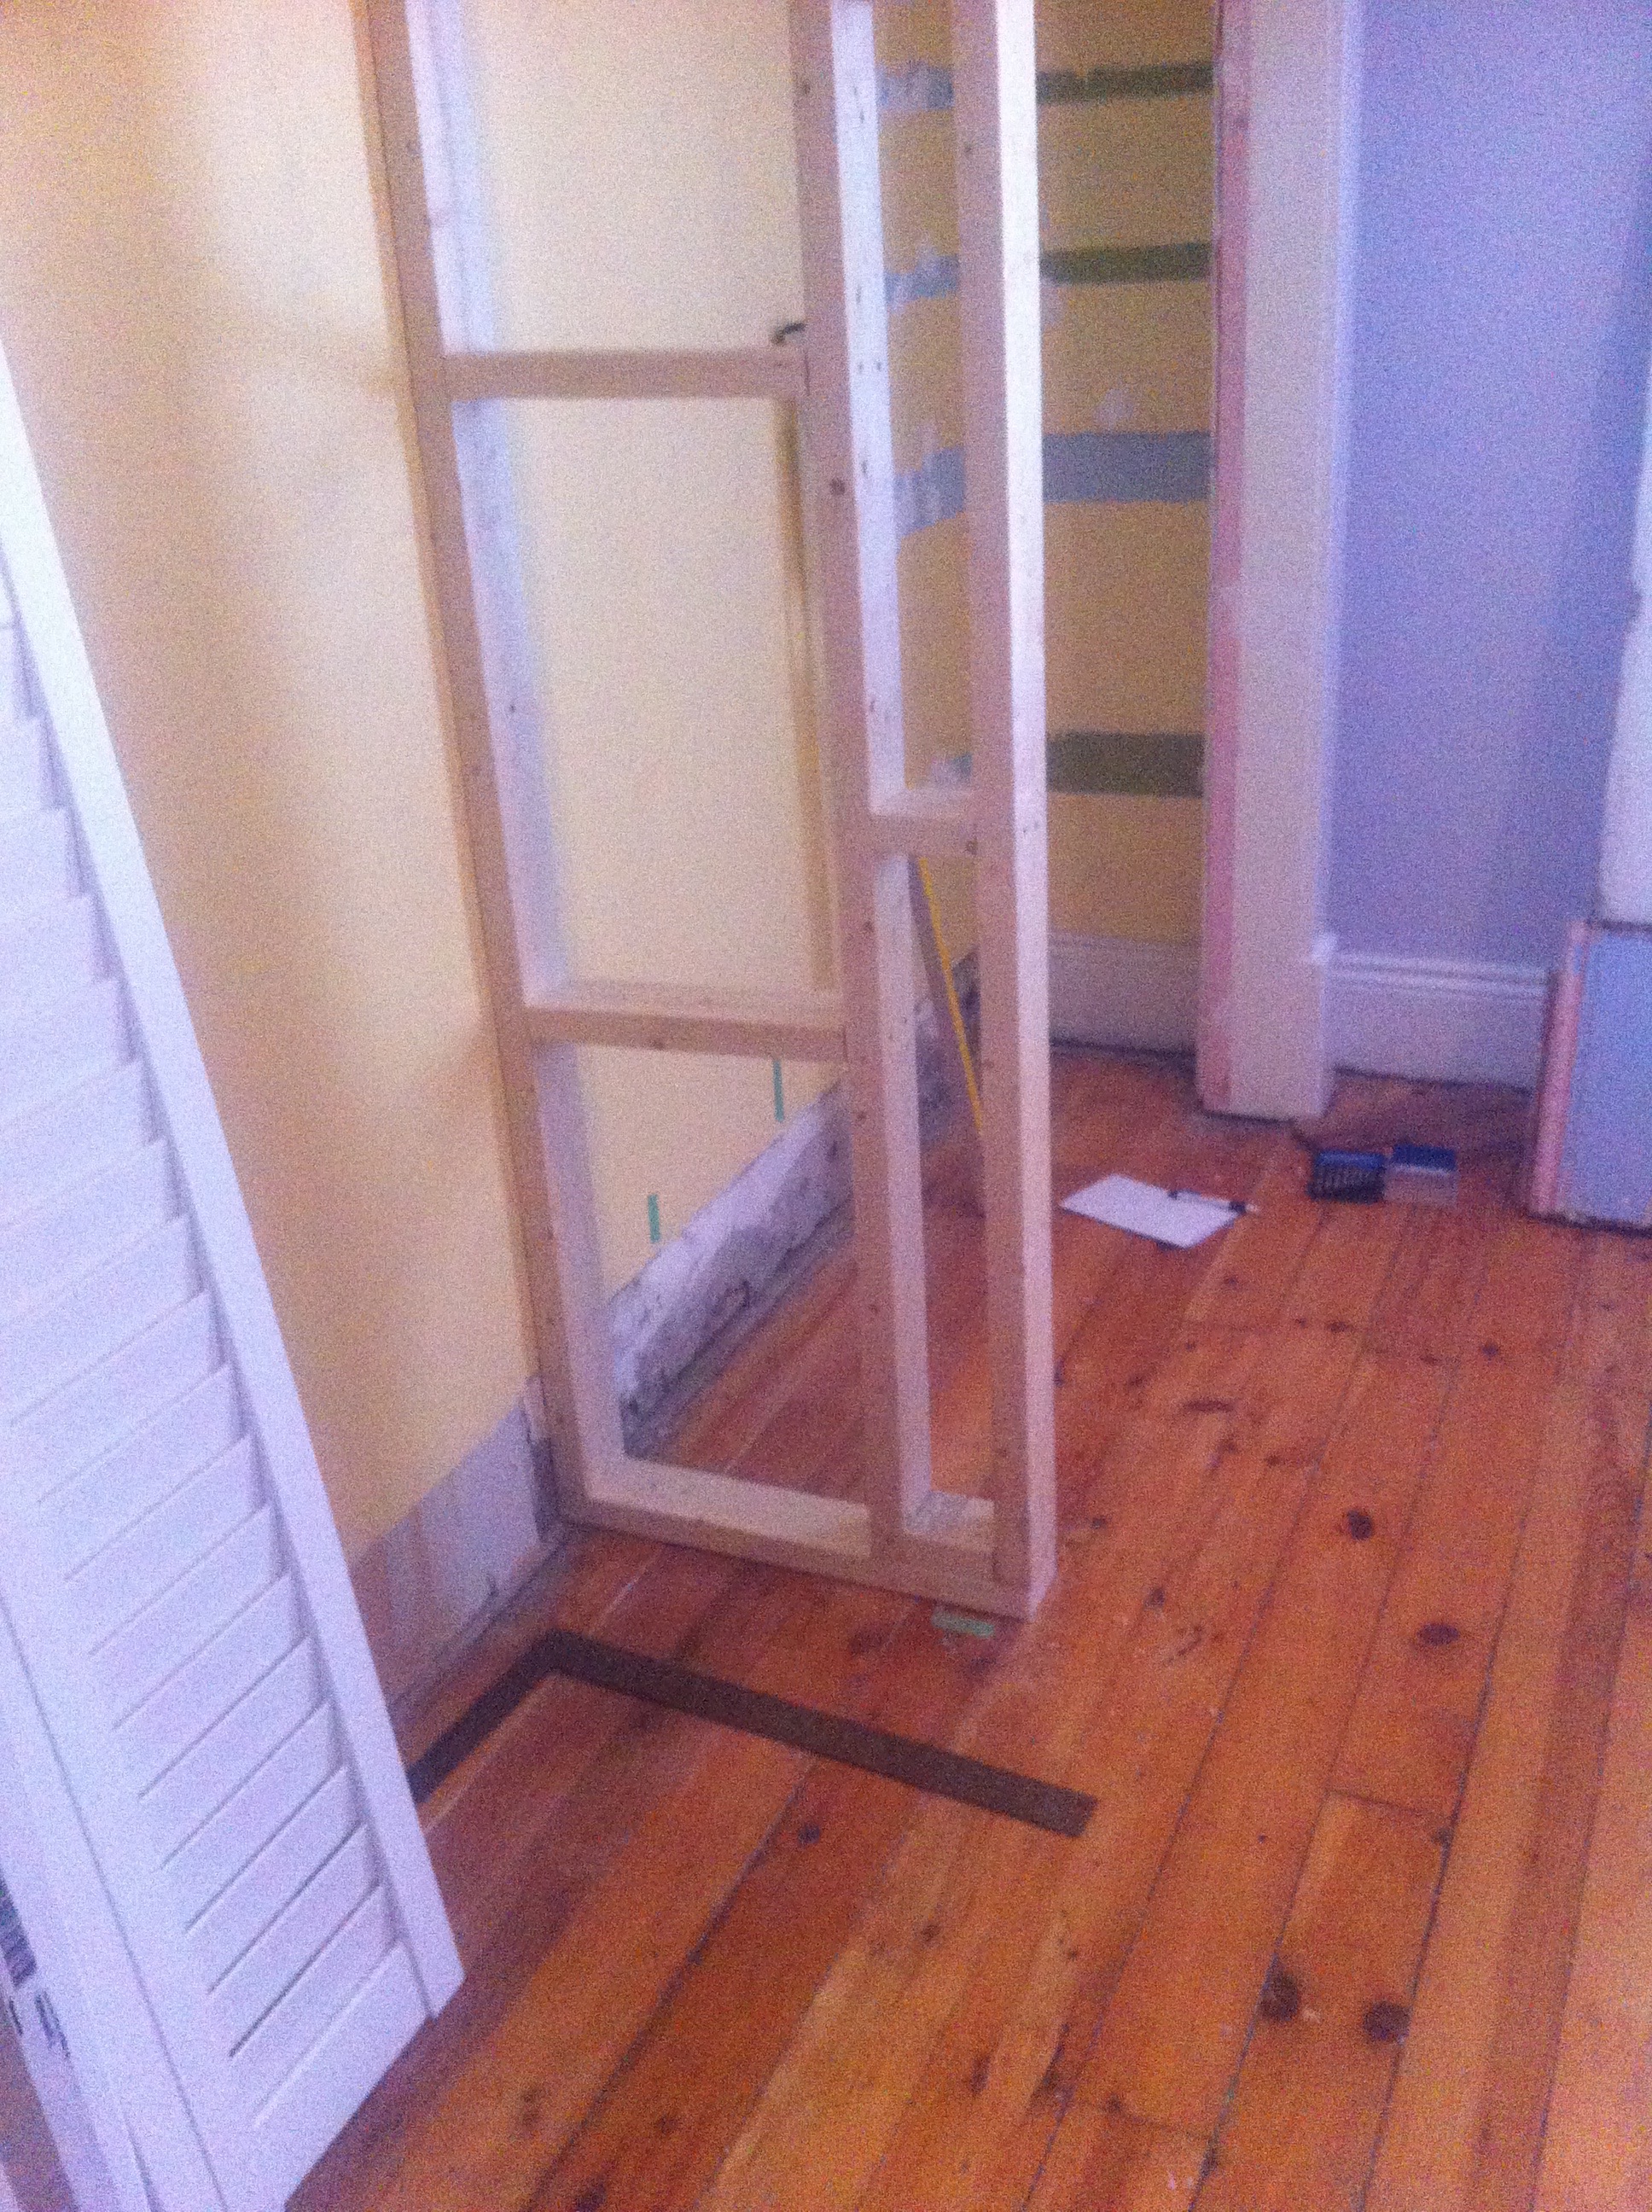
We saved a few more pennies because we had saved some plasterboard from the attic renovation and it was just the right size for this wall.
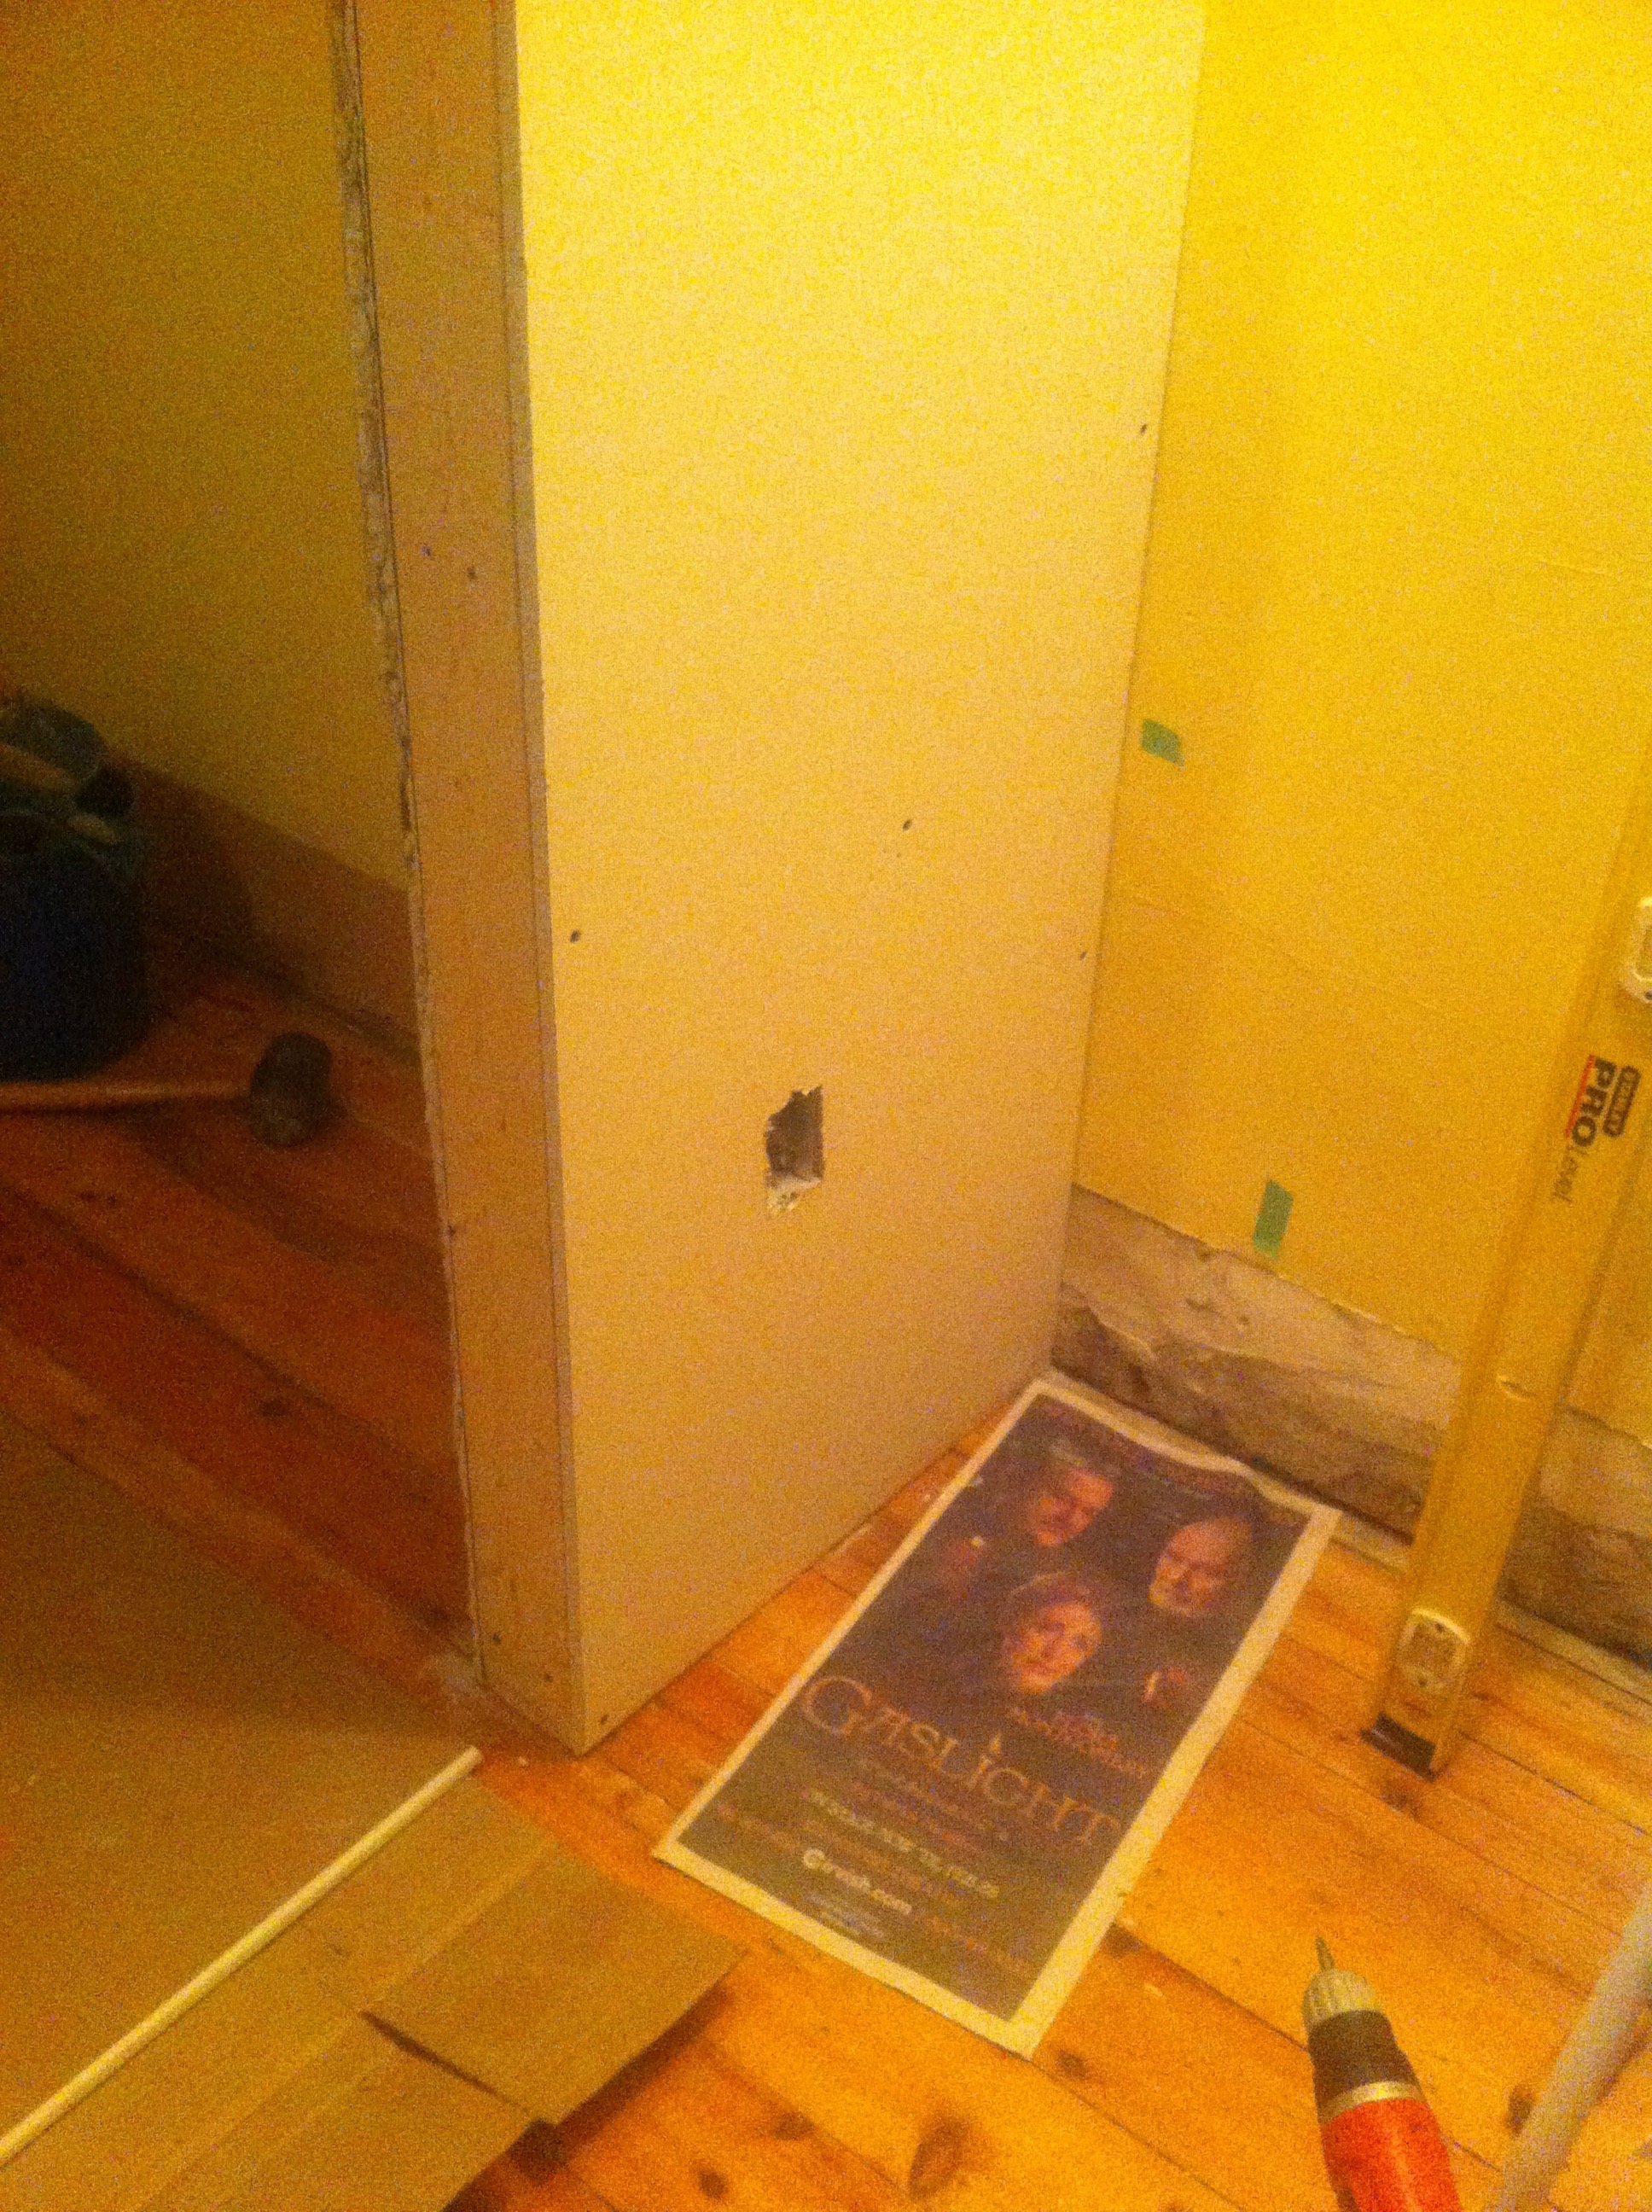
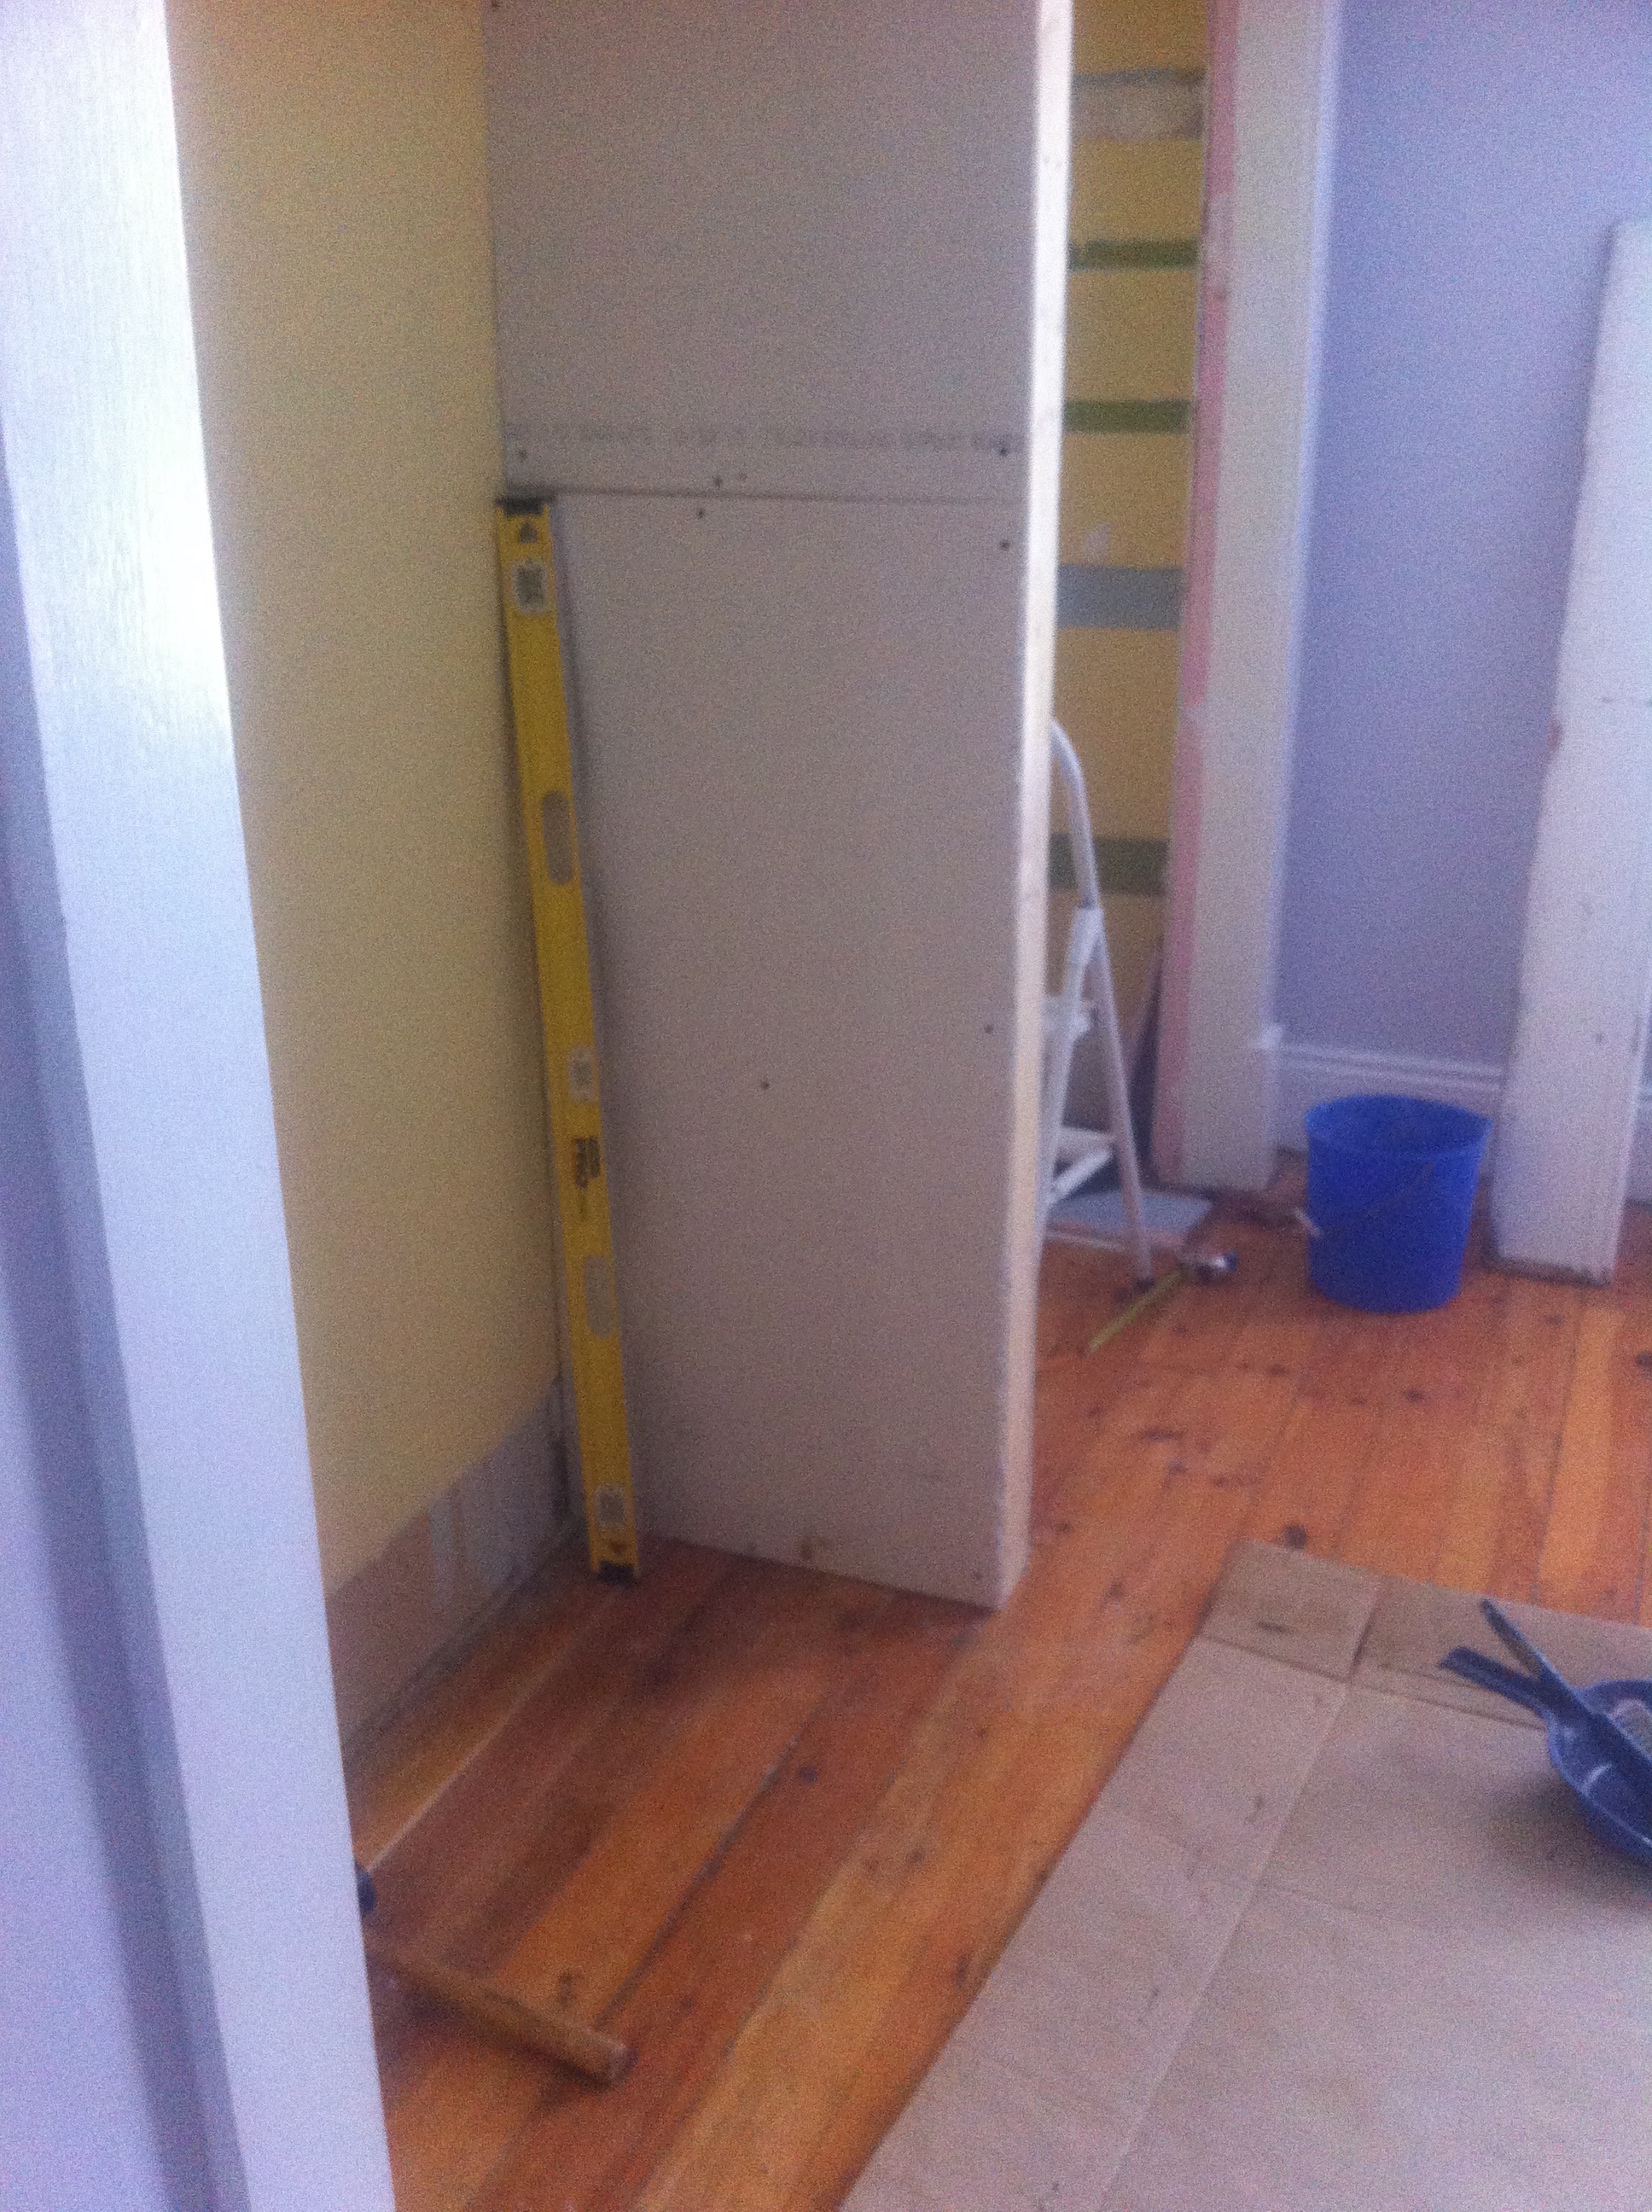
Always after the plasterboard comes the bucket ‘o mud. Not content with doing the dividing wall I also tried to tidy up the inside of the closet a bit. There used to be some shelves in there and they didn’t come out without a fight.
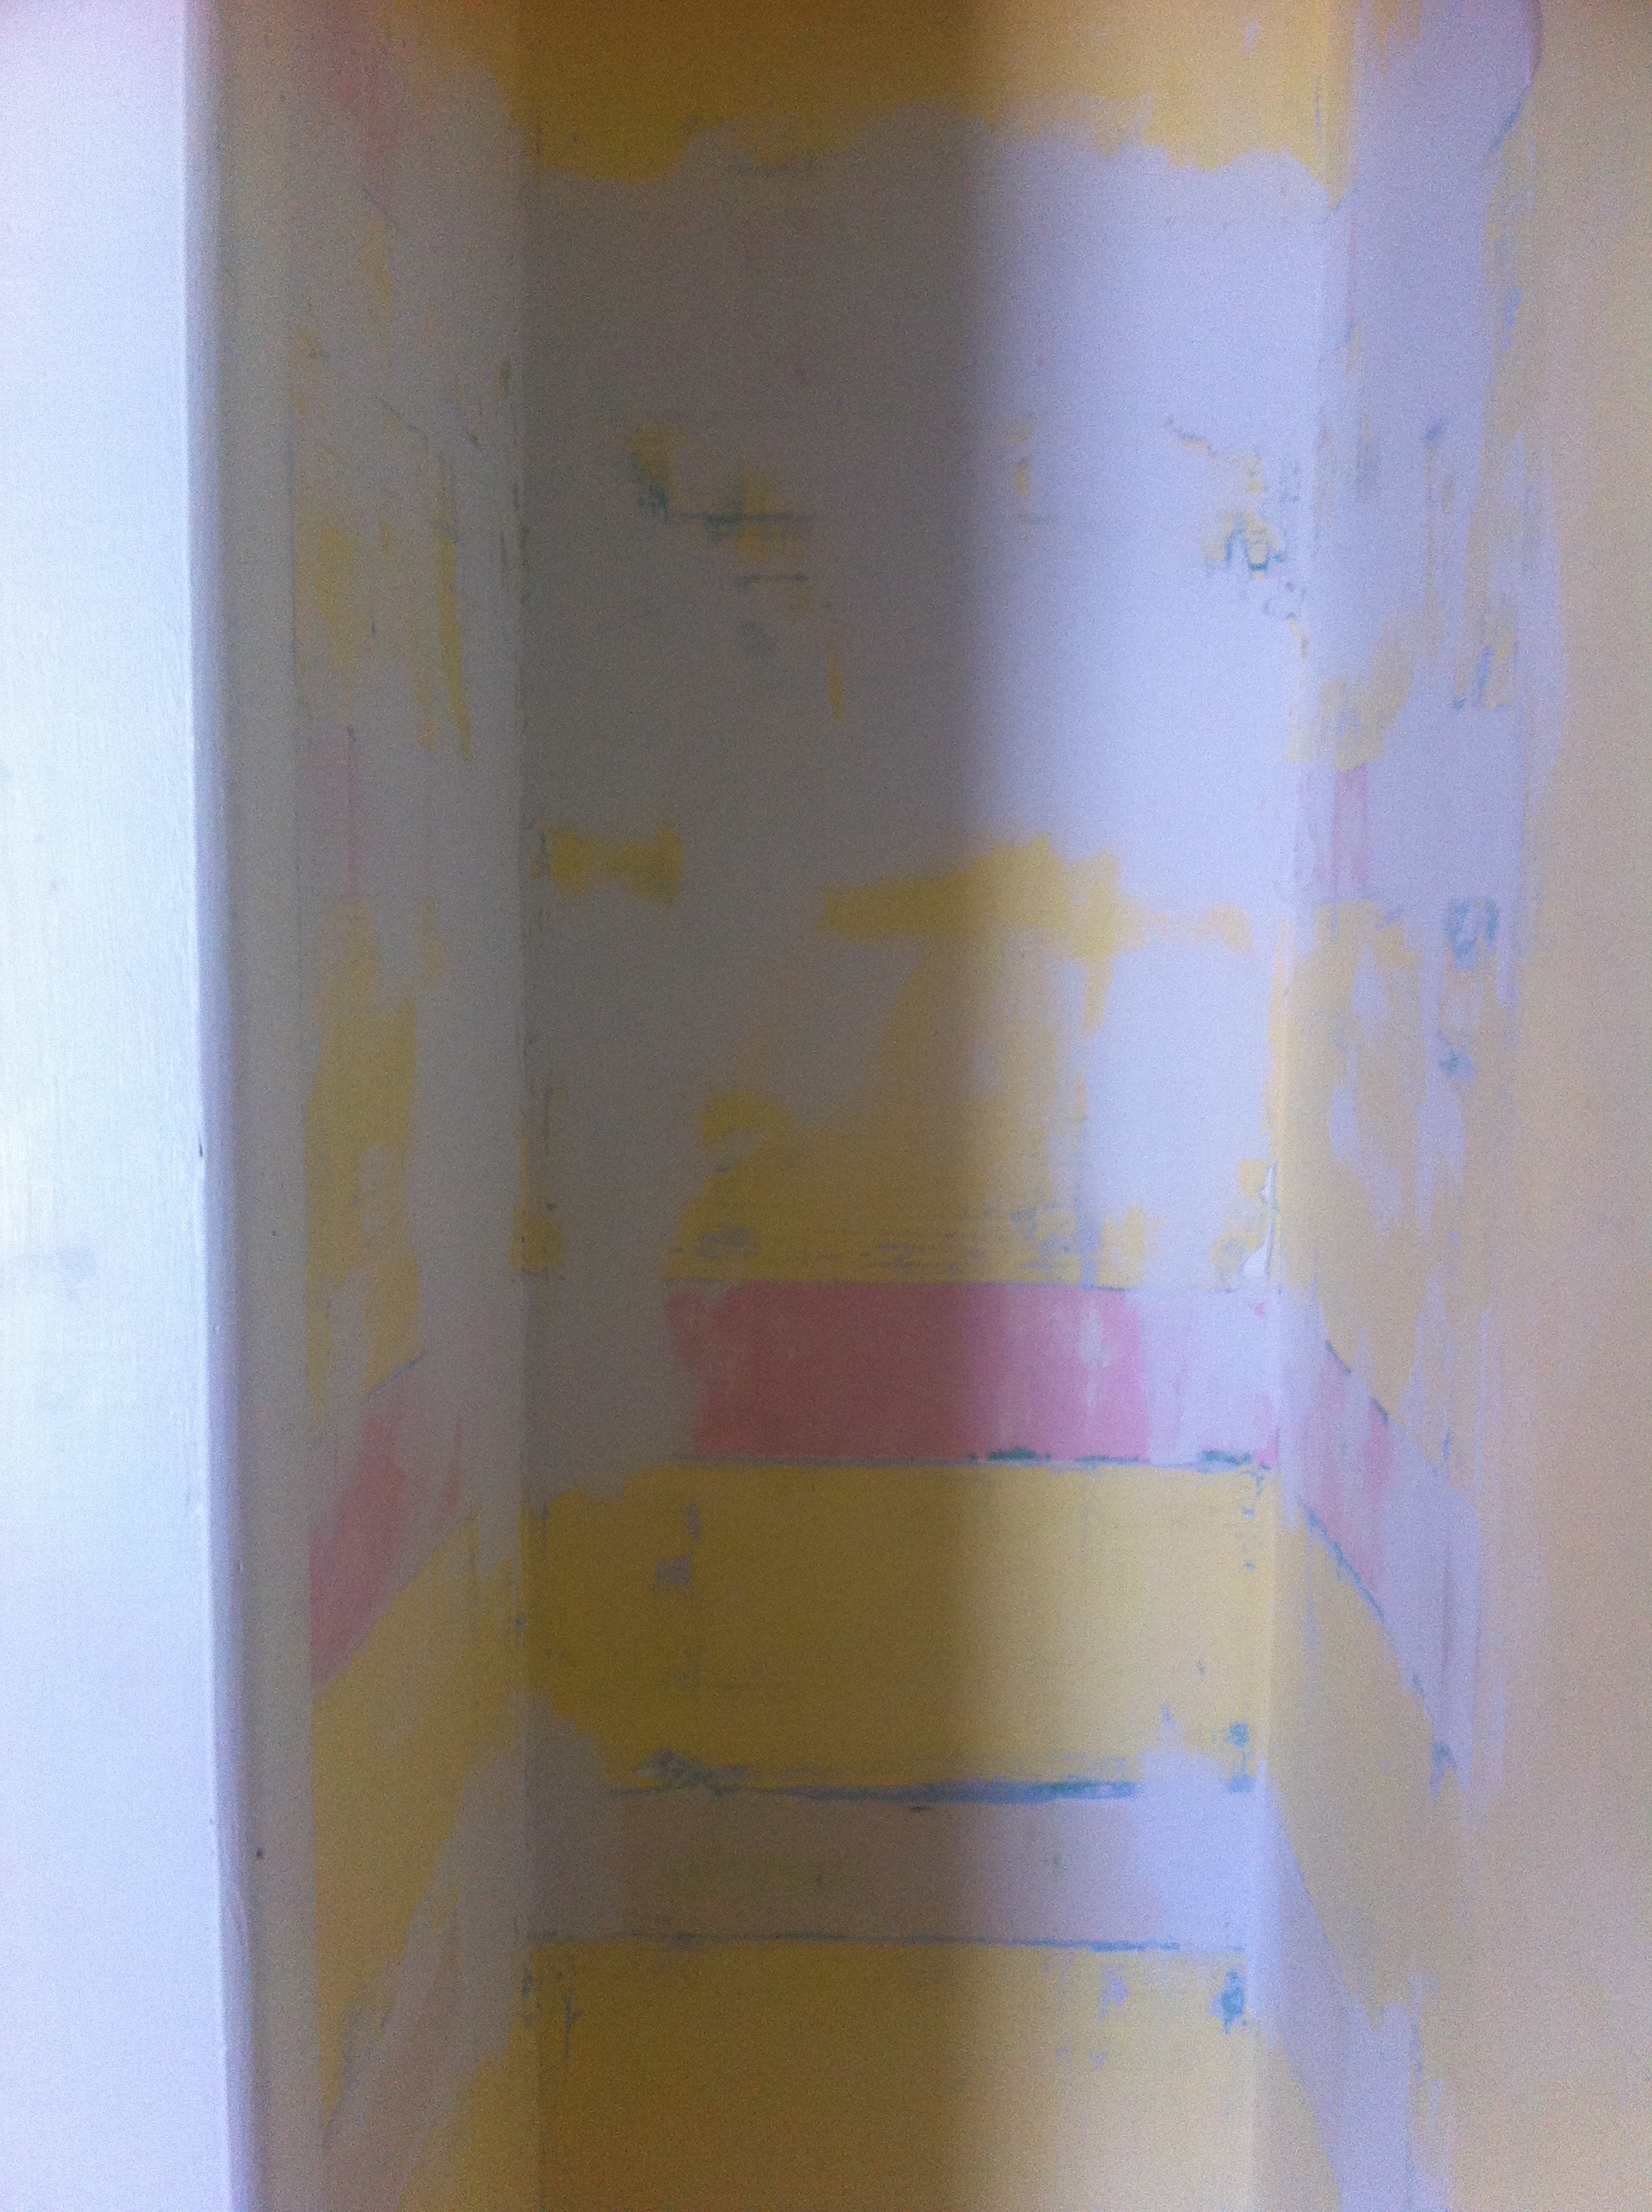
This is also a good picture to show of the different layers of paint we found. Enough archaeological layers for a Time Team episode.
We wanted the new wall to match the existing style, so we added some cedar cut a 1/4” less than the wall like this
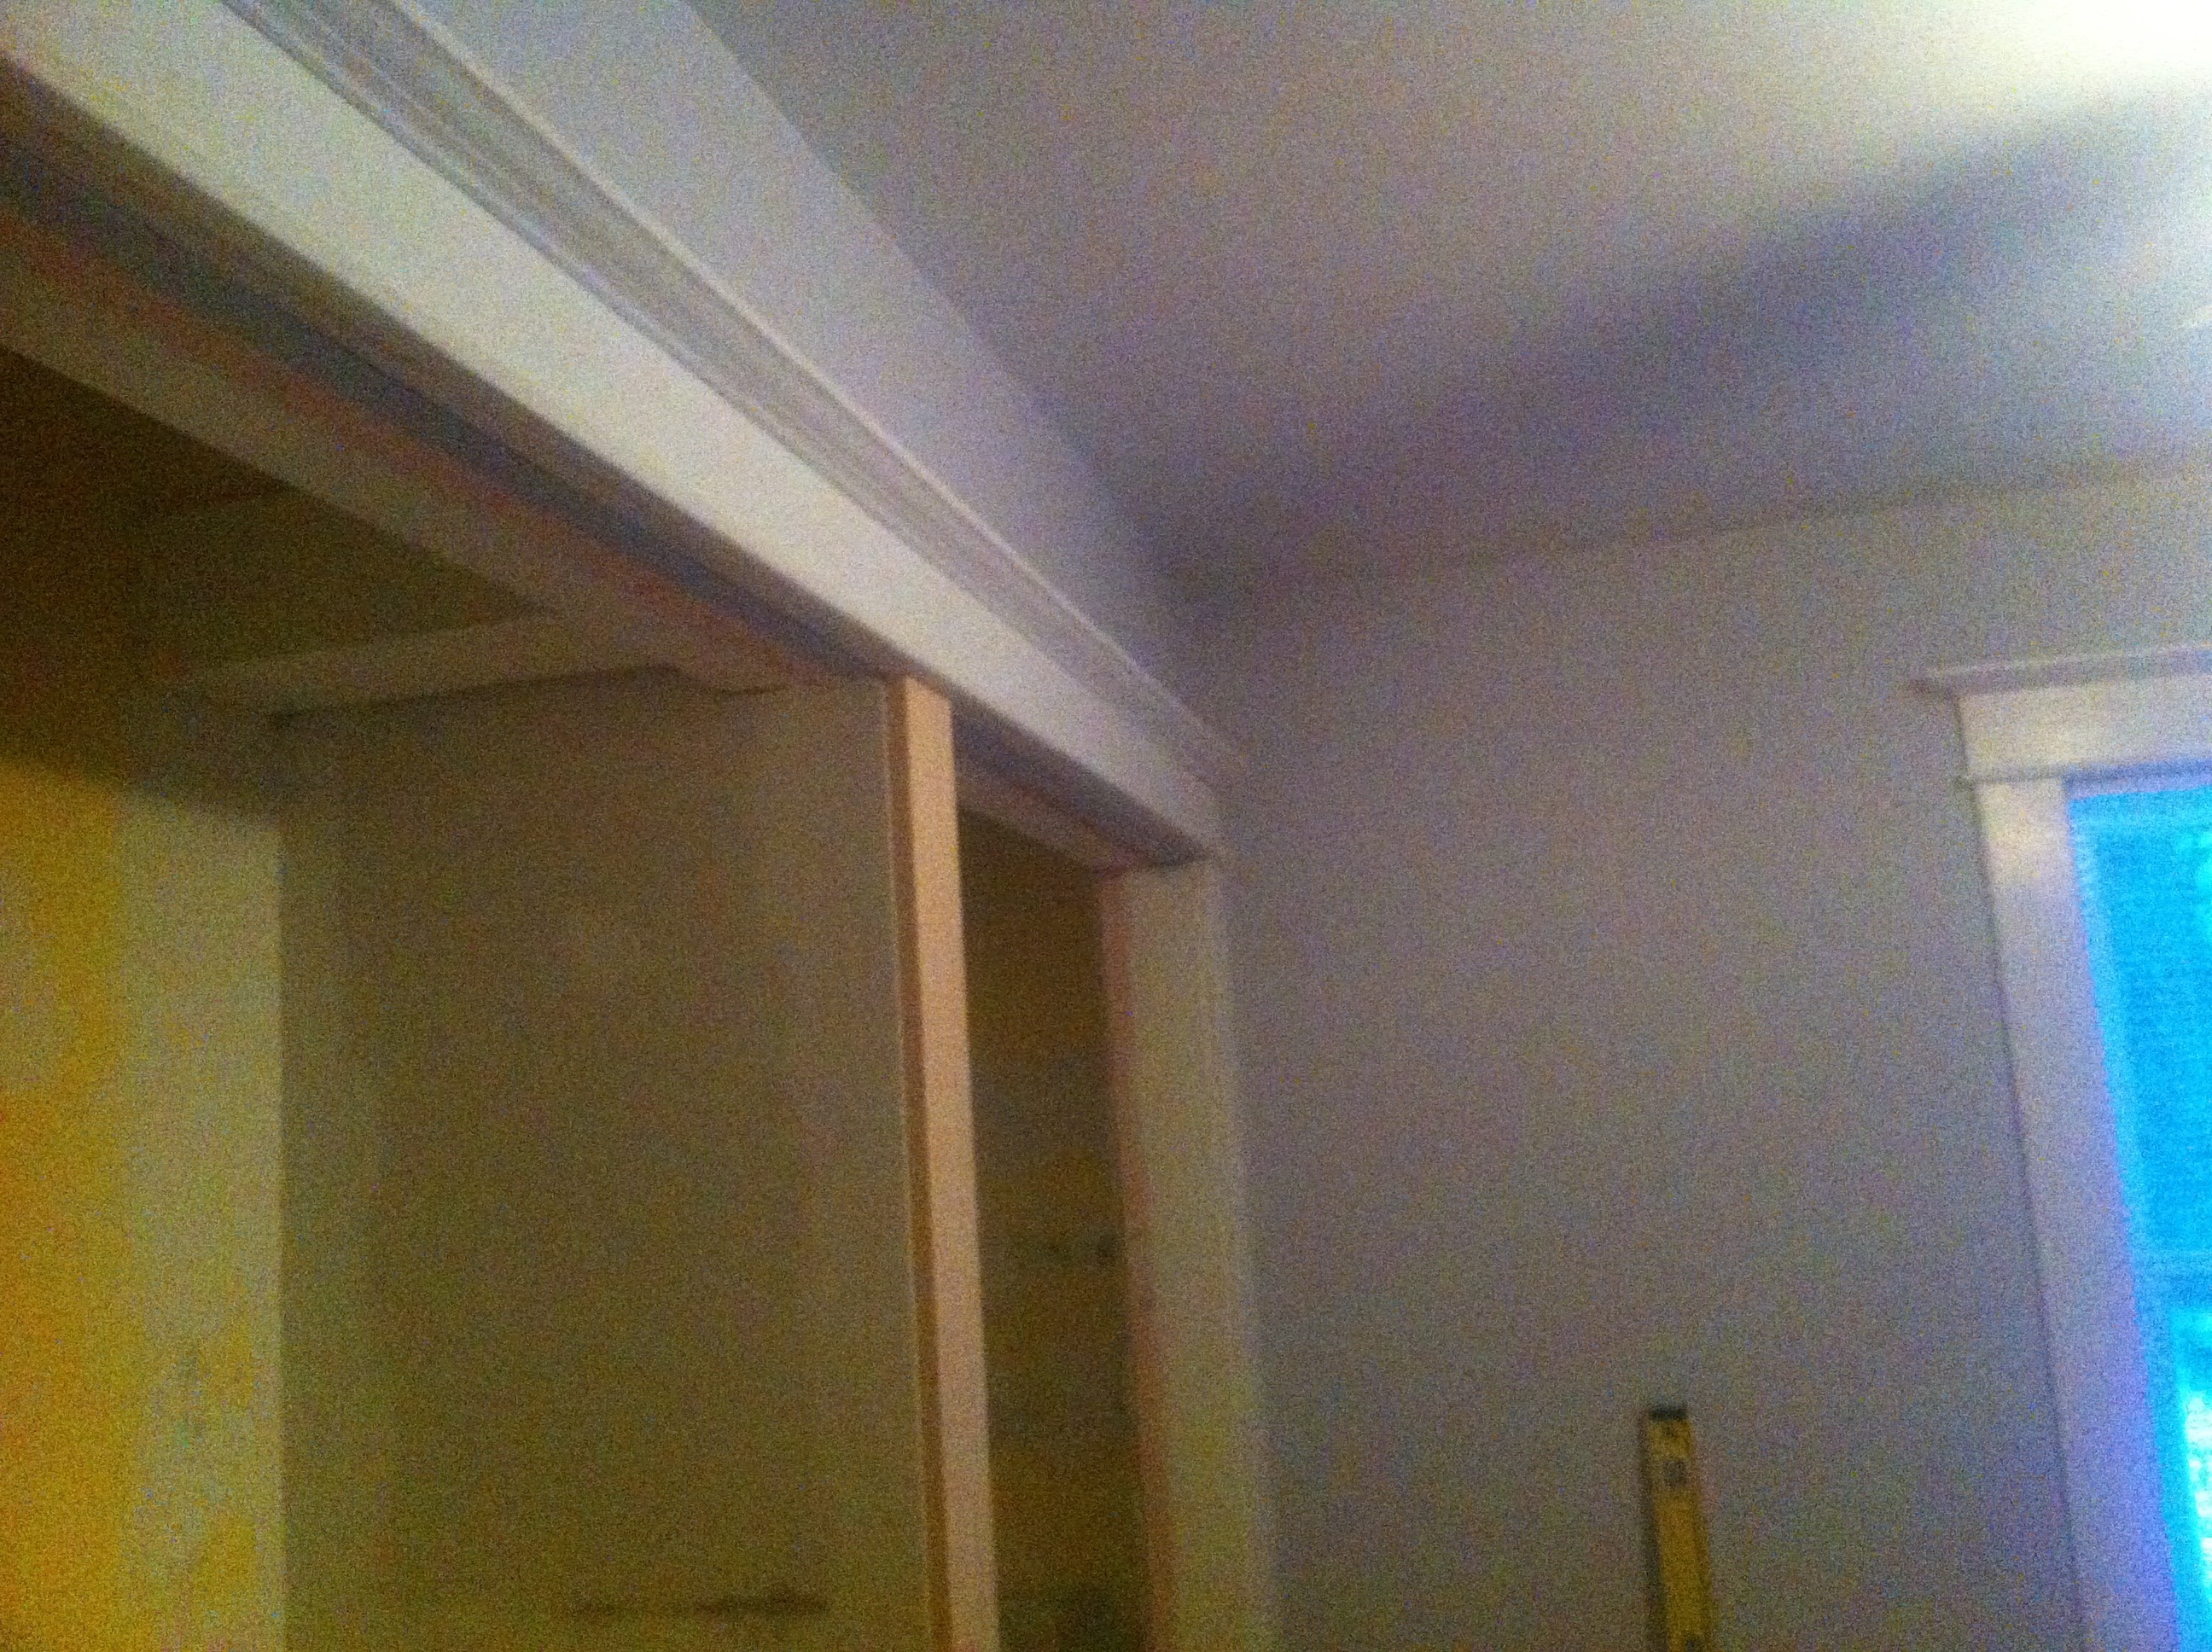
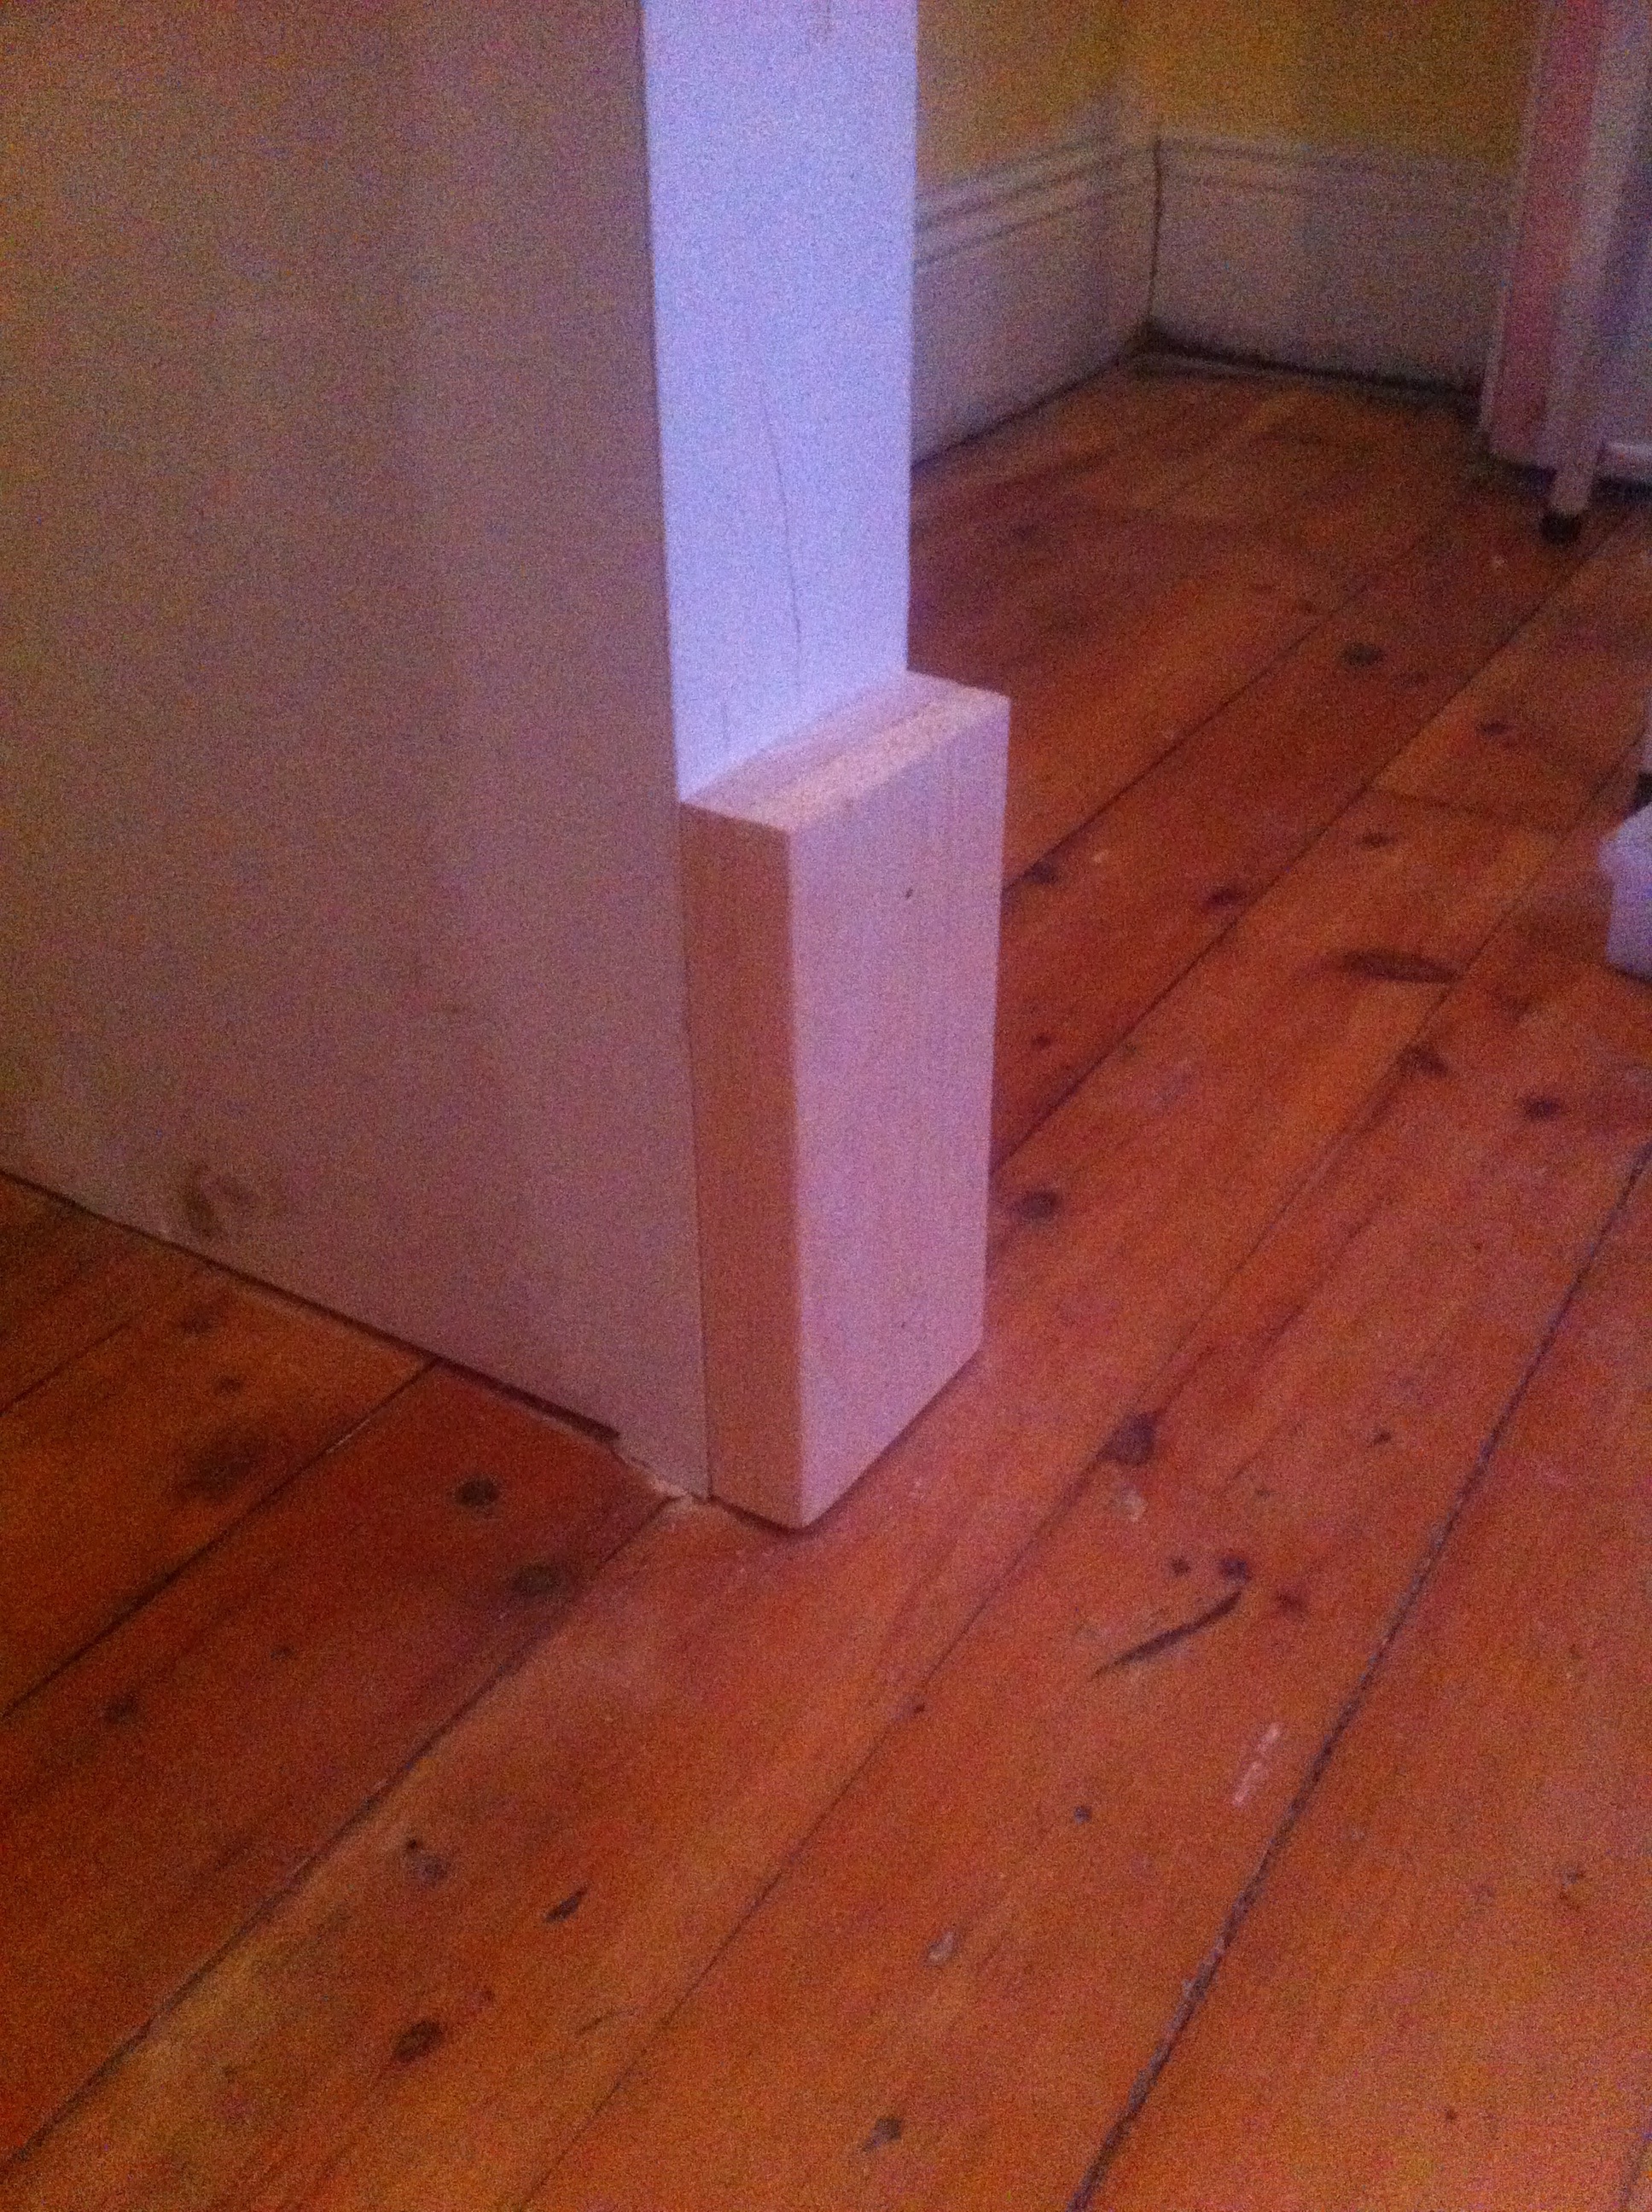
and also a few bits of wood cut to (mostly) match the bottom of the current closet framing. <div class='imgWrapper imgBlock center' style='width: 80%; '>
</div>
Hopefully it will look a lot better painted!