Espalier Fence & Arch
The brief
How to grow fruit trees in a small garden and make them look pretty using the espalier technique. (Obligaroty Pretty pictures.)
I didn’t get a good spread of pictures for this one. To setup this up, the garden is rectangular and the fence will go along two sides of it, i.e. it will be L shaped. To give some breaks in the fence for access there will also be a few two arches.
Measuring Up
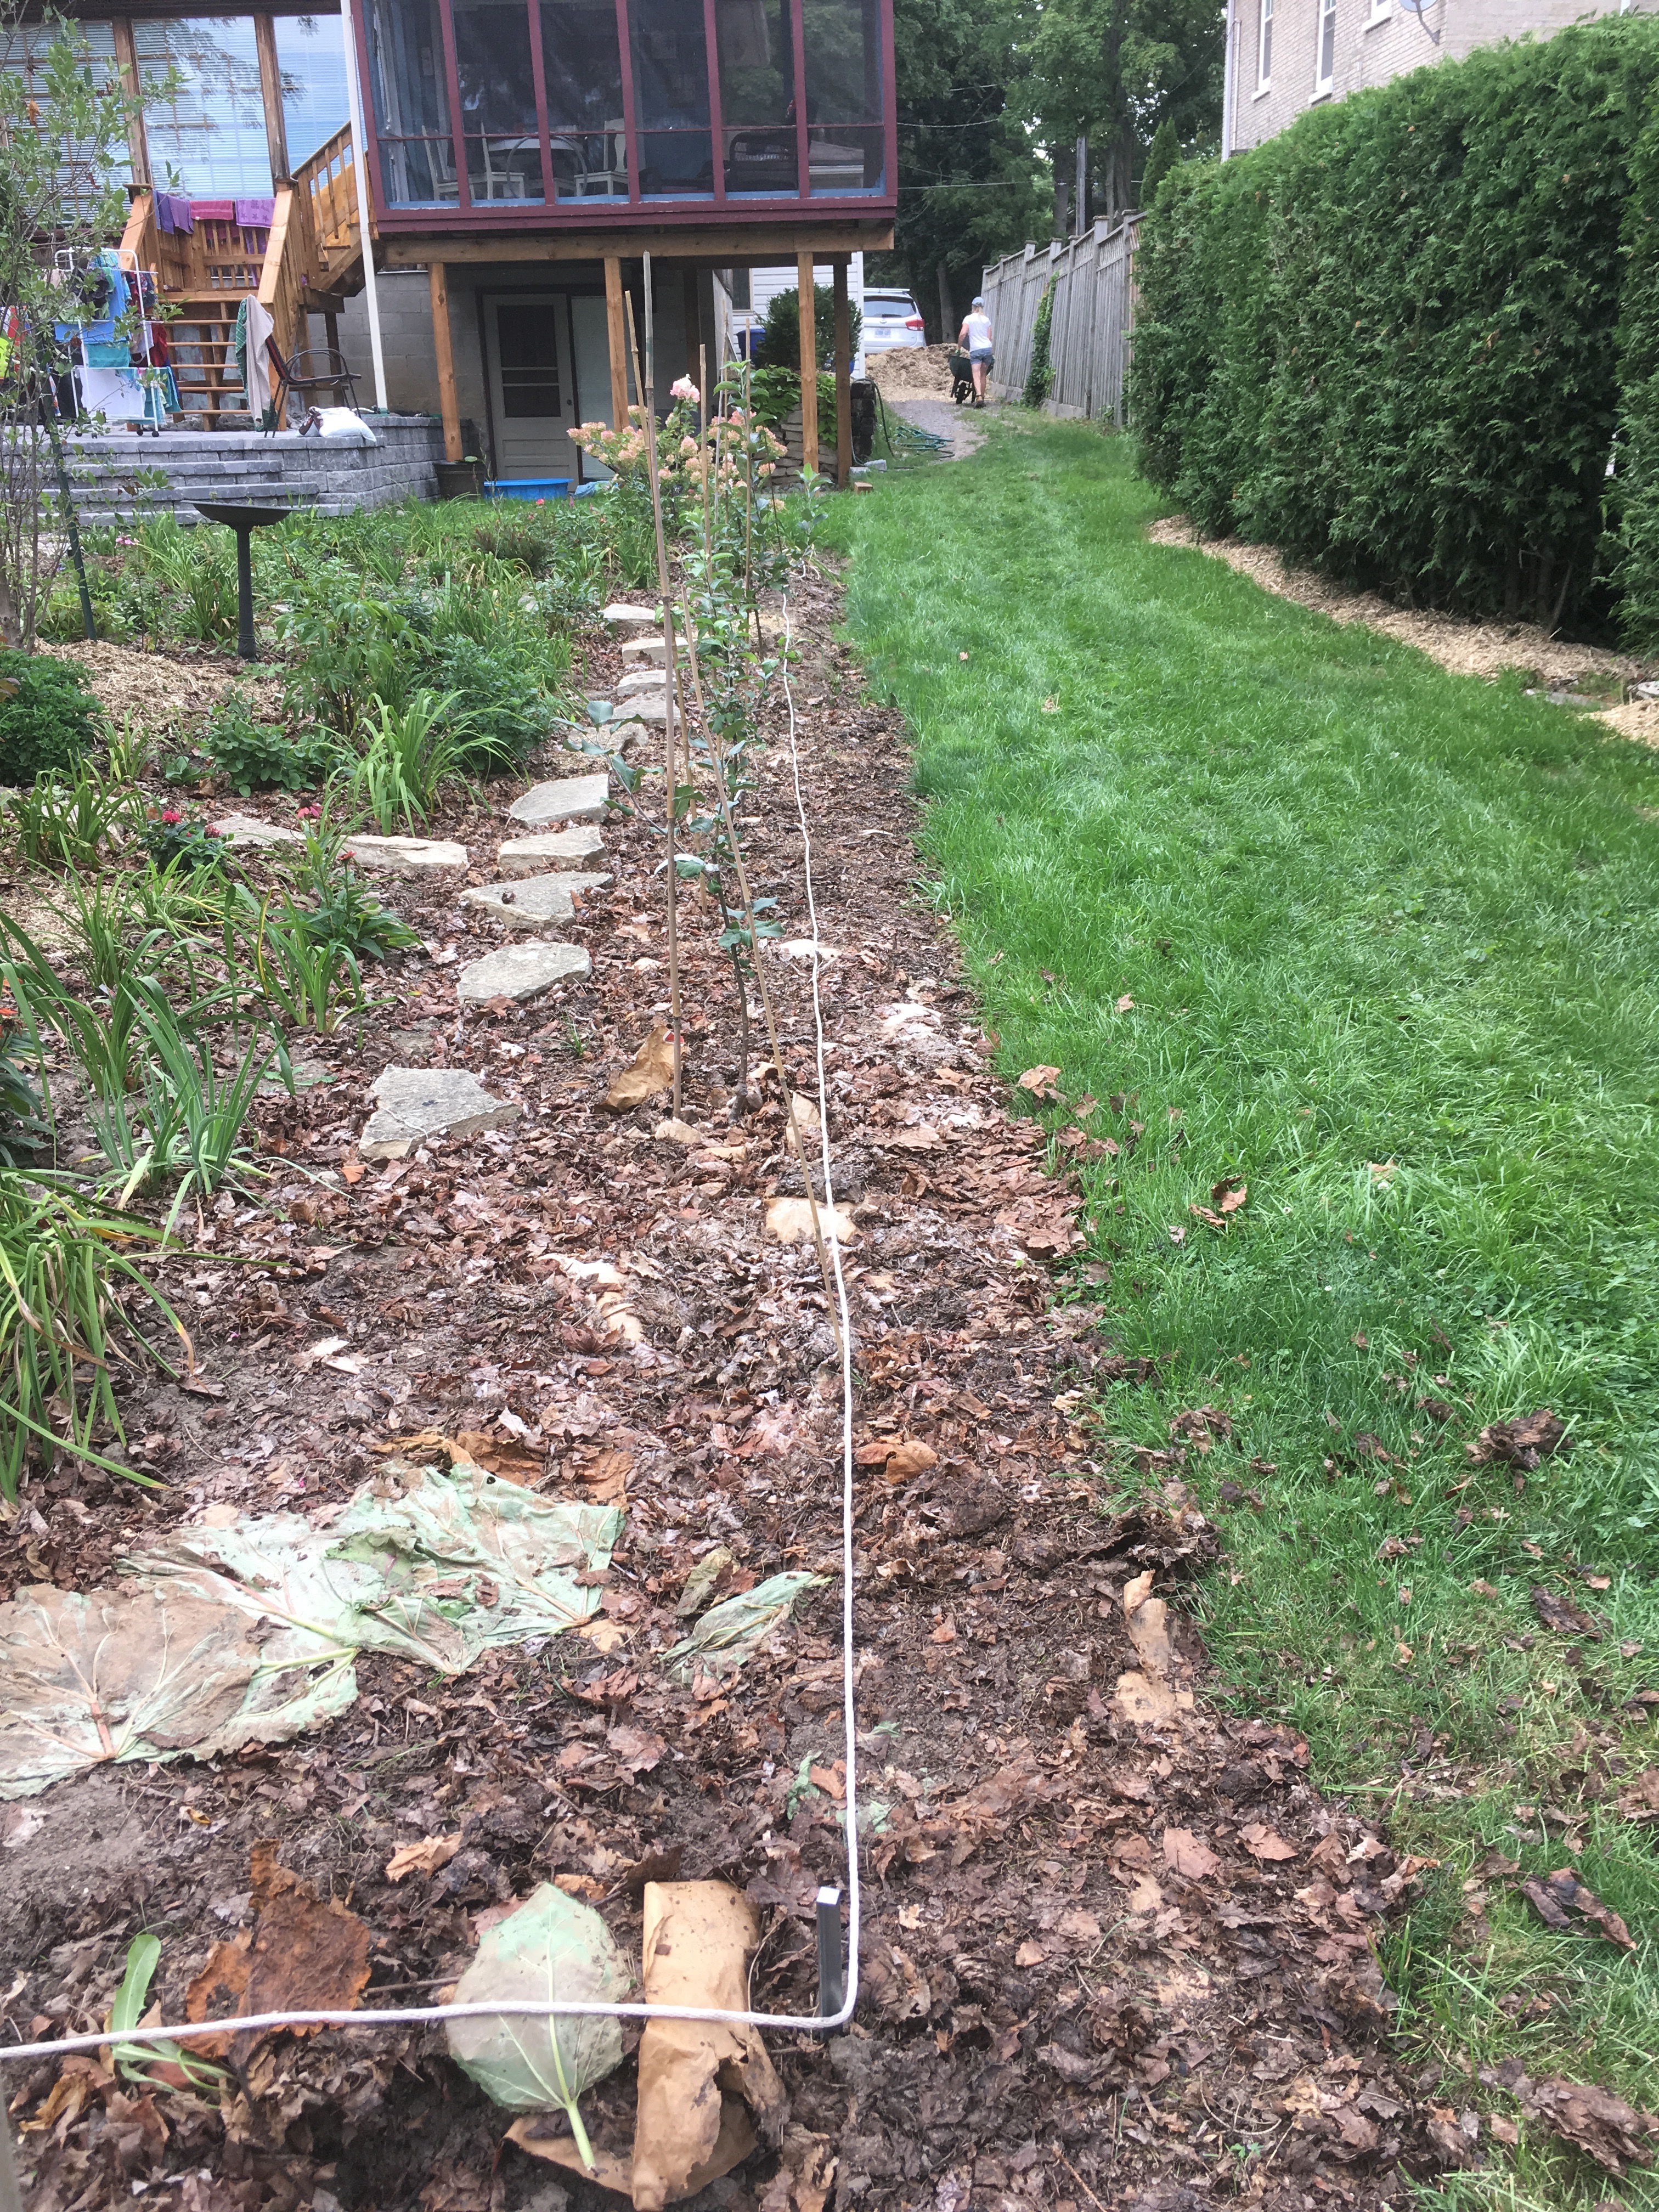
To get an idea of where the fence is going we used some rope to lay it out. The post holes were marked out with tent pegs (not shown).
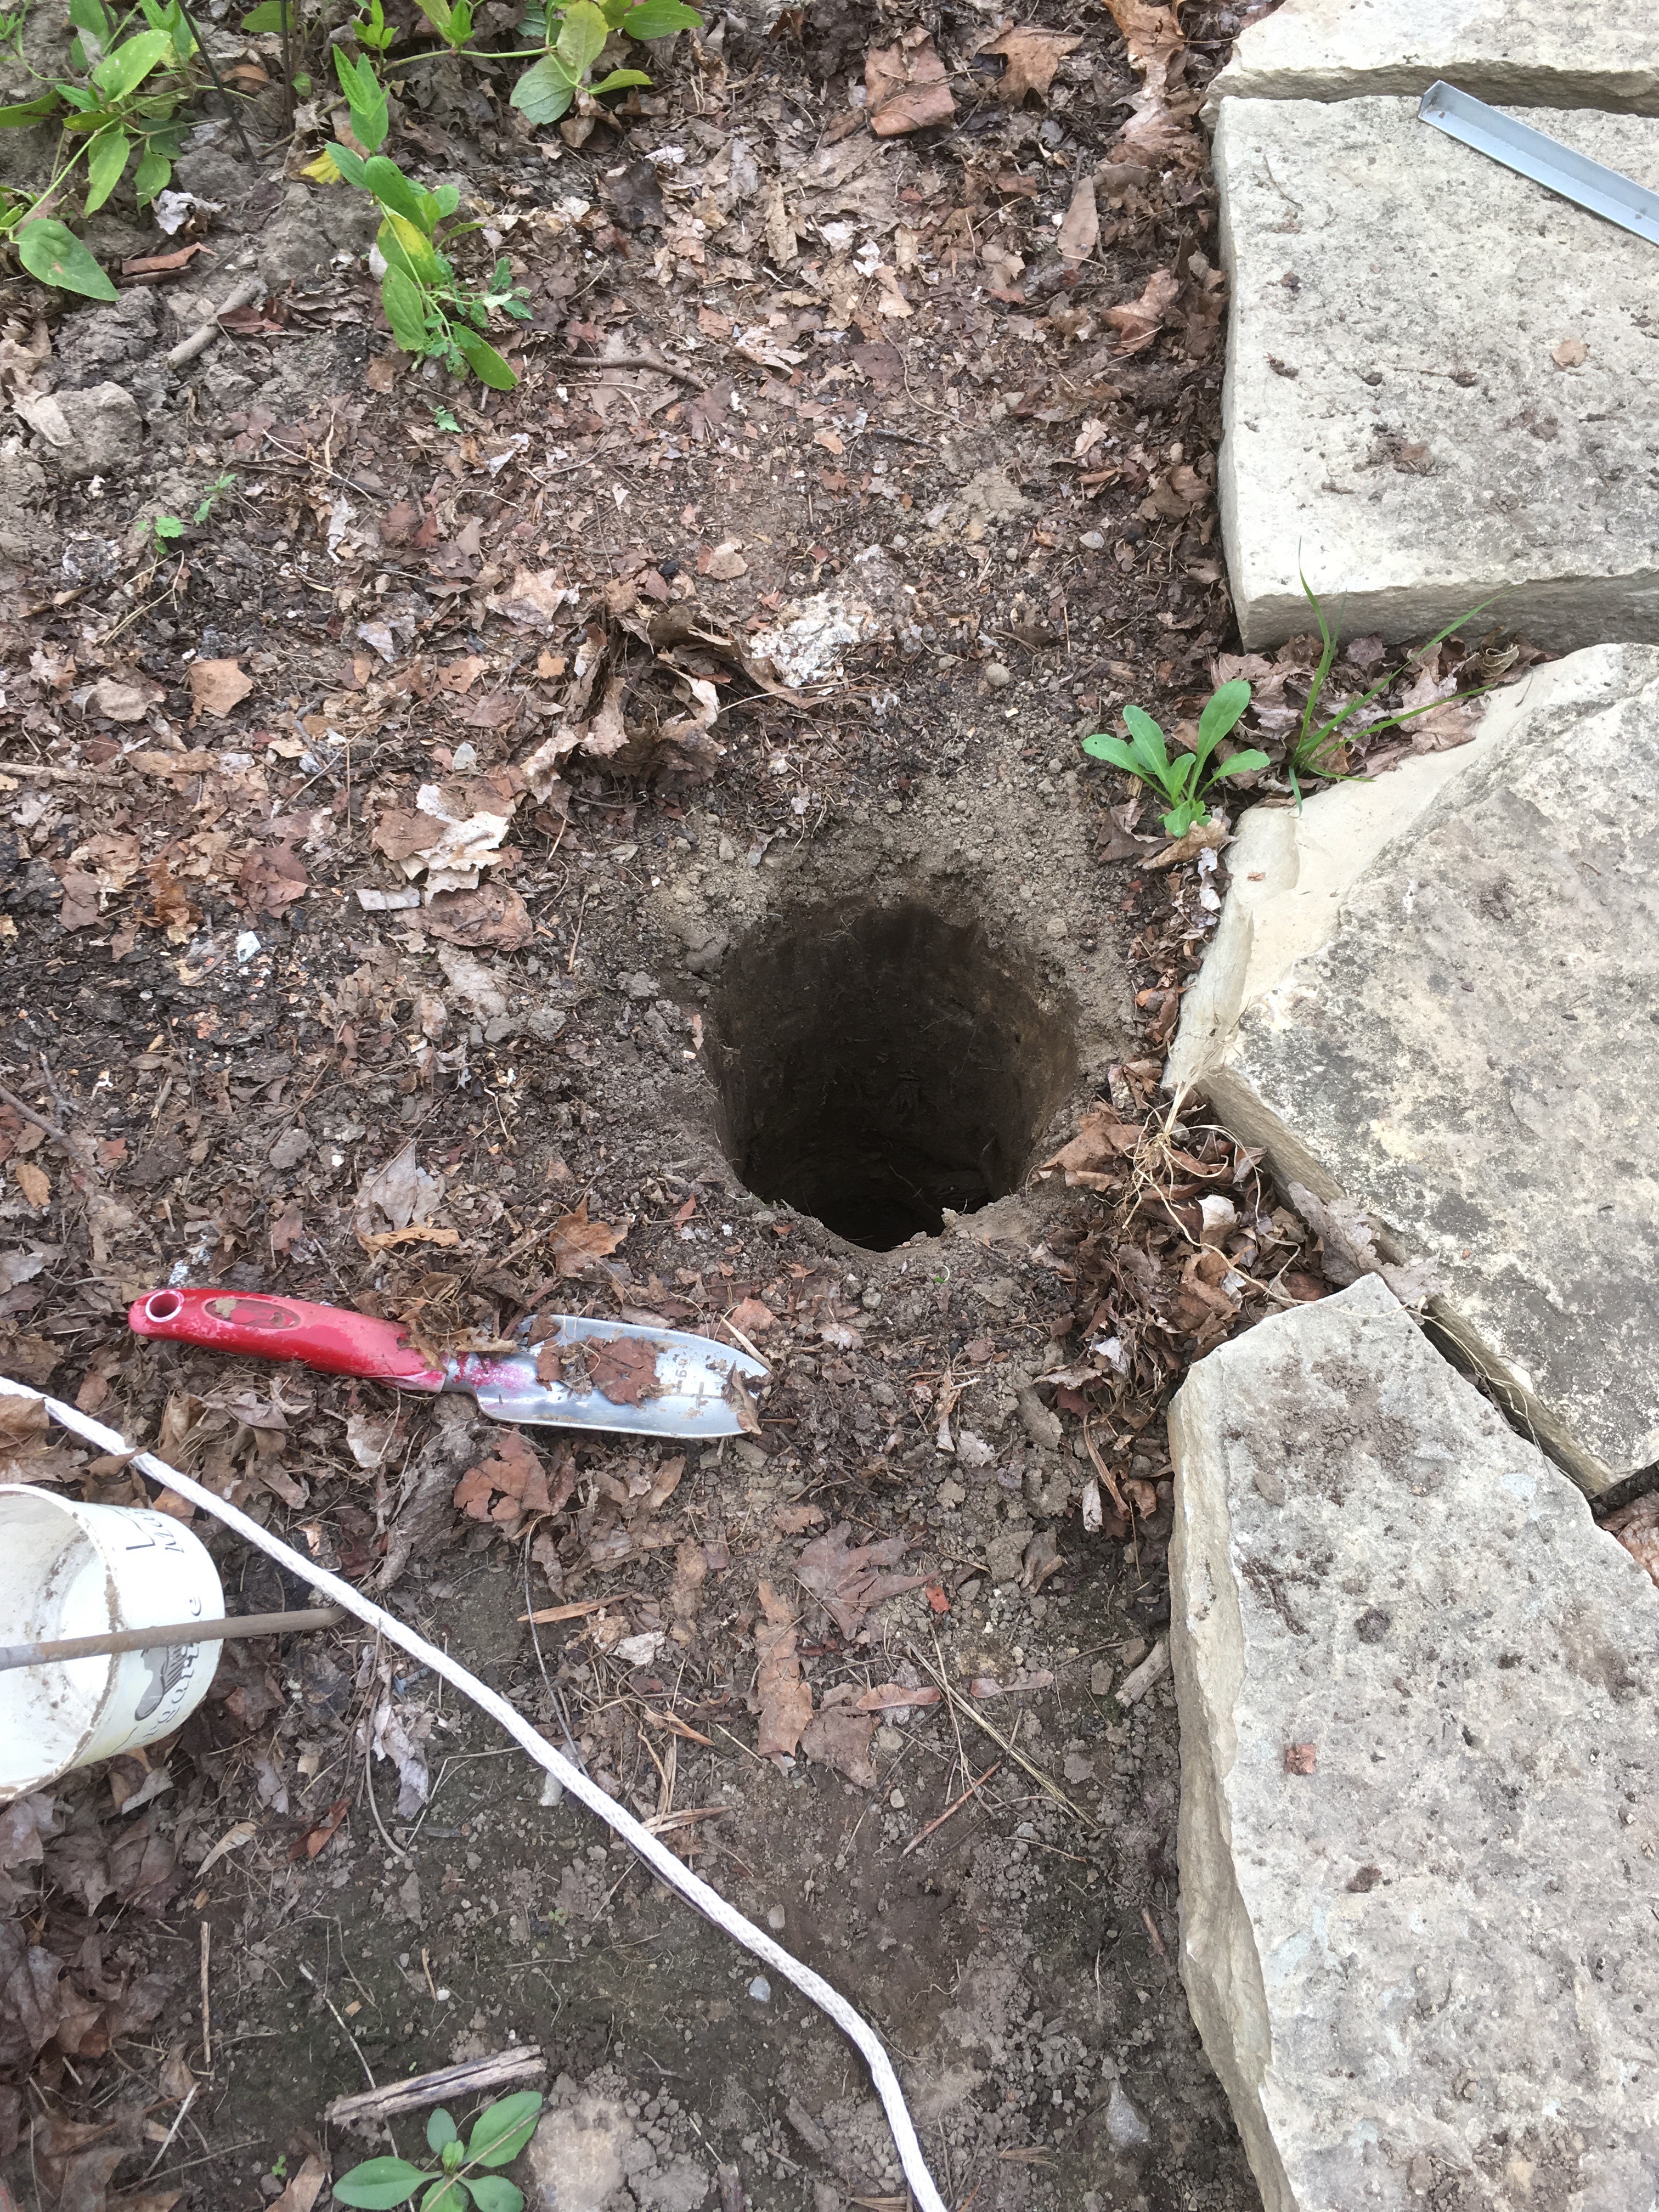
What a nice hole that is
Usually I would get out my trusty spade and dig a hole aprox. 2’ deep. However, that does tend to lead to V shaped holes, larger at the top than the bottom. Since I would be digging quite a few holes for this project I invested in a post hole digger. It worked well, apart from when there was a rock or stone in the way which completely stopped it until the stone was removed with a small hand tool. The post hole digger I used was only good to around 2’, which was fine for these purposes.
Posts all in Line
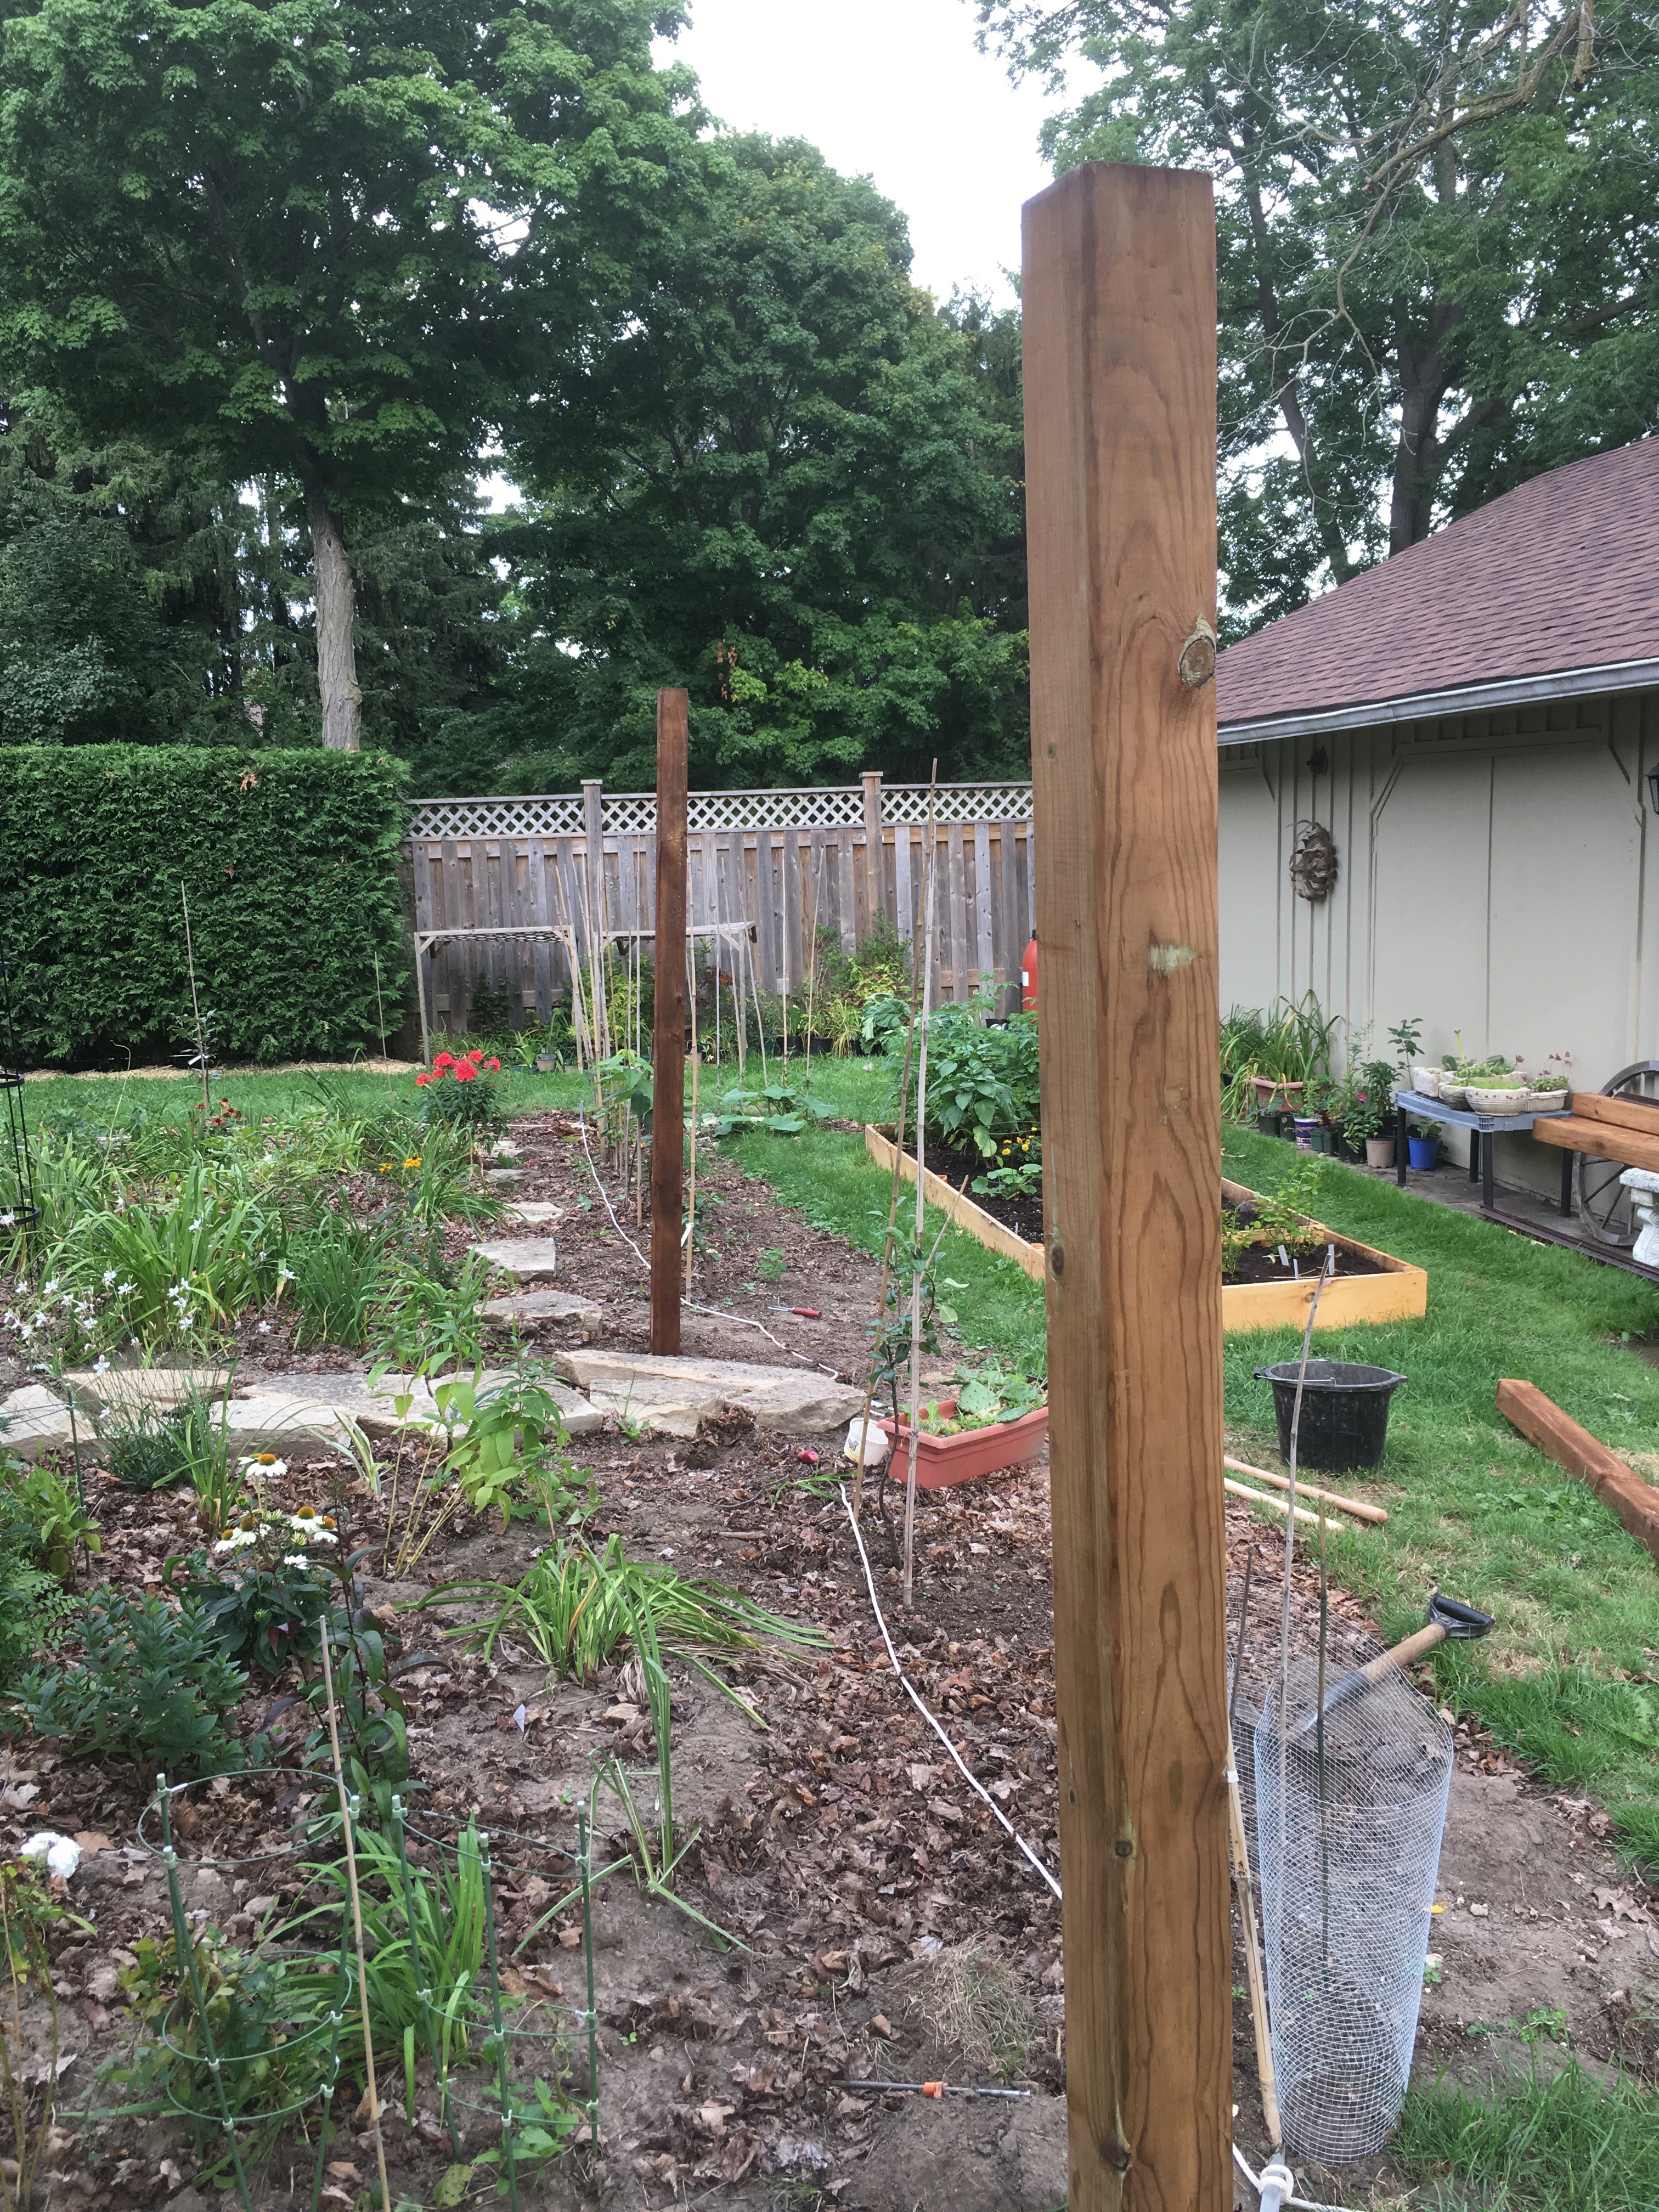
Here’s a few posts in their holes after being cemented in with ready mix concrete (post mix concrete). The posts are 8’ with aprox 2’ in the ground. The post mix says it sets after a couple of hours but I always leave it overnight.
Hook and line
The wire we picked was galvanized fence wire from a local feed store (we live in a country town). The most expensive part of the project was the hardware. Each wire has to be attached to the post via a hook on one side and a hook and turnbuckle on the other We went with 4 wires, so each post to post section needed 8 hooks and 4 turnbuckles.
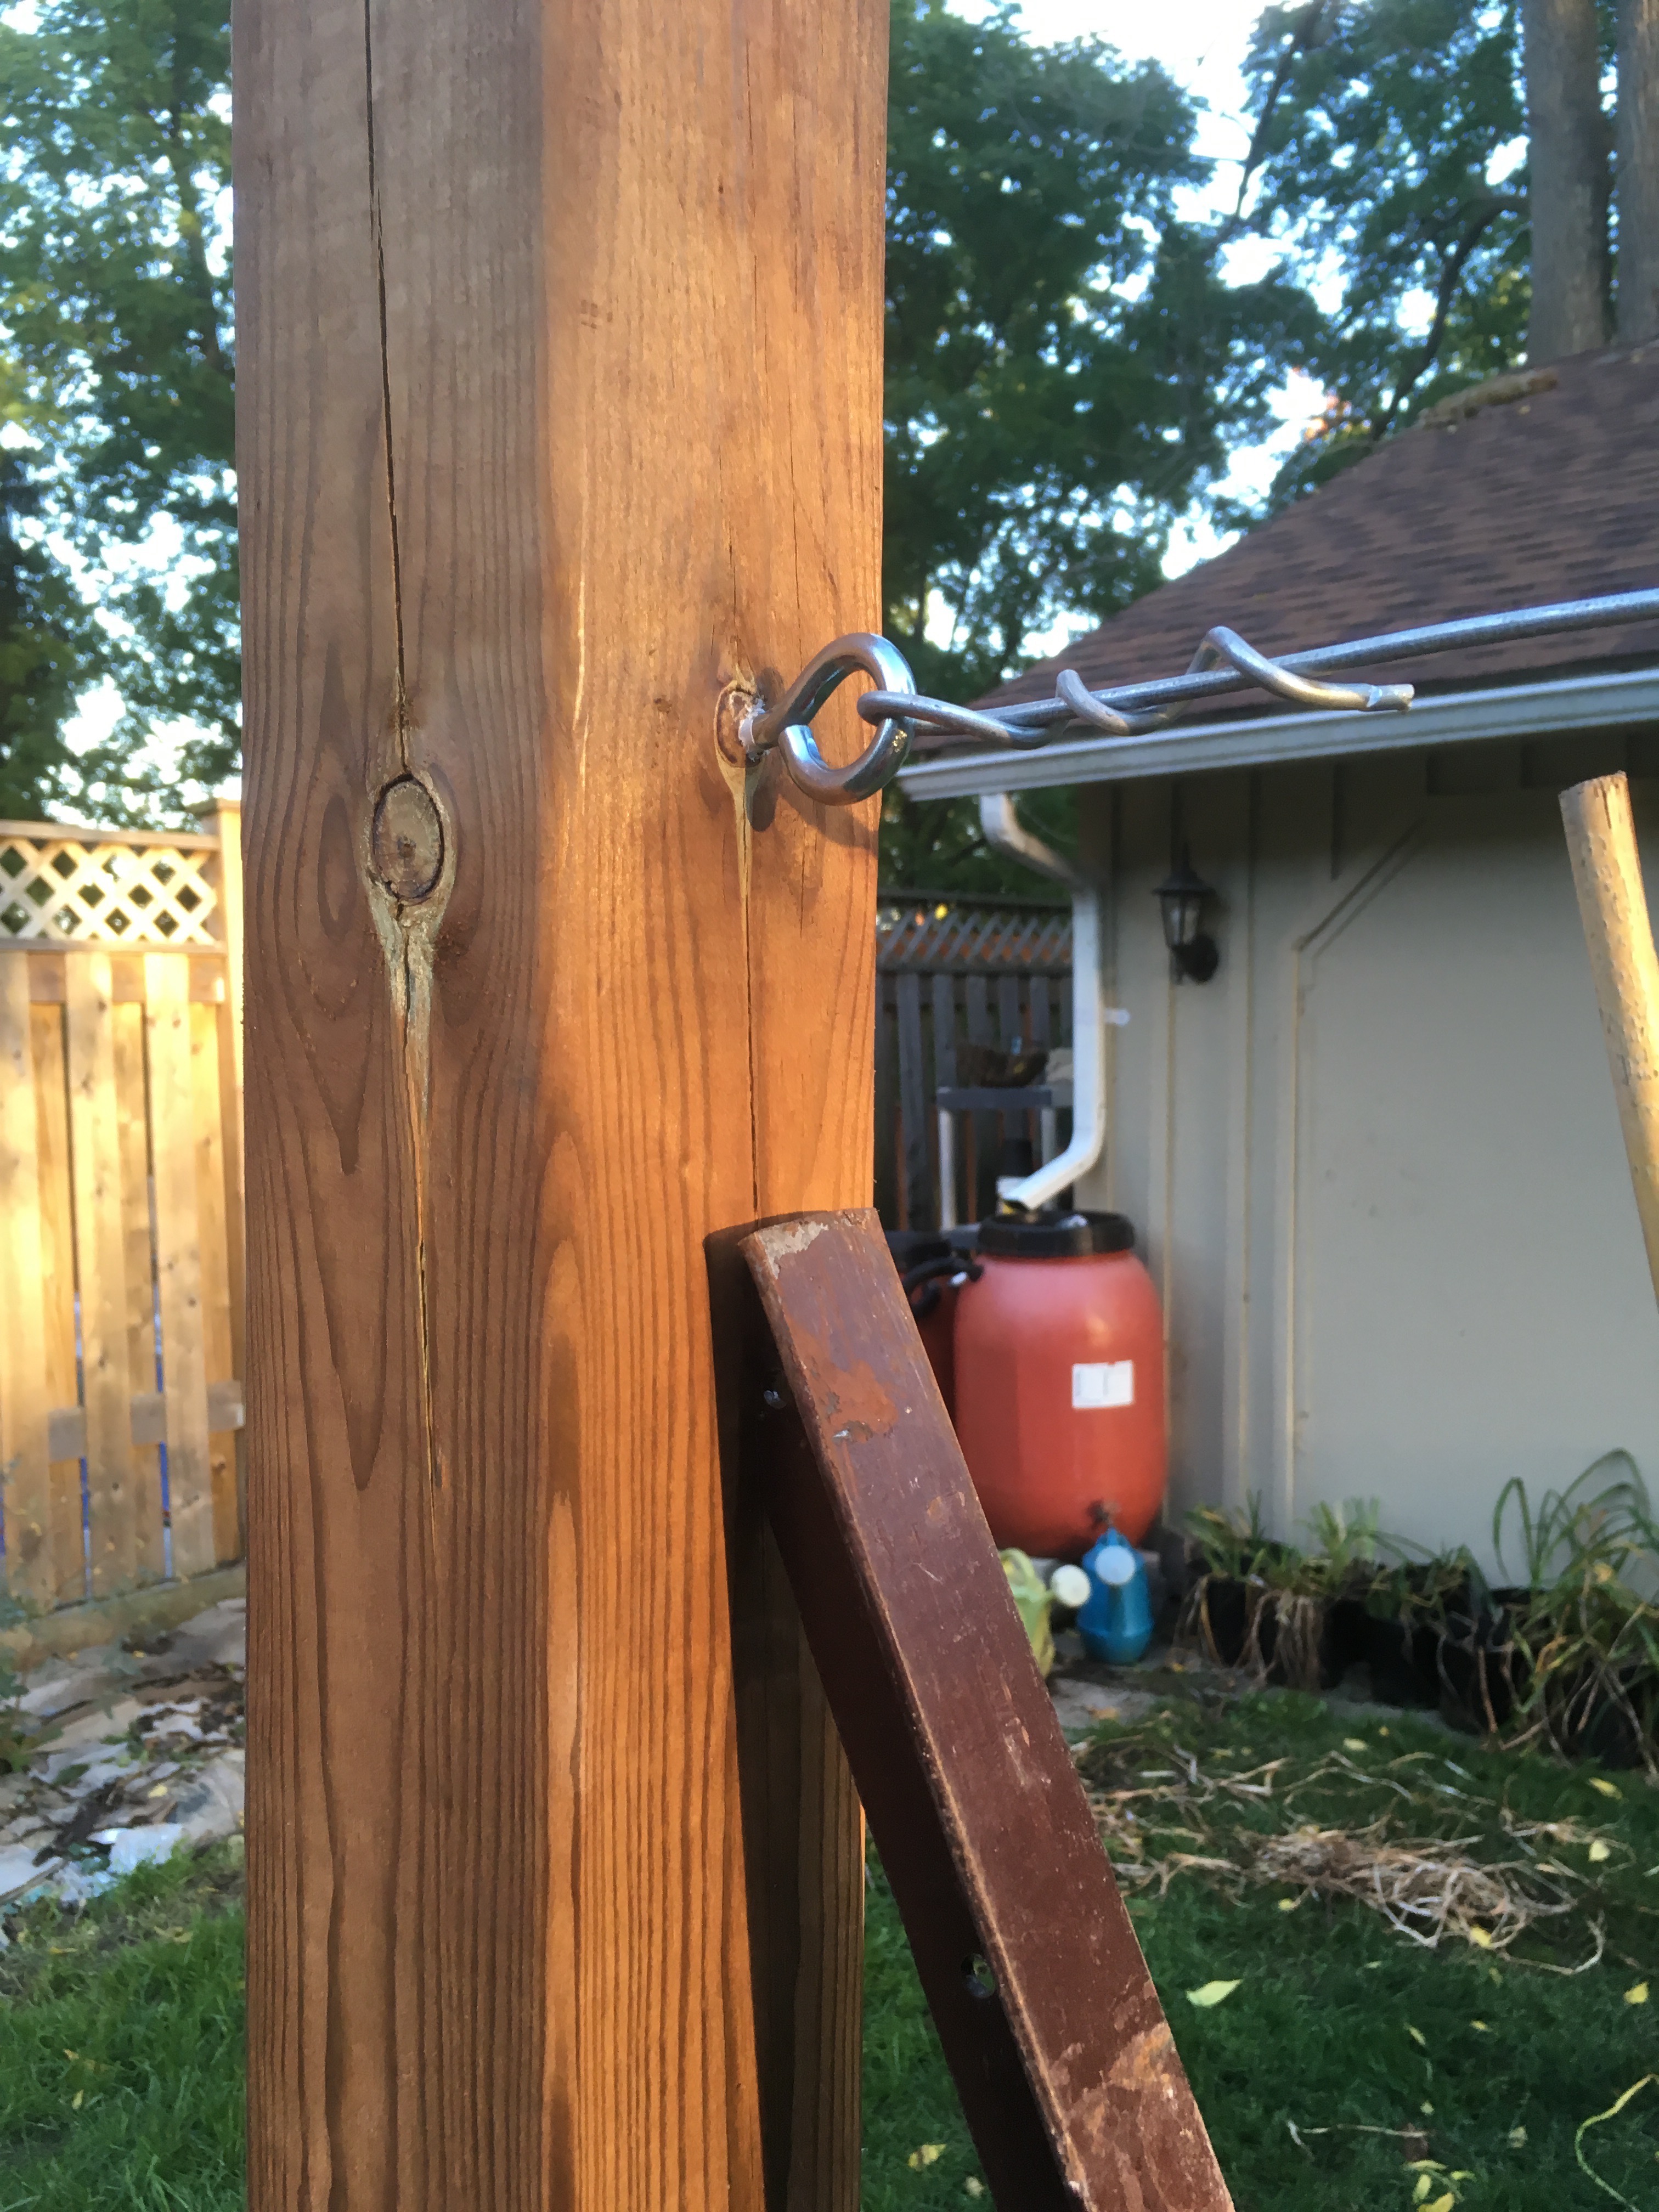
The fence wire was tough to work with and needed two pliers to twist it around. The turnbuckle was really needed to take the slack out of the wire and pull it tight.
Also in the picture is a metal T post bashed into the post to give it some support against tightening the wire.
Completed Fence
Here’s one of the sections completed. The taller post is 10’ (as opposed to the 8’ other ones) because it’s going to be part of the large arch.
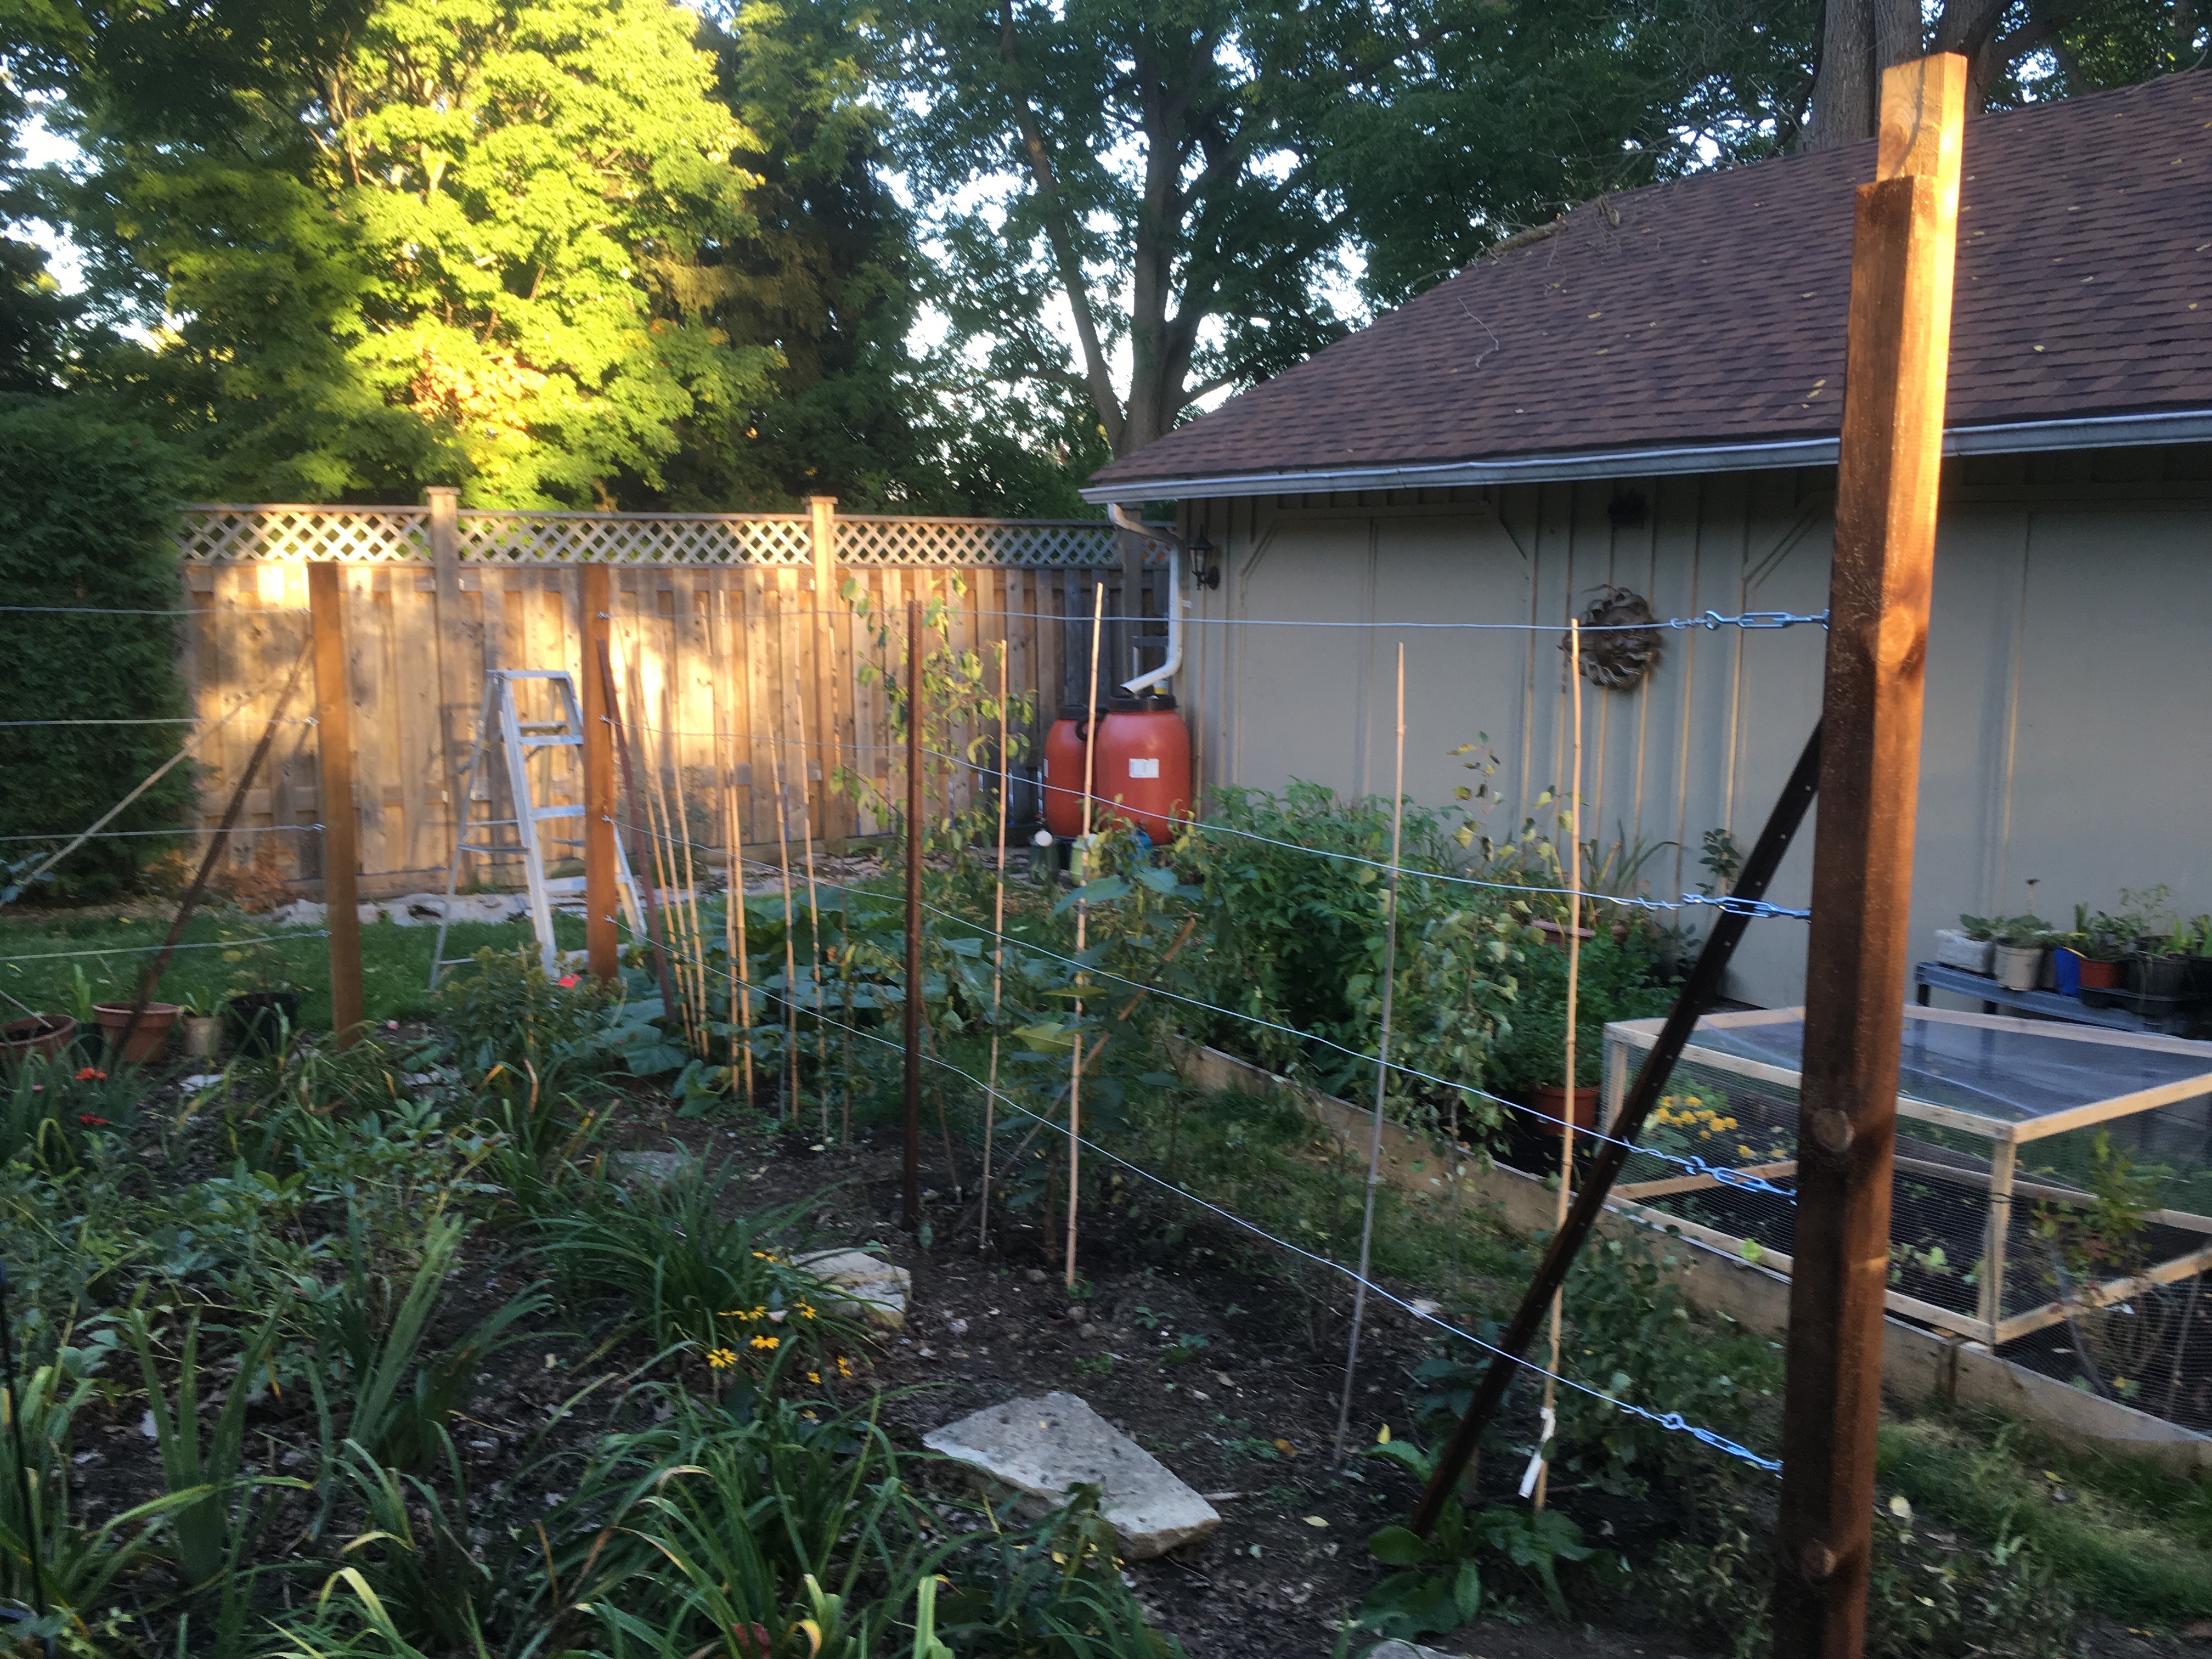
Another Section
The fence on the other side of the arch.
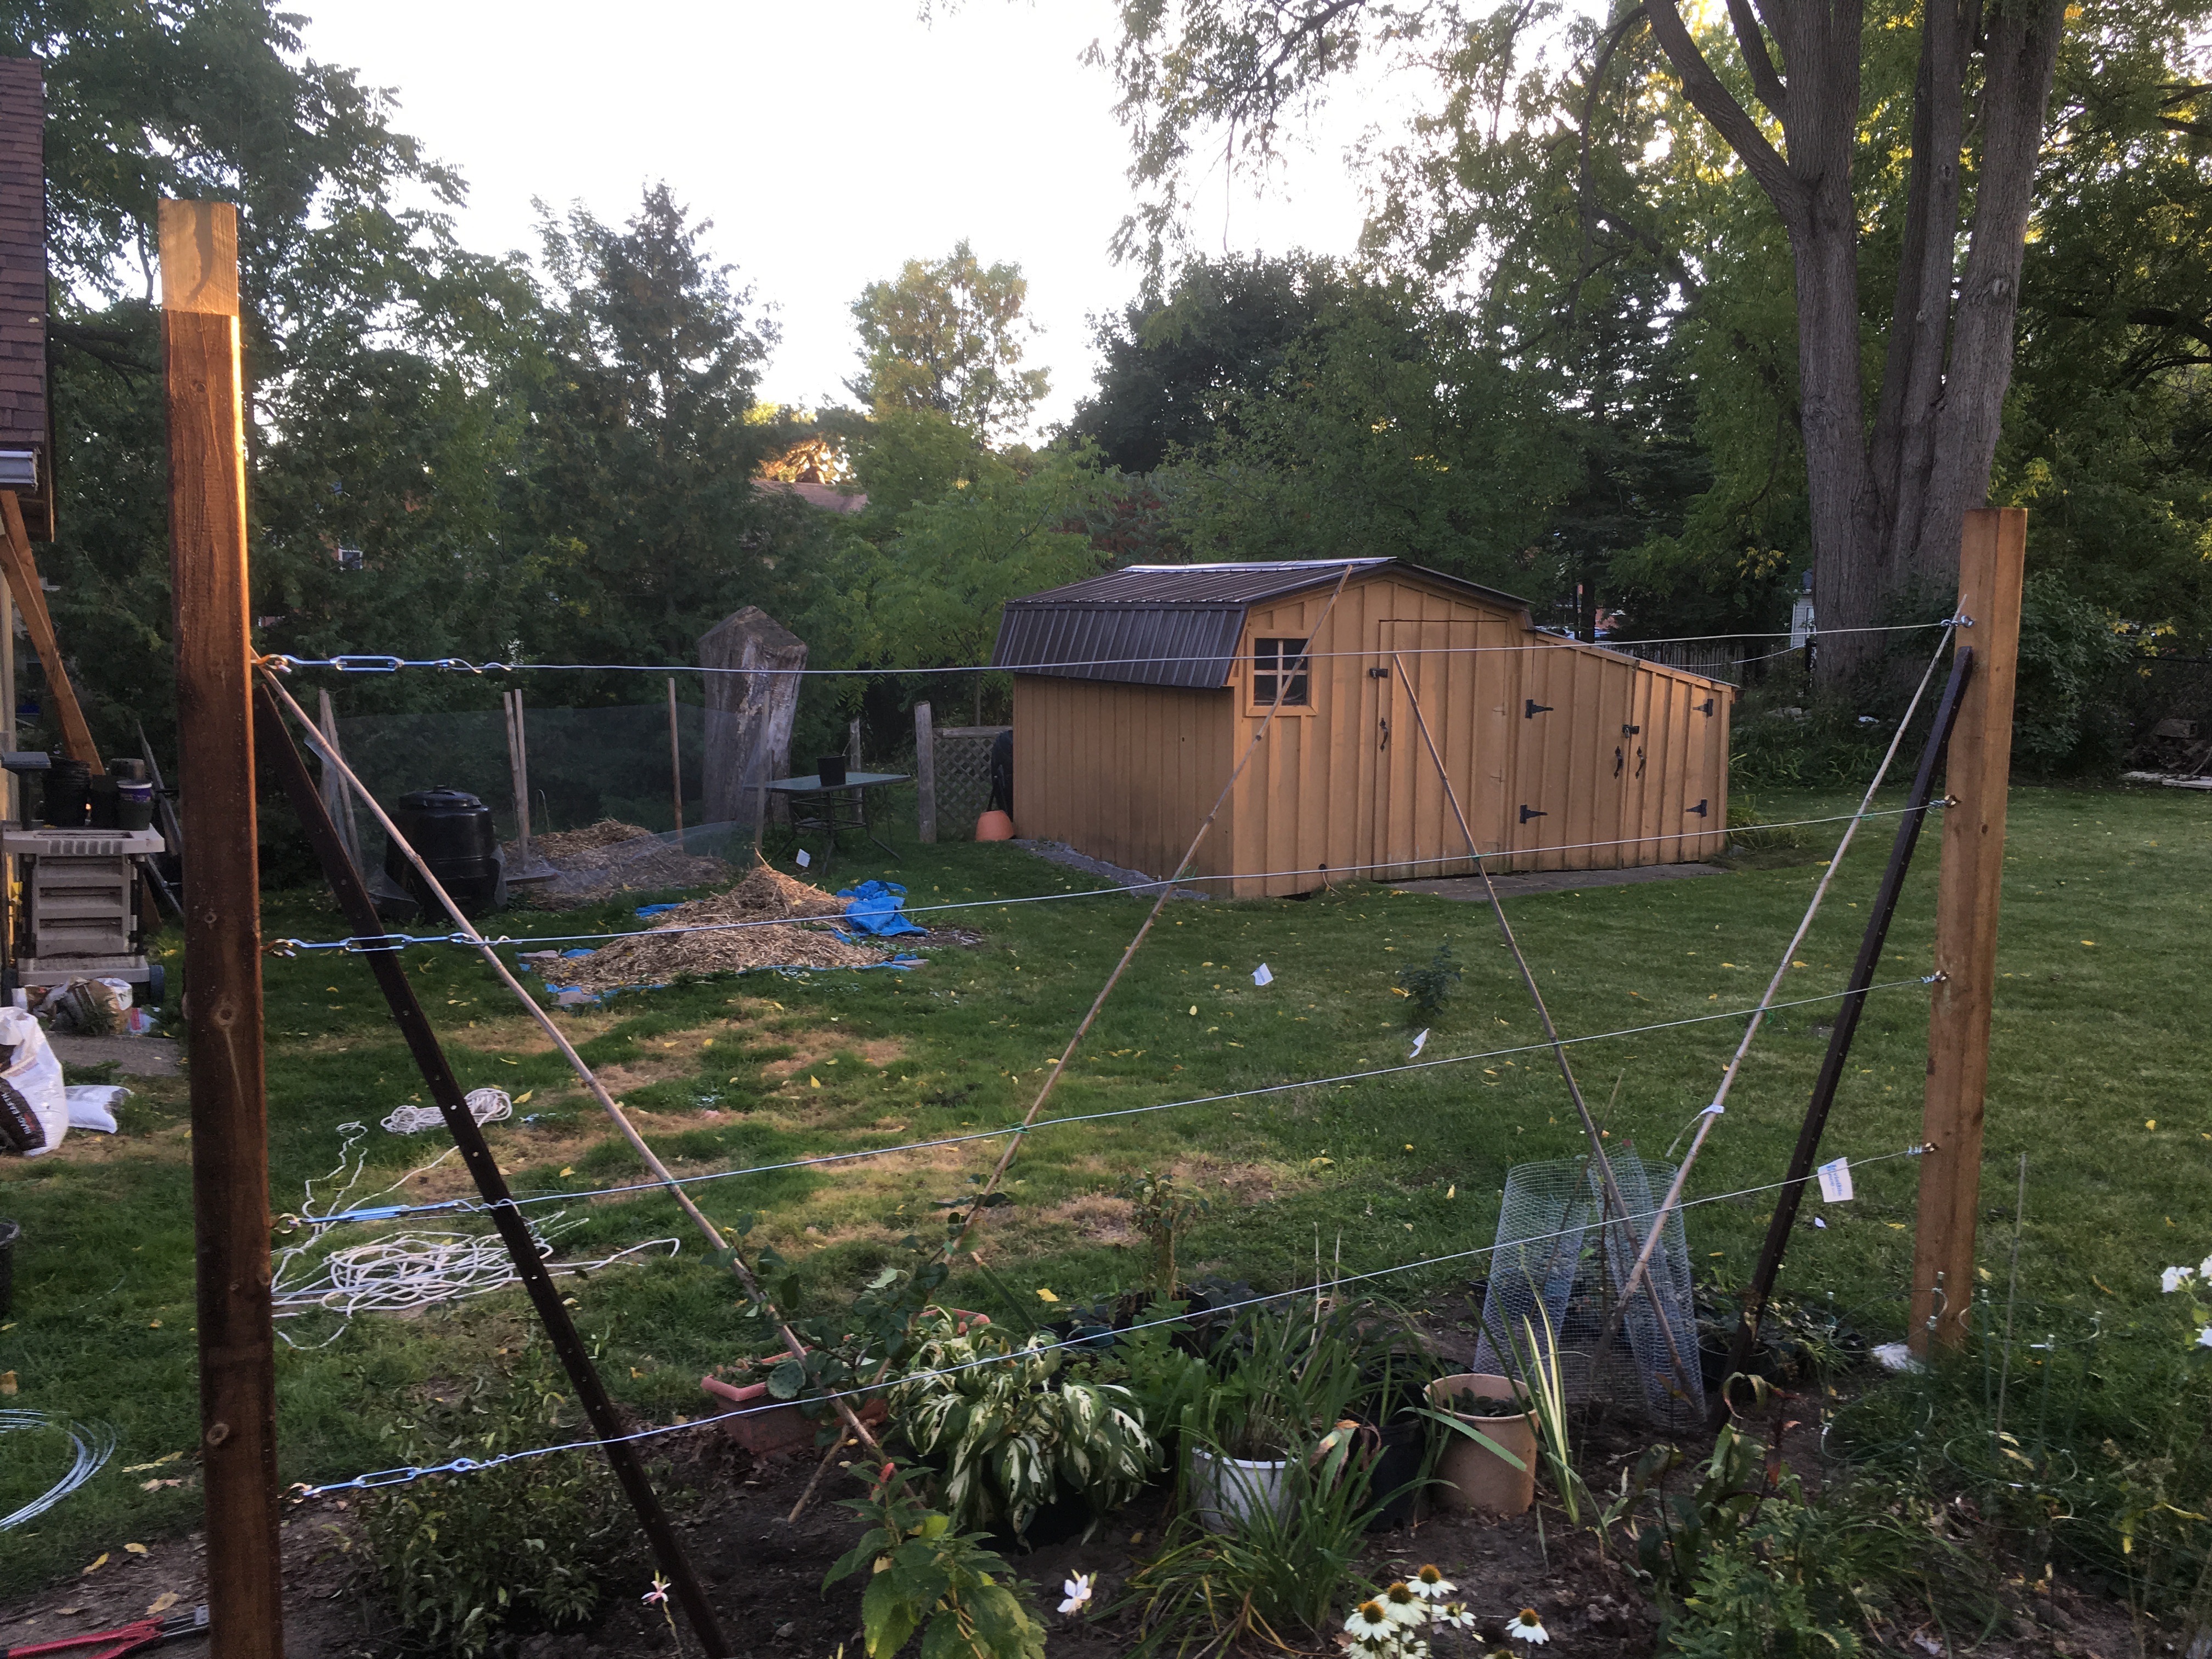
Cutting Arch Tops
The large arch in the in the middle is to have 6 cross beams resting on top. Each beam was clamped together and a circular saw used to cut out the notches.
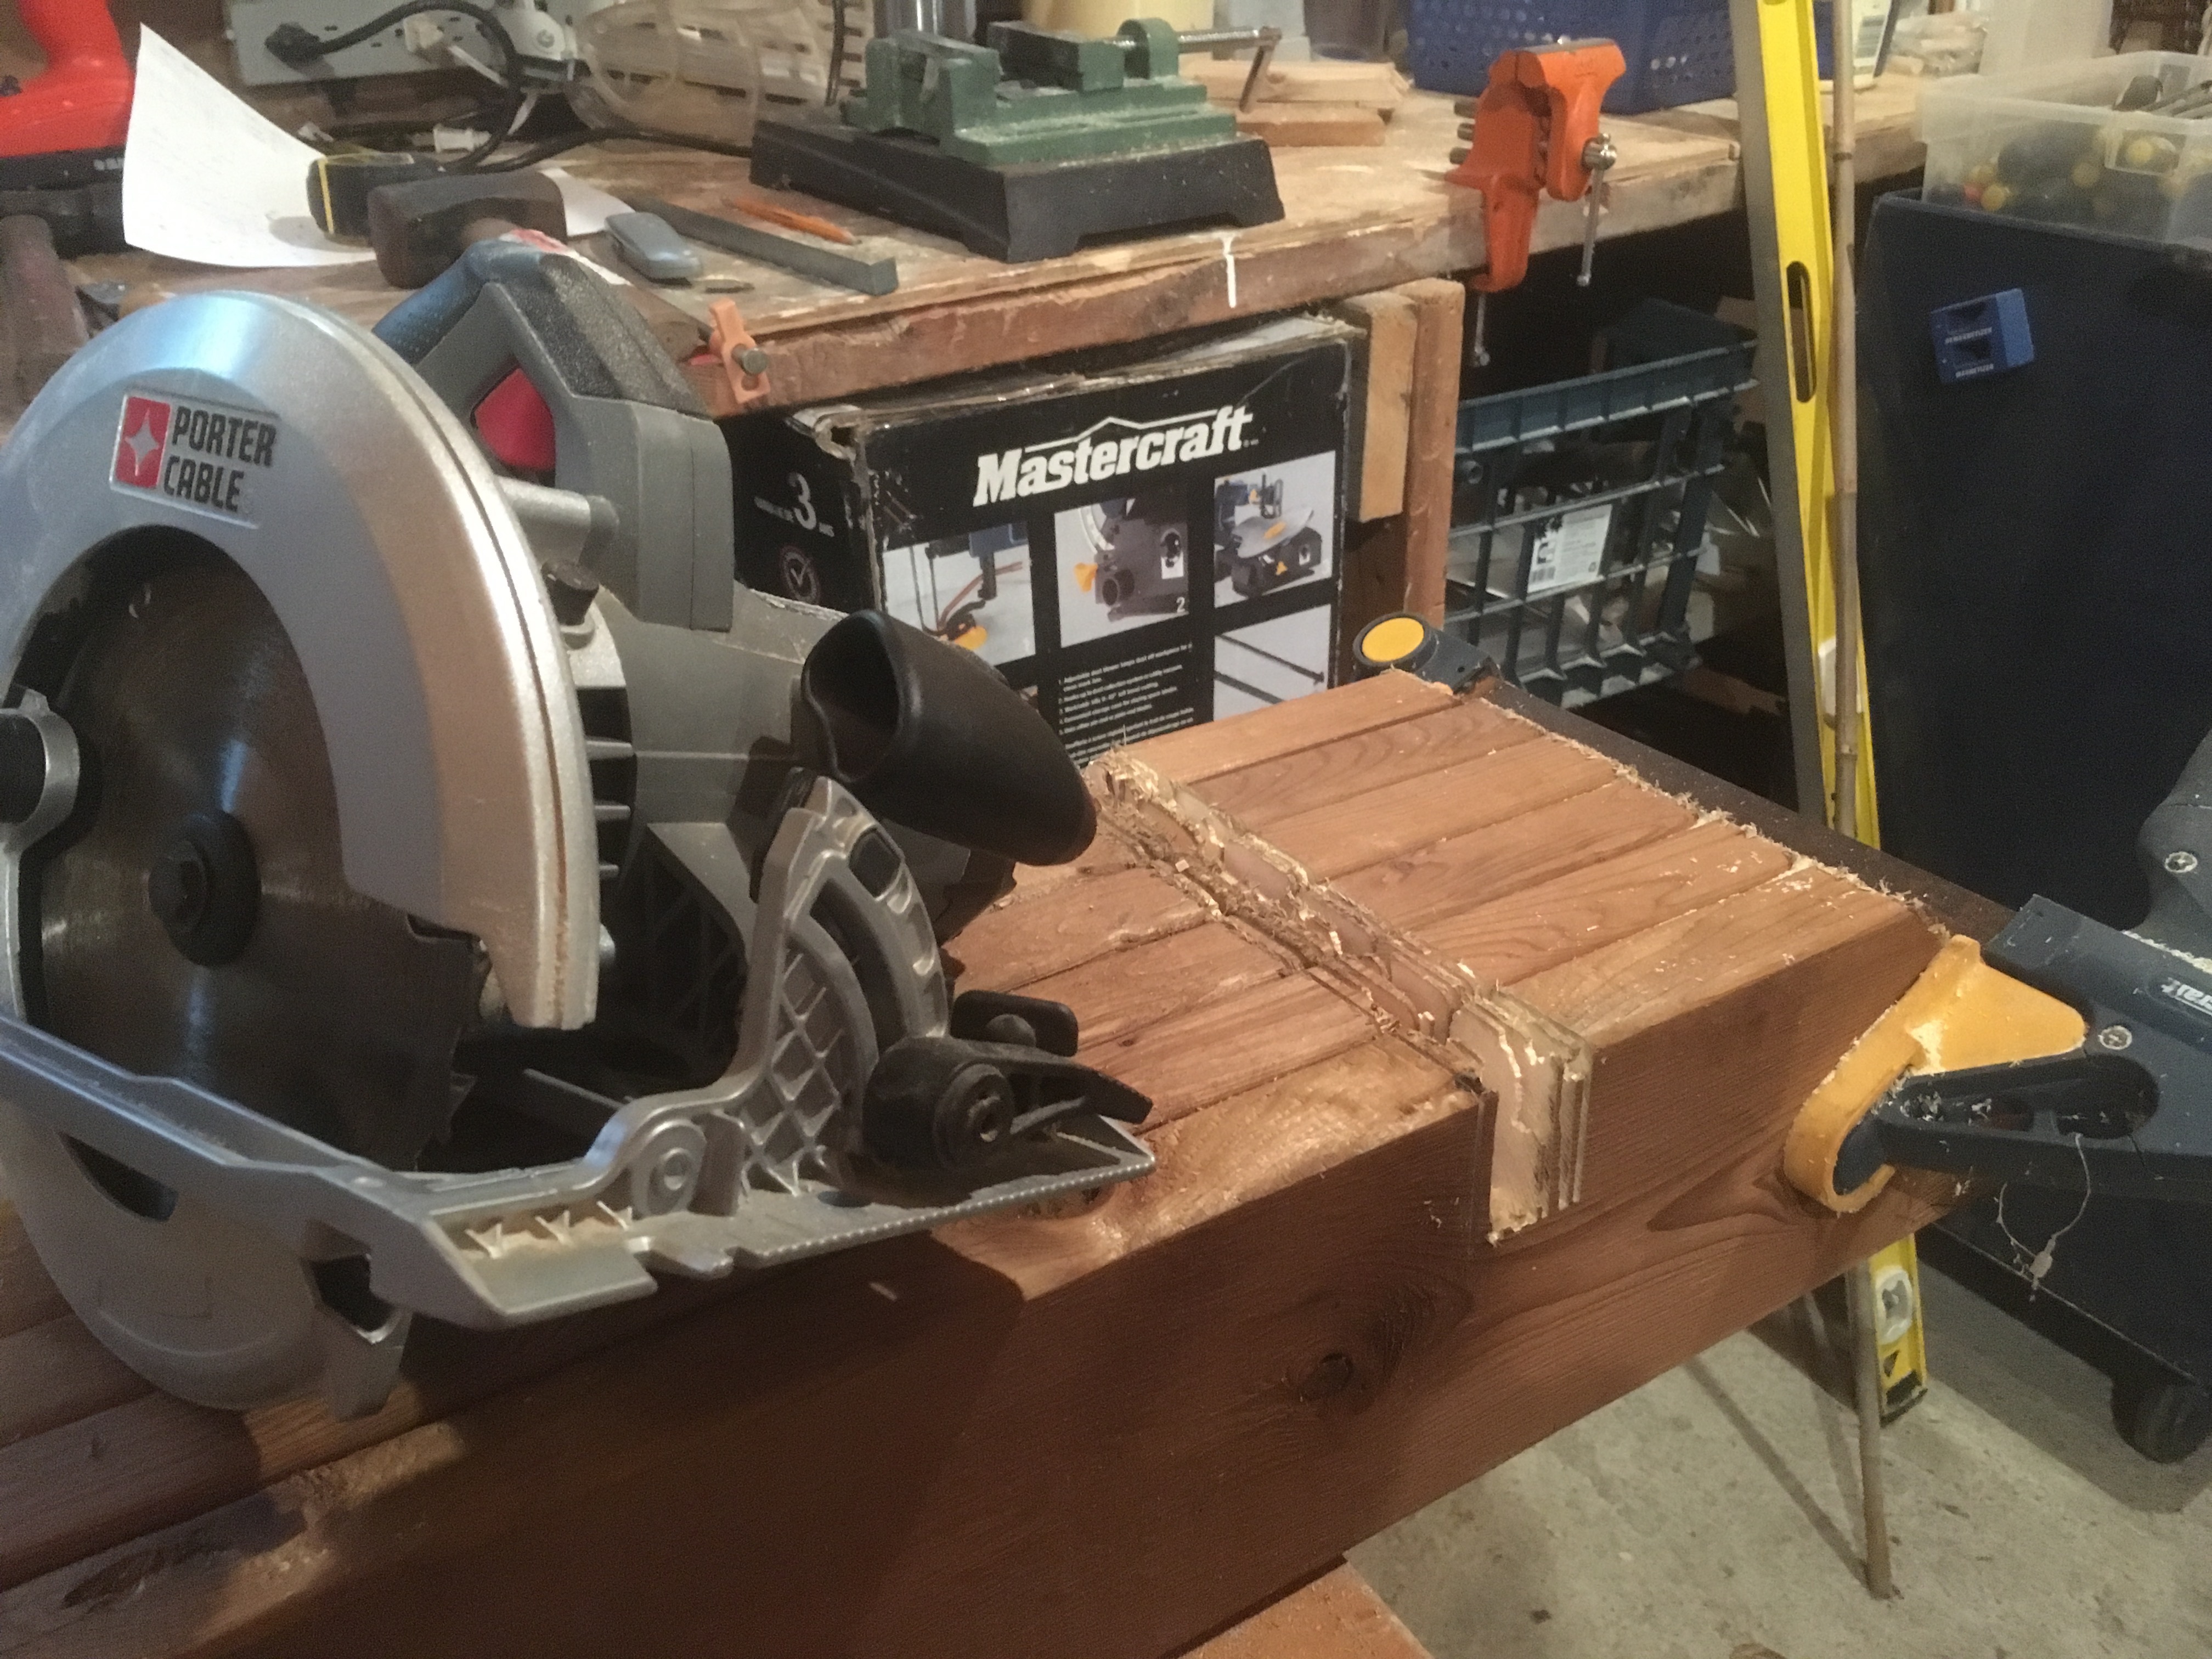
After the saw was used to cut out slices a chisel was used to clean it up.
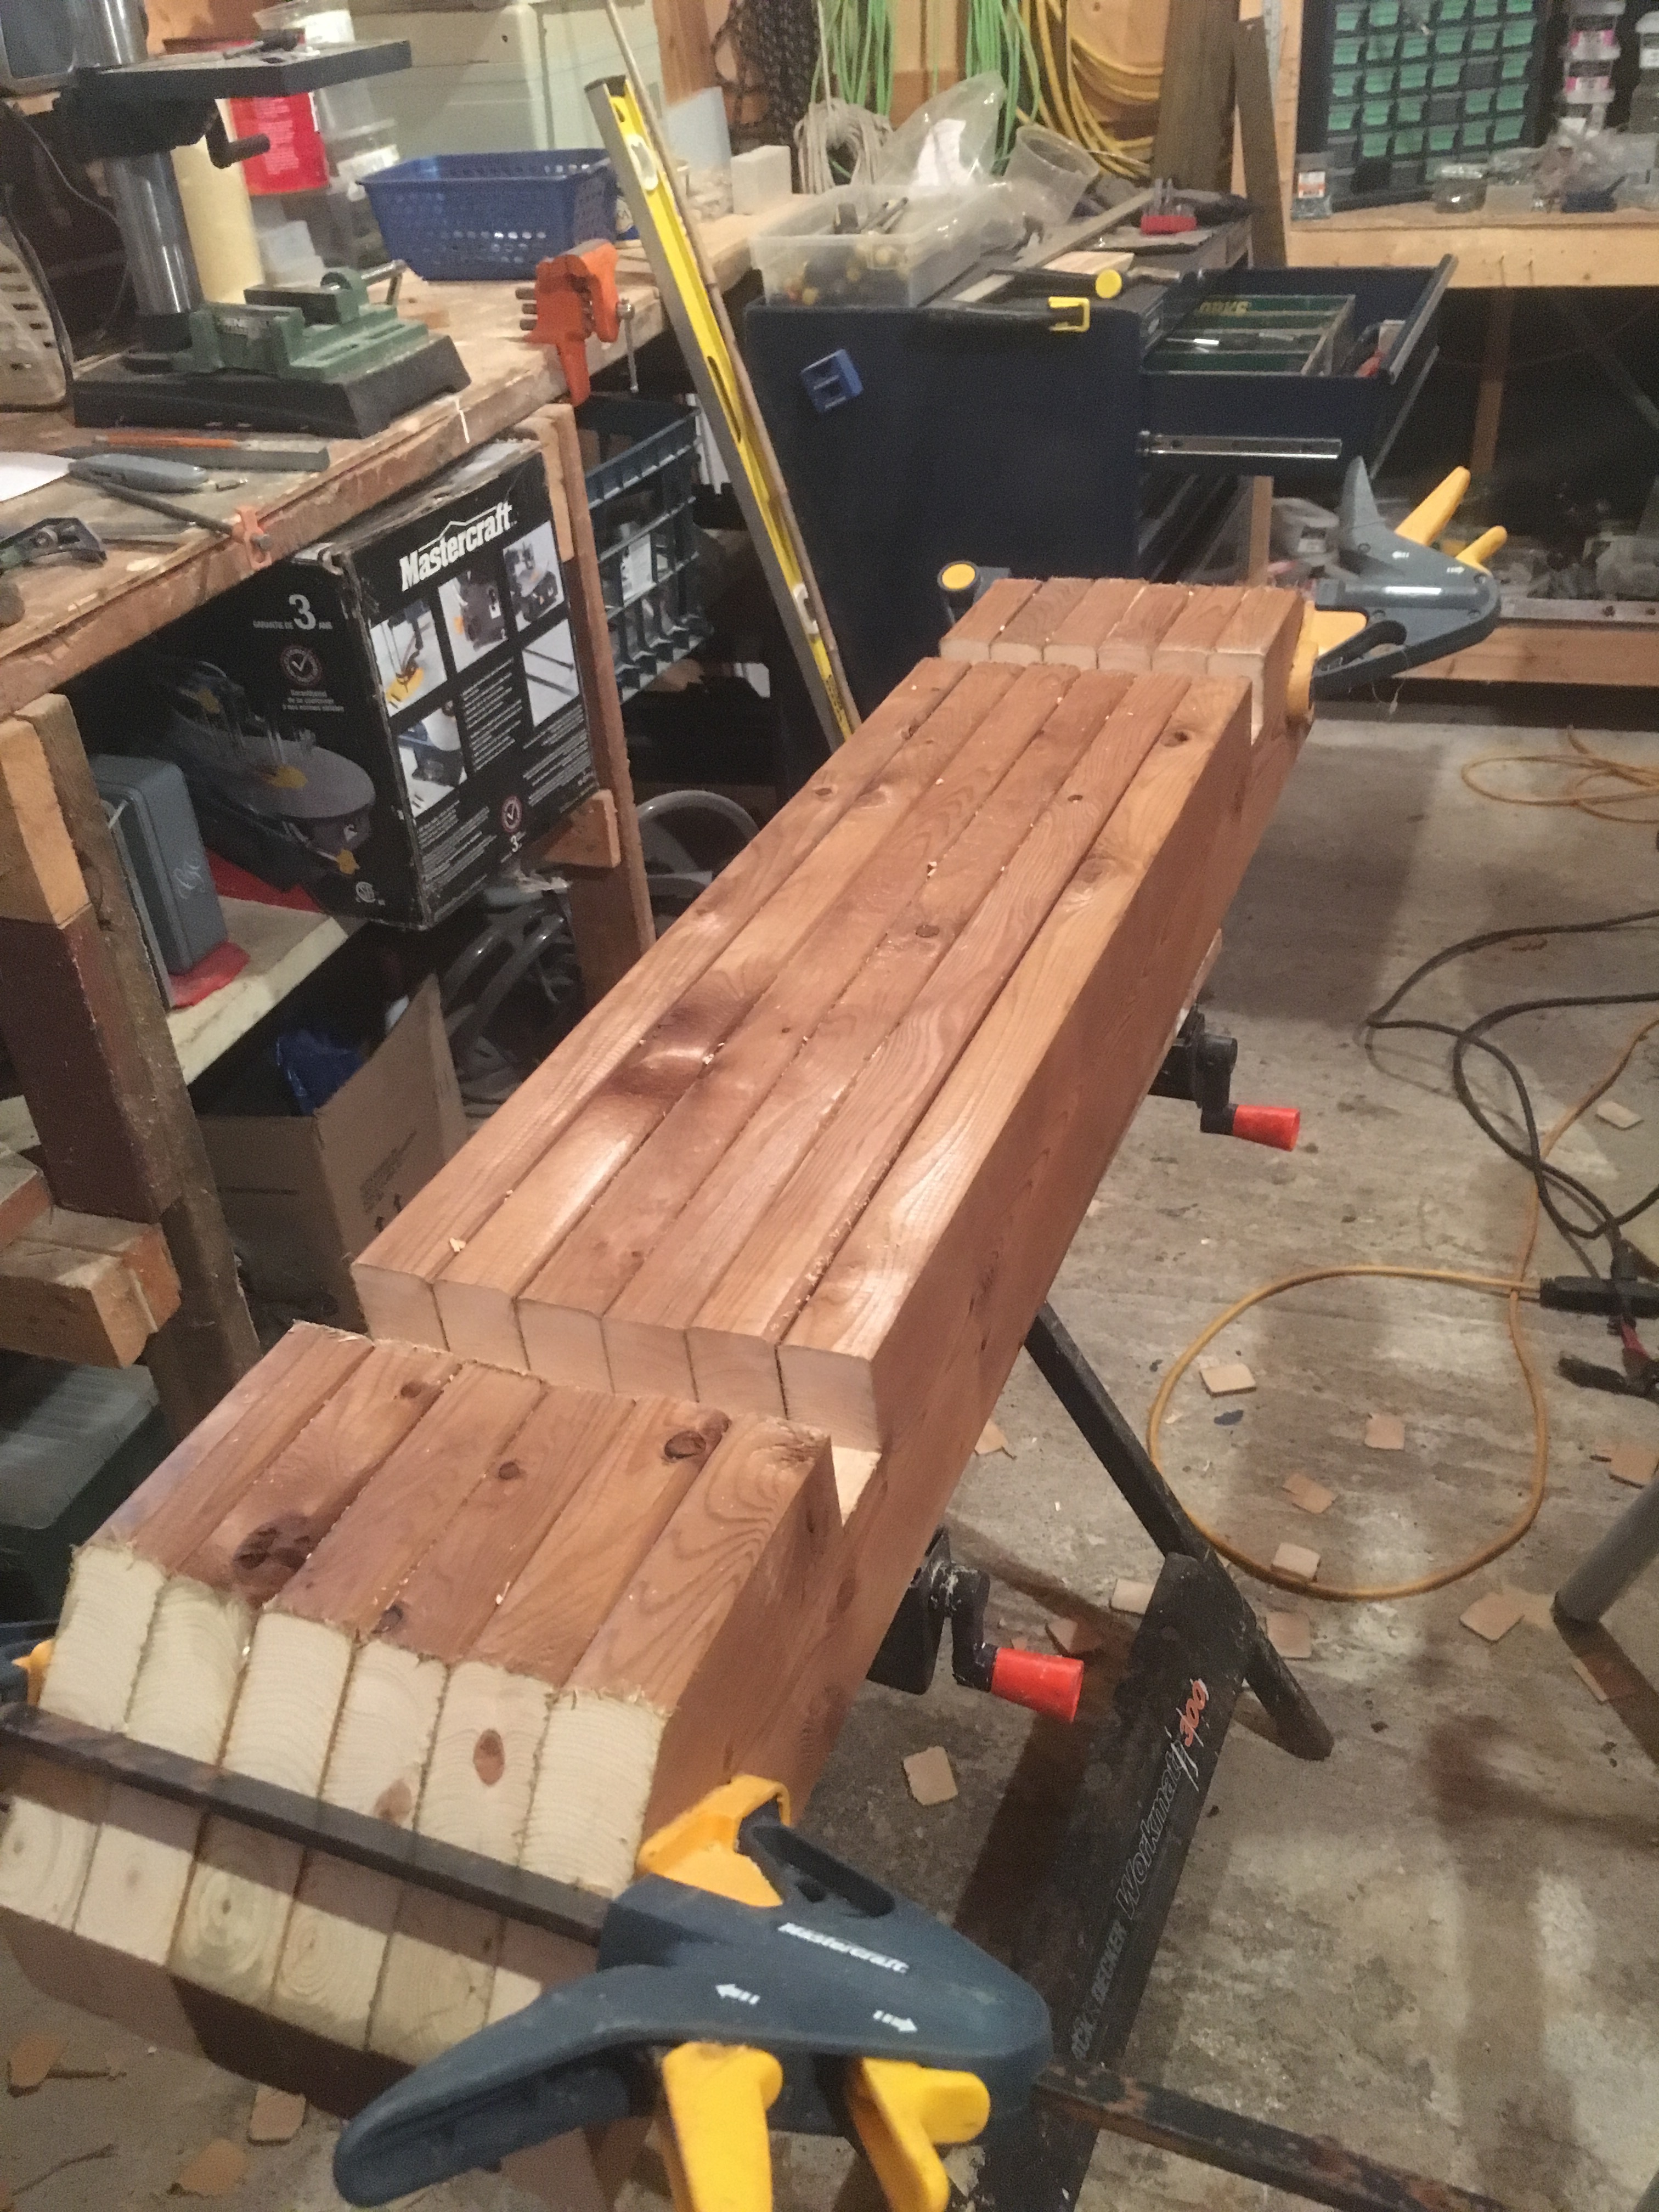
All the notches cut out.
Completed Arch
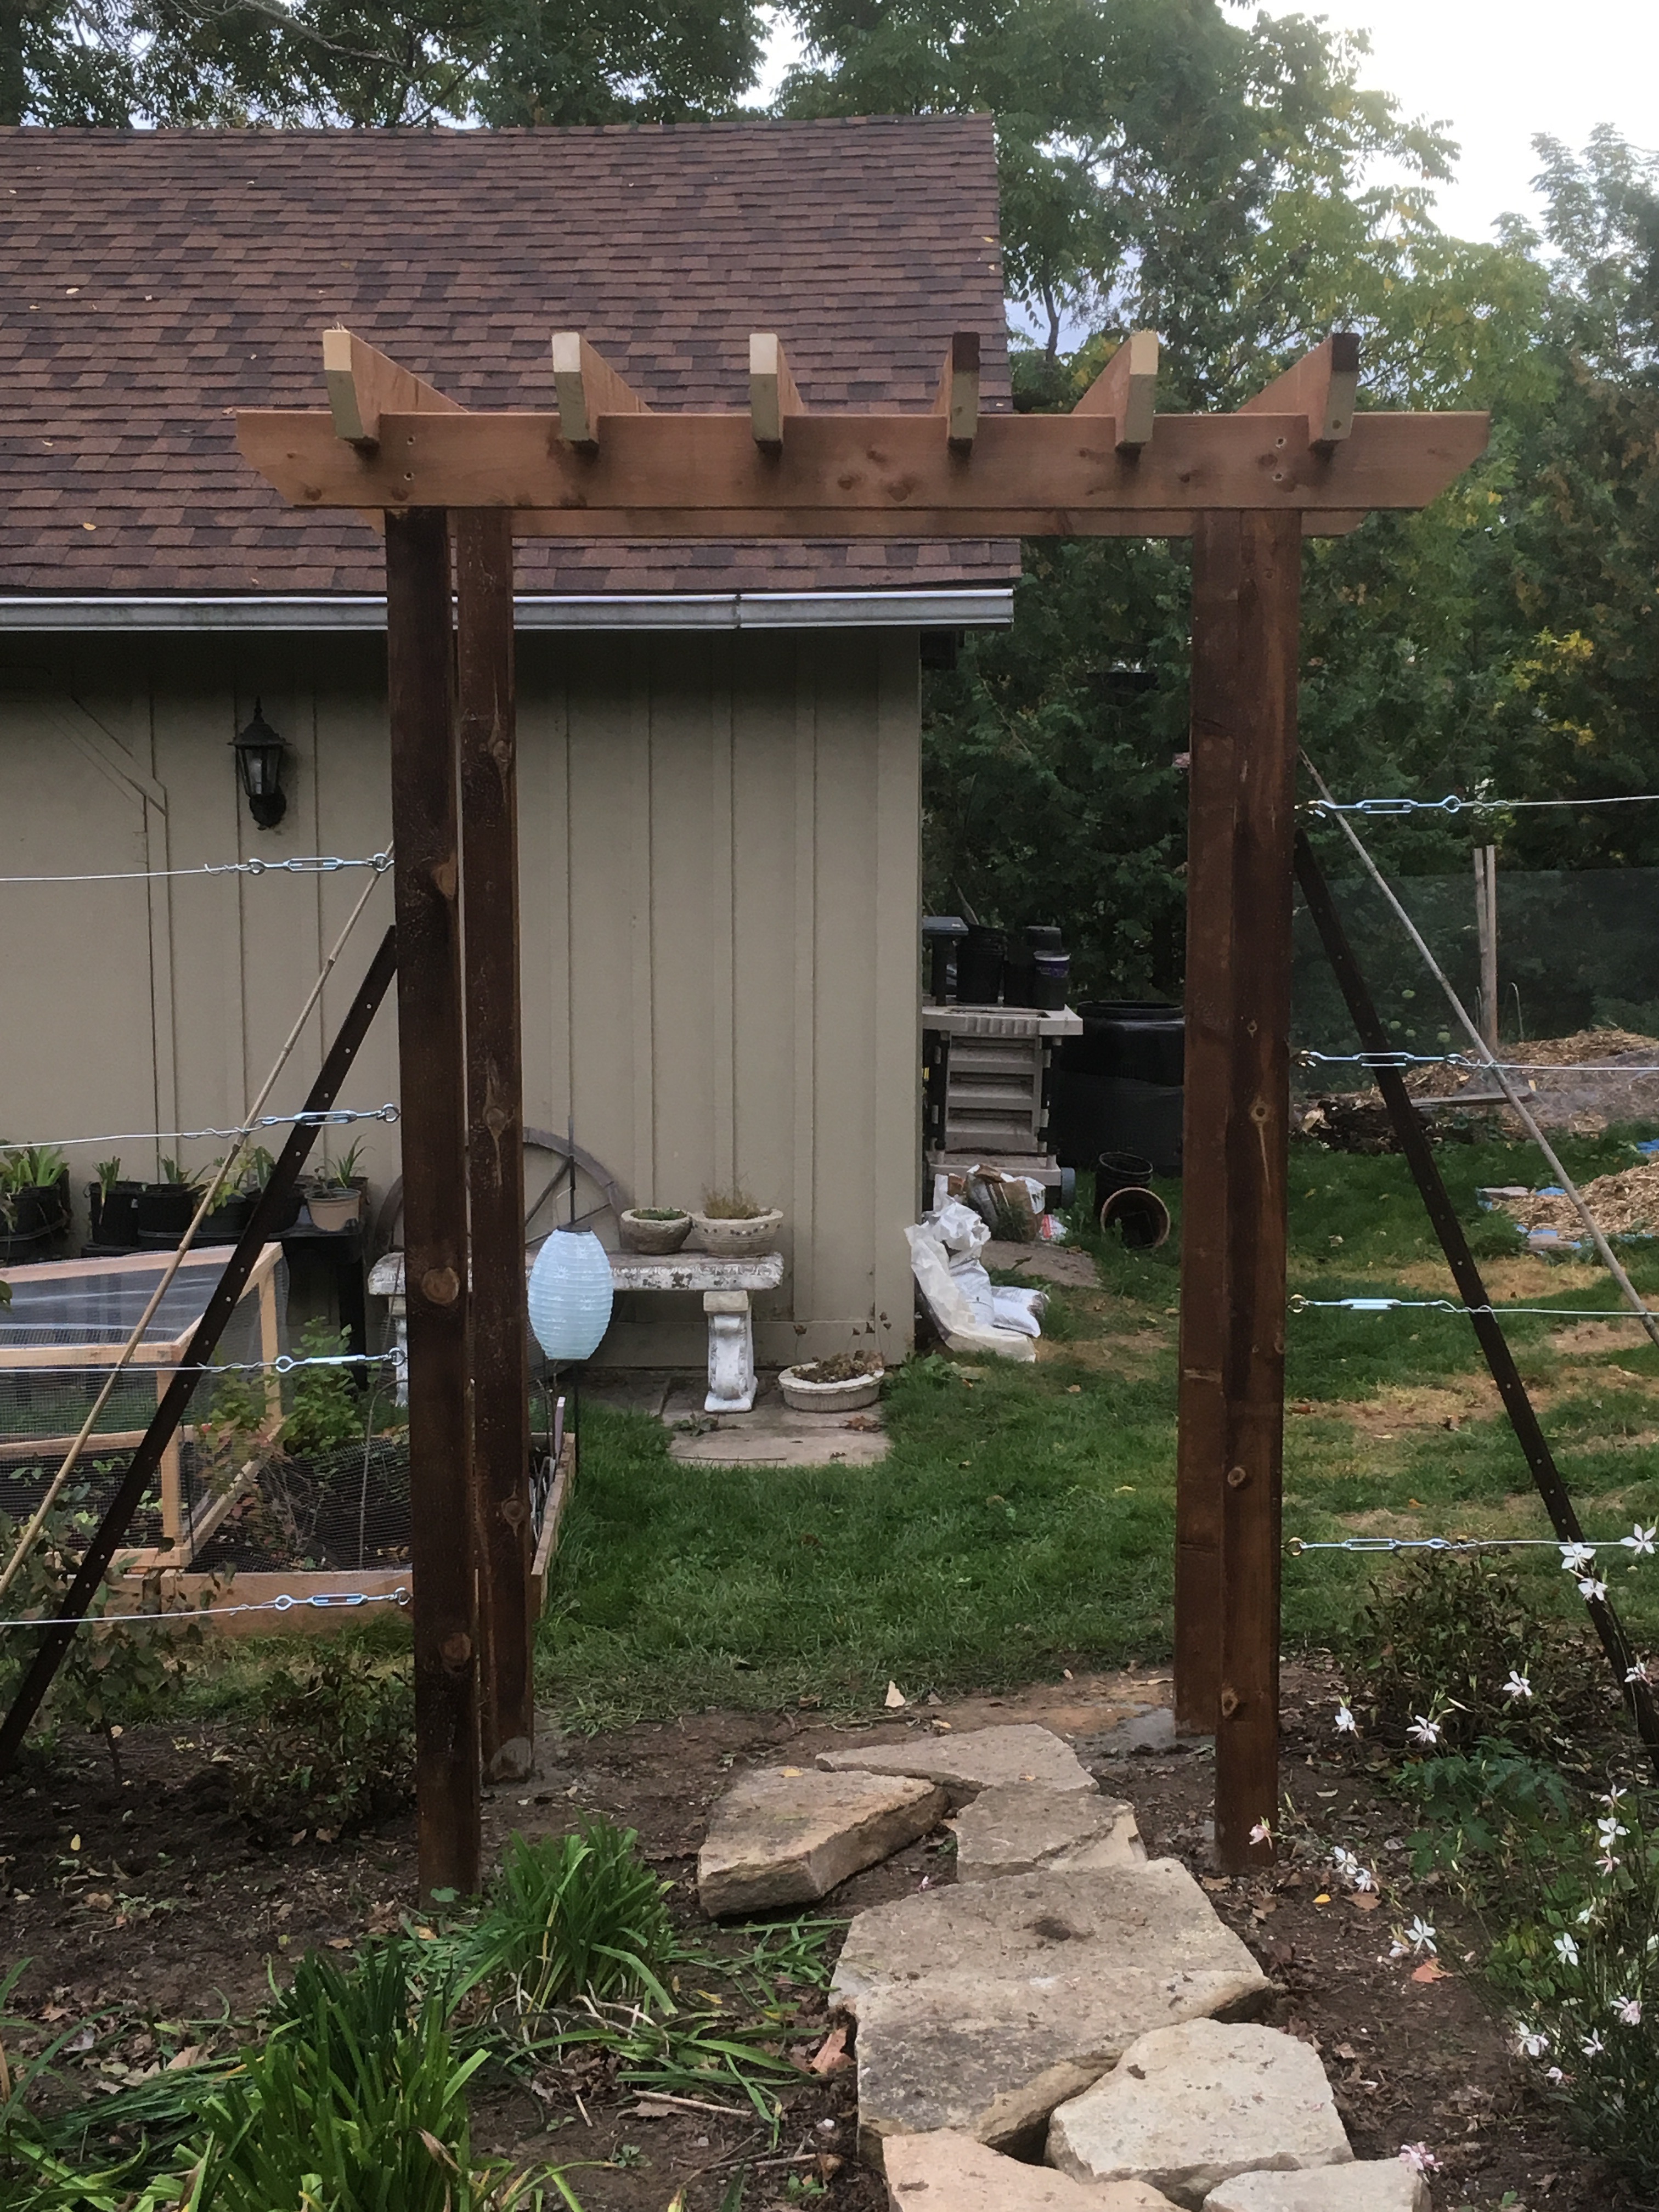
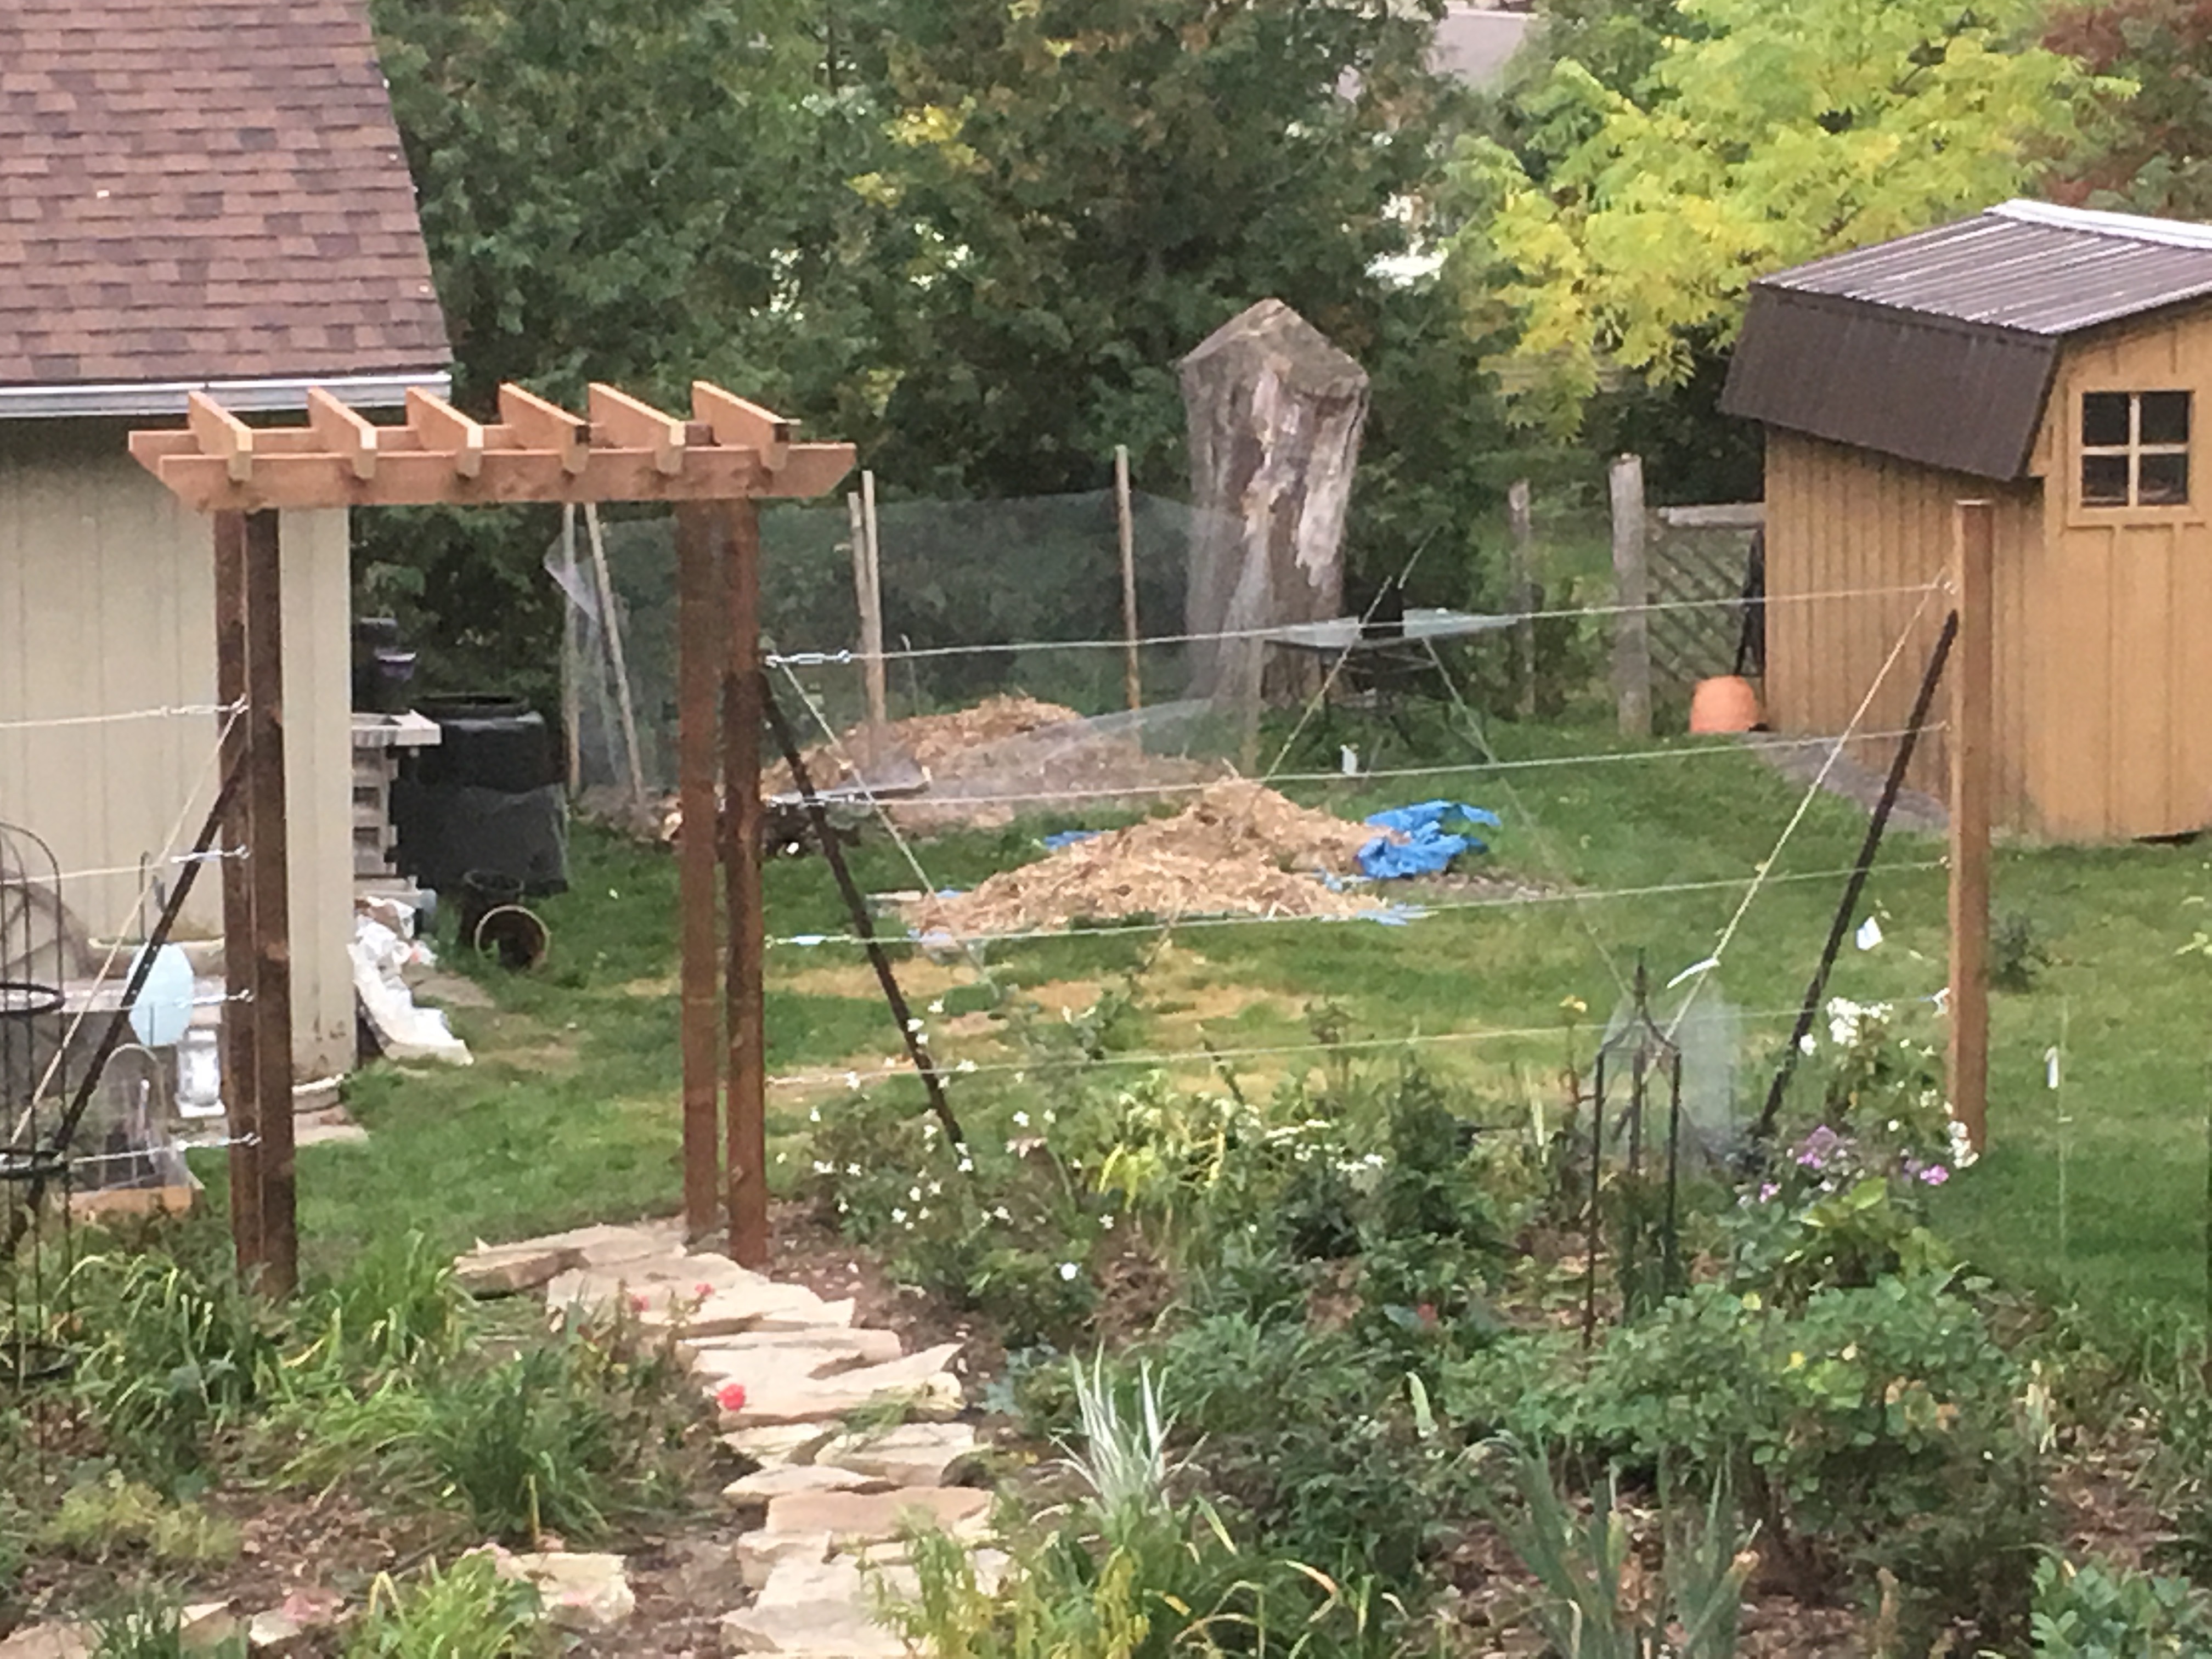
Here’s the completed main arch between two sections of fence.
<div class='imgWrapper imgBlock center' style='width: 80%; '>
</div>
Now the fence is up it’s just a minor matter of training the fruit trees to use them.