Garden Shed from a Box
Welcome to the new addition to the garden, a Shed from a Box. Mostly finished.
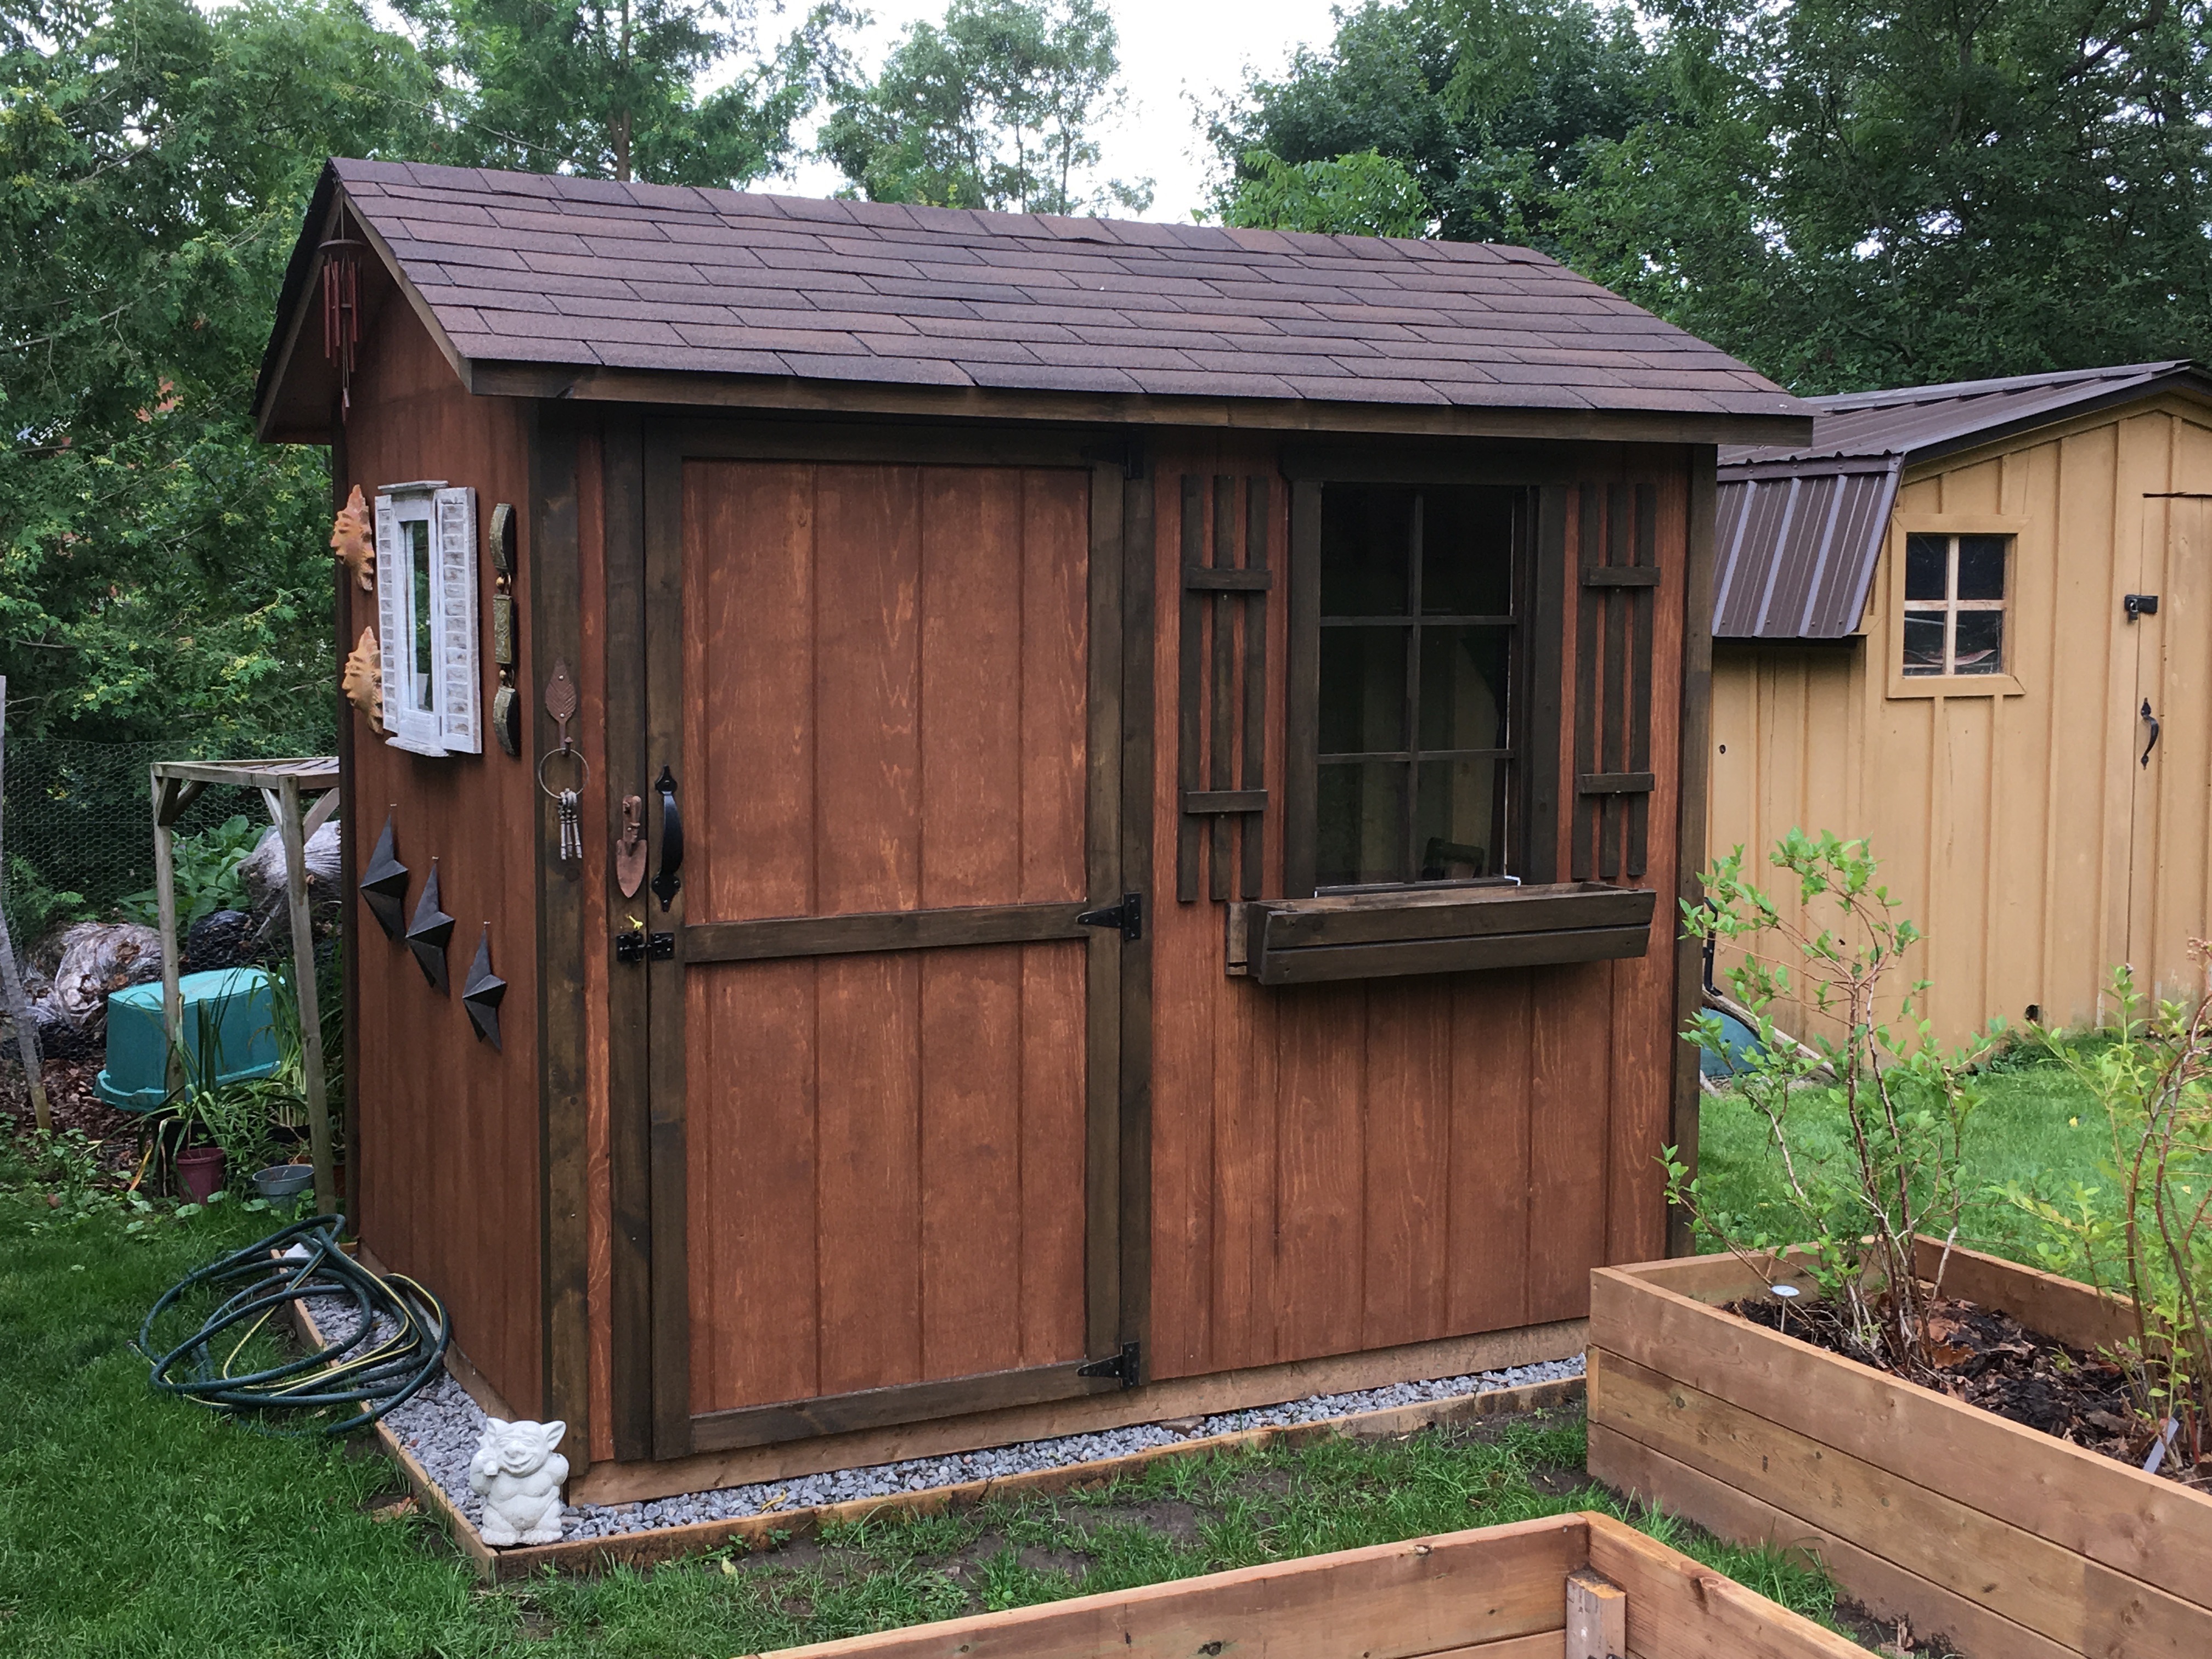
We have a large workshop at the end of the garden but its apparently been difficult for Suzanne and I to agree on how to organize the space inside. The solution? Build a smaller shed just for gardening. Makes perfect sense.
It’s cheaper (in money, not time!) to buy a kit and build it yourself, which we did in the last garden we had as well. The kit comes with everything you need to build the basic frame, you have to add a base, some form of roof tile and paint or stain. We brought ours from a local outlet of Home Hardware, the web site doesn’t have a link to the one we brought, but here’s a similar, but more expensive one.
Base
It all starts with what you put the shed on. The options basically come down to
- Concrete Pad - the best and most expensive
- Gravel - good drainage
- Patio Stones - cheap and cheerful
Originally I was going to go with a concrete pad, but upon further investigation it was going to be a lot of work, more expensive than I thought and did I mention it was a lot of work? So gravel it was.
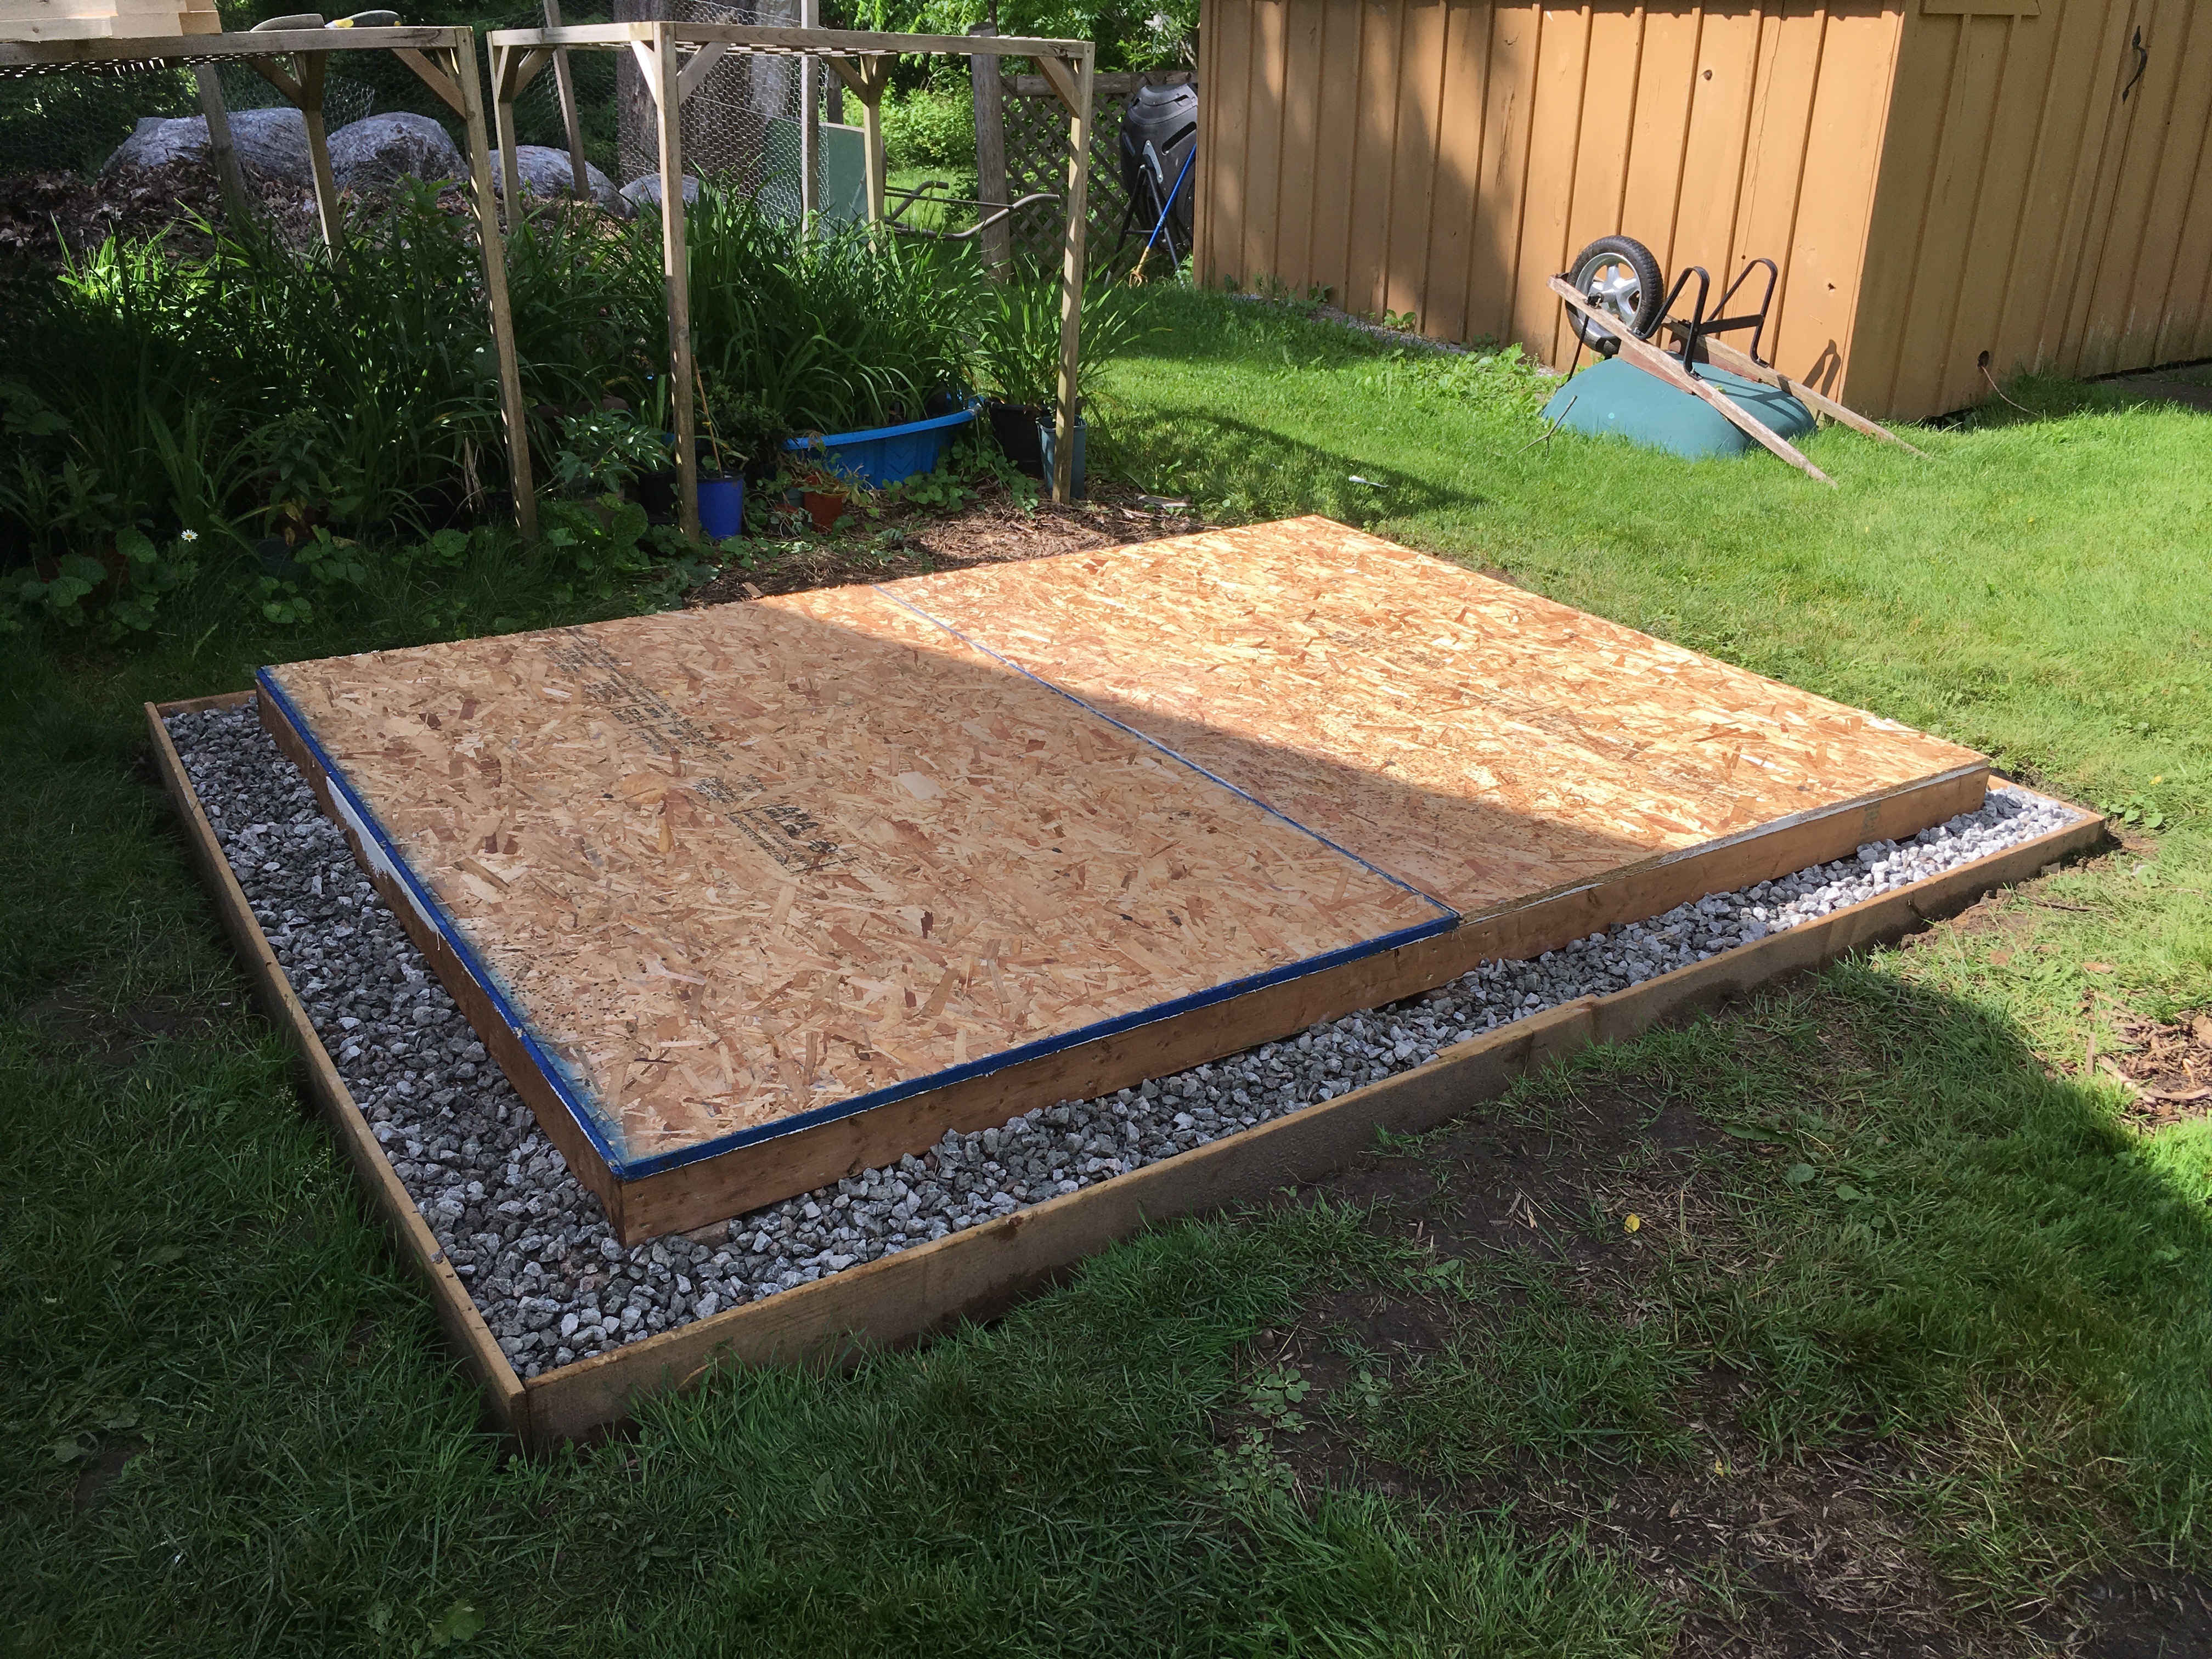
I dug out about 4” deep, used some 1”x6” as a frame and lined it with thick landscaping material. Because the ground was uneven, I ended resting the frame on some small patio stones to help with the levelling. Then it was just a matter of getting some 3/4” gravel delivered to the front of the house and using the trusty wheelbarrow to get it down to the back of the house. Repeat.
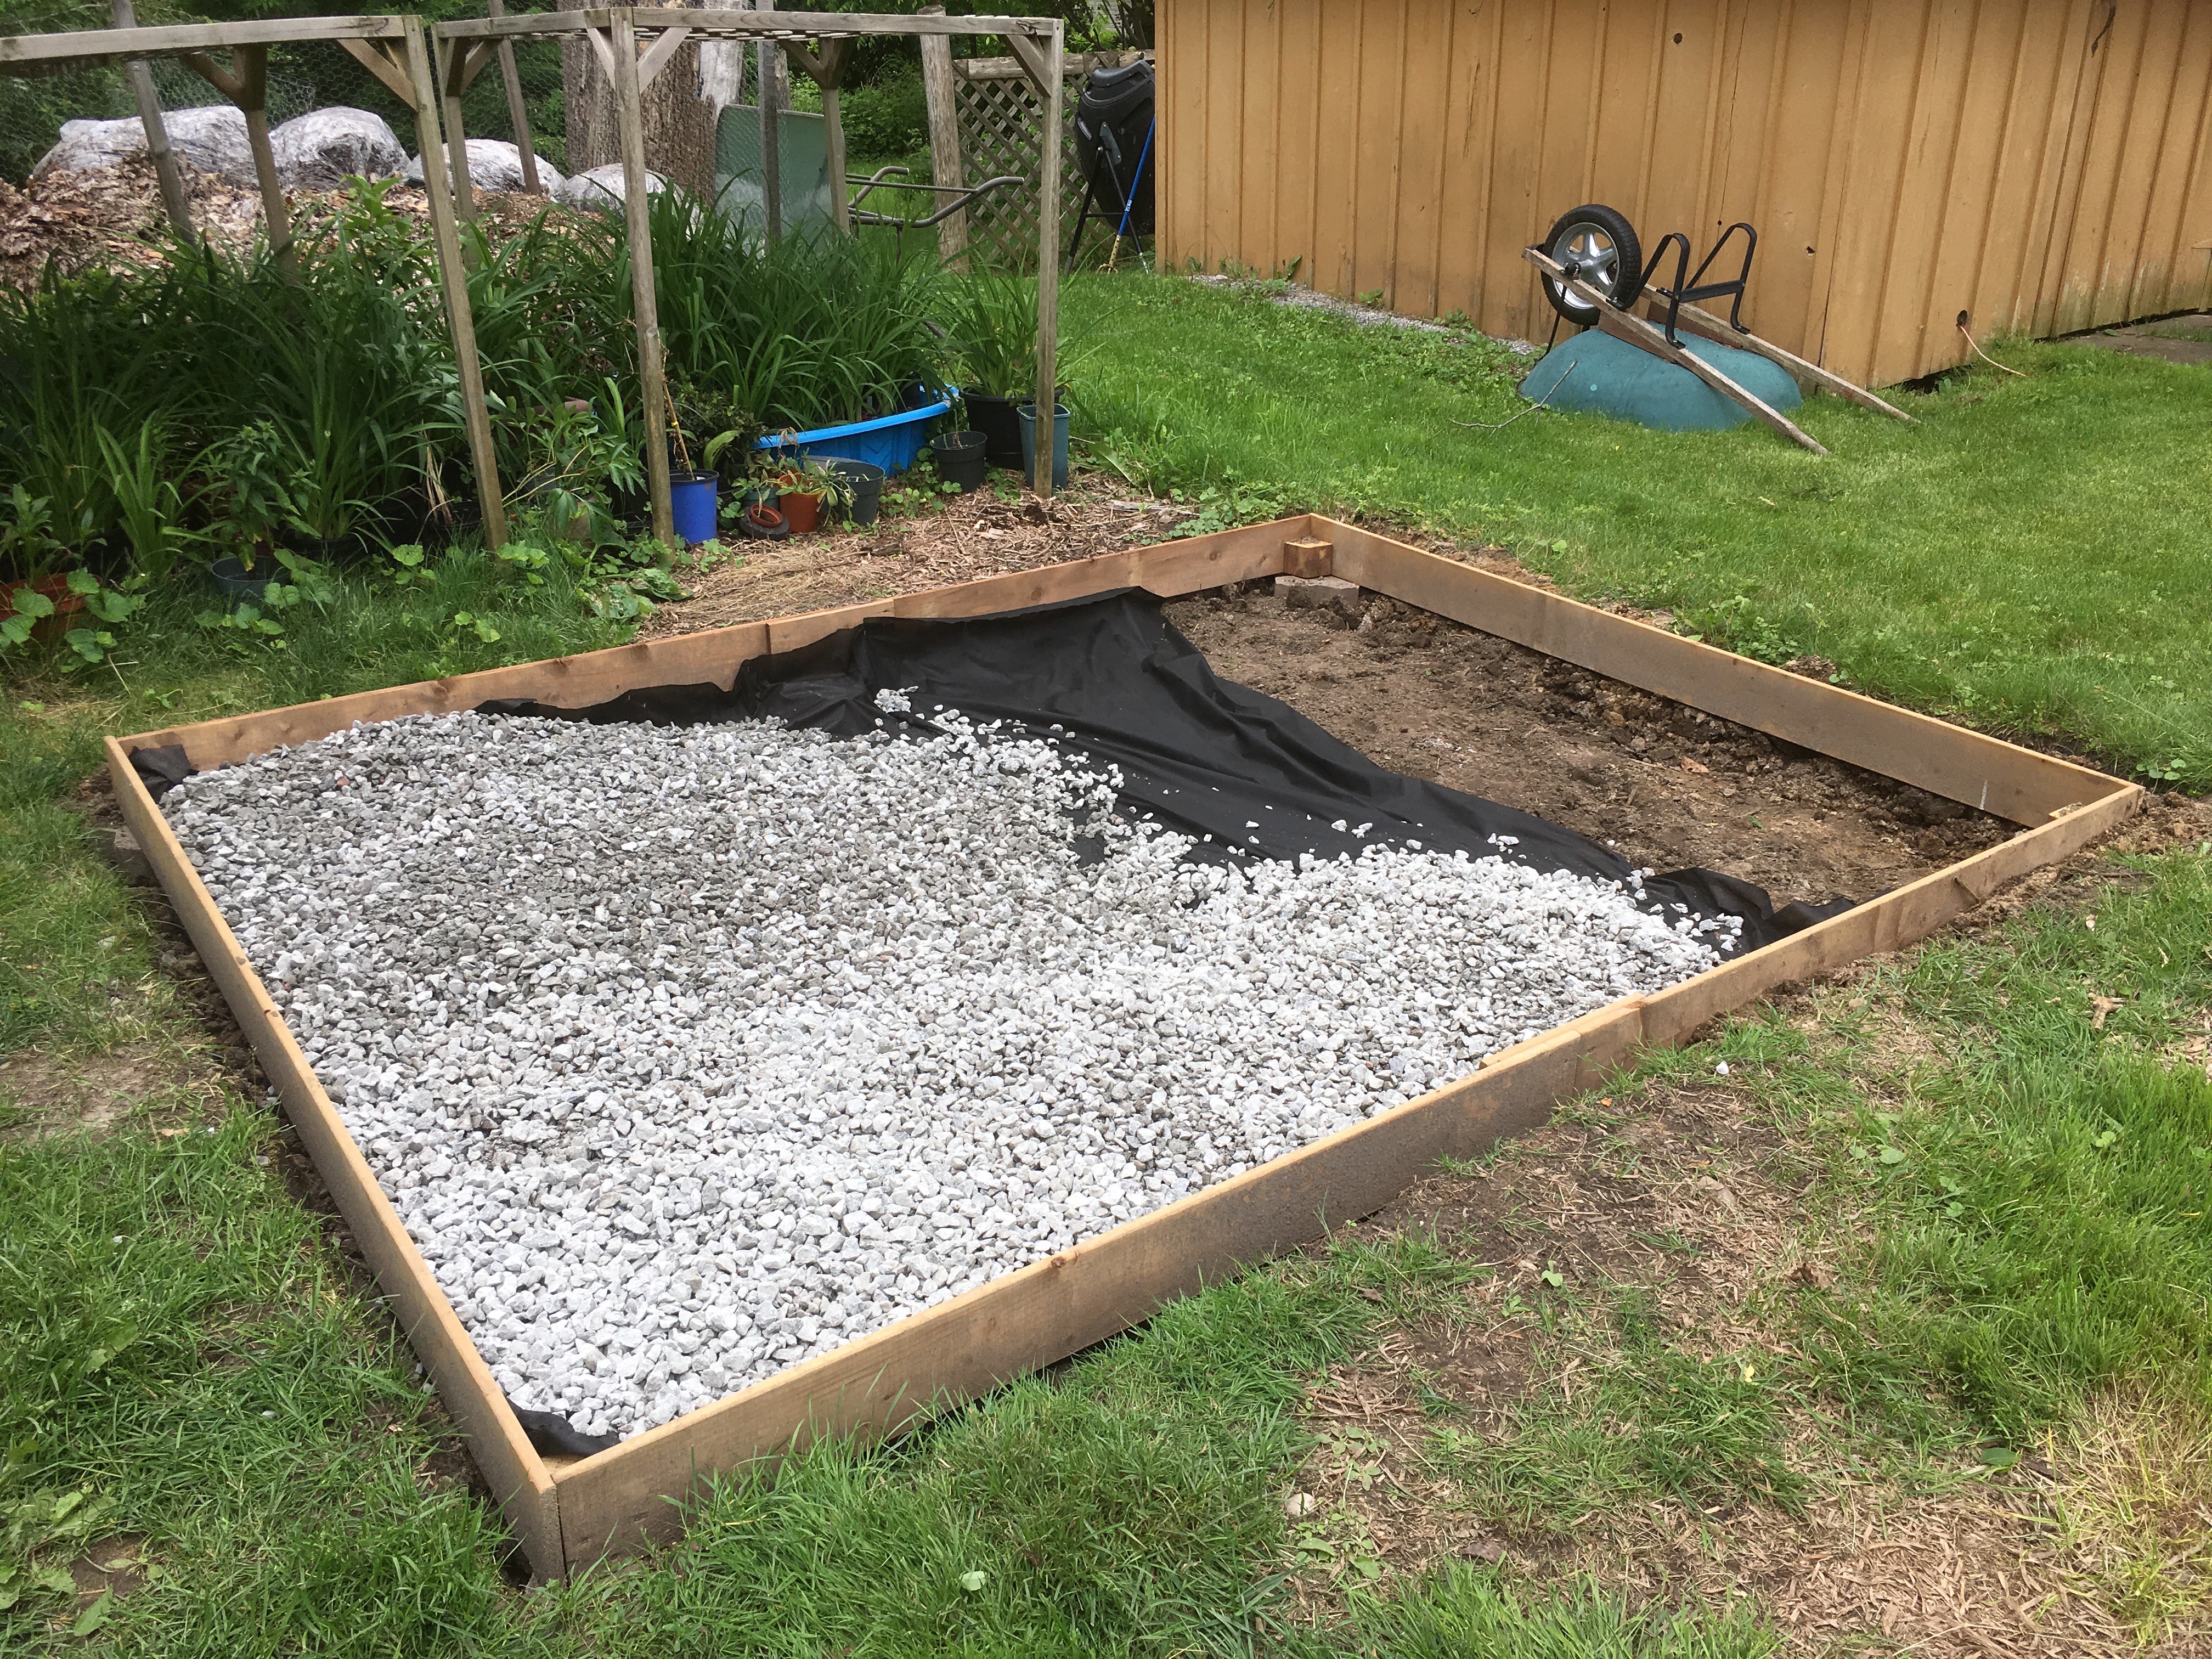
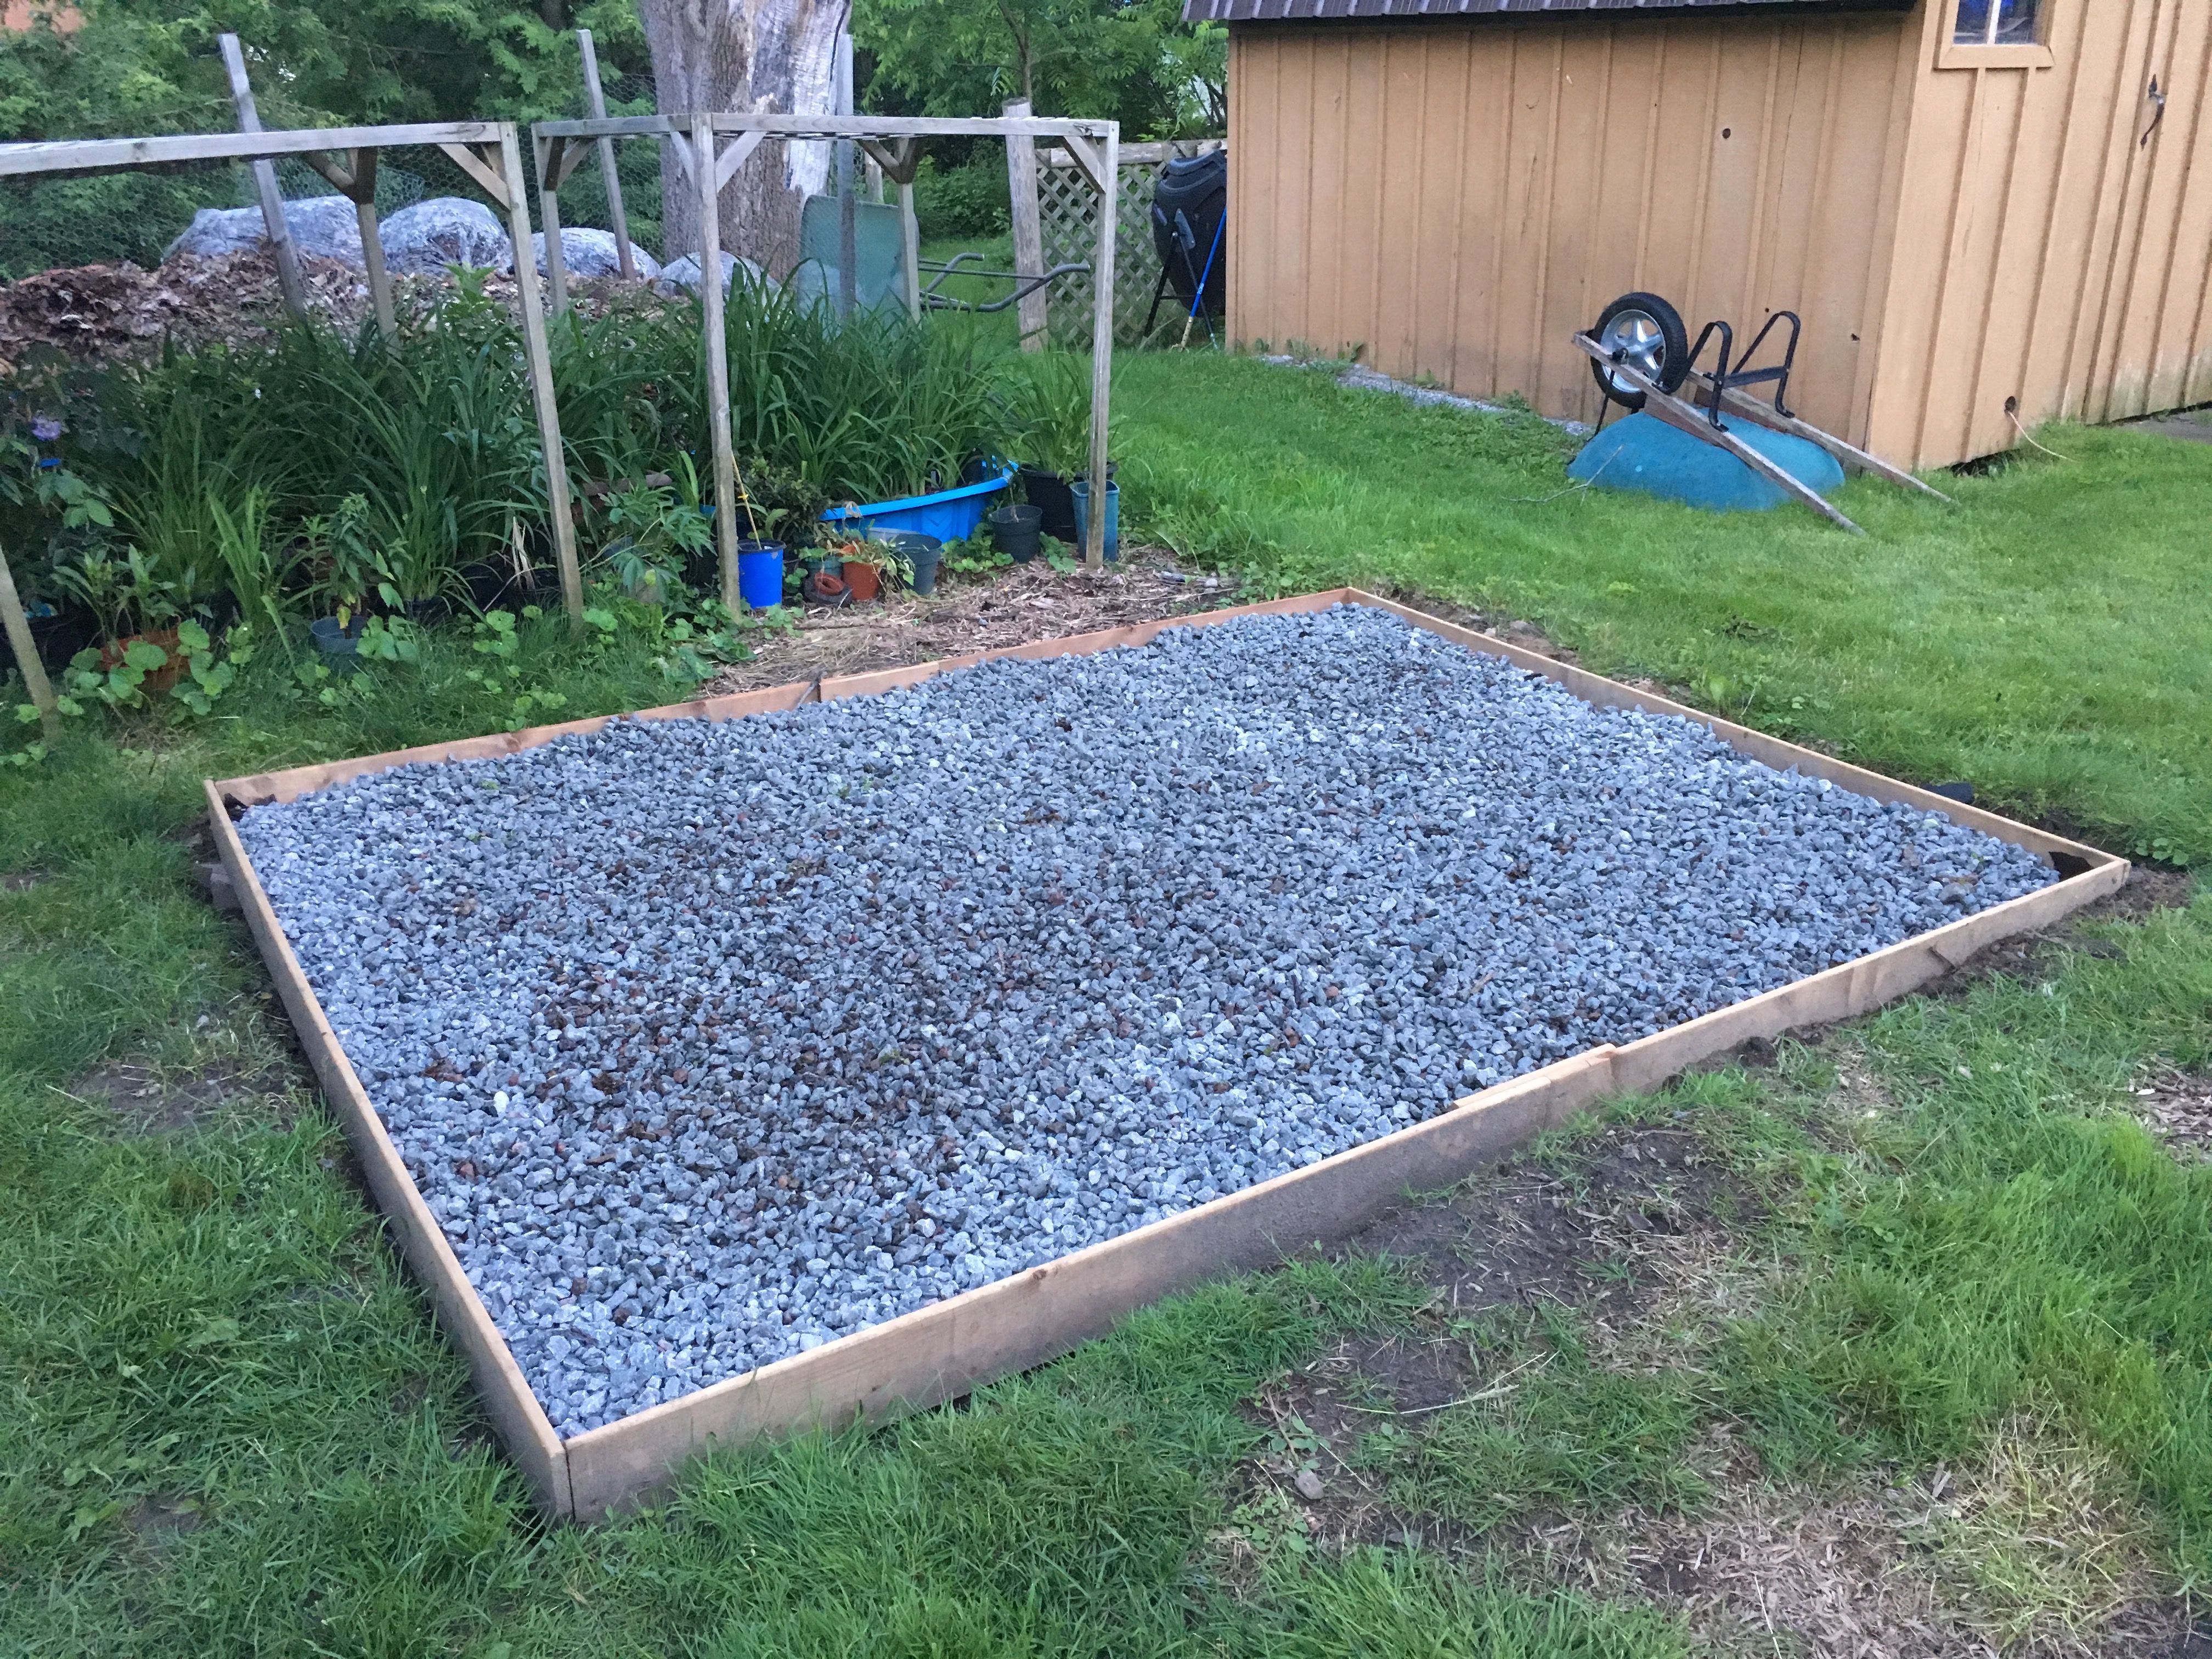
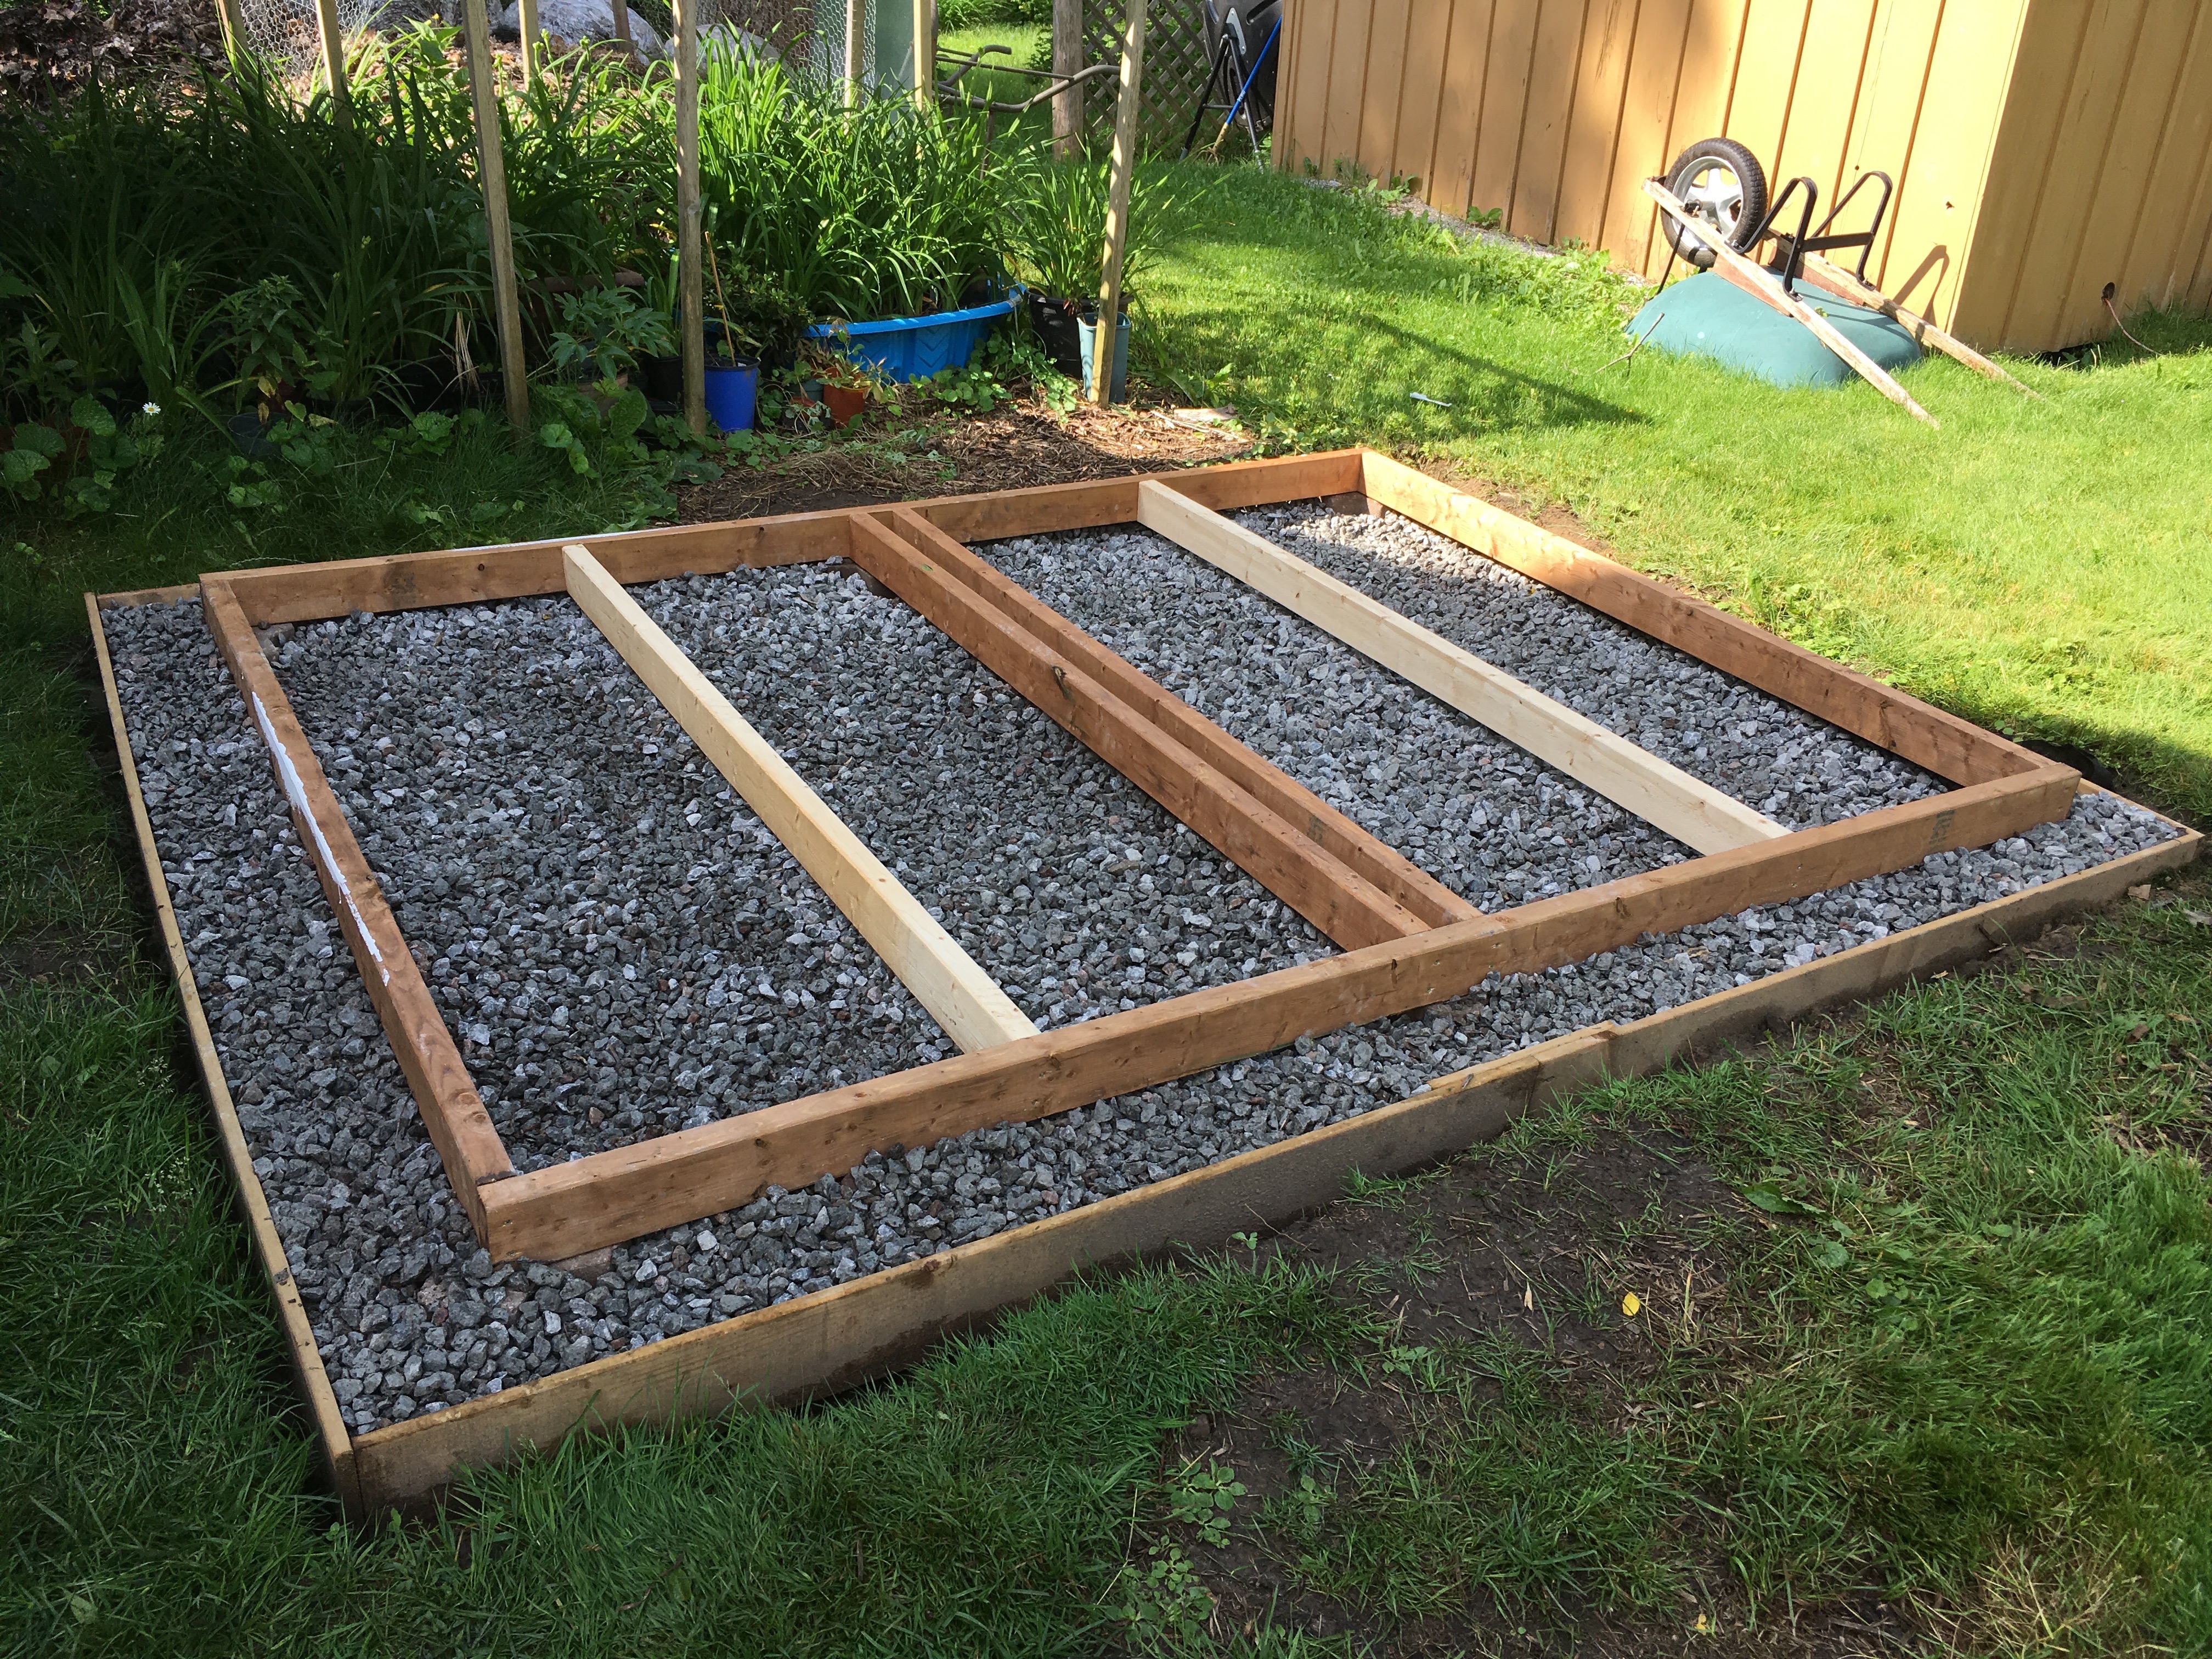
That’s not too bad, should be good drainage. Next up, the shed needs to be a few inches off the ground. We get snow every winter so that’s important so the shed floor is not sitting on snow for months on end getting wet. I screwed up a bit here by guessing what the floor should look like before actually doing any research; like looking in the instruction booklet you get with the shed. <div class='imgWrapper imgBlock center' style='width: 80%; '>
</div>
I used treated 2x4 to make the base but the gaps were far too wide, the floor would have sagged. Of course, I didn’t have any more treated wood on hand so added in some support with untreated 2x4s. Don’t do this. It will eventually mean I have to replace the floor when it rots.
Finally some 3/4” OSB to finish the floor.
Box
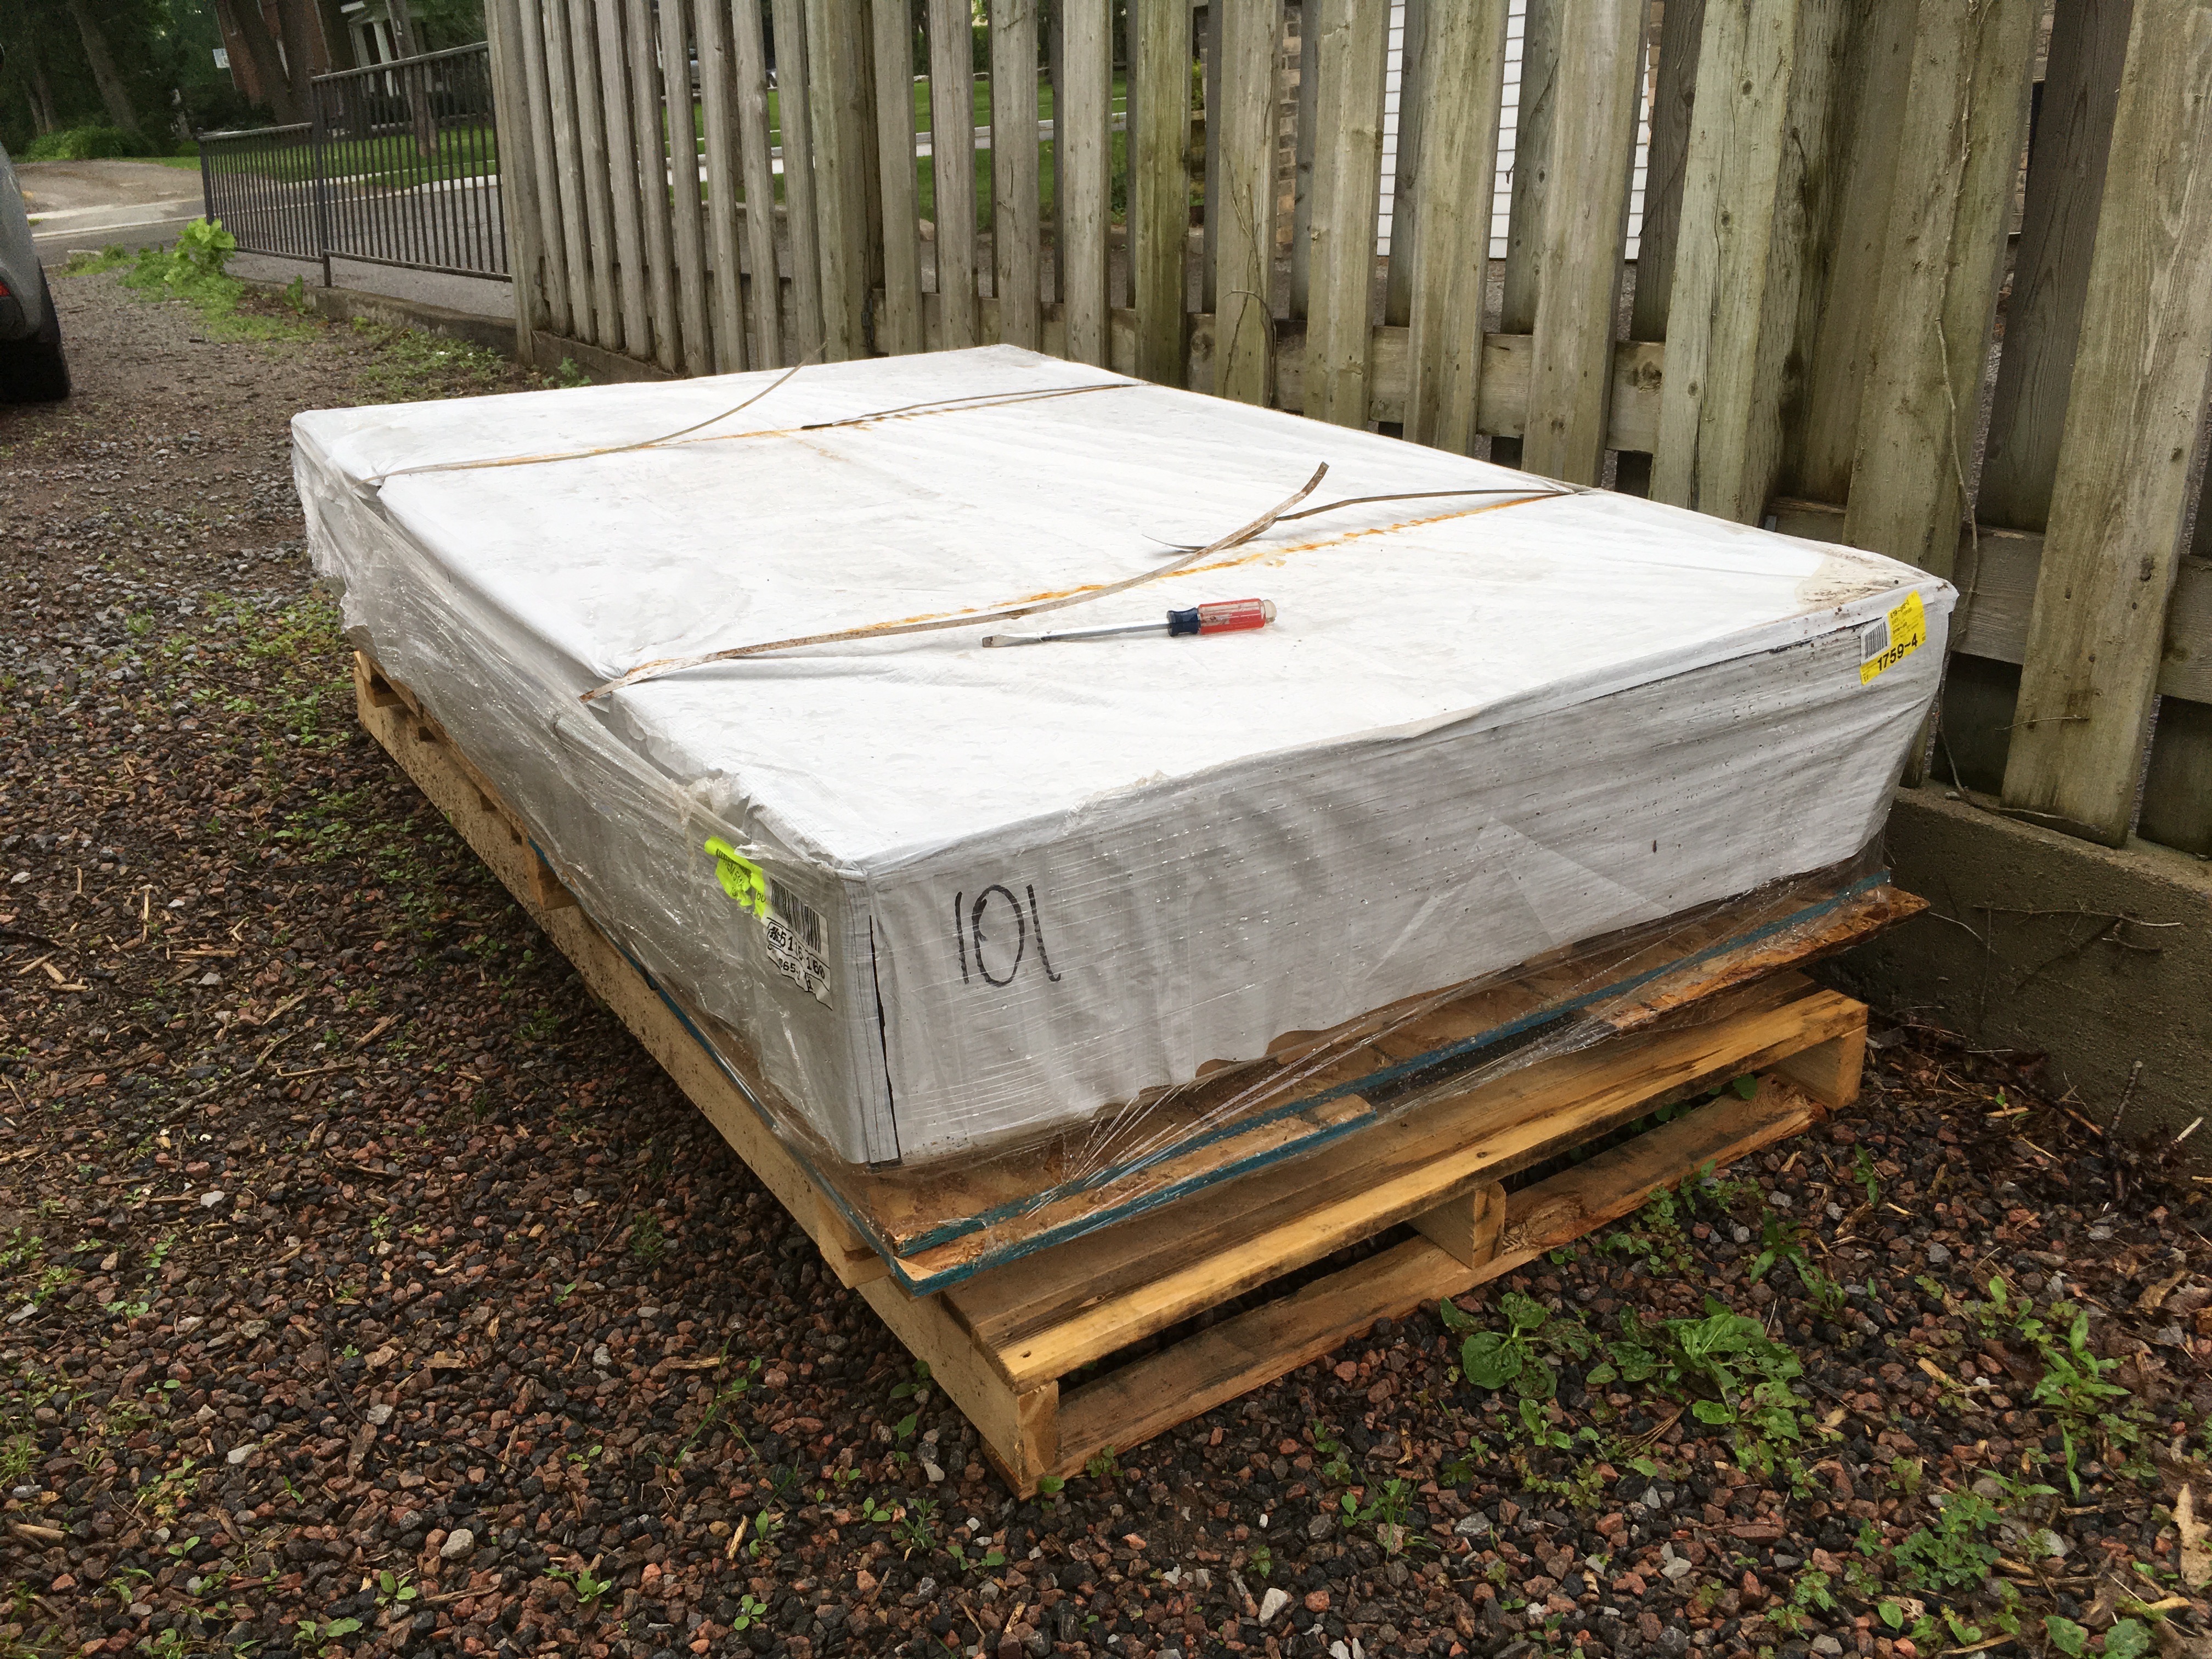
And here’s the star of the show, the Box with the shed in. This is how it gets delivered. Underneath that covering you’ll find
- Panels for the roof
- Precut panels for the sides
- Lots of 2x4
- Screws, nails, hinges
- Instructions
Sides
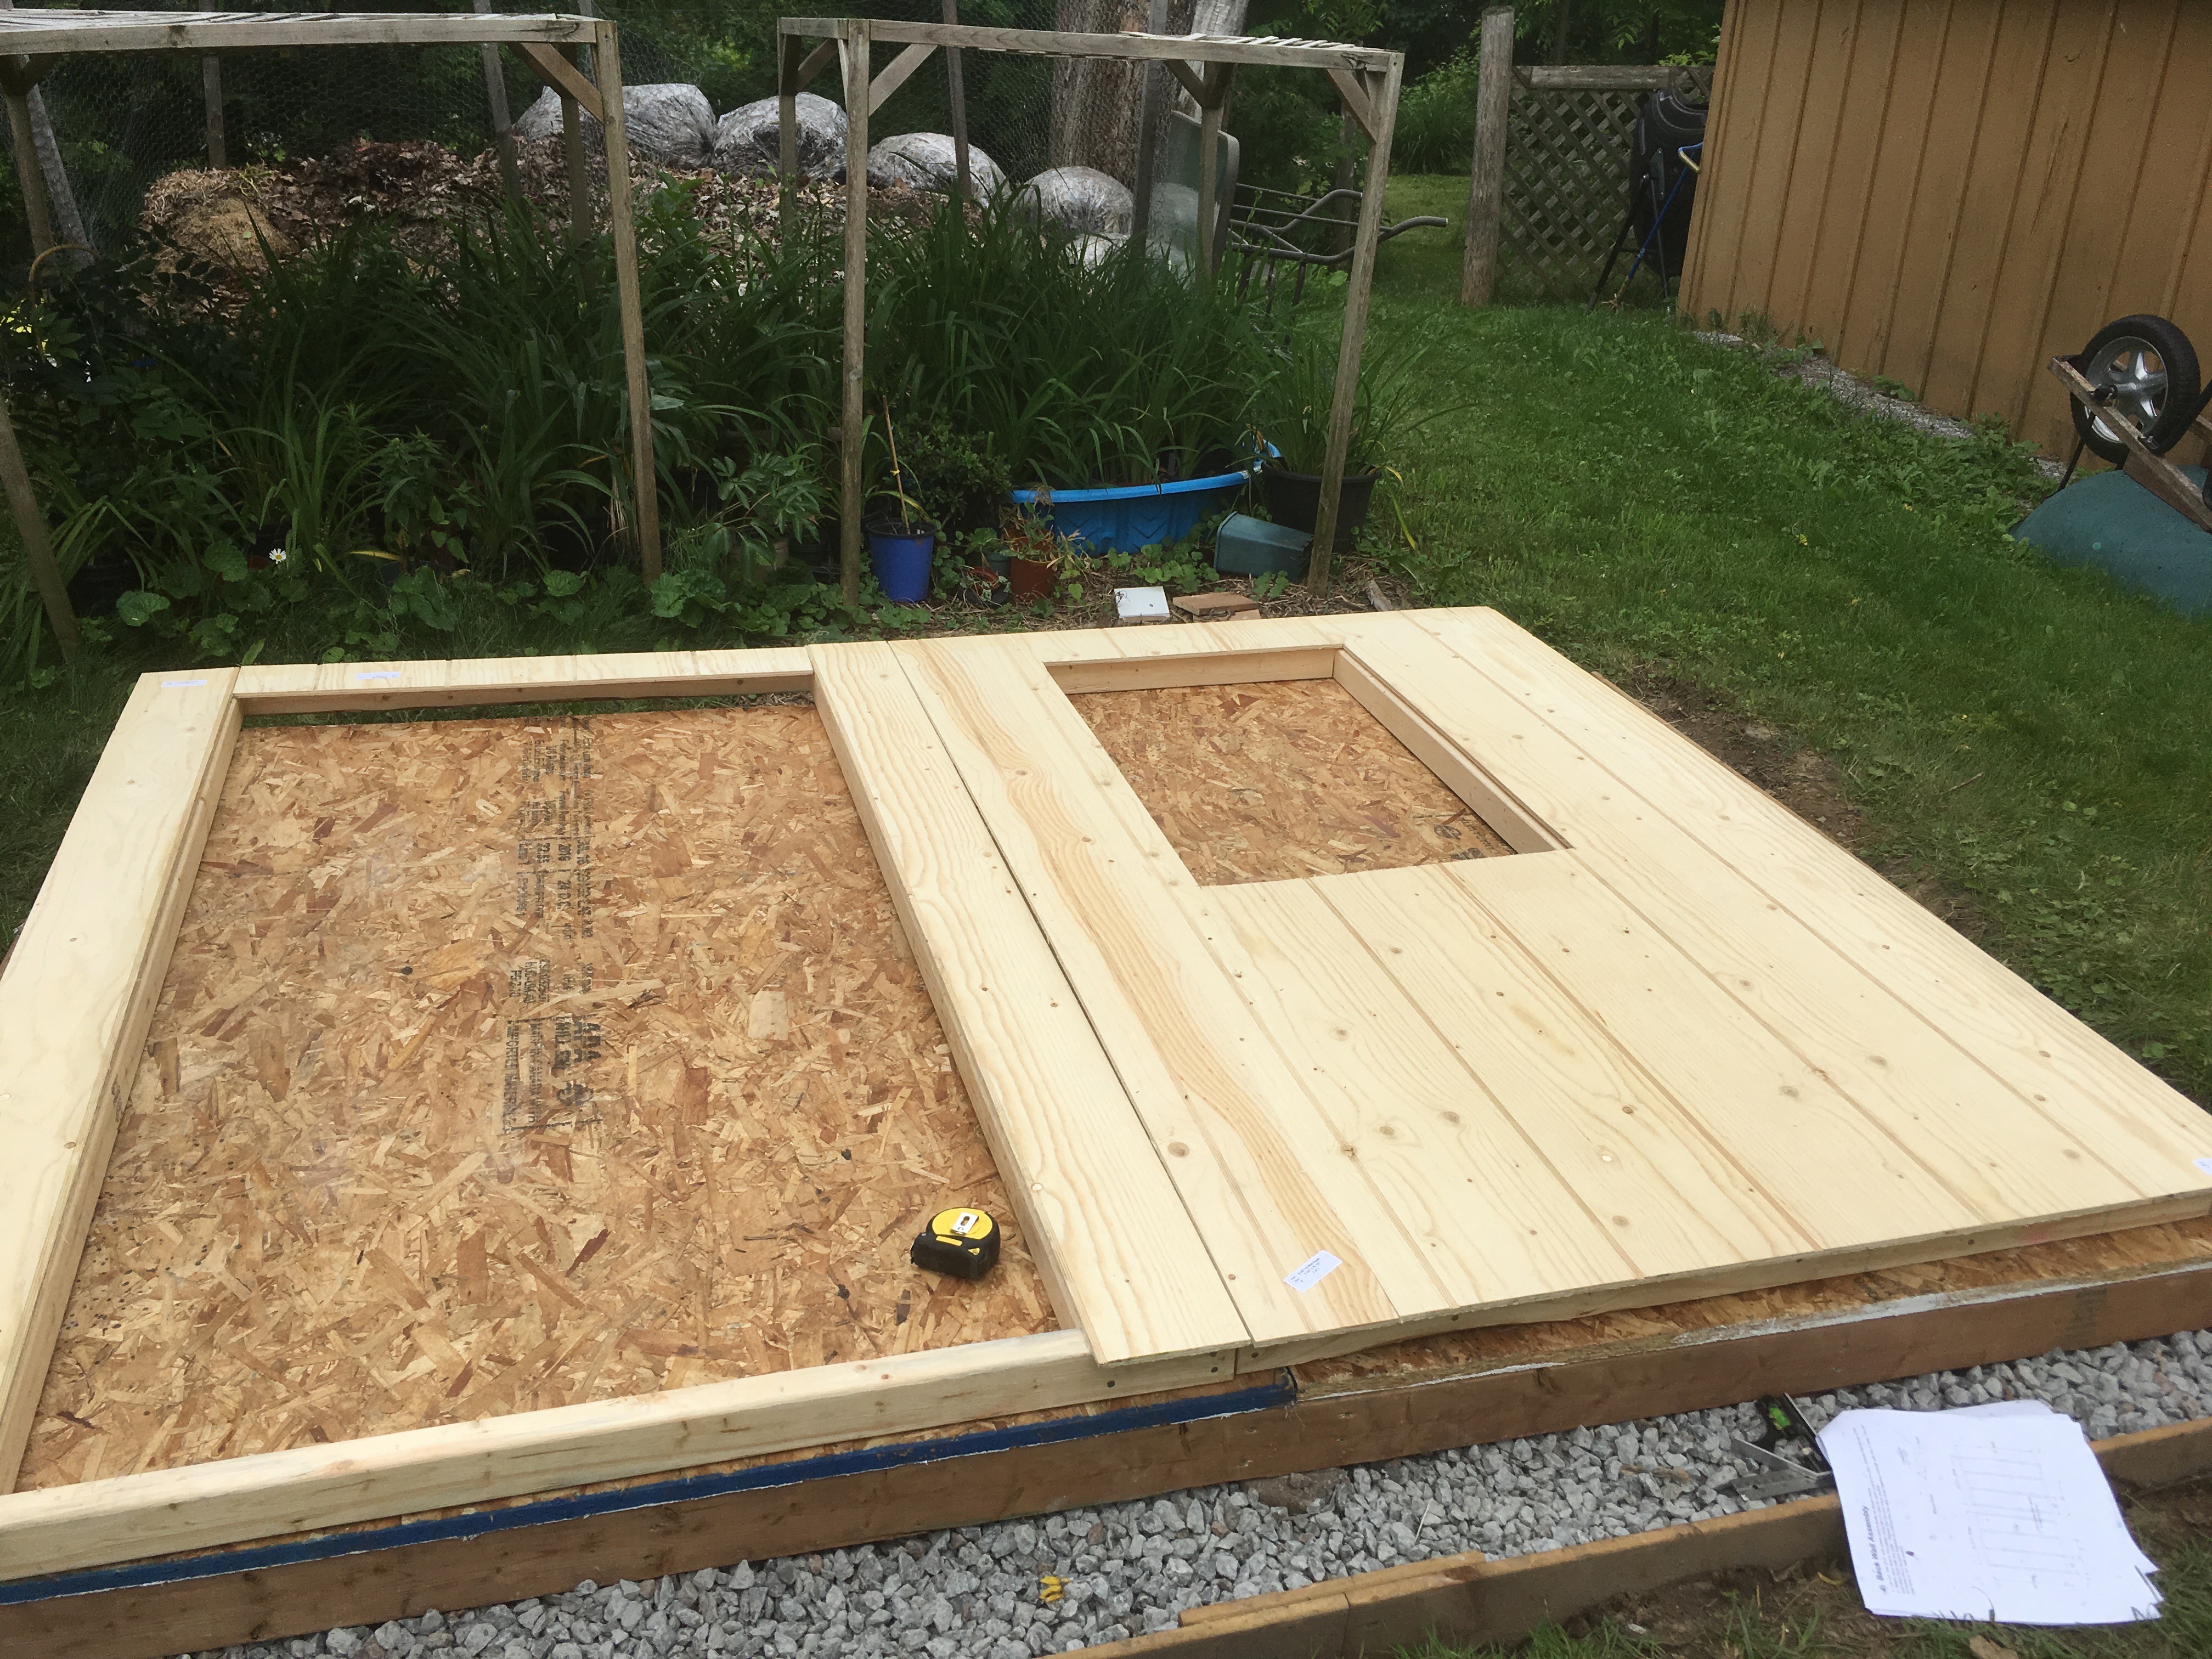
Not many pictures where taken of this process, but I can summarize it simply with: find right bits of wood; lay down on the floor; use a large hammer to bang in many, many nails. Repeat. My top tip for this bit is to wear ear defenders. You might have strong ears that can withstand the noise of a thousand hammer heads hitting a thousand nails; but my ears gave up very early on and started to ring. <div class='imgWrapper imgBlock center' style='width: 80%; '>
</div>
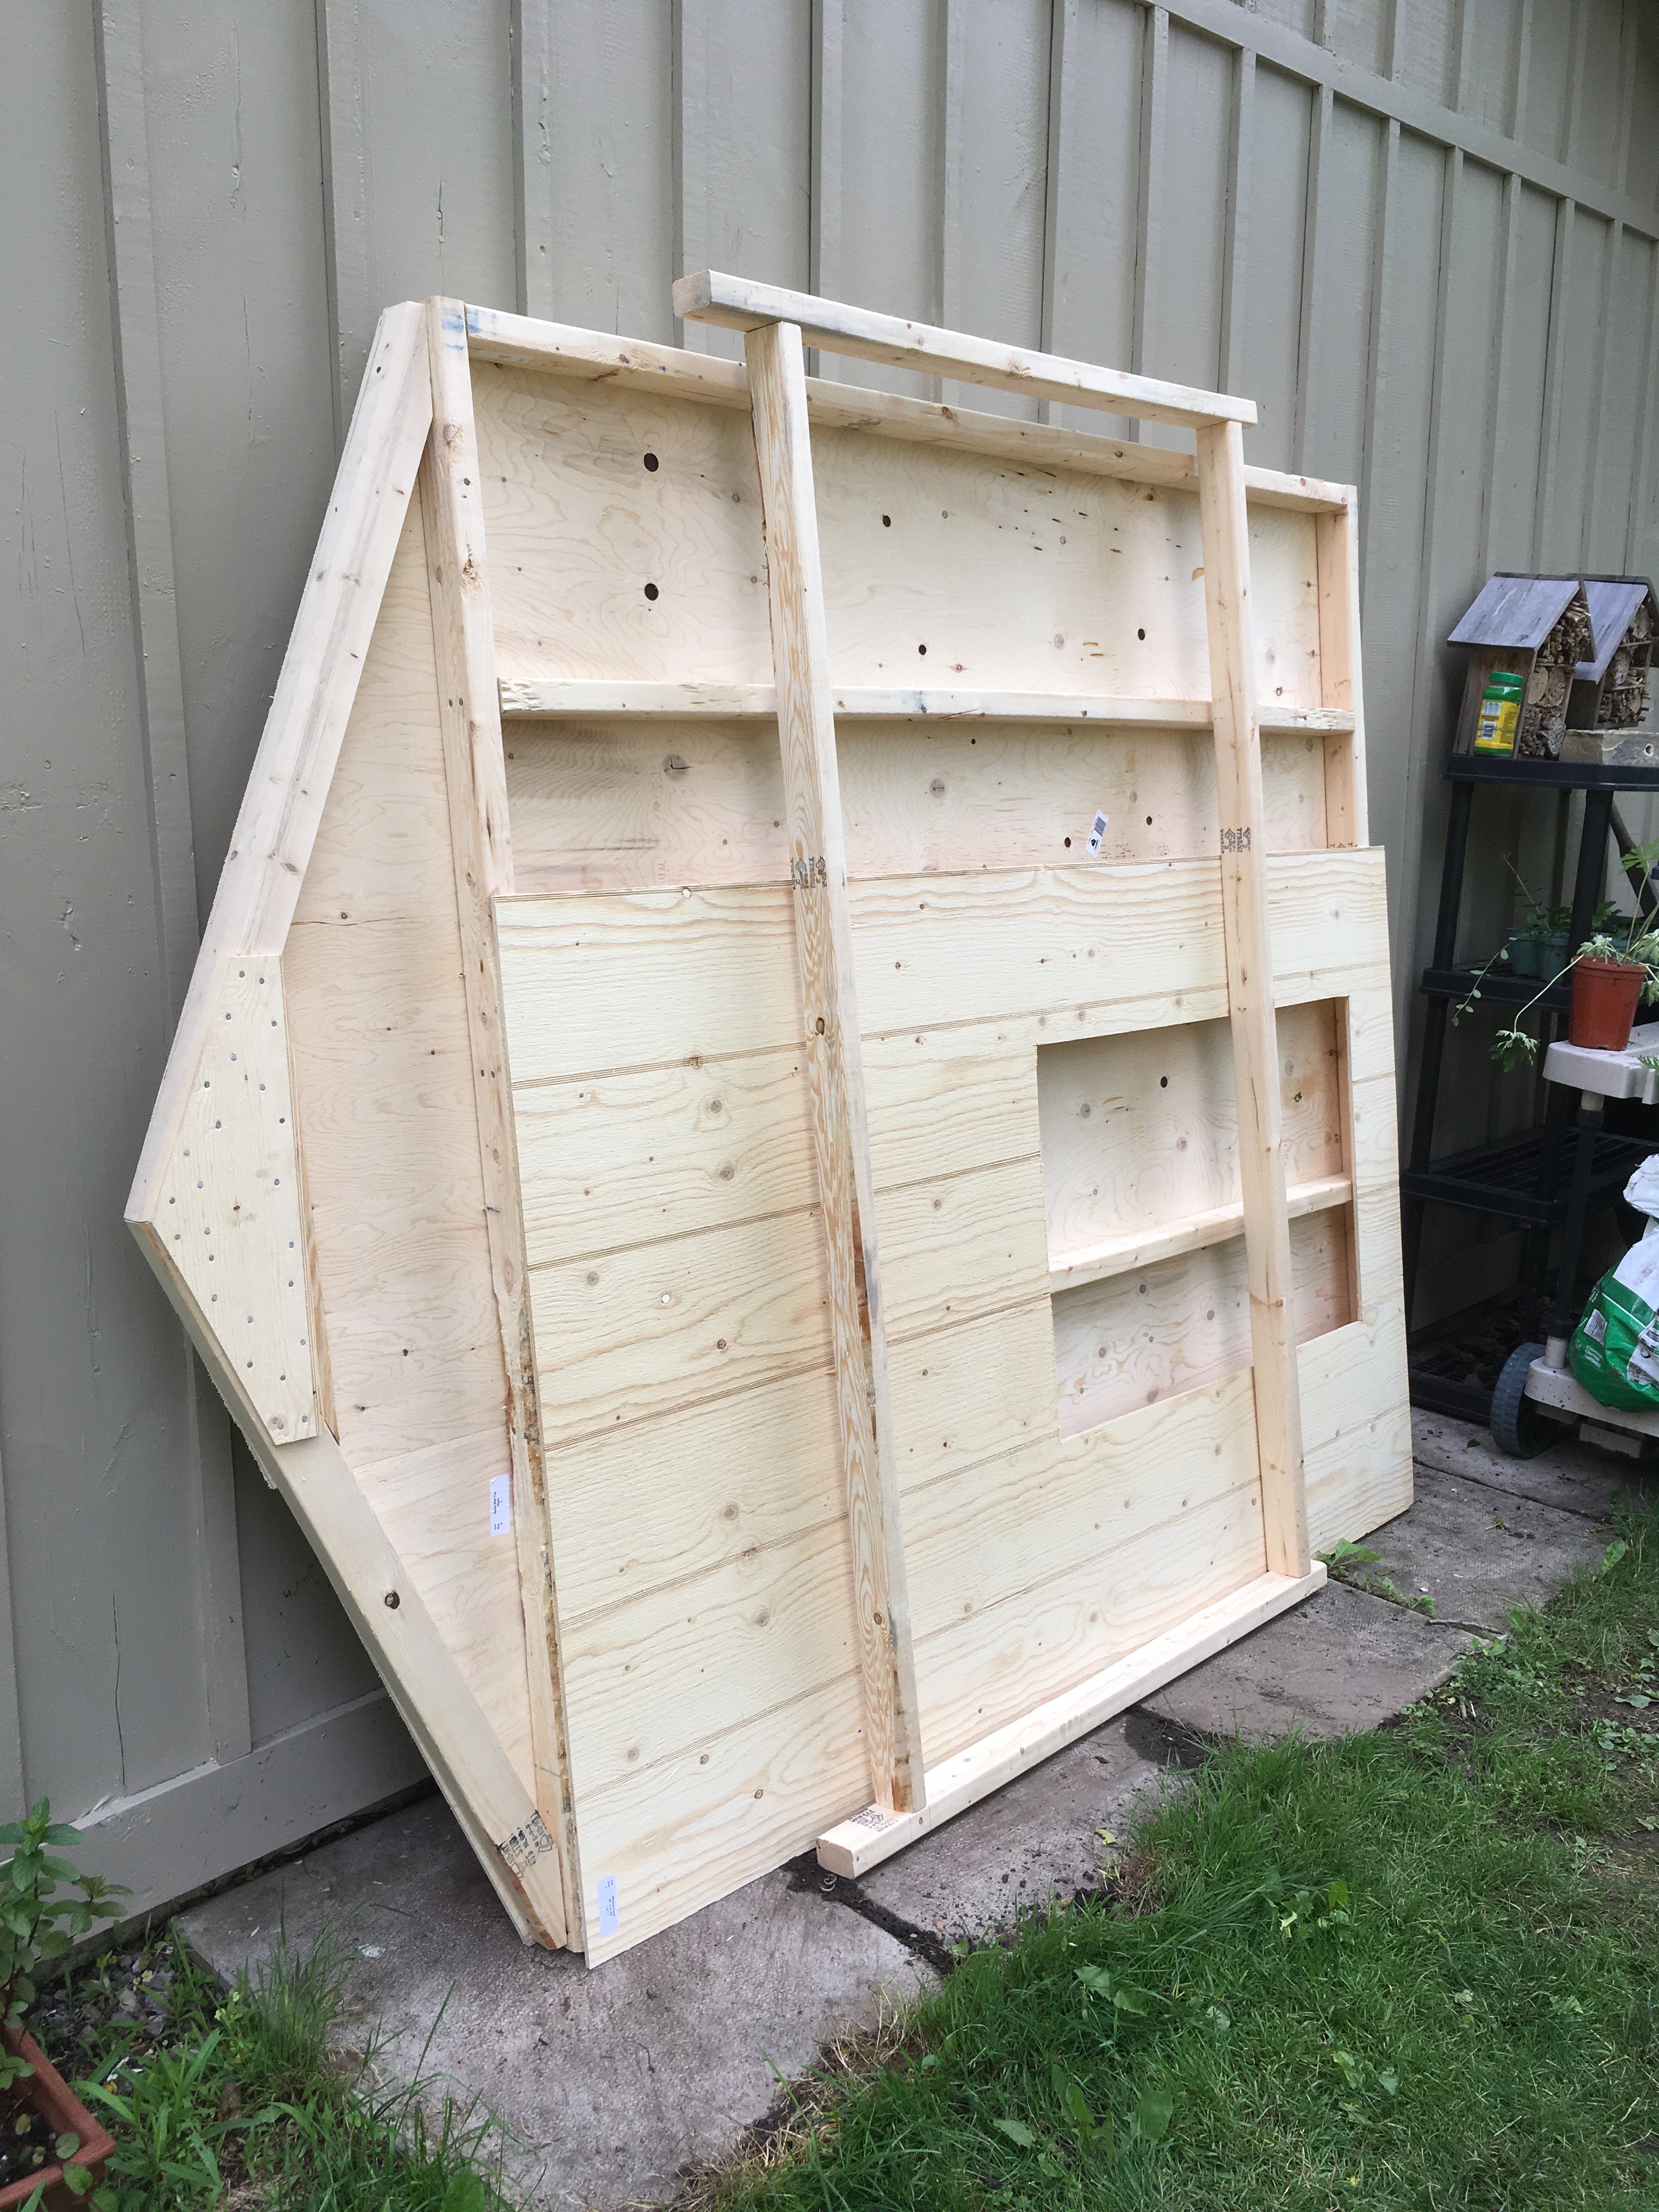
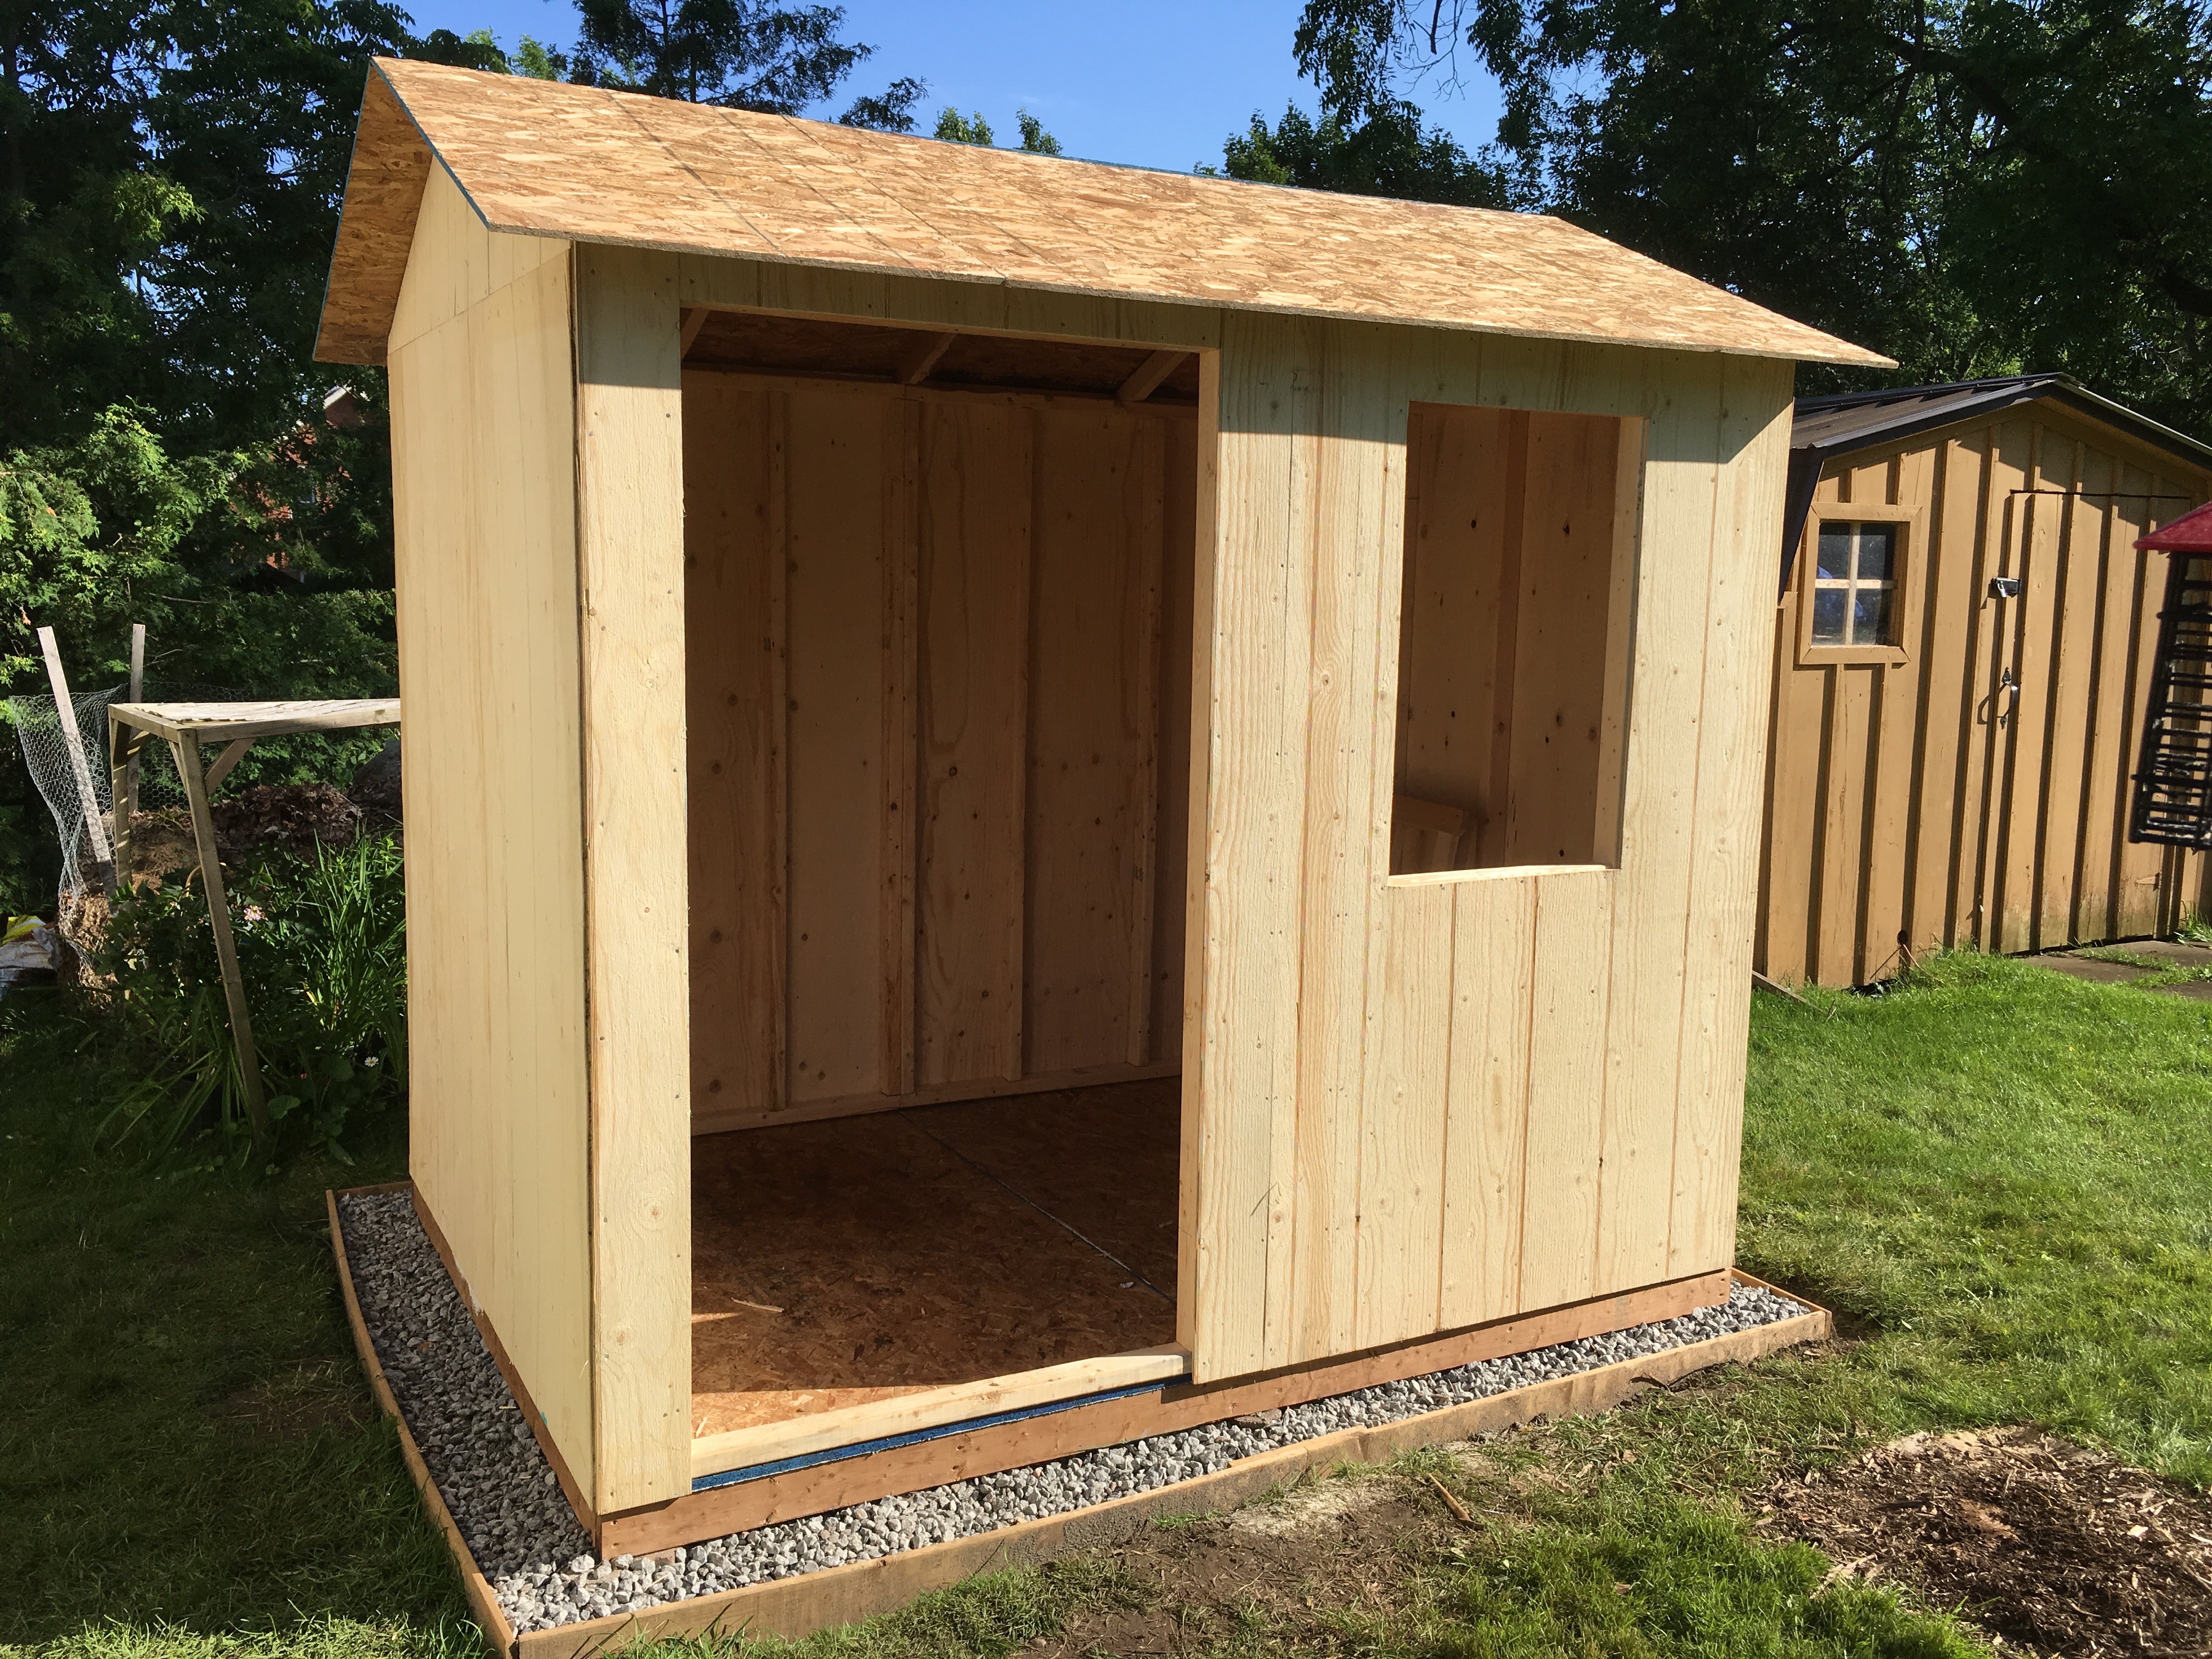
This part was slightly complicated by the fact we wanted to swap the door and the window. The kit is designed with the window on the left and door on the right; but for our garden we wanted door on the left, window on the right. Since all the pieces were pre-cut this meant mentally reversing all the instructions for the front face. After all four sides were done, this is where you enlist friends and family to do the assembling. You’ll need a few people to hold a wall up whilst you wander round with a hammer banging in more nails until you end up with something like this. <div class='imgWrapper imgBlock center' style='width: 80%; '>

</div>
Roof
Now it’s starting to look like a shed! One of the first things the instructions have you do is make the roof trusses, which involves, you guessed it, a lot of nails. I knew from the shed I made years ago that it is vitally important to get all the trusses the same, or else the roof line will be wavy. Yes, that earlier shed did have one or two sags in the roof line.
Trim
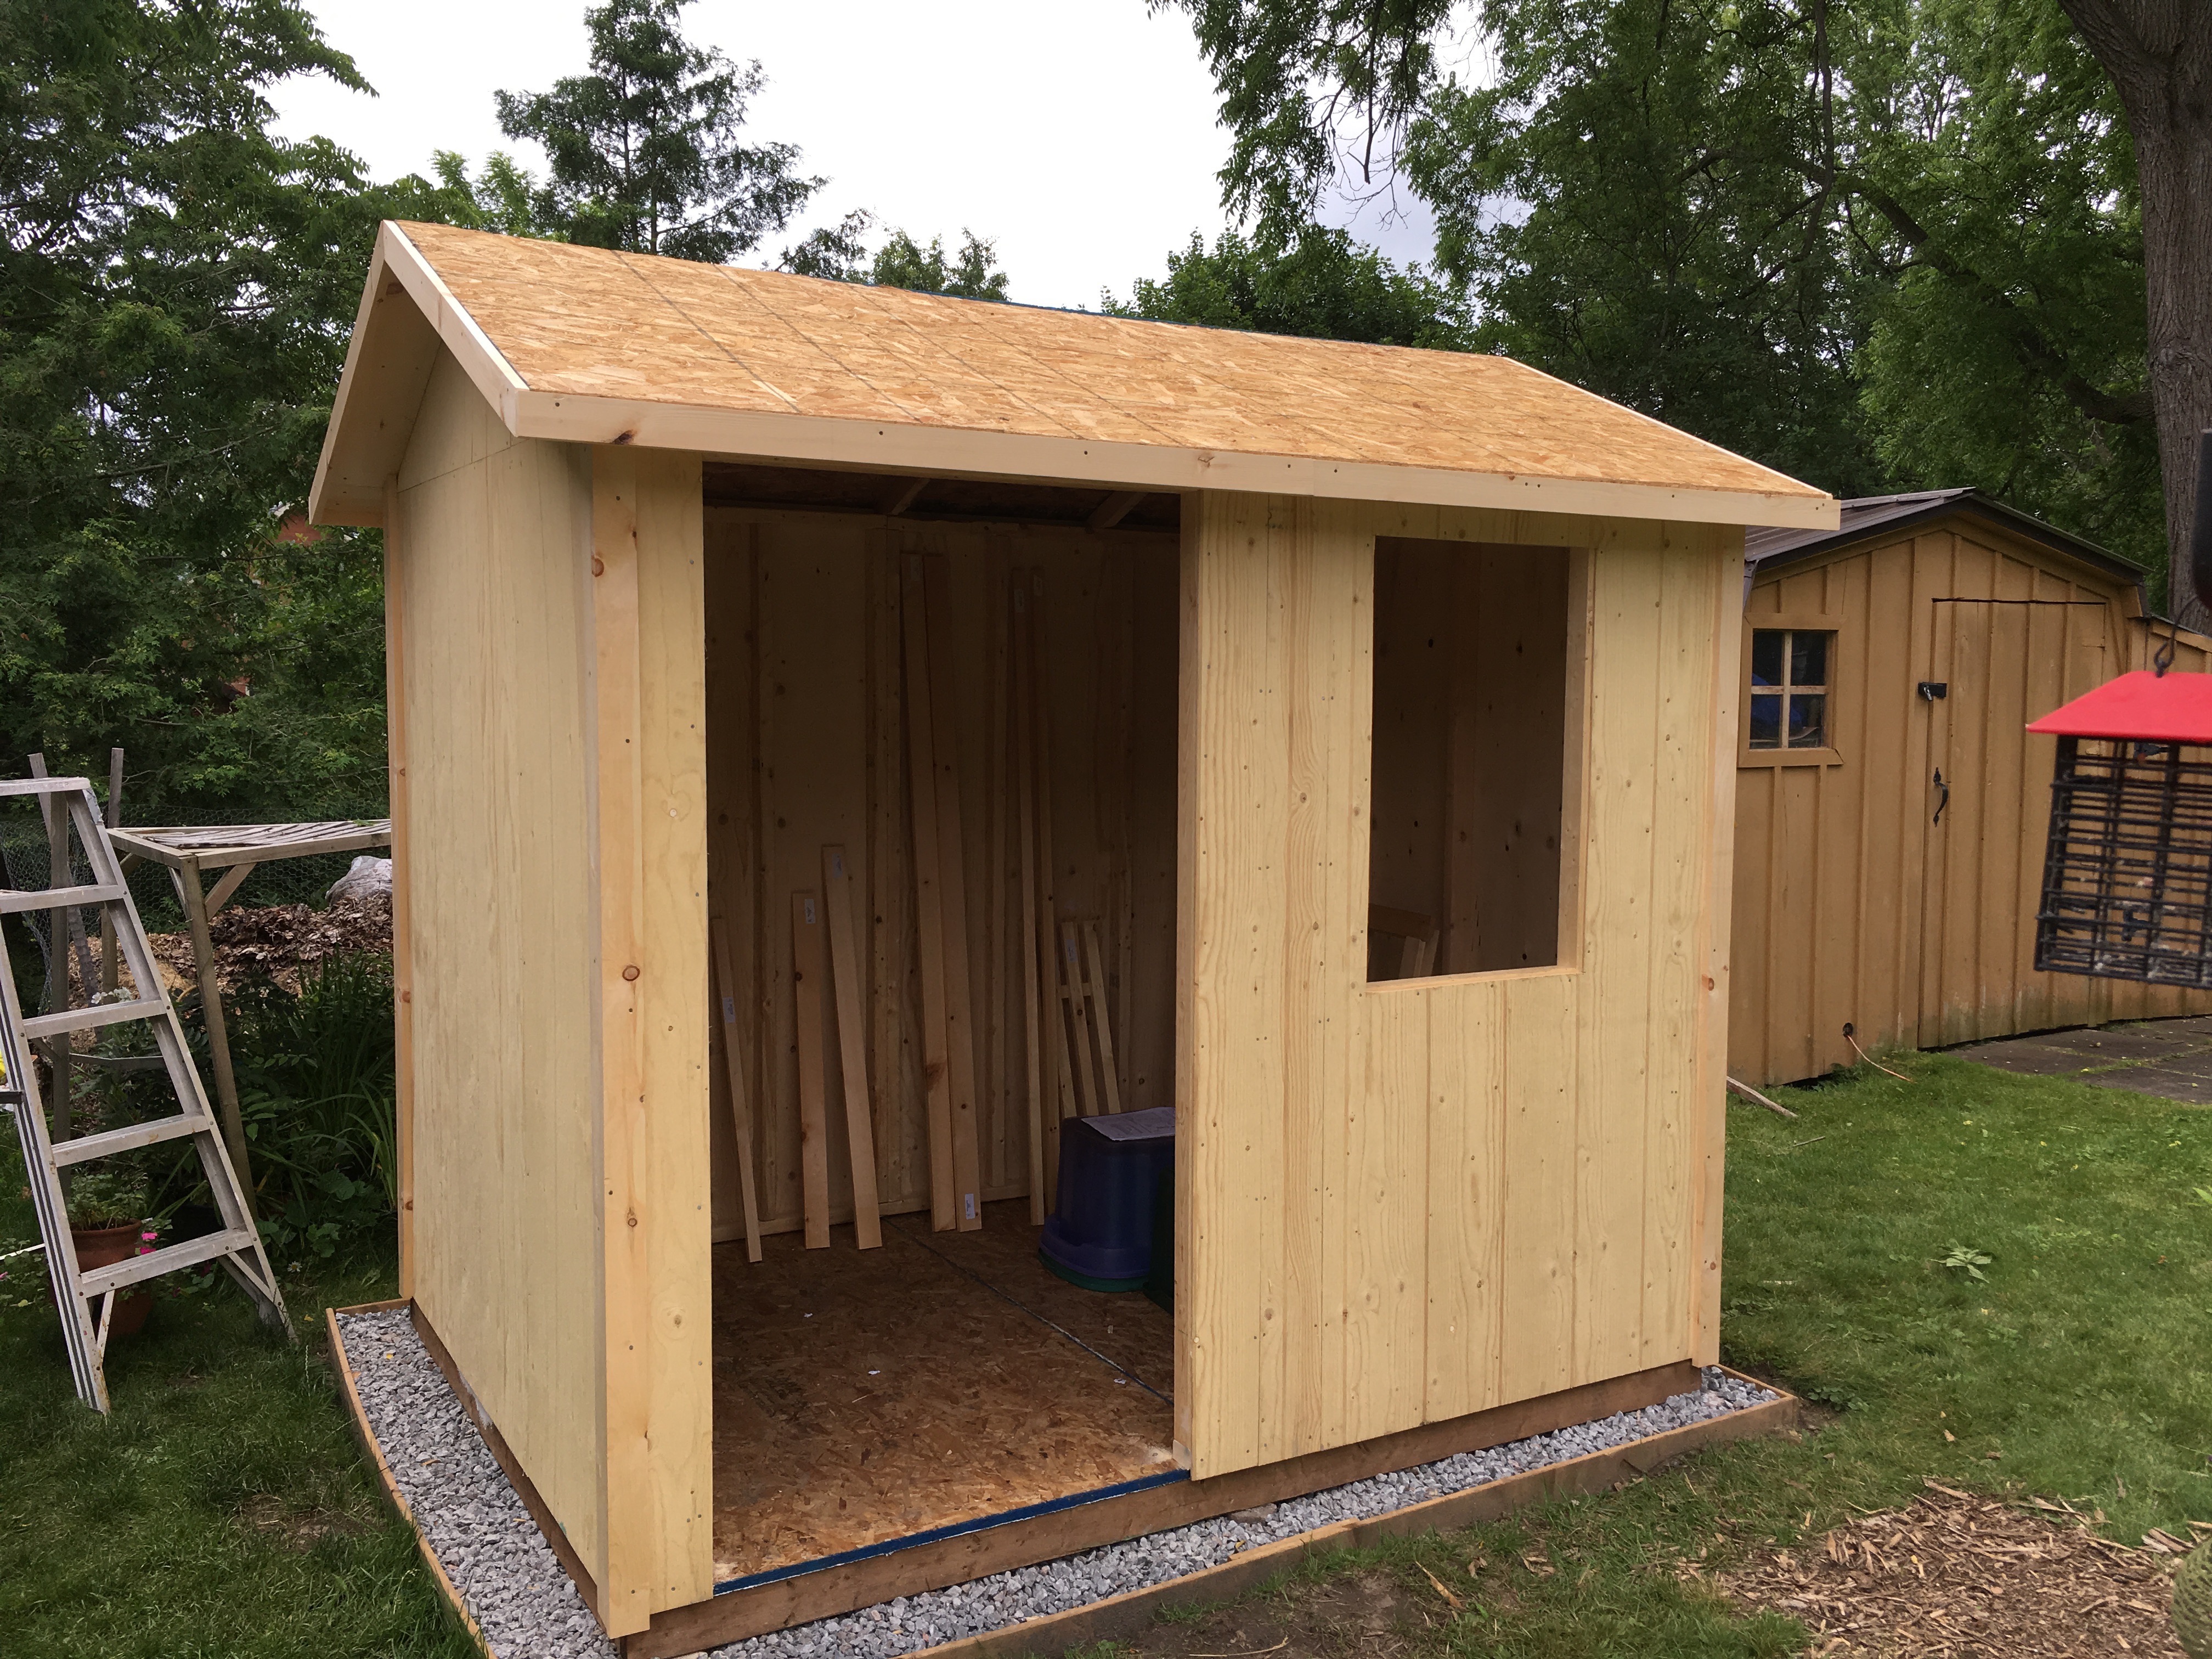
With the walls up and the roof on, then its down to the twiddly bits, otherwise known as trim. There’s a surprisingly large amount of this. <div class='imgWrapper imgBlock center' style='width: 80%; '>
</div>
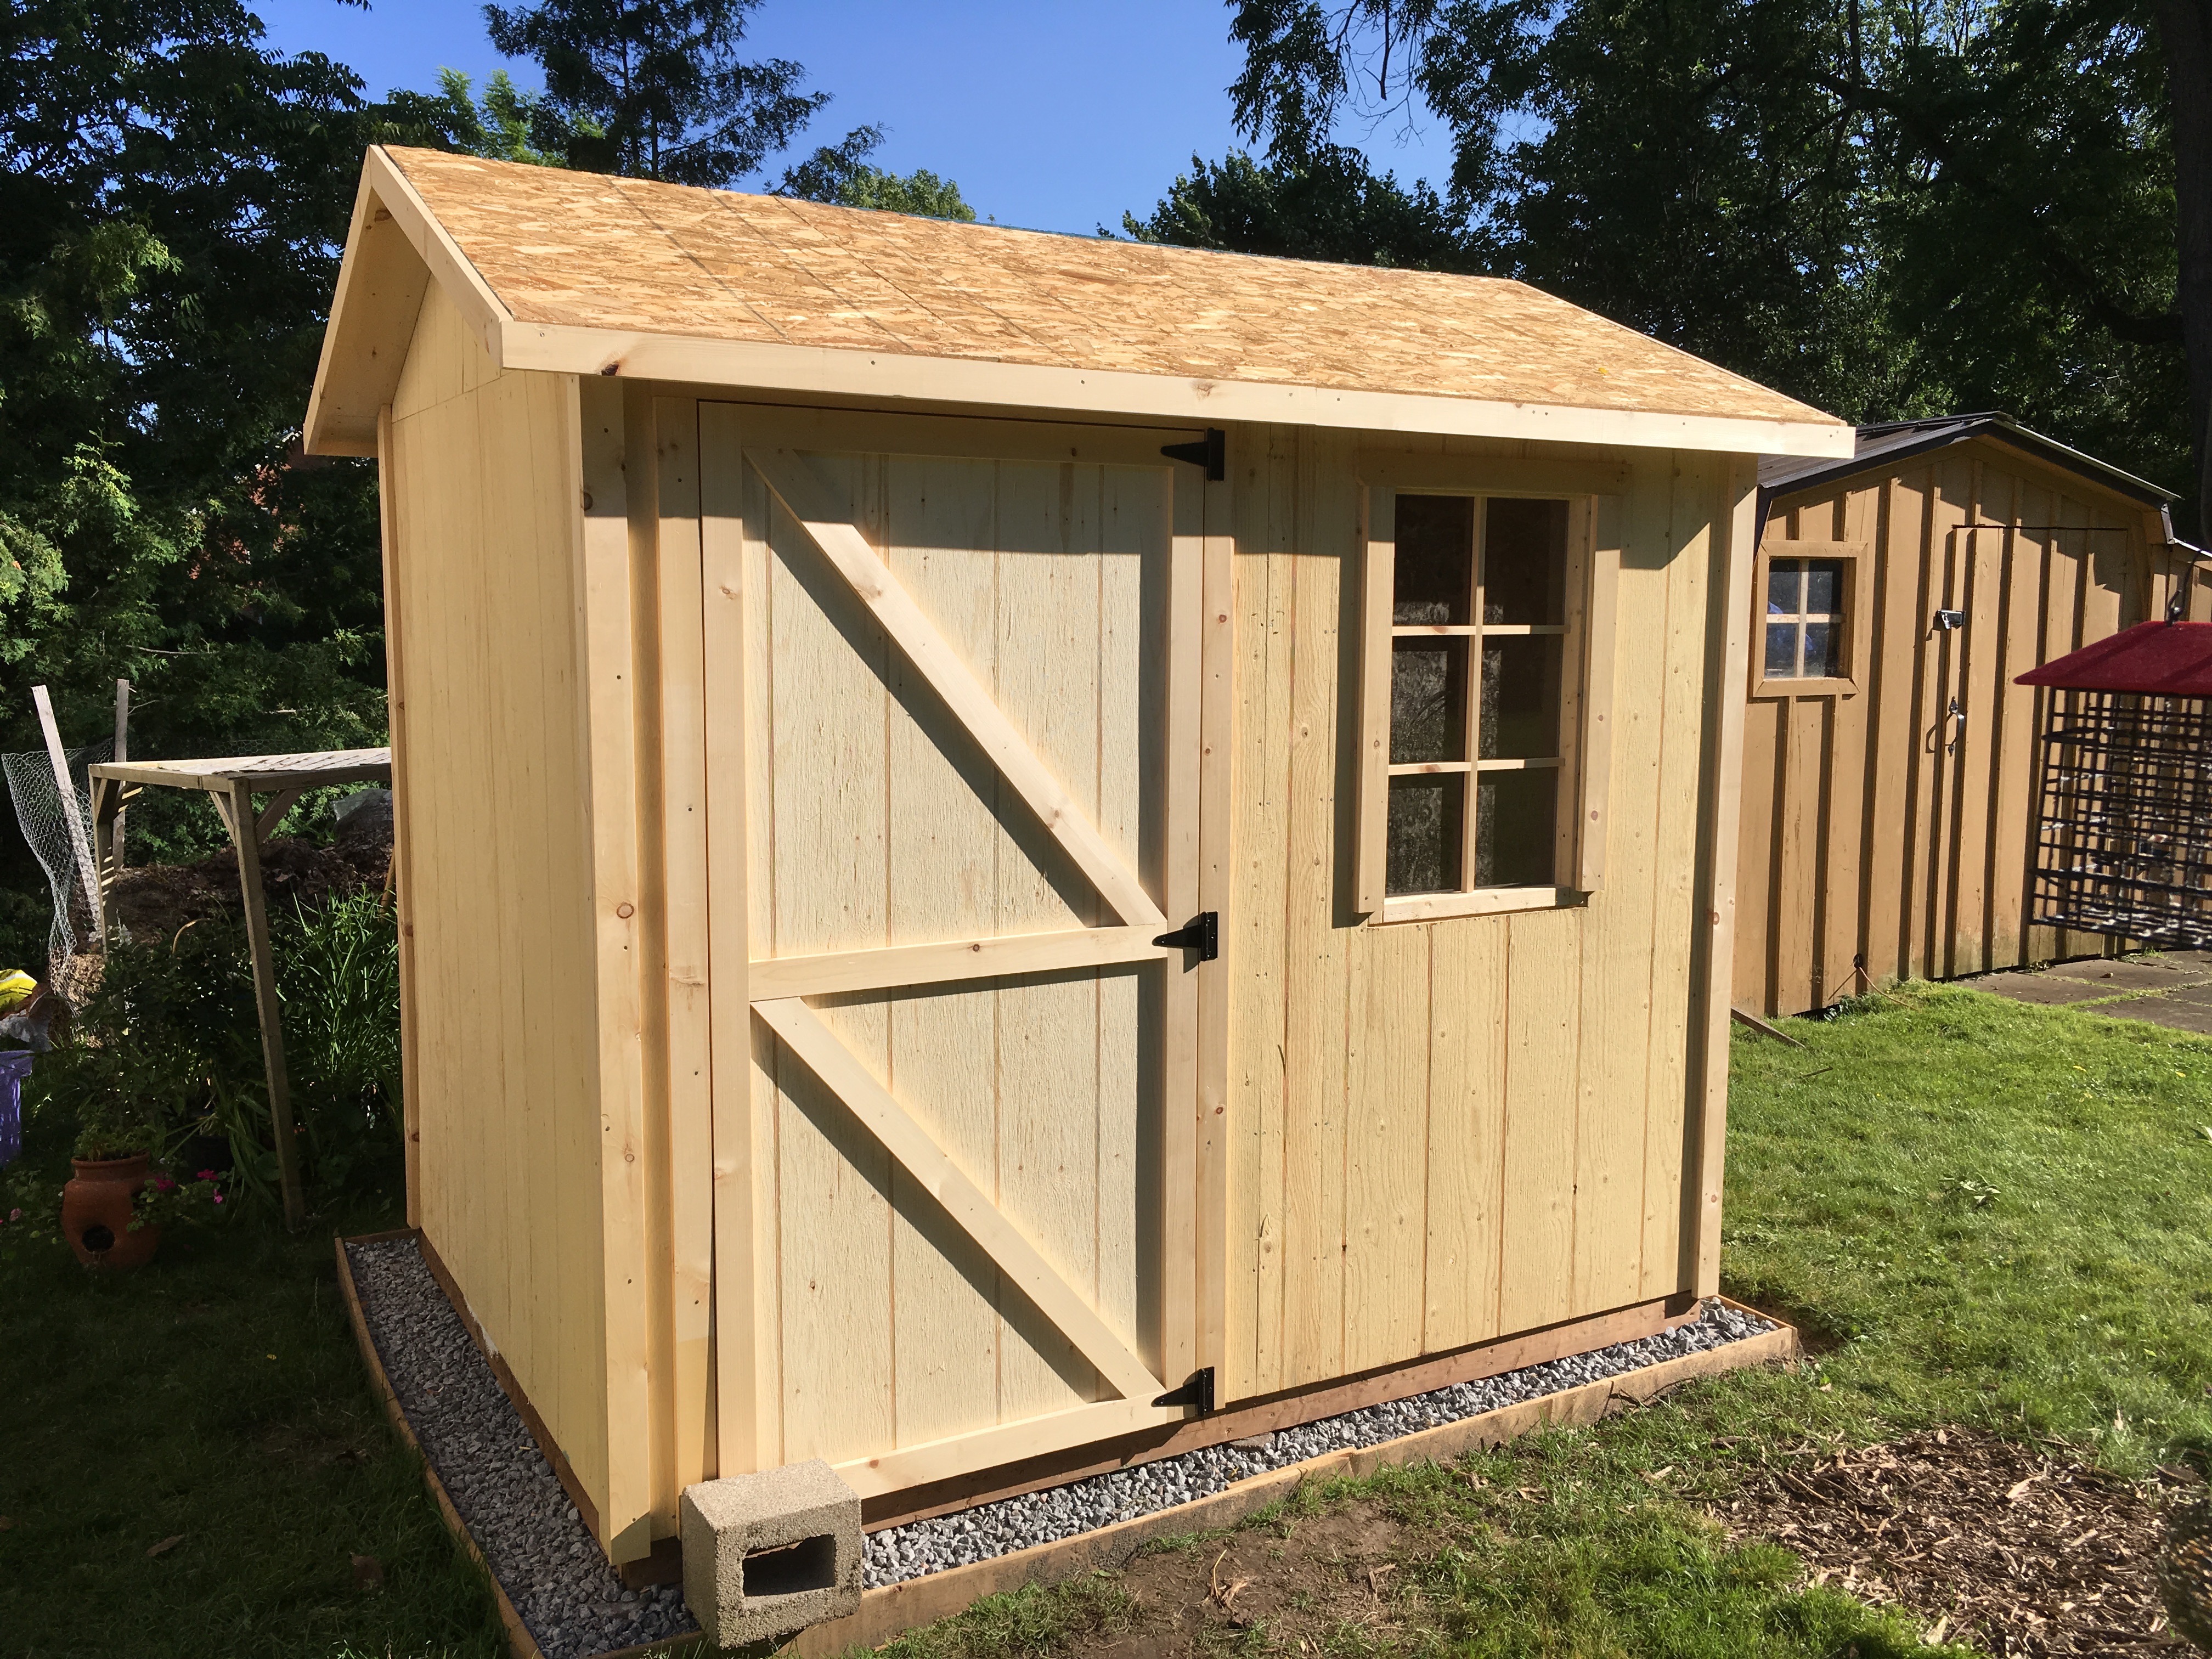
The window comes as a single piece and the door is already made, it’s just a matter of putting them on.
Shingles
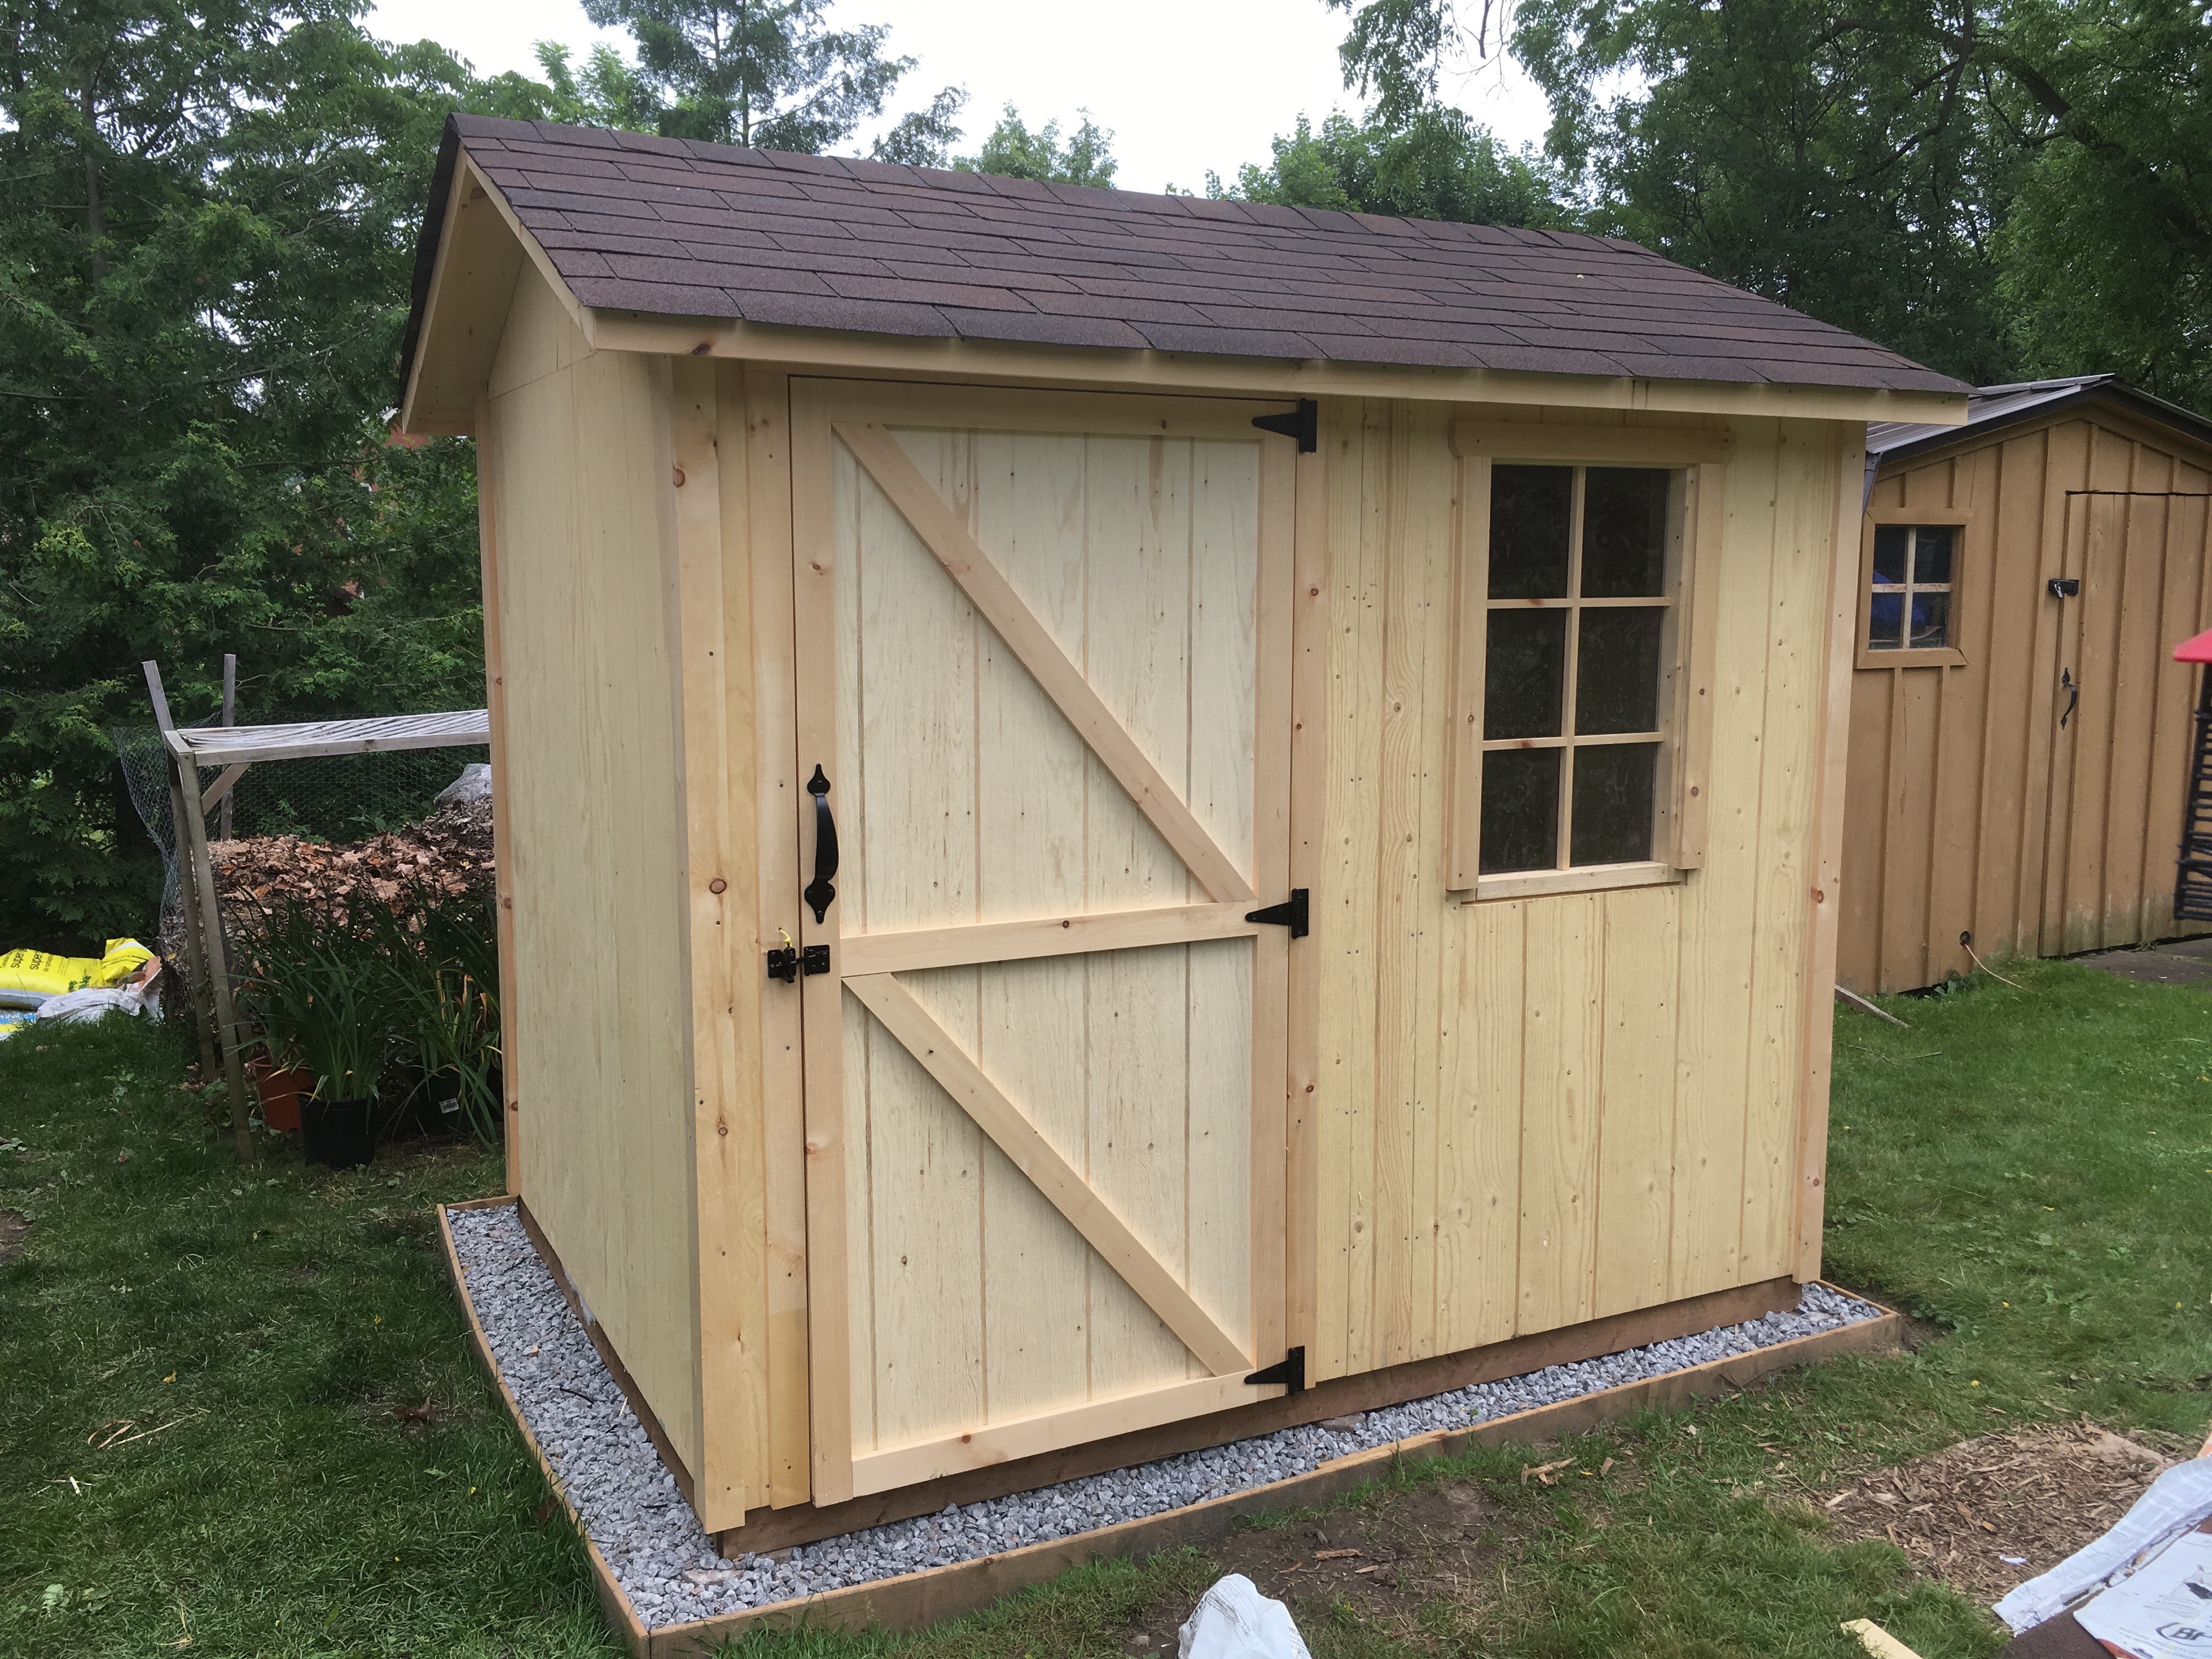
You can opt for tar shingles, cedar shingles or even metal. I would guess that most people go for regular shingles and that’s what we did. The instructions said that three bundles would be enough and I ended up with a single piece left over. <div class='imgWrapper imgBlock center' style='width: 80%; '>
</div>
Paint/Stain
Protecting the wood from the elements is the final step. Previously we had painted, but over time that does come of and need redoing. This time we tried two different stains.
It took three coats to get the colour even.
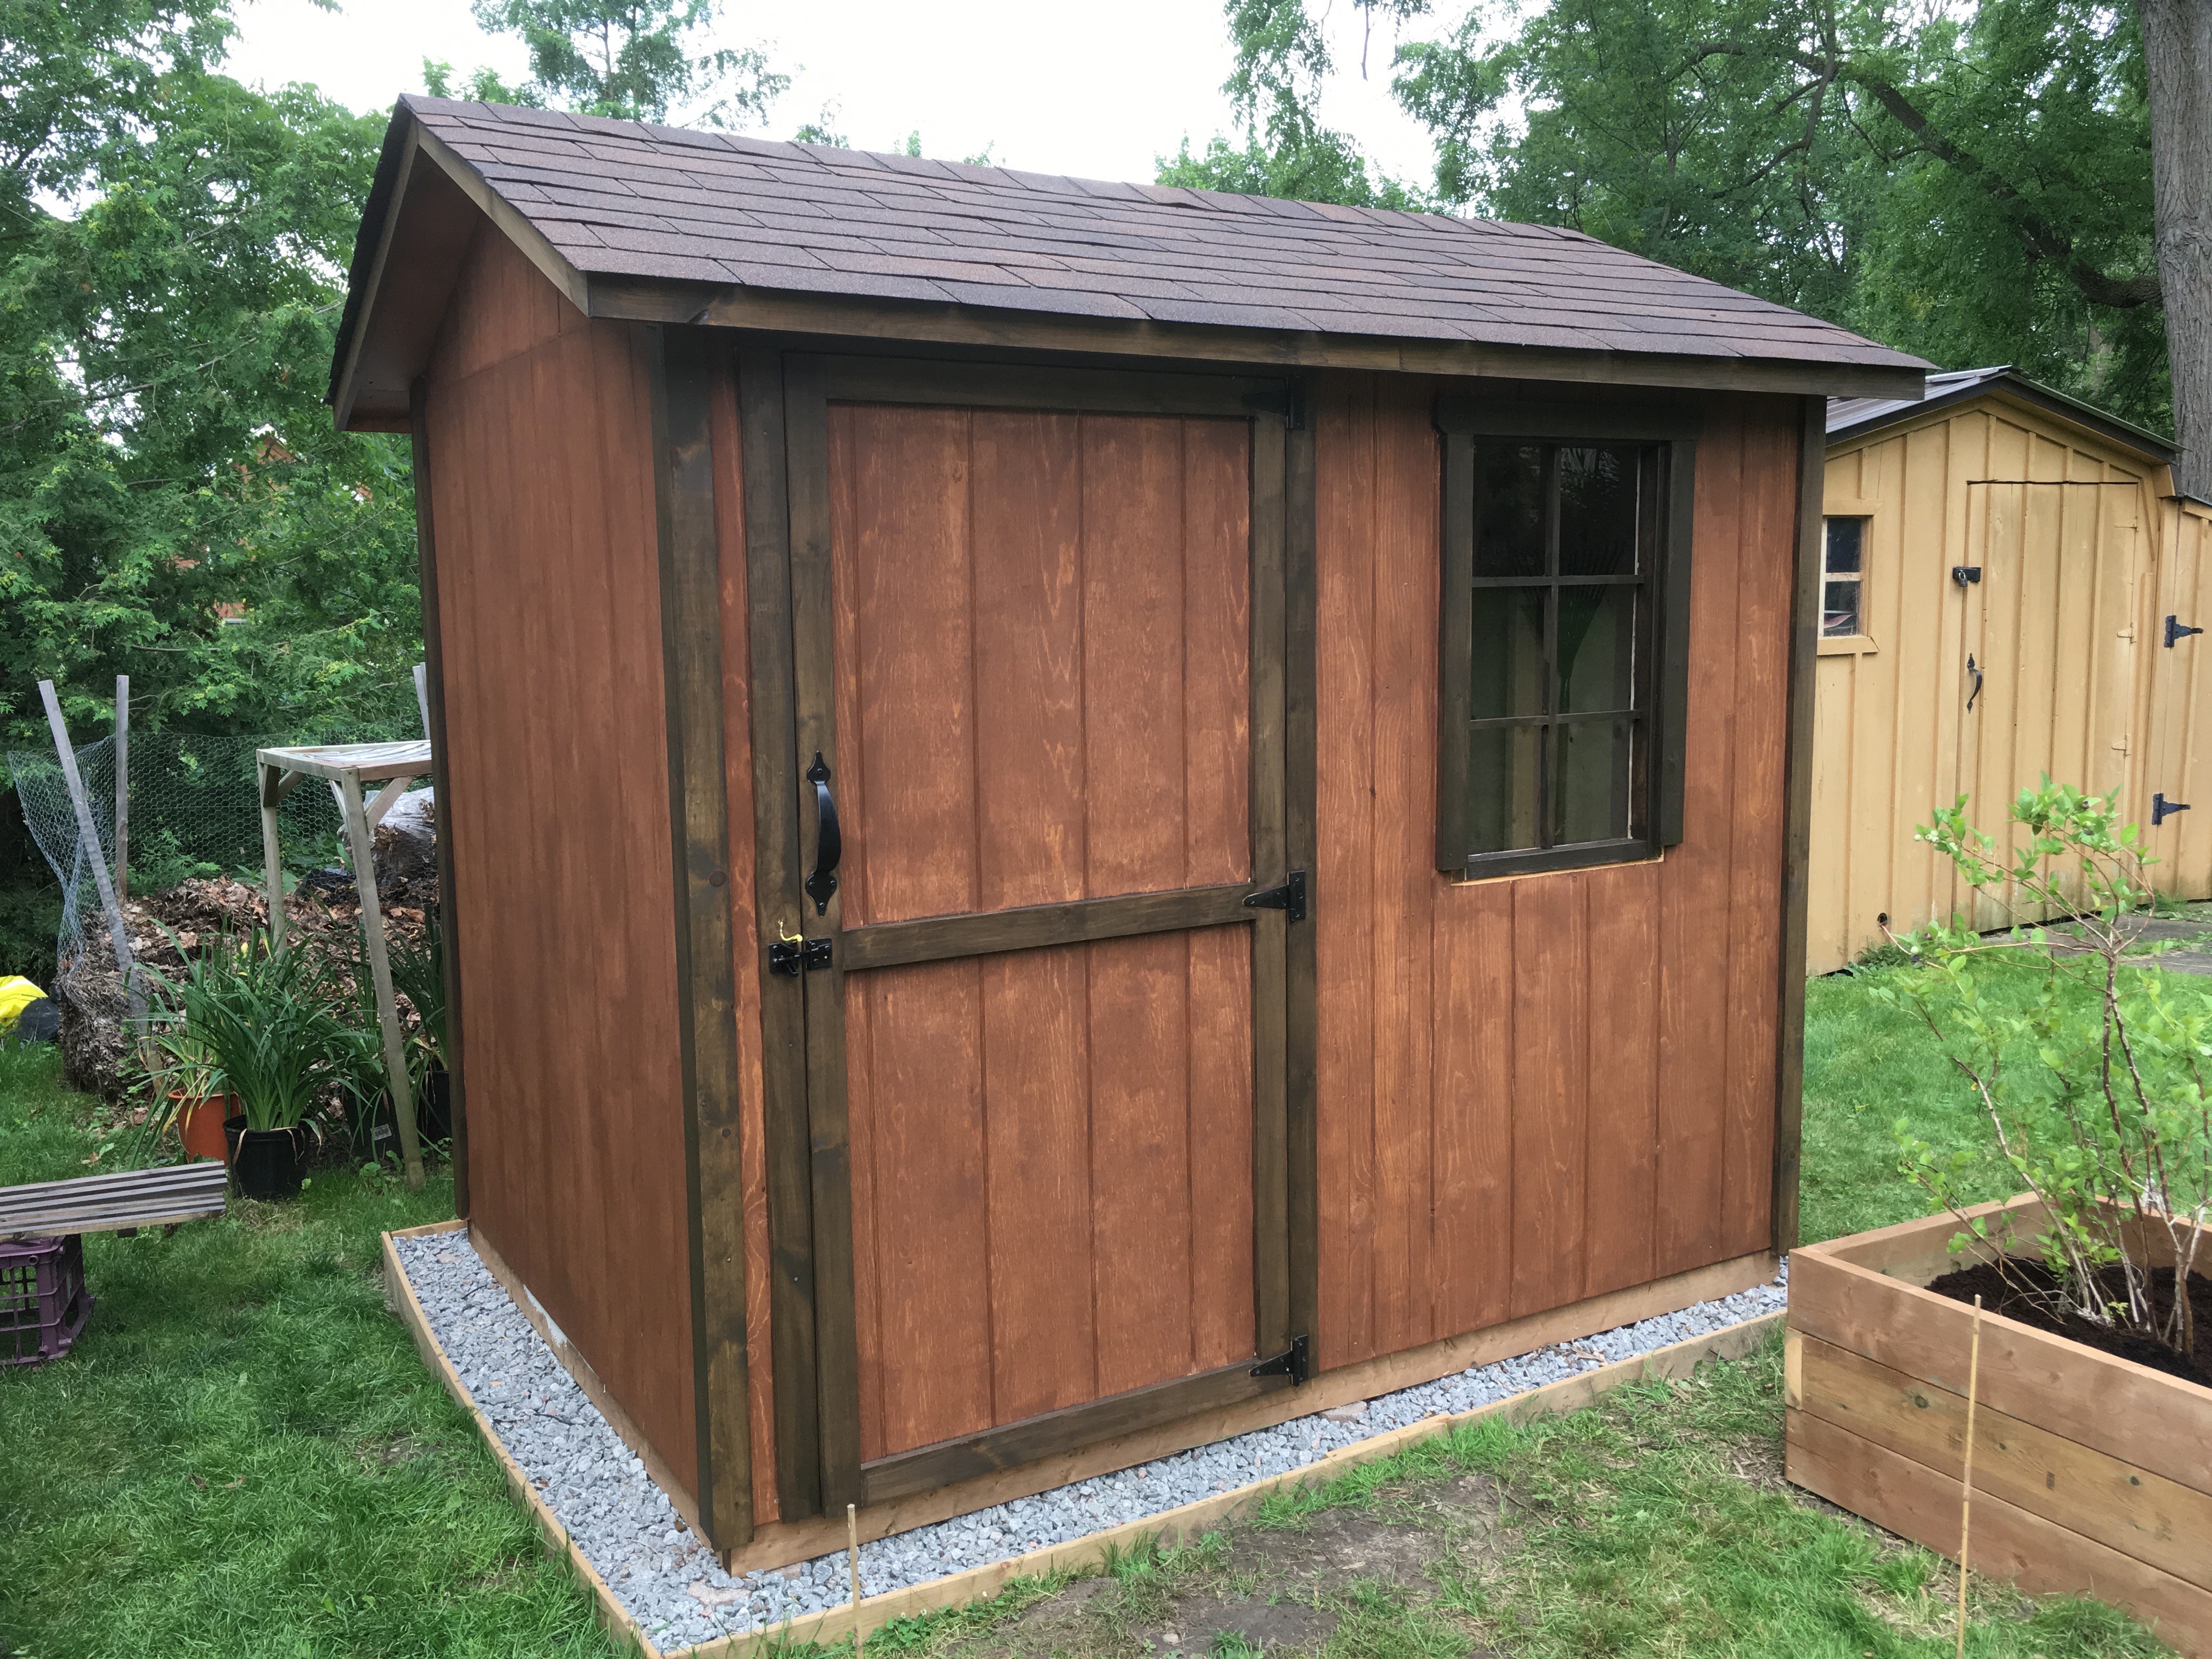
Finally we added in the shutters and window boxes, as in the top picture.
The build was done in two weekends and a further week to stain it. I should say that it was Suzanne who put in the hours with the staining brush.
Done!
oh, not quite. Now we have to do the inside. But that’s for a another day.