Chain Link Fence
Once upon a time, all the houses on our street had no fences in their backyard. Kids and dogs roamed freely and football games were played. At least, that’s what our neighbours say who have lived there for many years. By the time we moved in it was just our two houses with a shared backyard. This never really bothered us much until we got a dog, when the need for some secure fencing was more urgent.
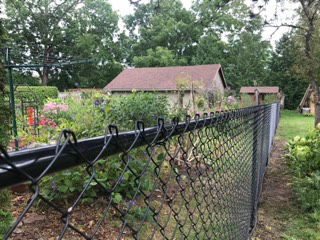
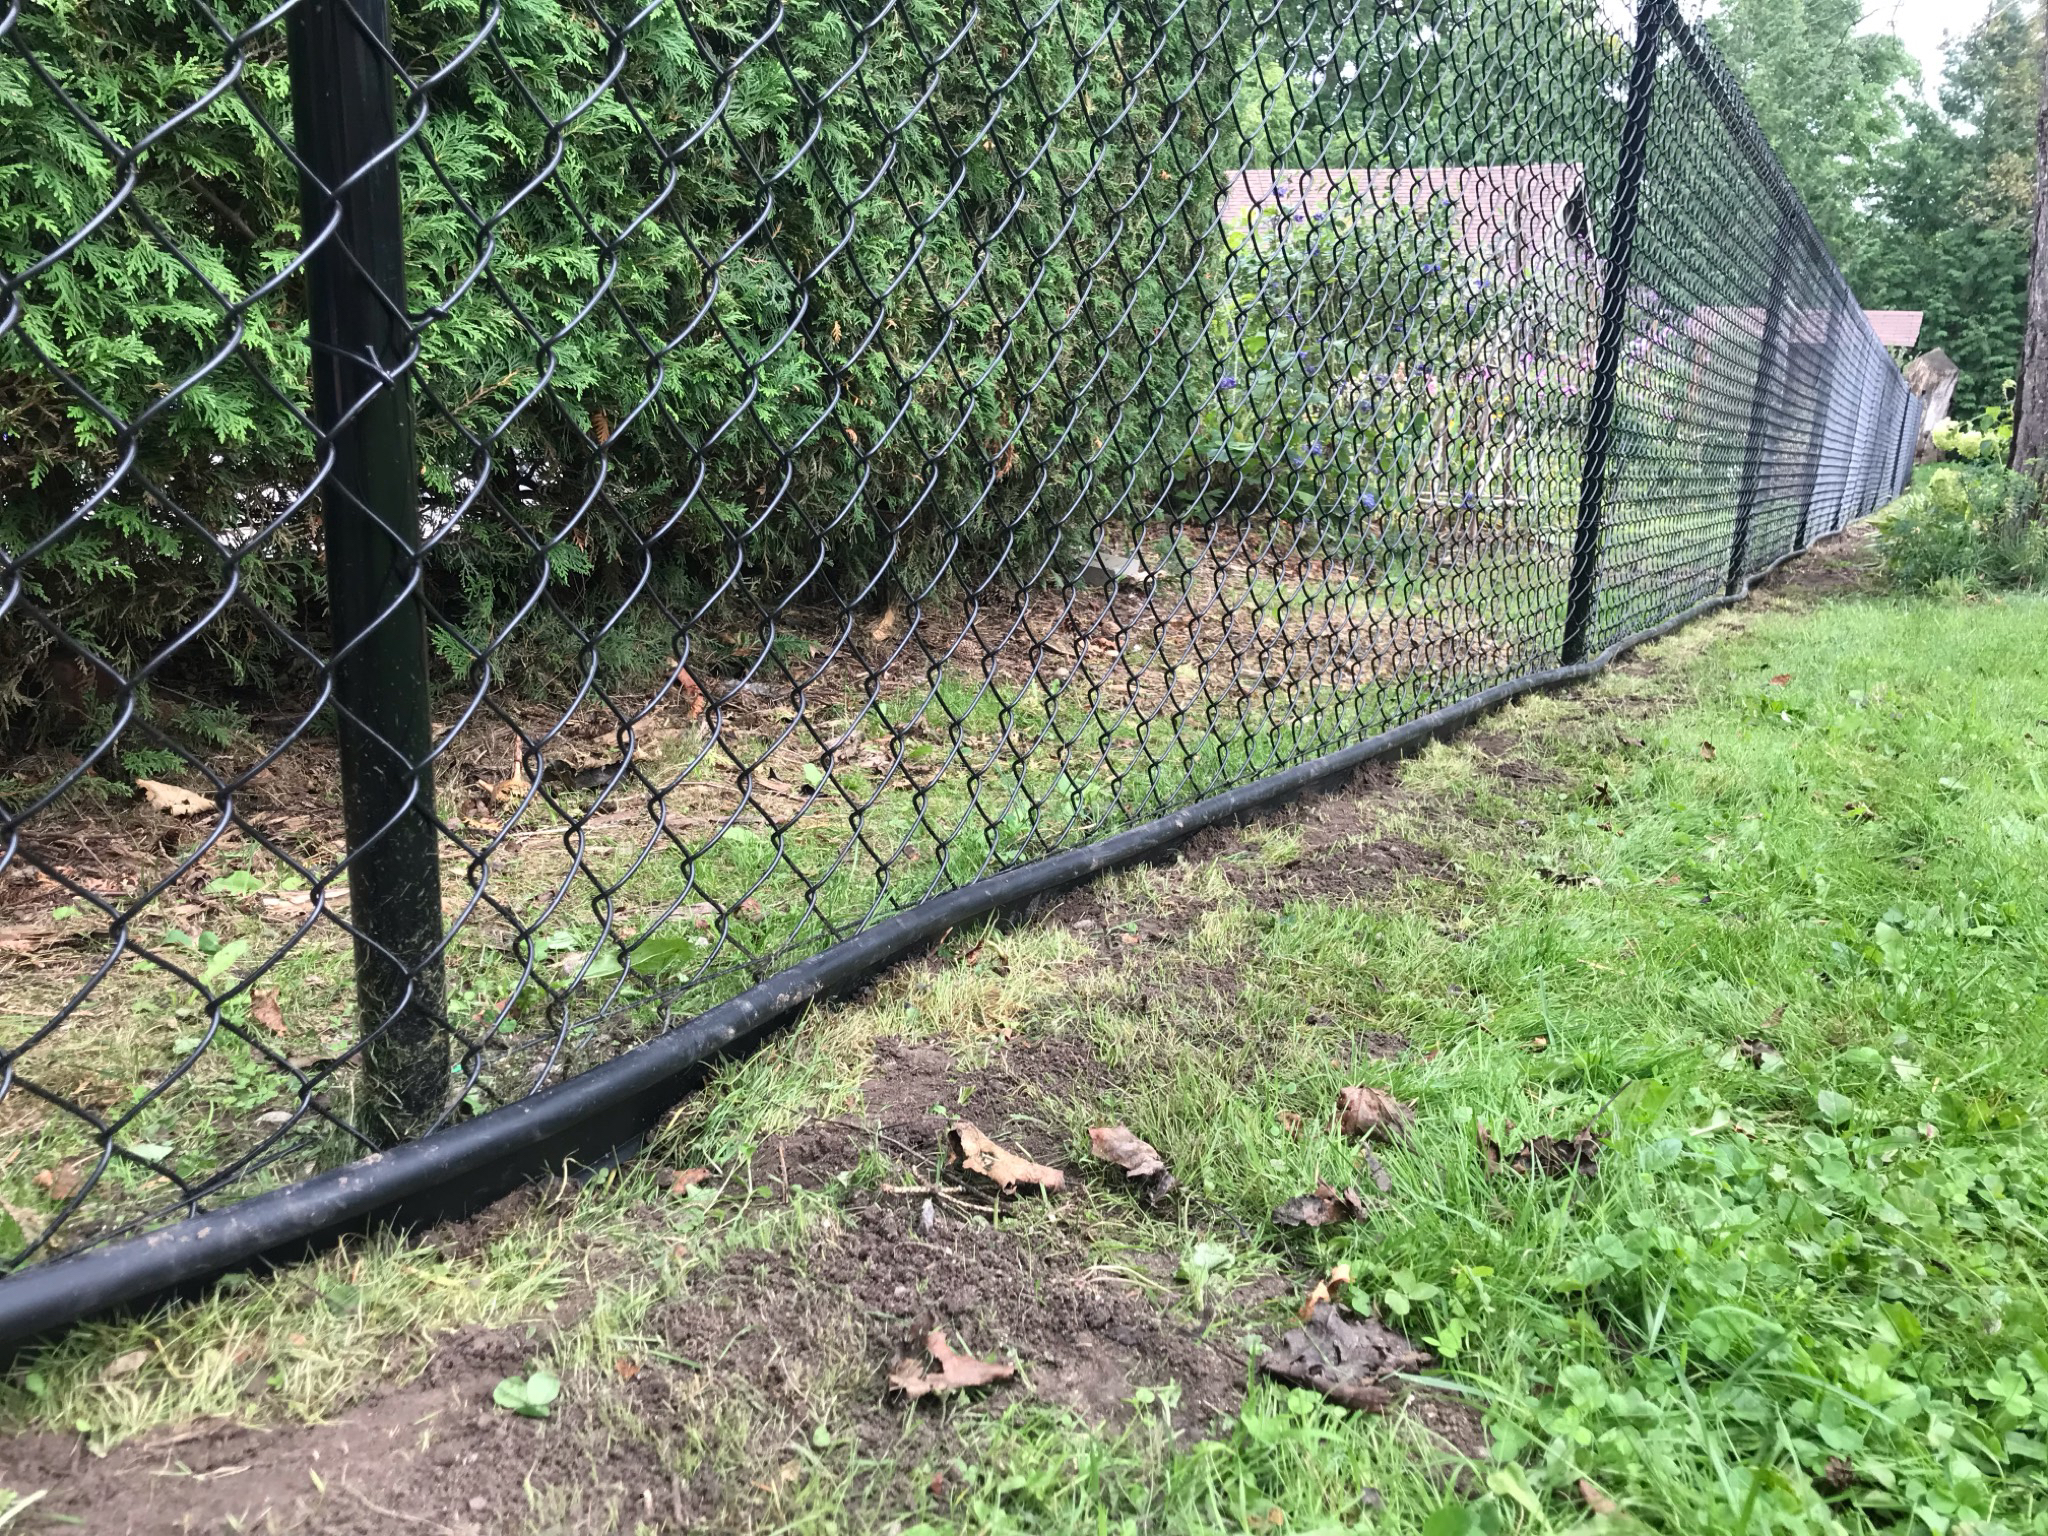
It was time to join the rest of the street with some nifty black chain link fence. And here’s the finished article.
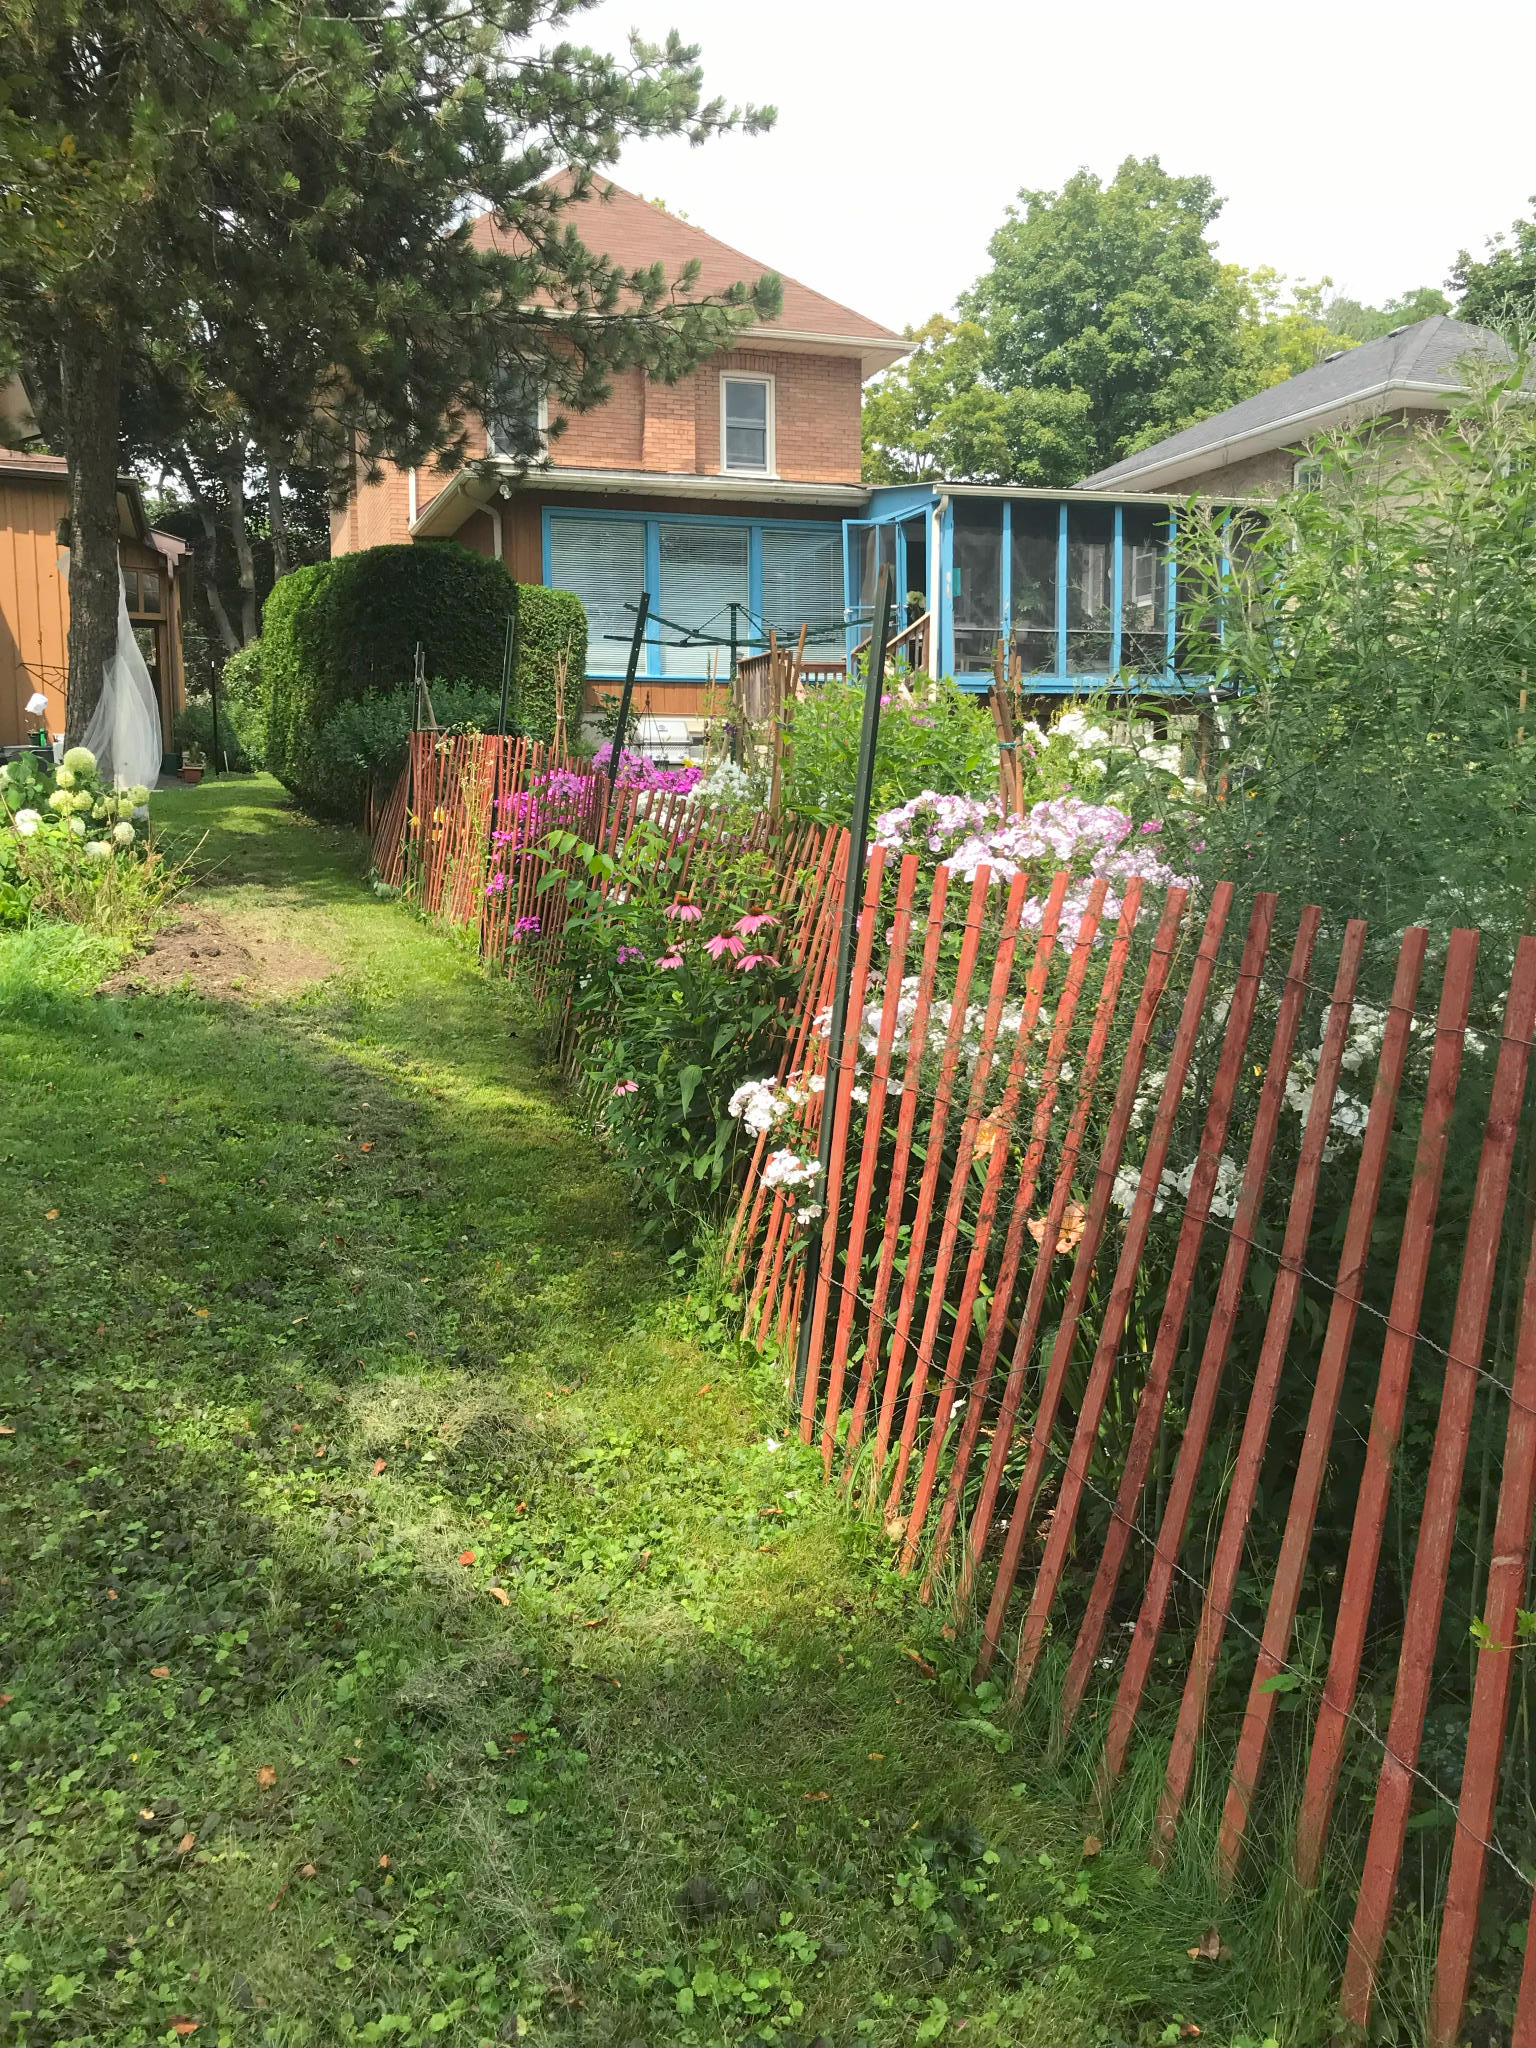
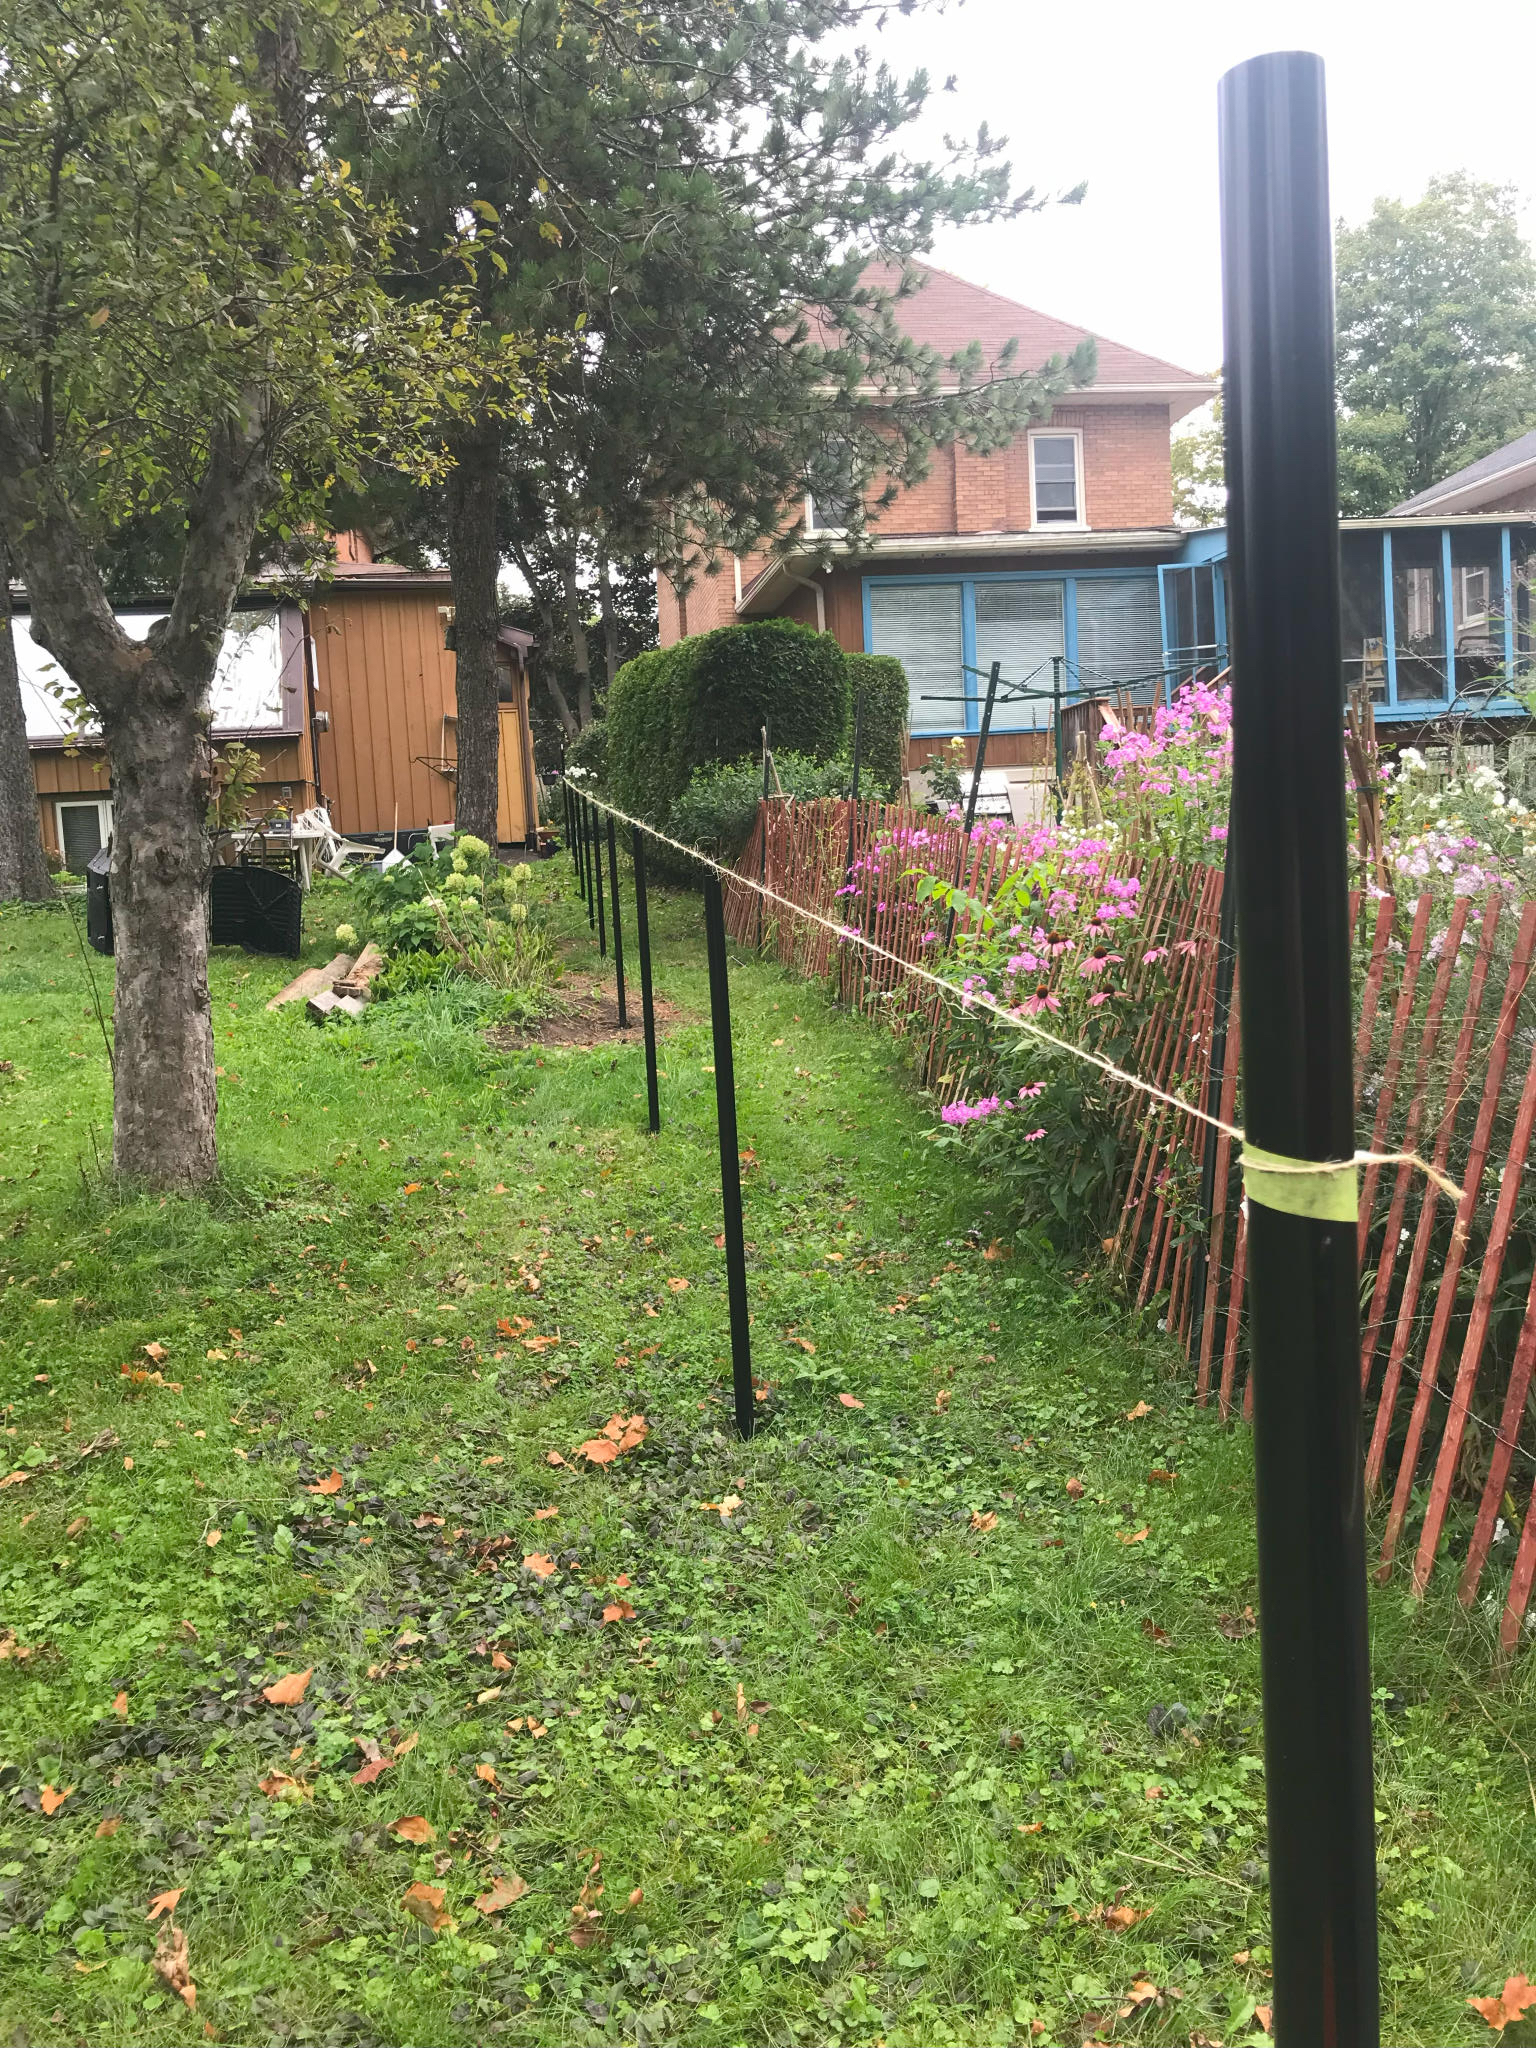
This wasn’t the first fence we tried. Our dog is a few years old and we had put up some snow fence as a quick deterrent. Not the best, as you can see. But on the plus side this was a few feet within our property line, so the new fence could go up at the same time, then the old one taken down.
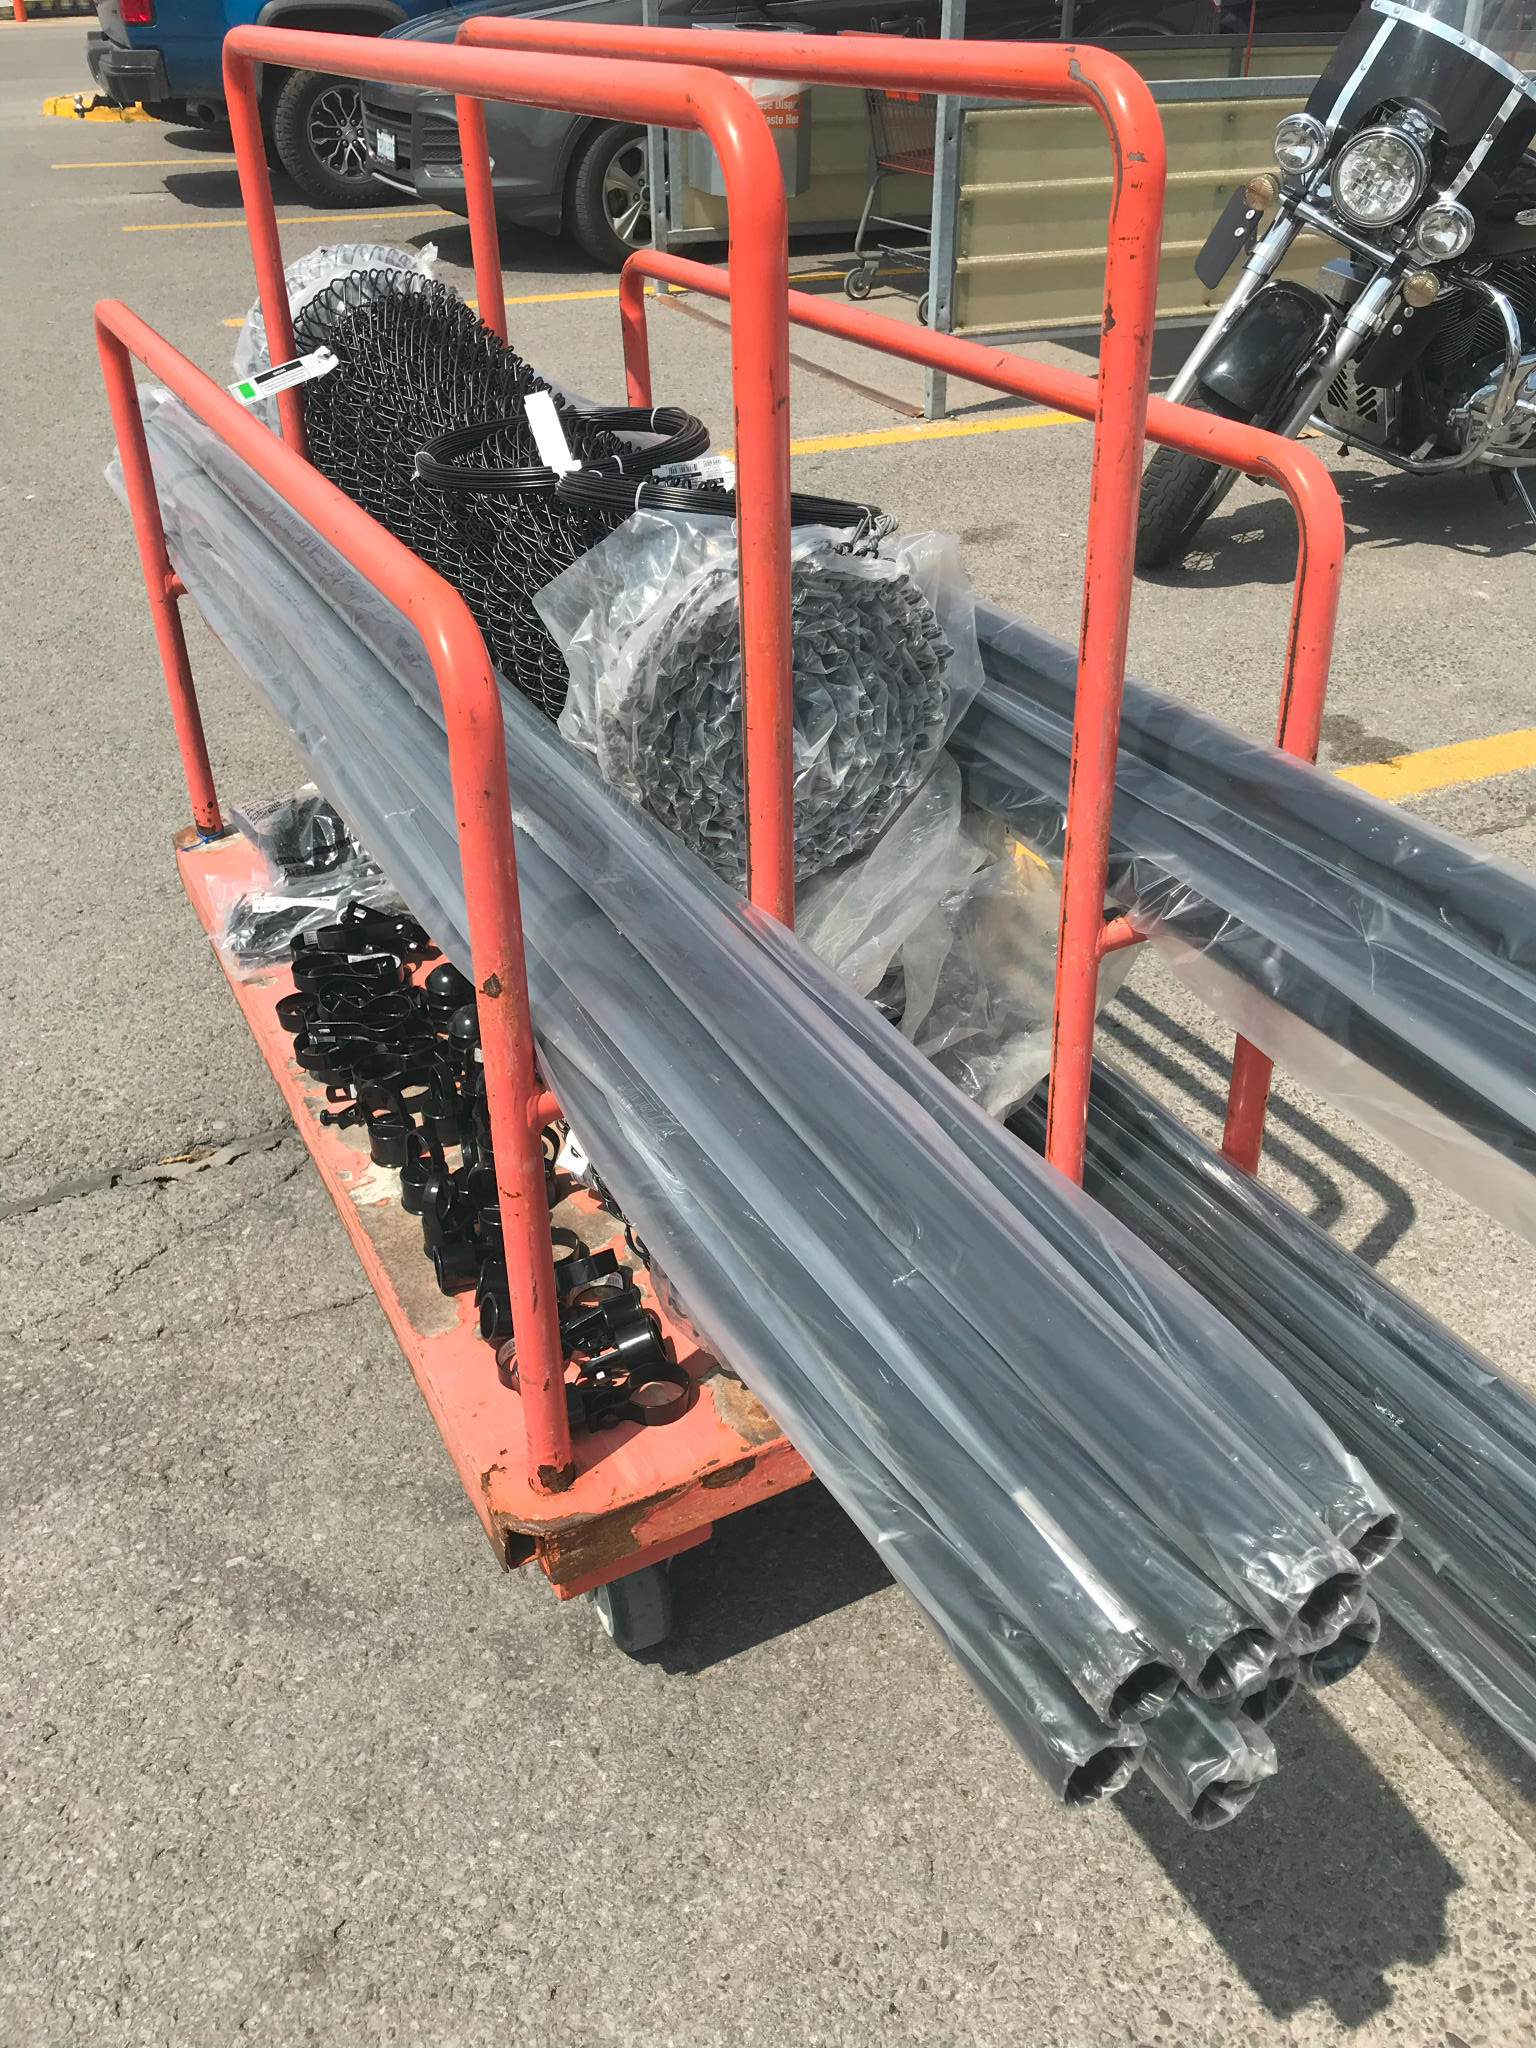
Like all good projects, this one begins at your big box DIY store of choice. We had about 120’ to do which worked out to be, oh, this much of stuff. I didn’t take a picture but all this went into the back of a Ford Fiesta with the help of a lot of bungee cords and the 10’ top rails sticking out the back.
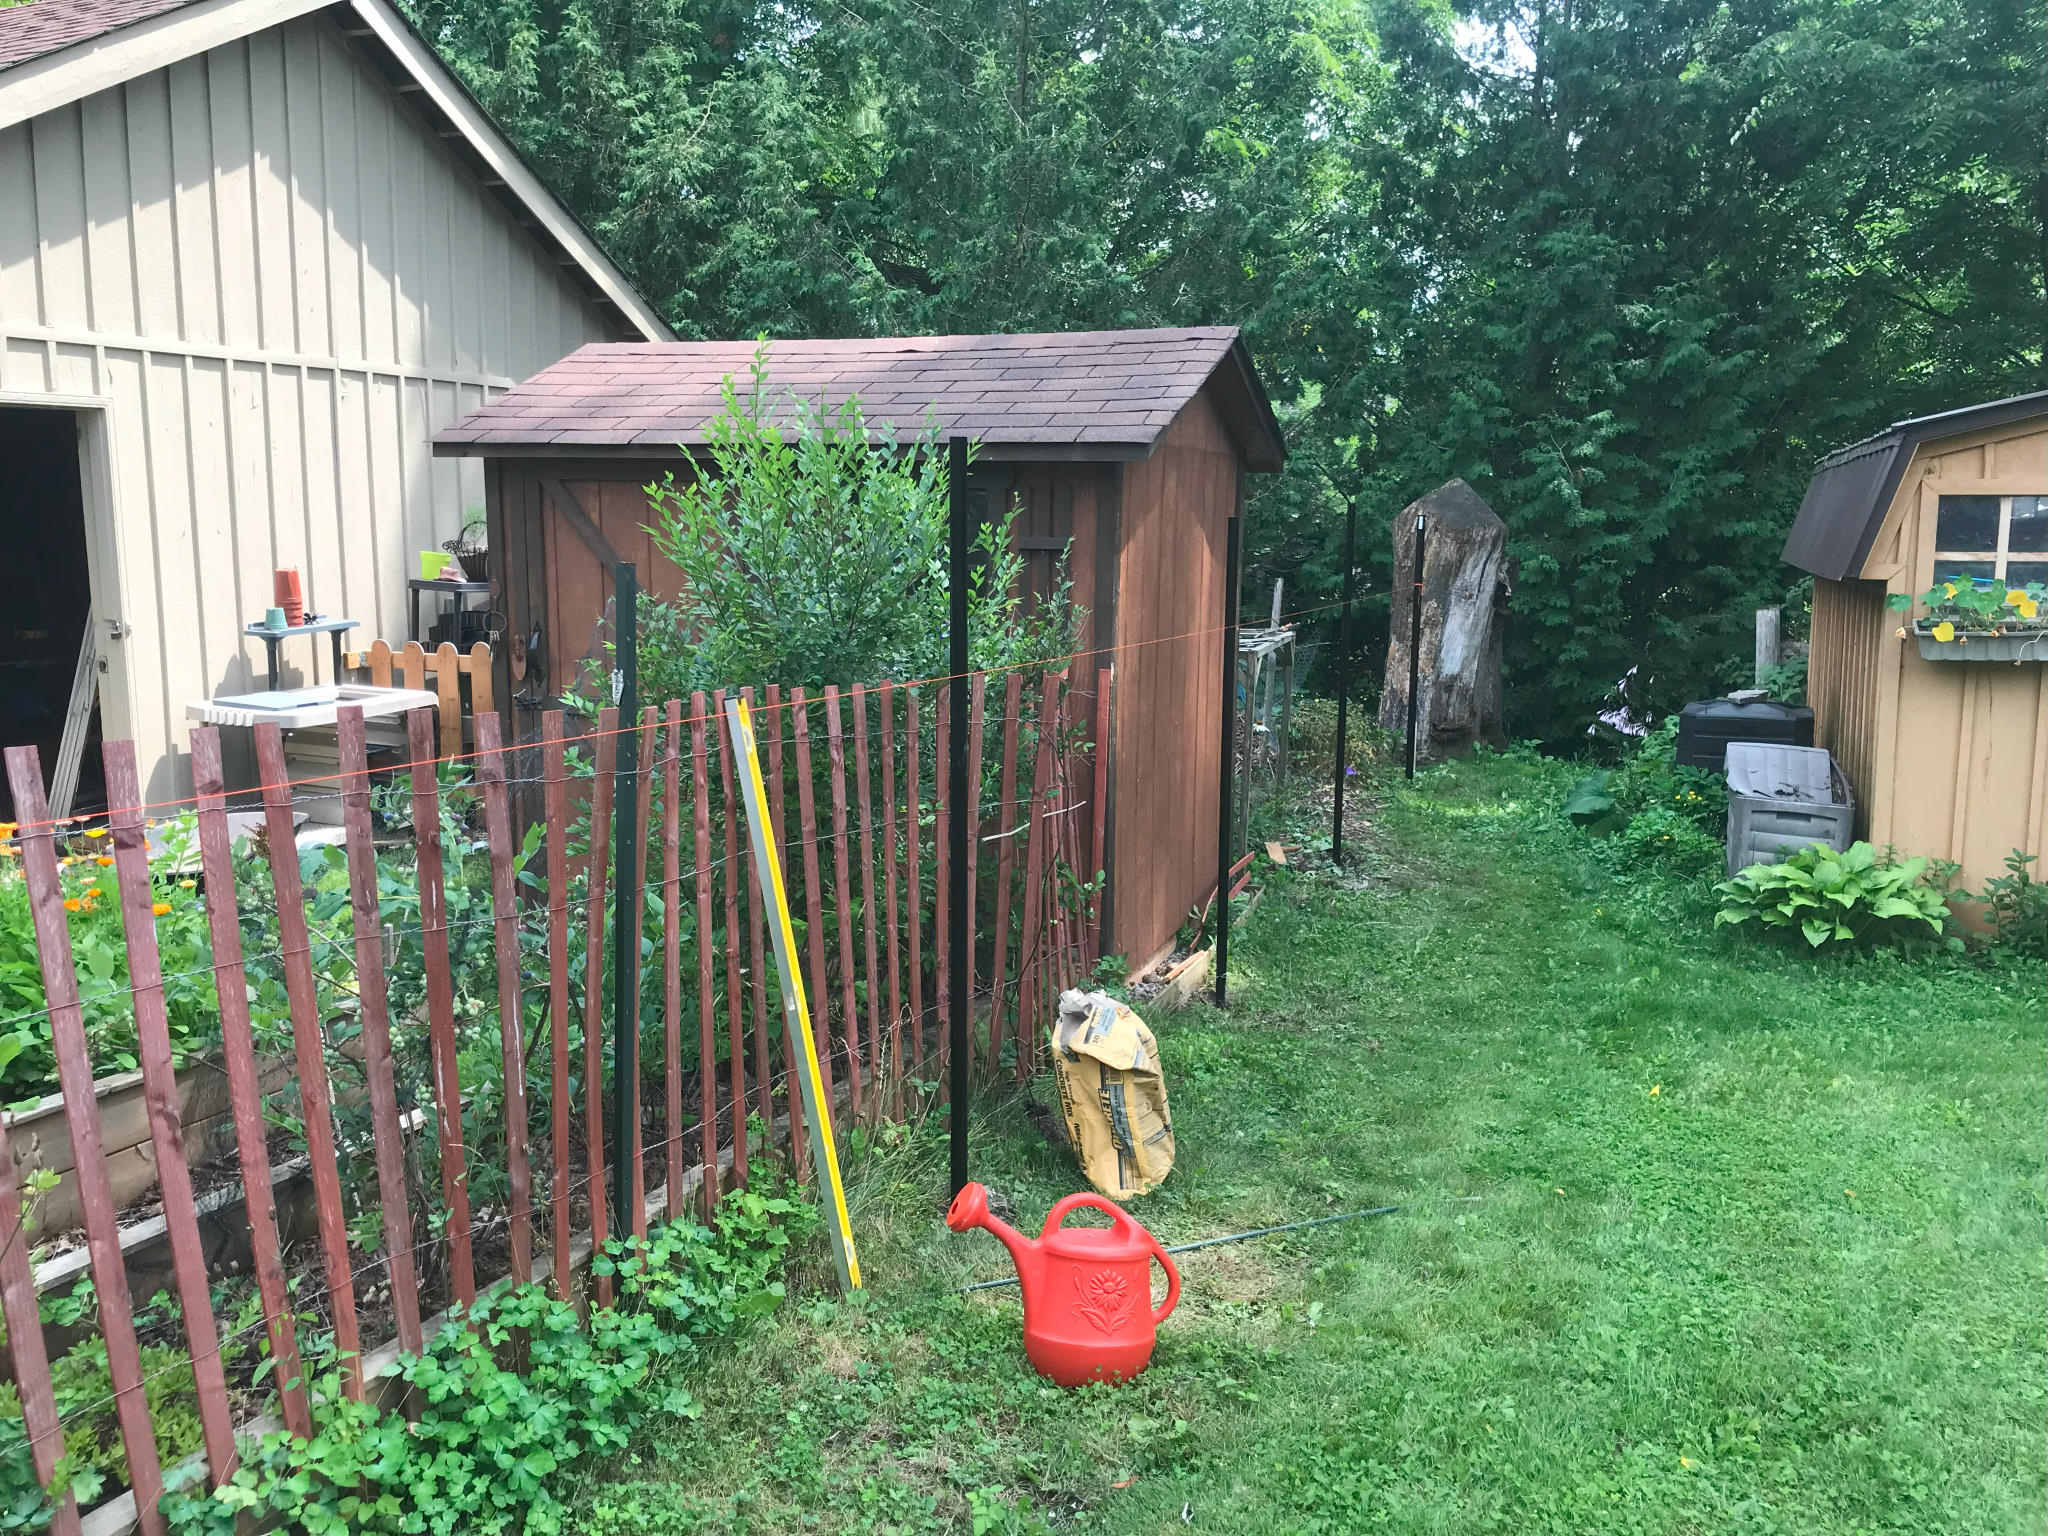
According to some helpful YouTube links on chain link fence you don’t have to use cement on all the posts, only the ones at each end. But where’s the fun in that? So first thing to do is to stake out the line of the fence with some suitably long string and use the post auger to dig in all the holes. Each one was aprox 24” deep (give or take depending on how many stones there were) and filled with half a bag of post cement.
Each pole is about 7’ high, so they need cutting. Those helpful YouTube videos suggest using a portable band saw, a formidable piece of kit. But who needs power tools when you have a hacksaw?
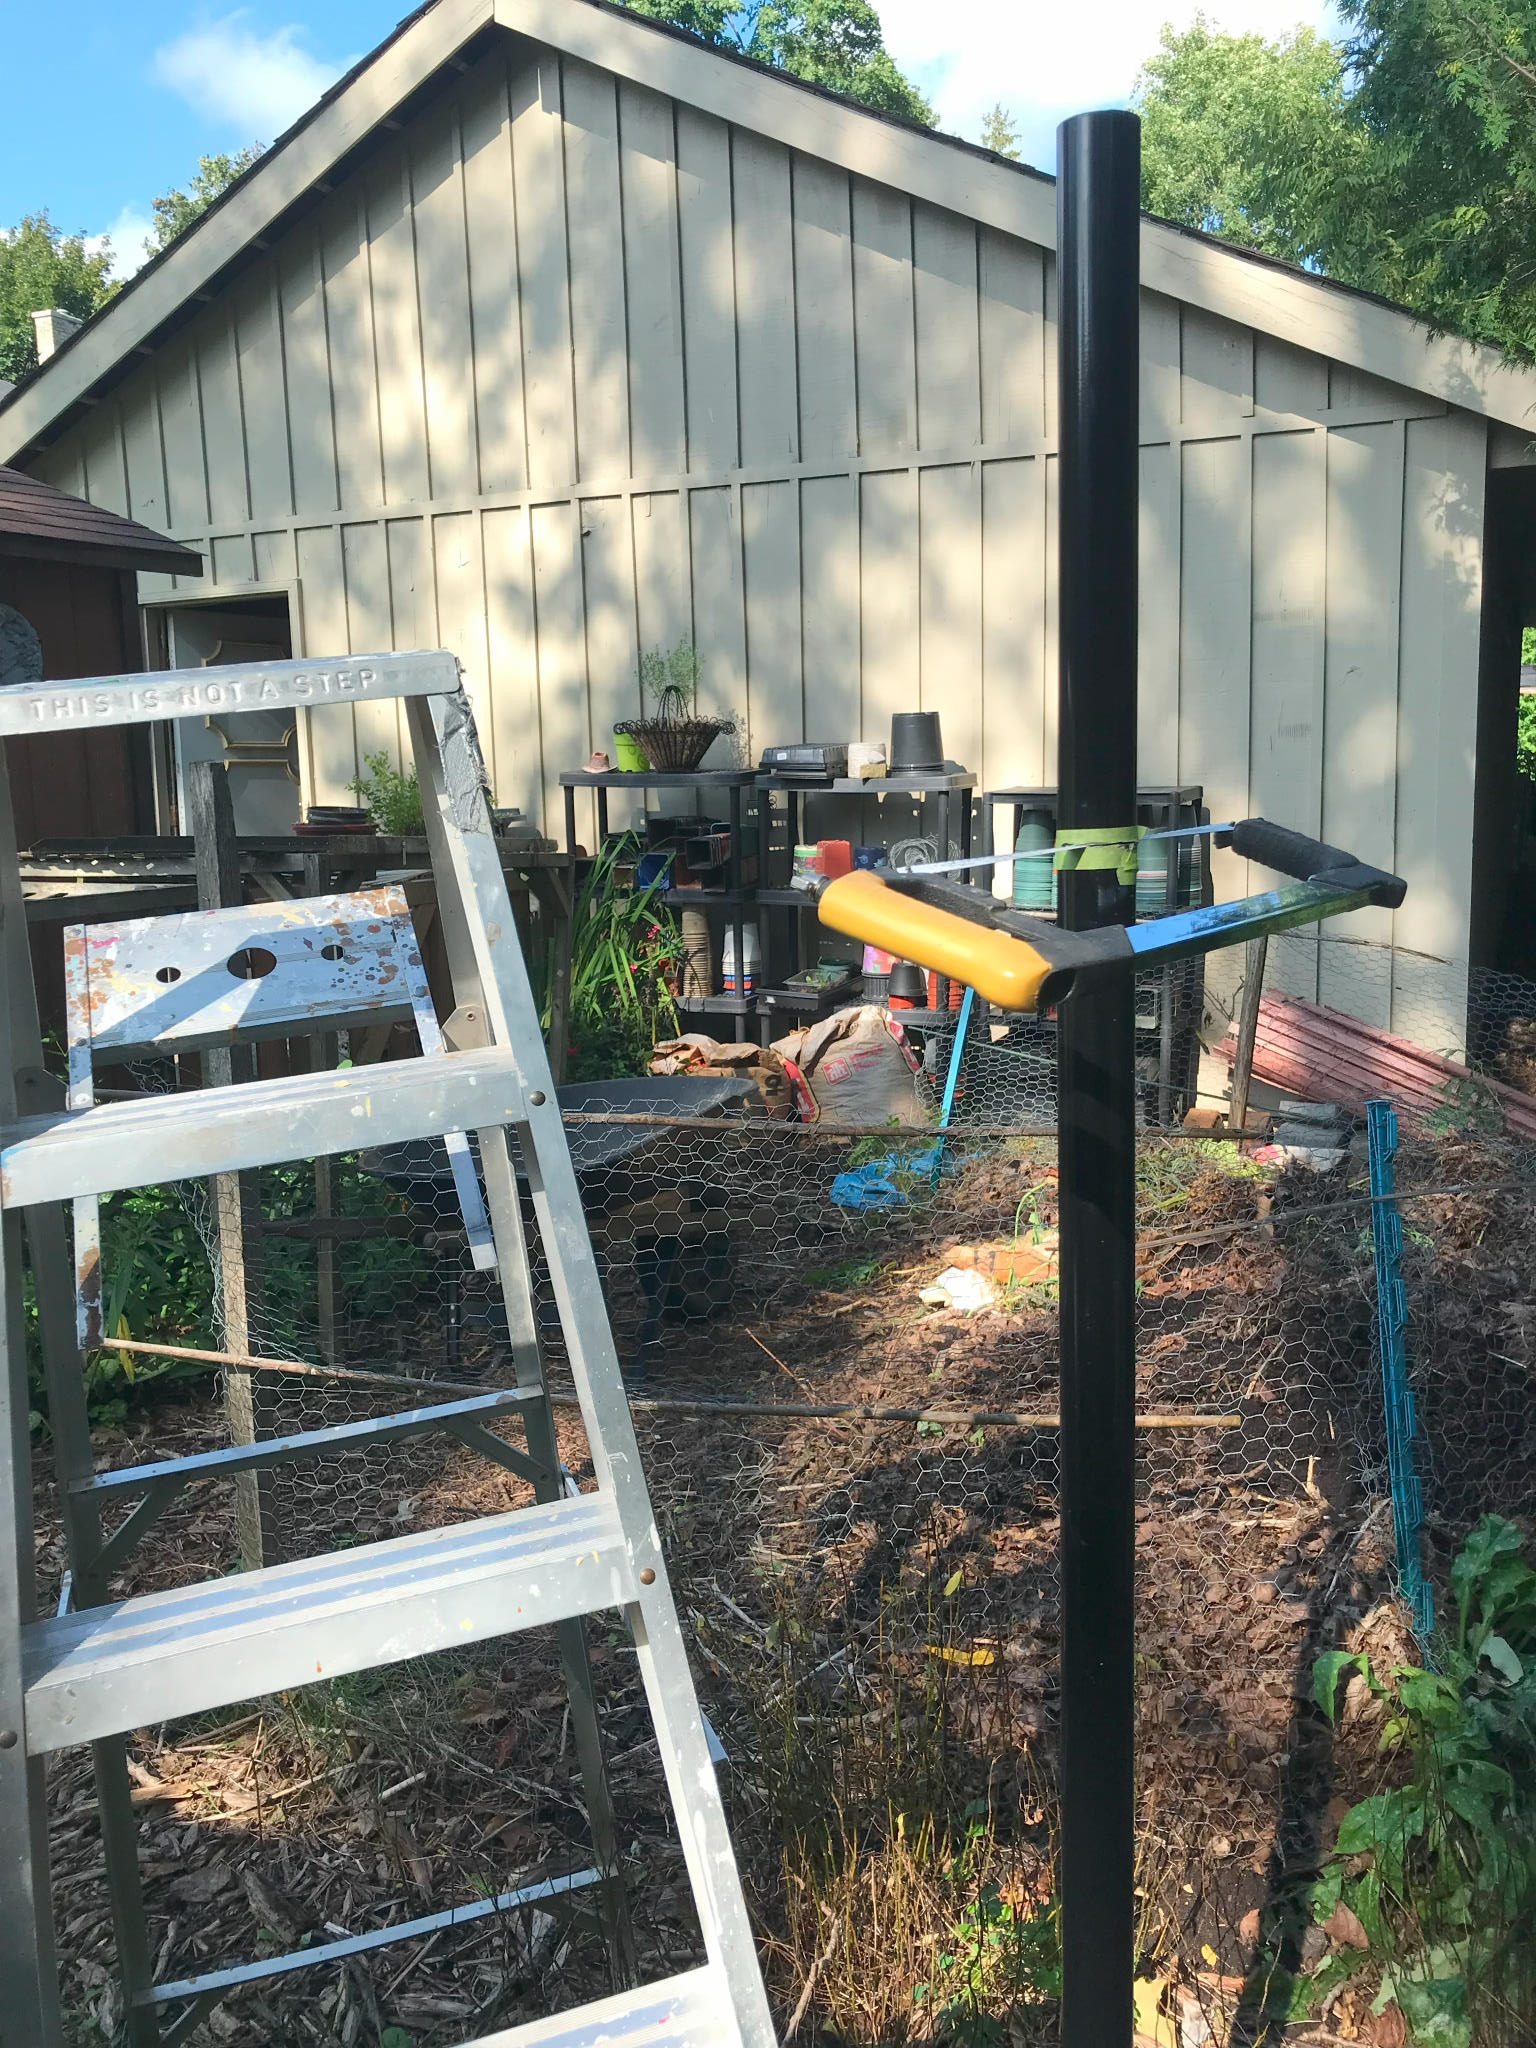
Top Tip of the Day : hacksaws work a lot better with a sharp blade. The first few posts took 15mins each and then I finally realized the blades the dull. After that, I changed out the blades every 4 posts or so they only took a few mins each. Significant improvement in time and energy.
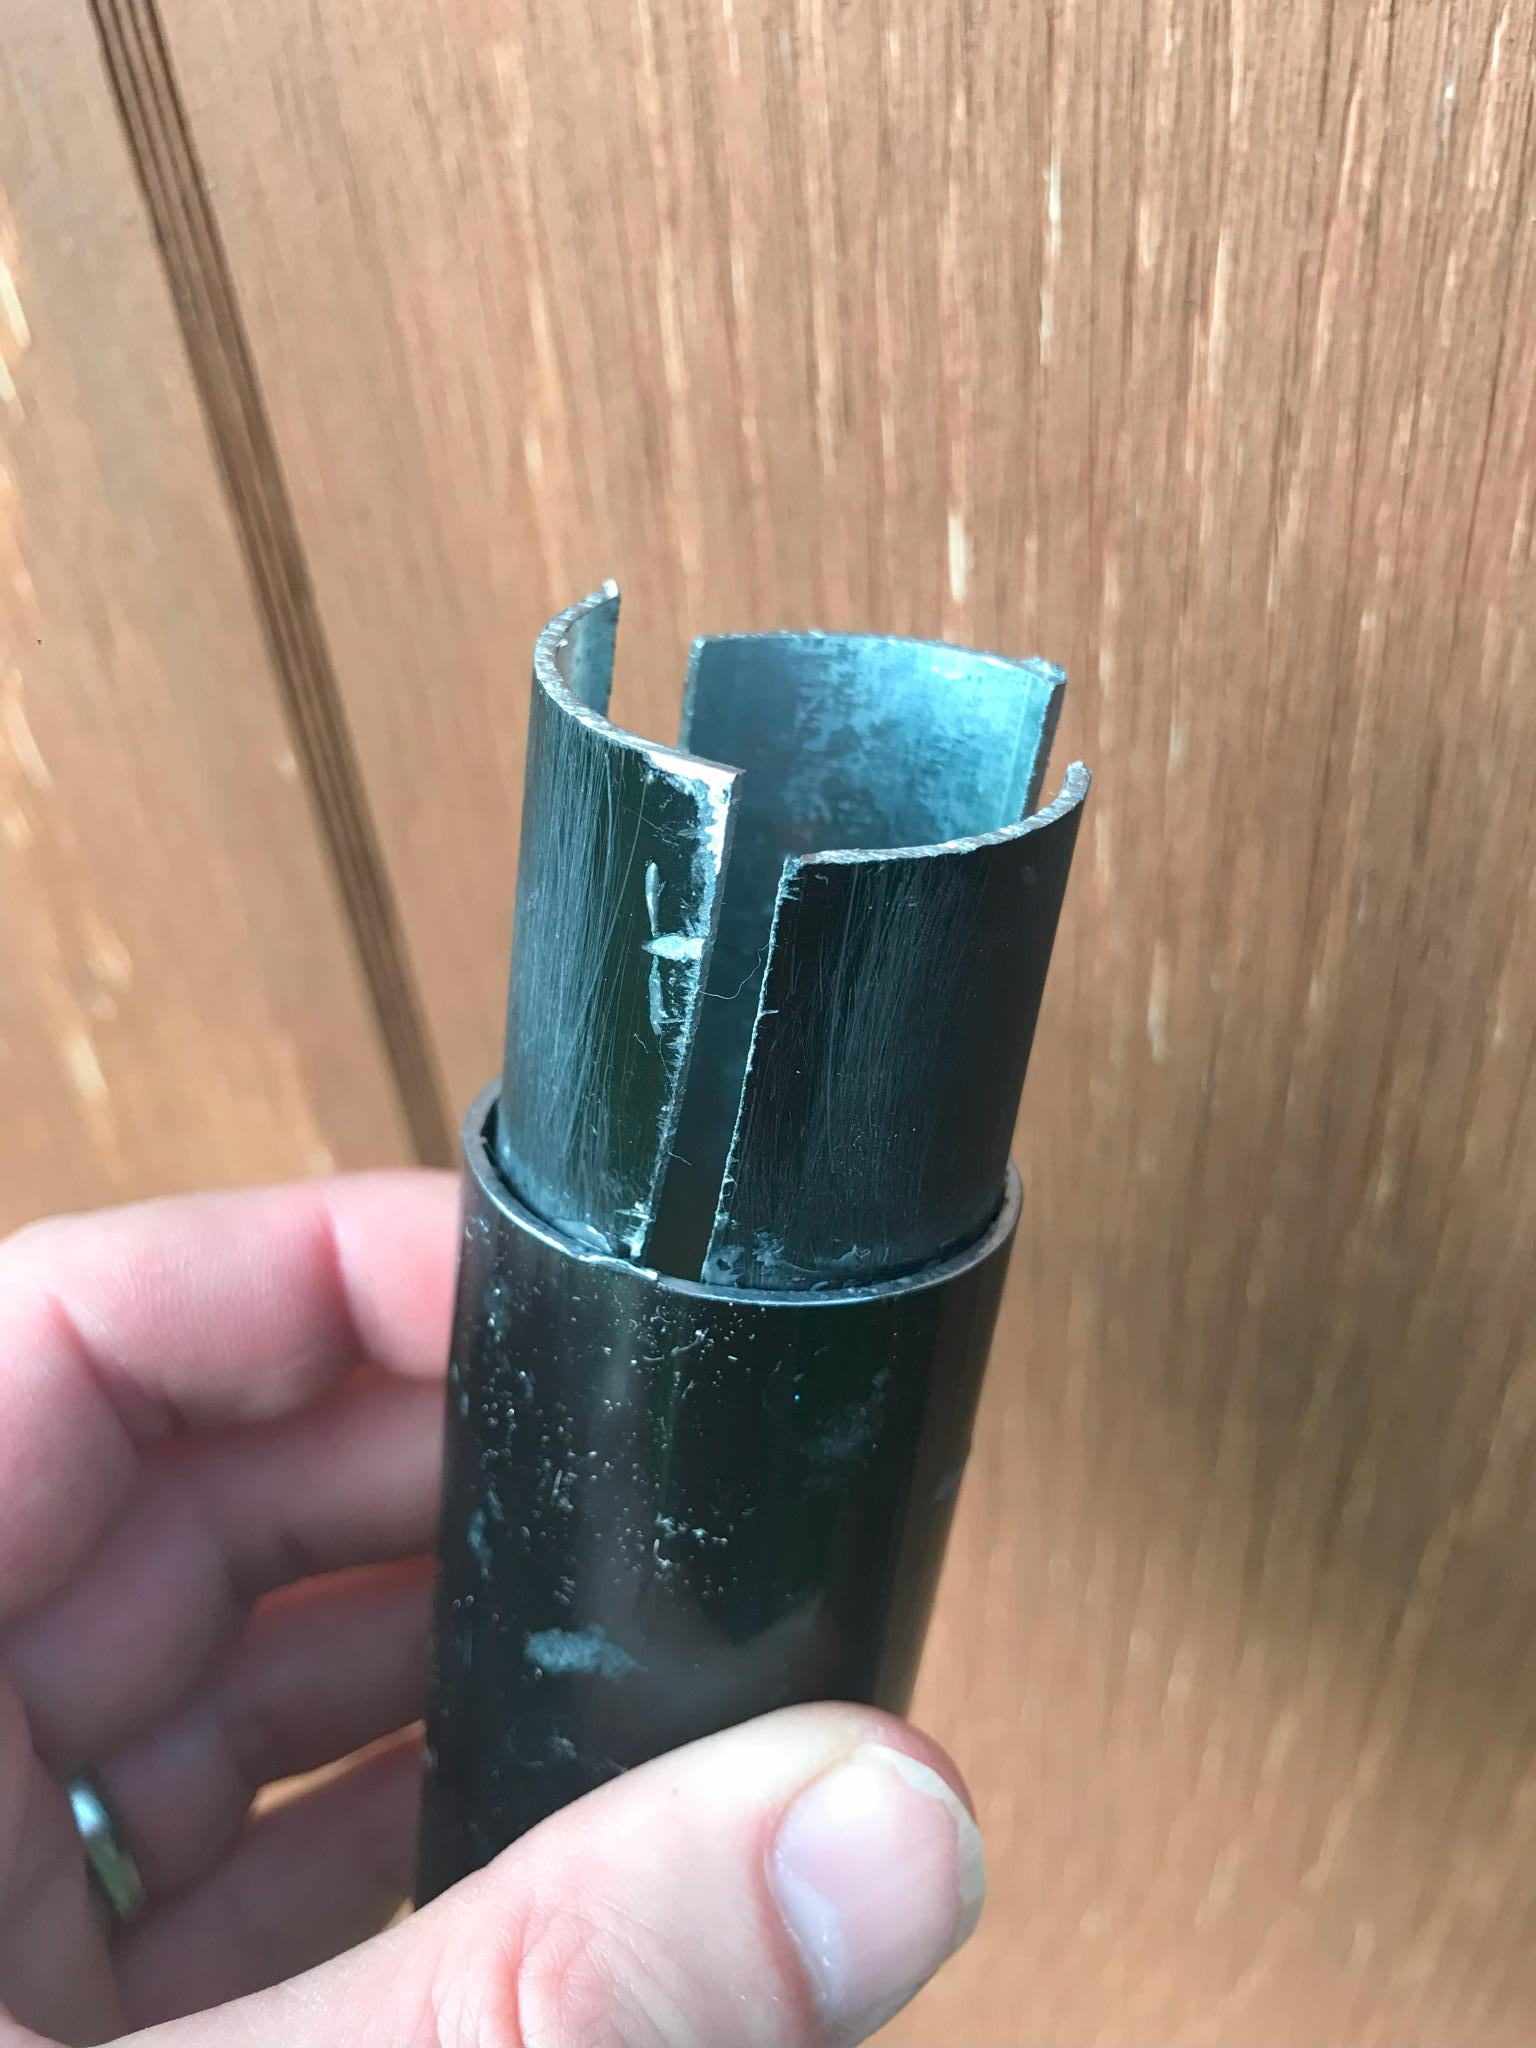
This was about the time I screwed up. For the posts at the end of the garden I measured the cut line from the bottom of the pole. That meant that each post followed the gradient of the garden. Big mistake. It meant that some posts were shorter than the others. Like this.

Yup. Since I had cut a few poles I did have spare material, so was able to cut a piece to the missing size, then cut up a portion of another piece of pole to use as inserts. I gave them a good sanding, then used 2-part epoxy glue to put it all together.
It wasn’t bad, apart from the excise glue making a mess on the sides.
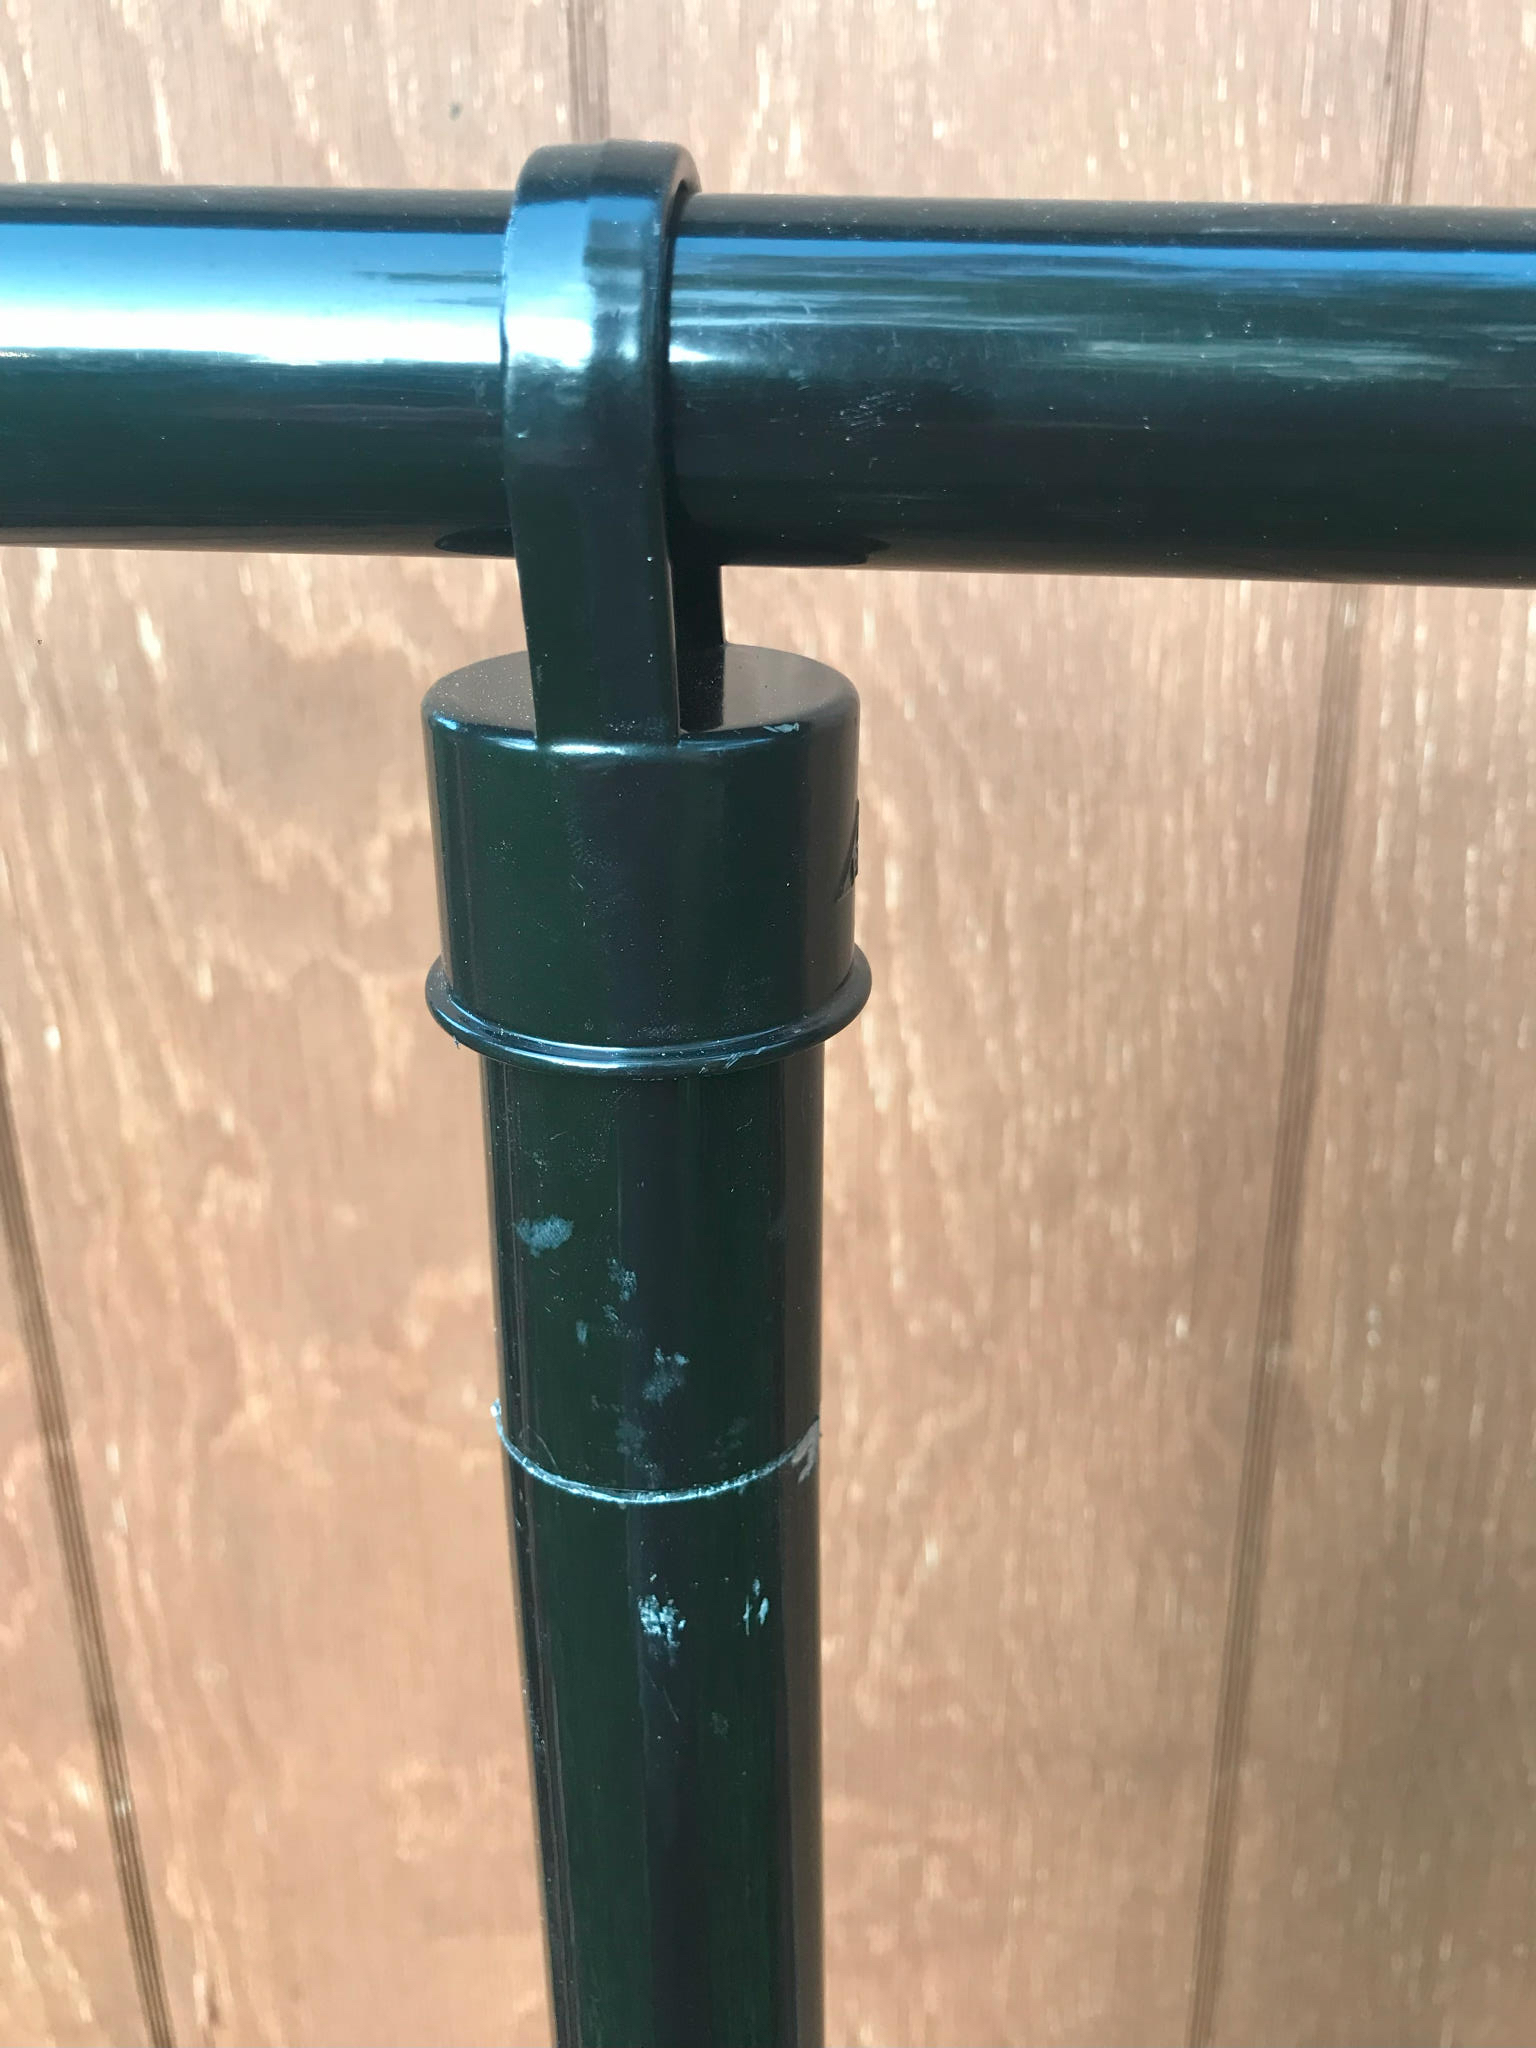
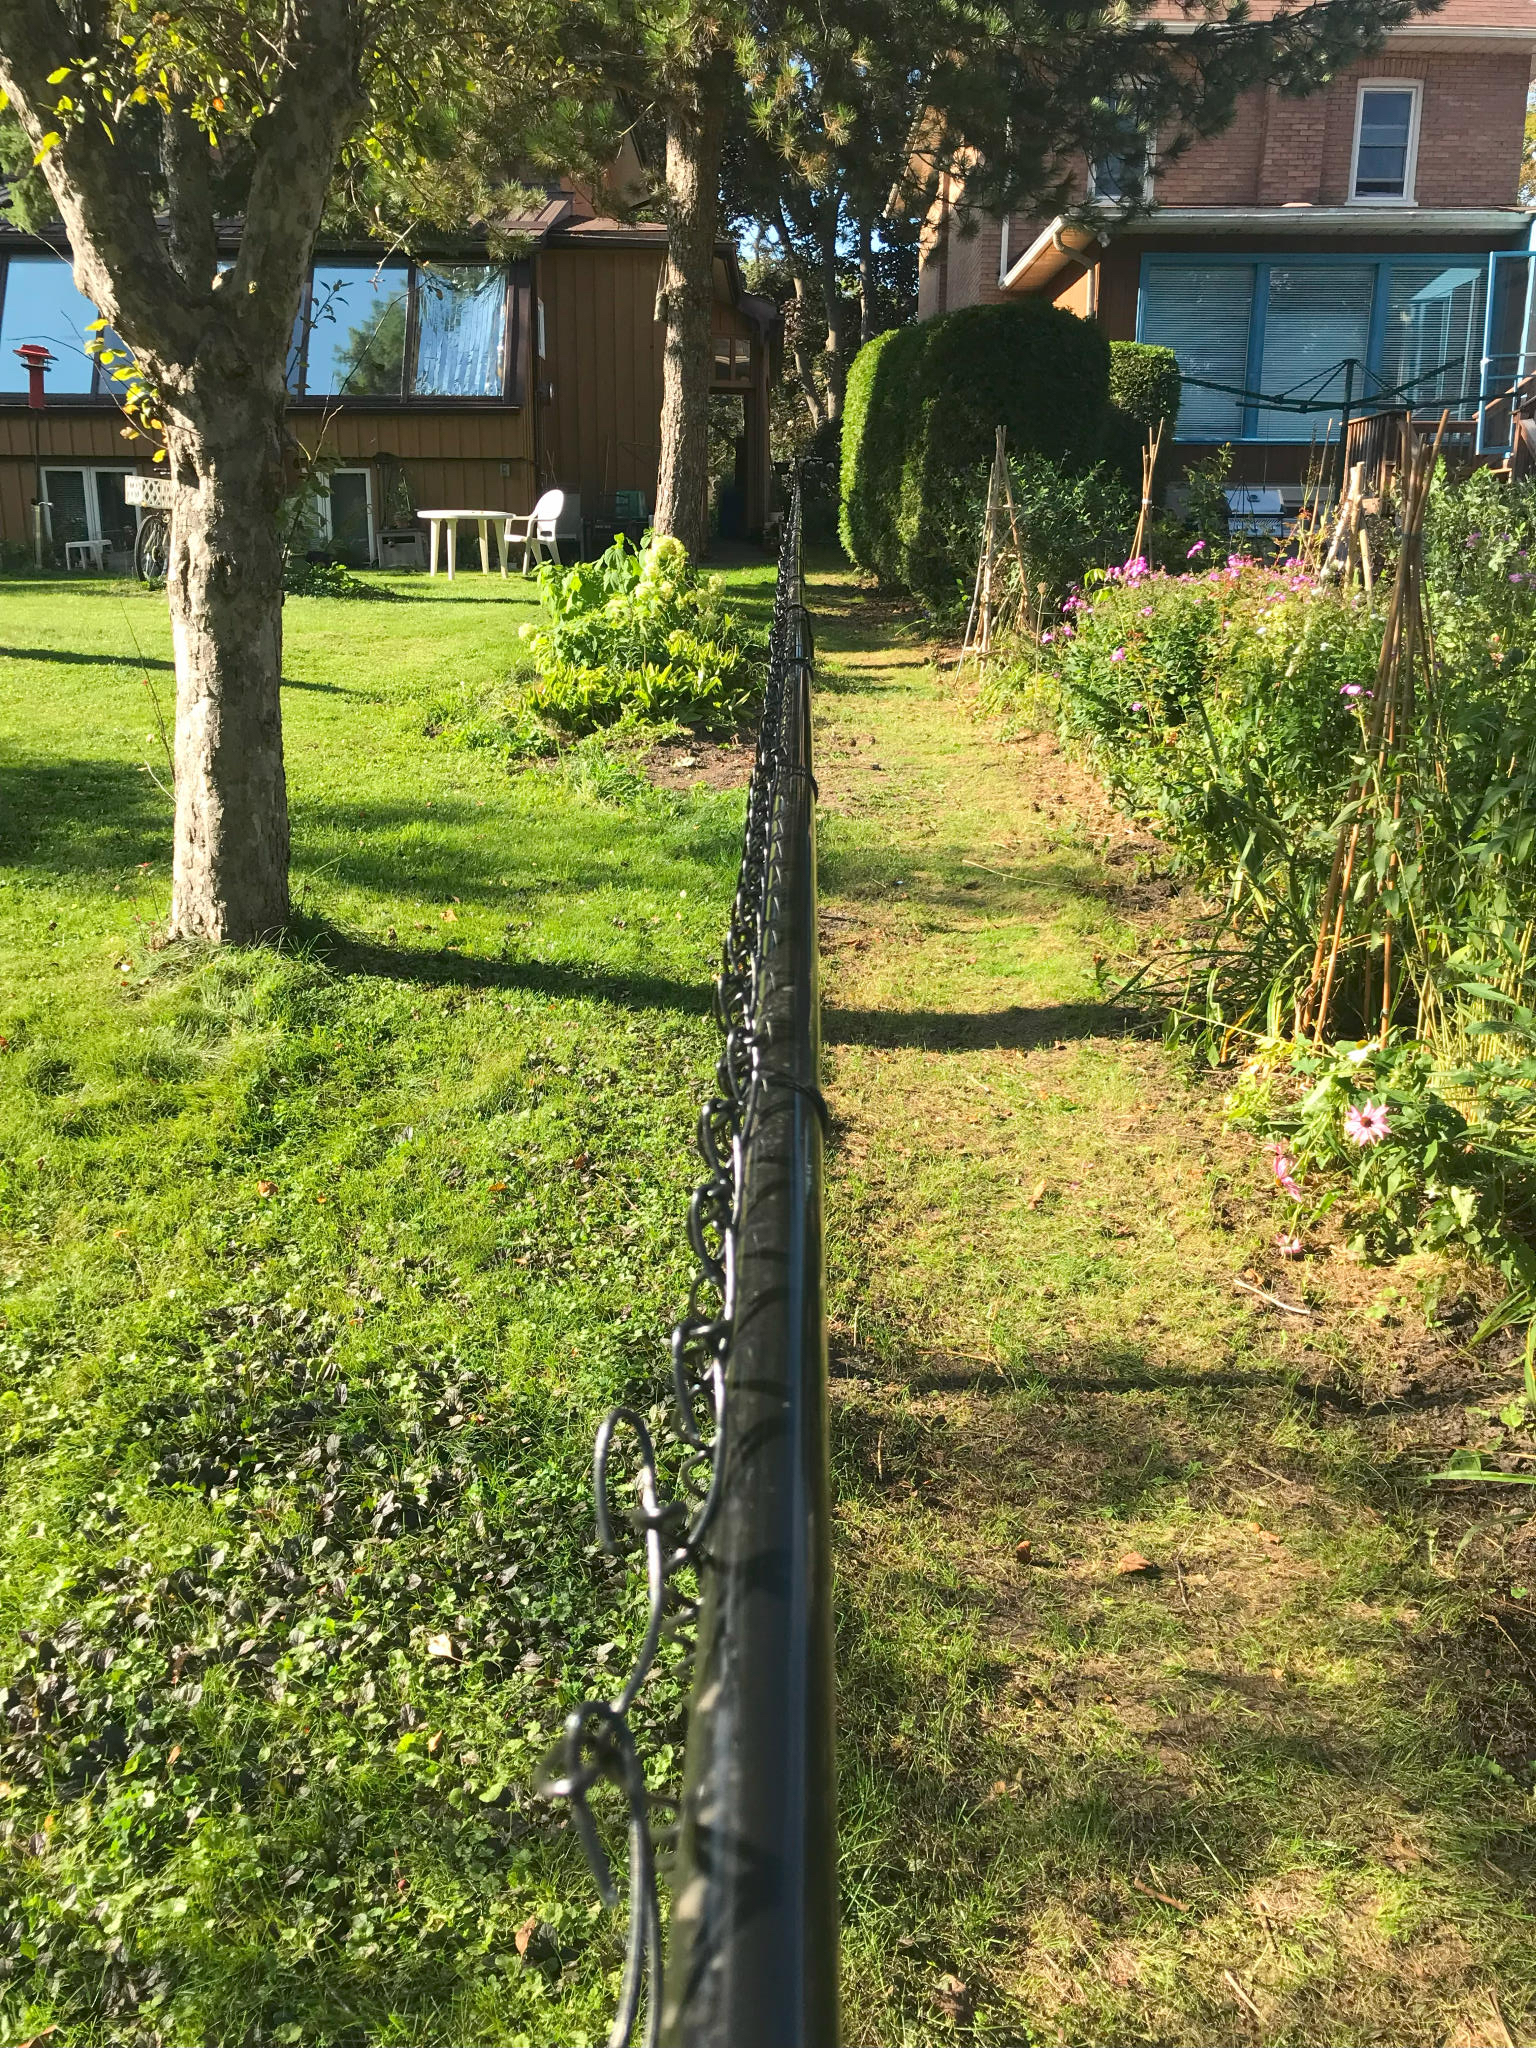
Which brings me to the next Top Tip. Use a string line stretched from the end poles to mark where the cuts should be.
The top rail now went on nicely. You can see in the finished pictures what a different this makes, as the fence looks straight and narrow.
The actual chain link is a pain in the but to work with. I didn’t take many pictures as I was too busy untangling it. Every time I moved it, it got tangled again. Grrr.
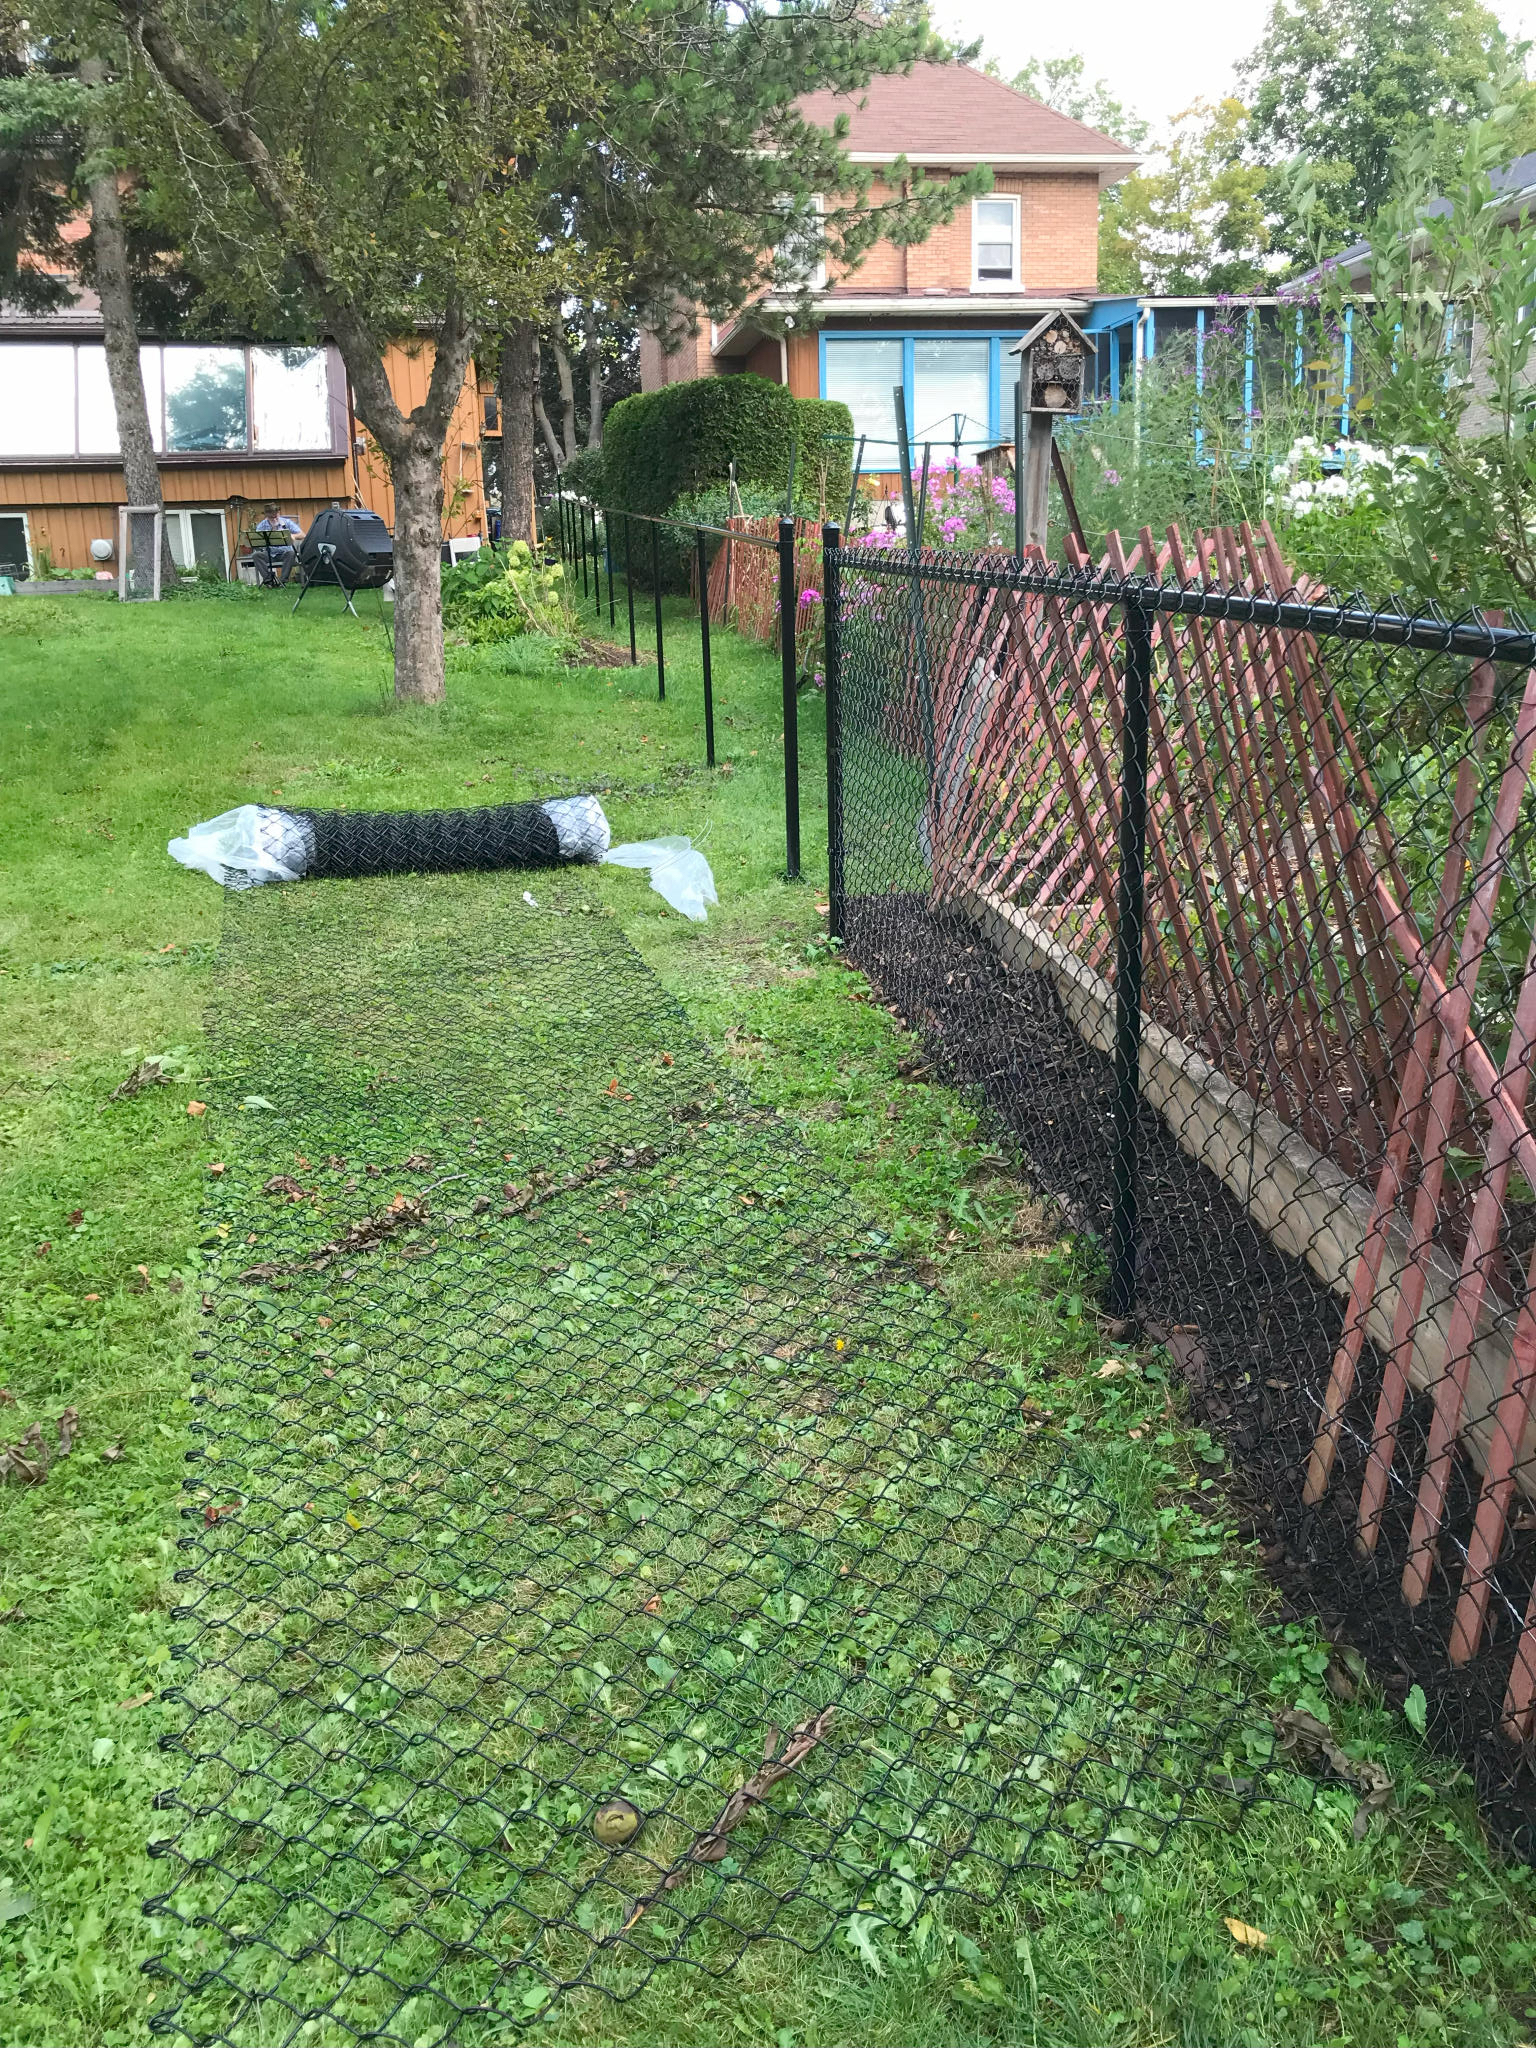
A new piece of chain link rolled out ready to use. Top Tip : don’t do this. It looks pretty but now you have to hold it vertical and move it to the fence as the whole thing twists and tangles (again).
I had more success with holding it vertical, unrolling a bit, loosely tying it to the top rail and then unrolling a bit more.
What is pretty neat is that you can ‘weave’ two pieces together. Each piece of fence is a strand of wire from top to bottom in a zig-zag shape. It is possible to twist a strand out to shorten the fence, or use a strand to join two pieces together.
After the chain link is on loose it needs to be stretched. I rented a ‘come-along’, basically a hand winch, from the local rental shop for a day to do this. In retrospect I did not stretch it tight enough. It’s not bad, but is a bit looser than I would like. After that the fence is kept in place with many, many, little twisty bits of wire.
Here are a few pics of the fence as we took out the old fence and trimmed.

At this point the fence was done, but we also wanted to stop weeds spreading (as if that is possible), so I also dug in a 4” plastic garden edge along the whole length.
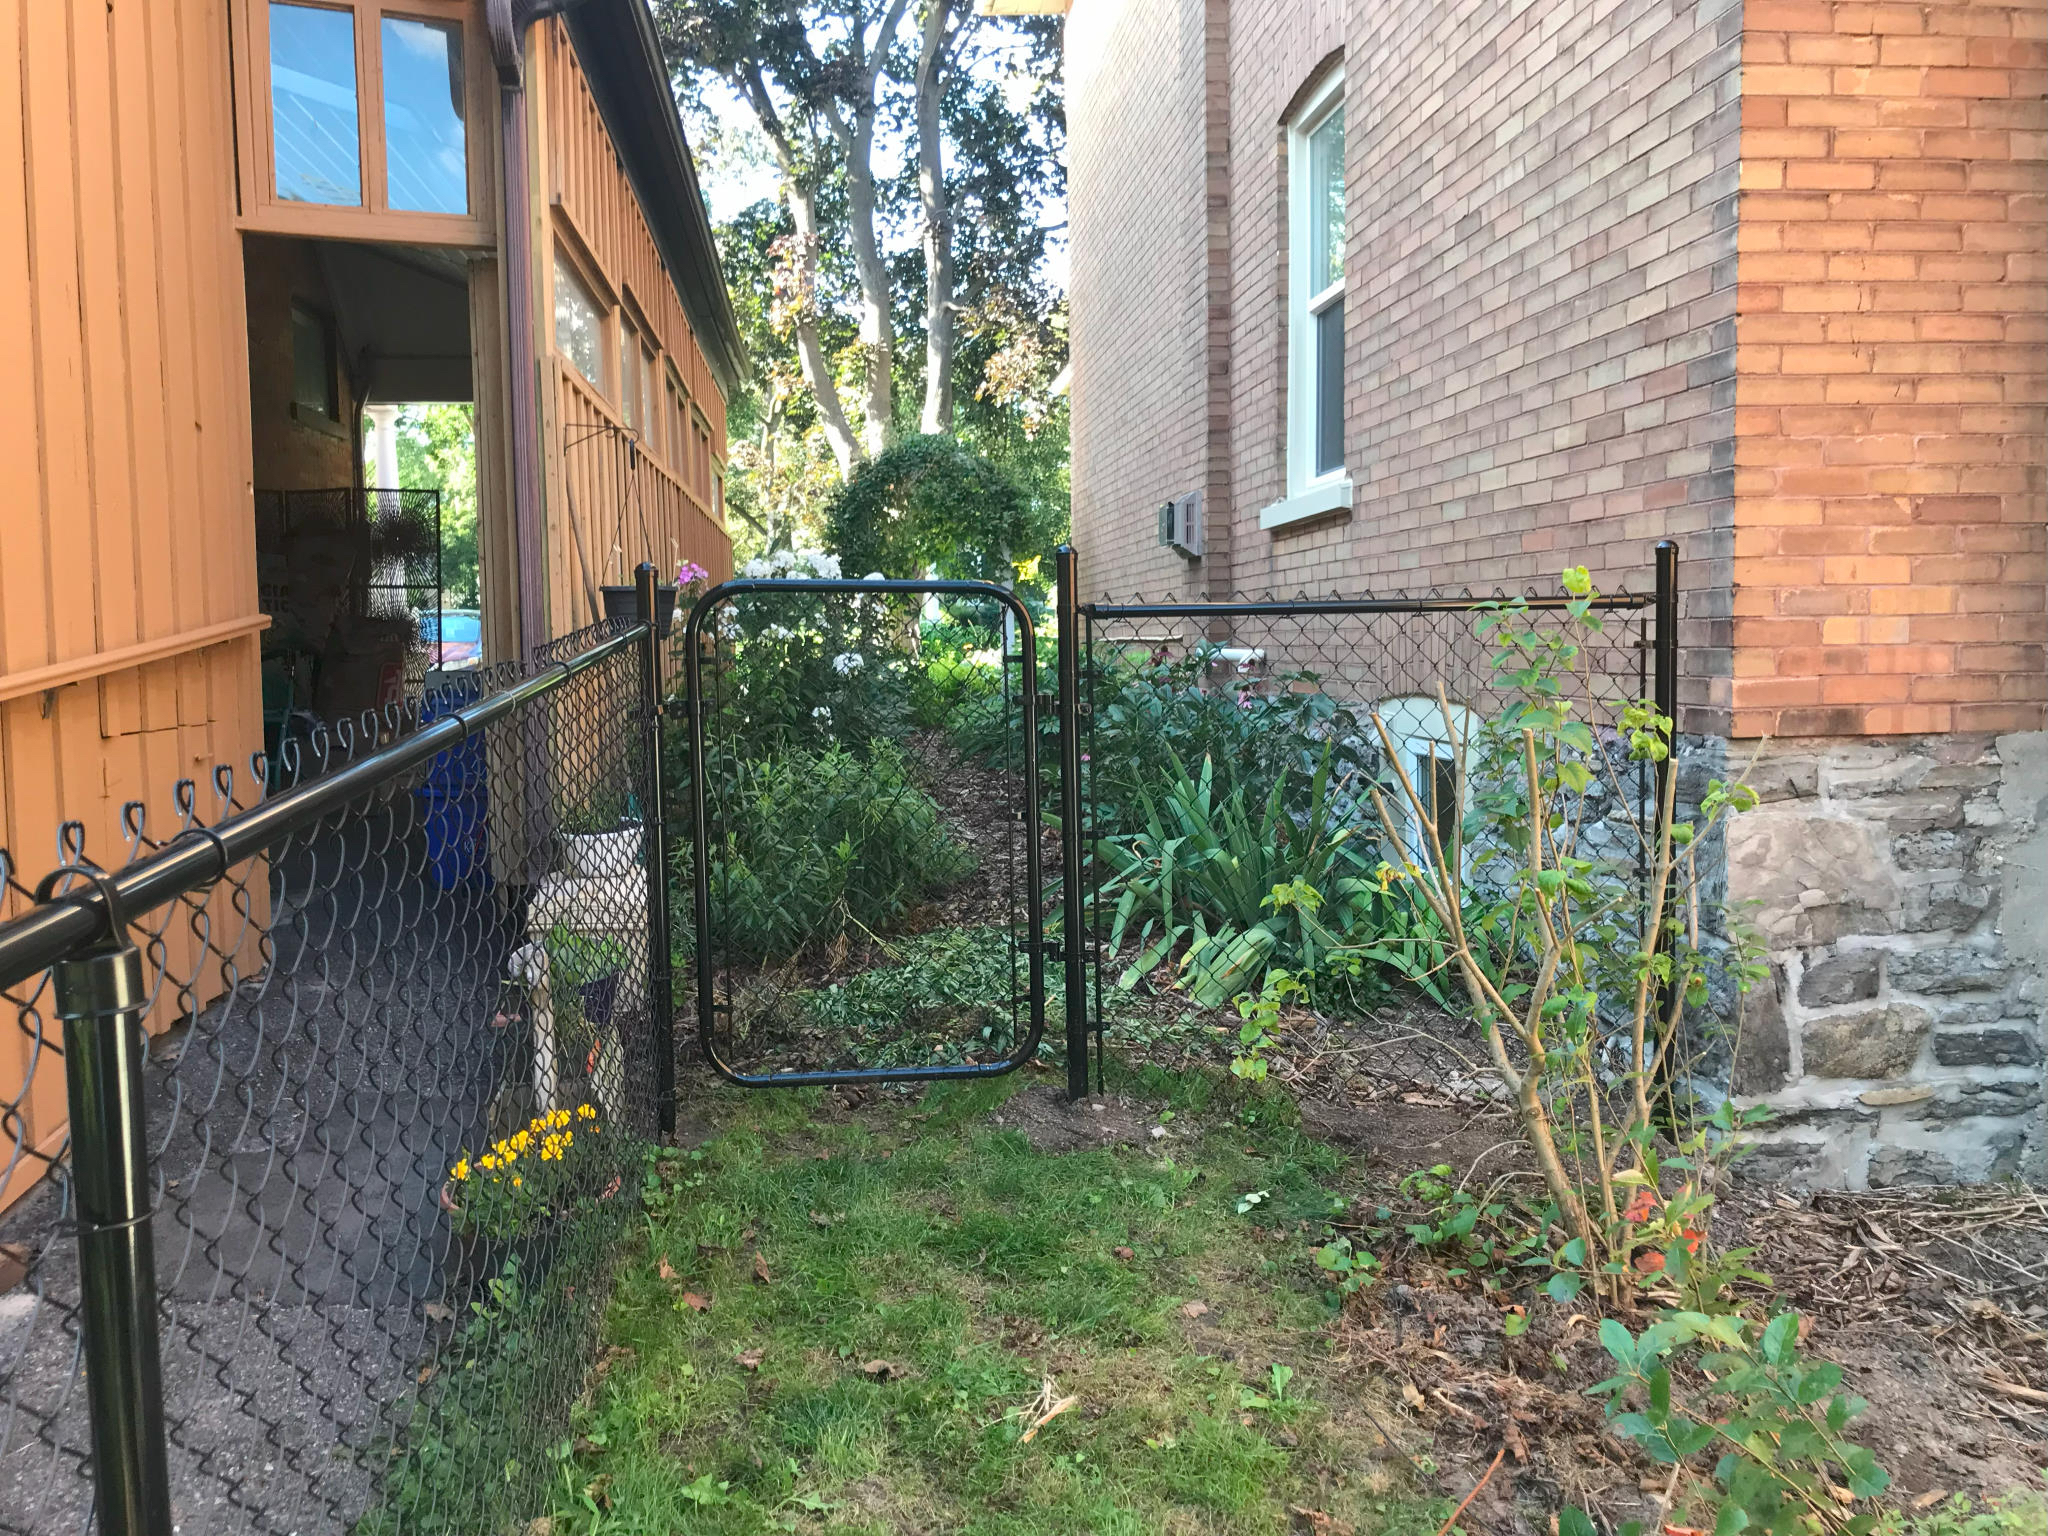
We also put in two gates along the length, so we can still visit each other’s gardens.
Here’s one
All in all, it took a few weeks of working evenings and a two full weekends to complete. Overall, I’m quite pleased with it.