Halloween Boards
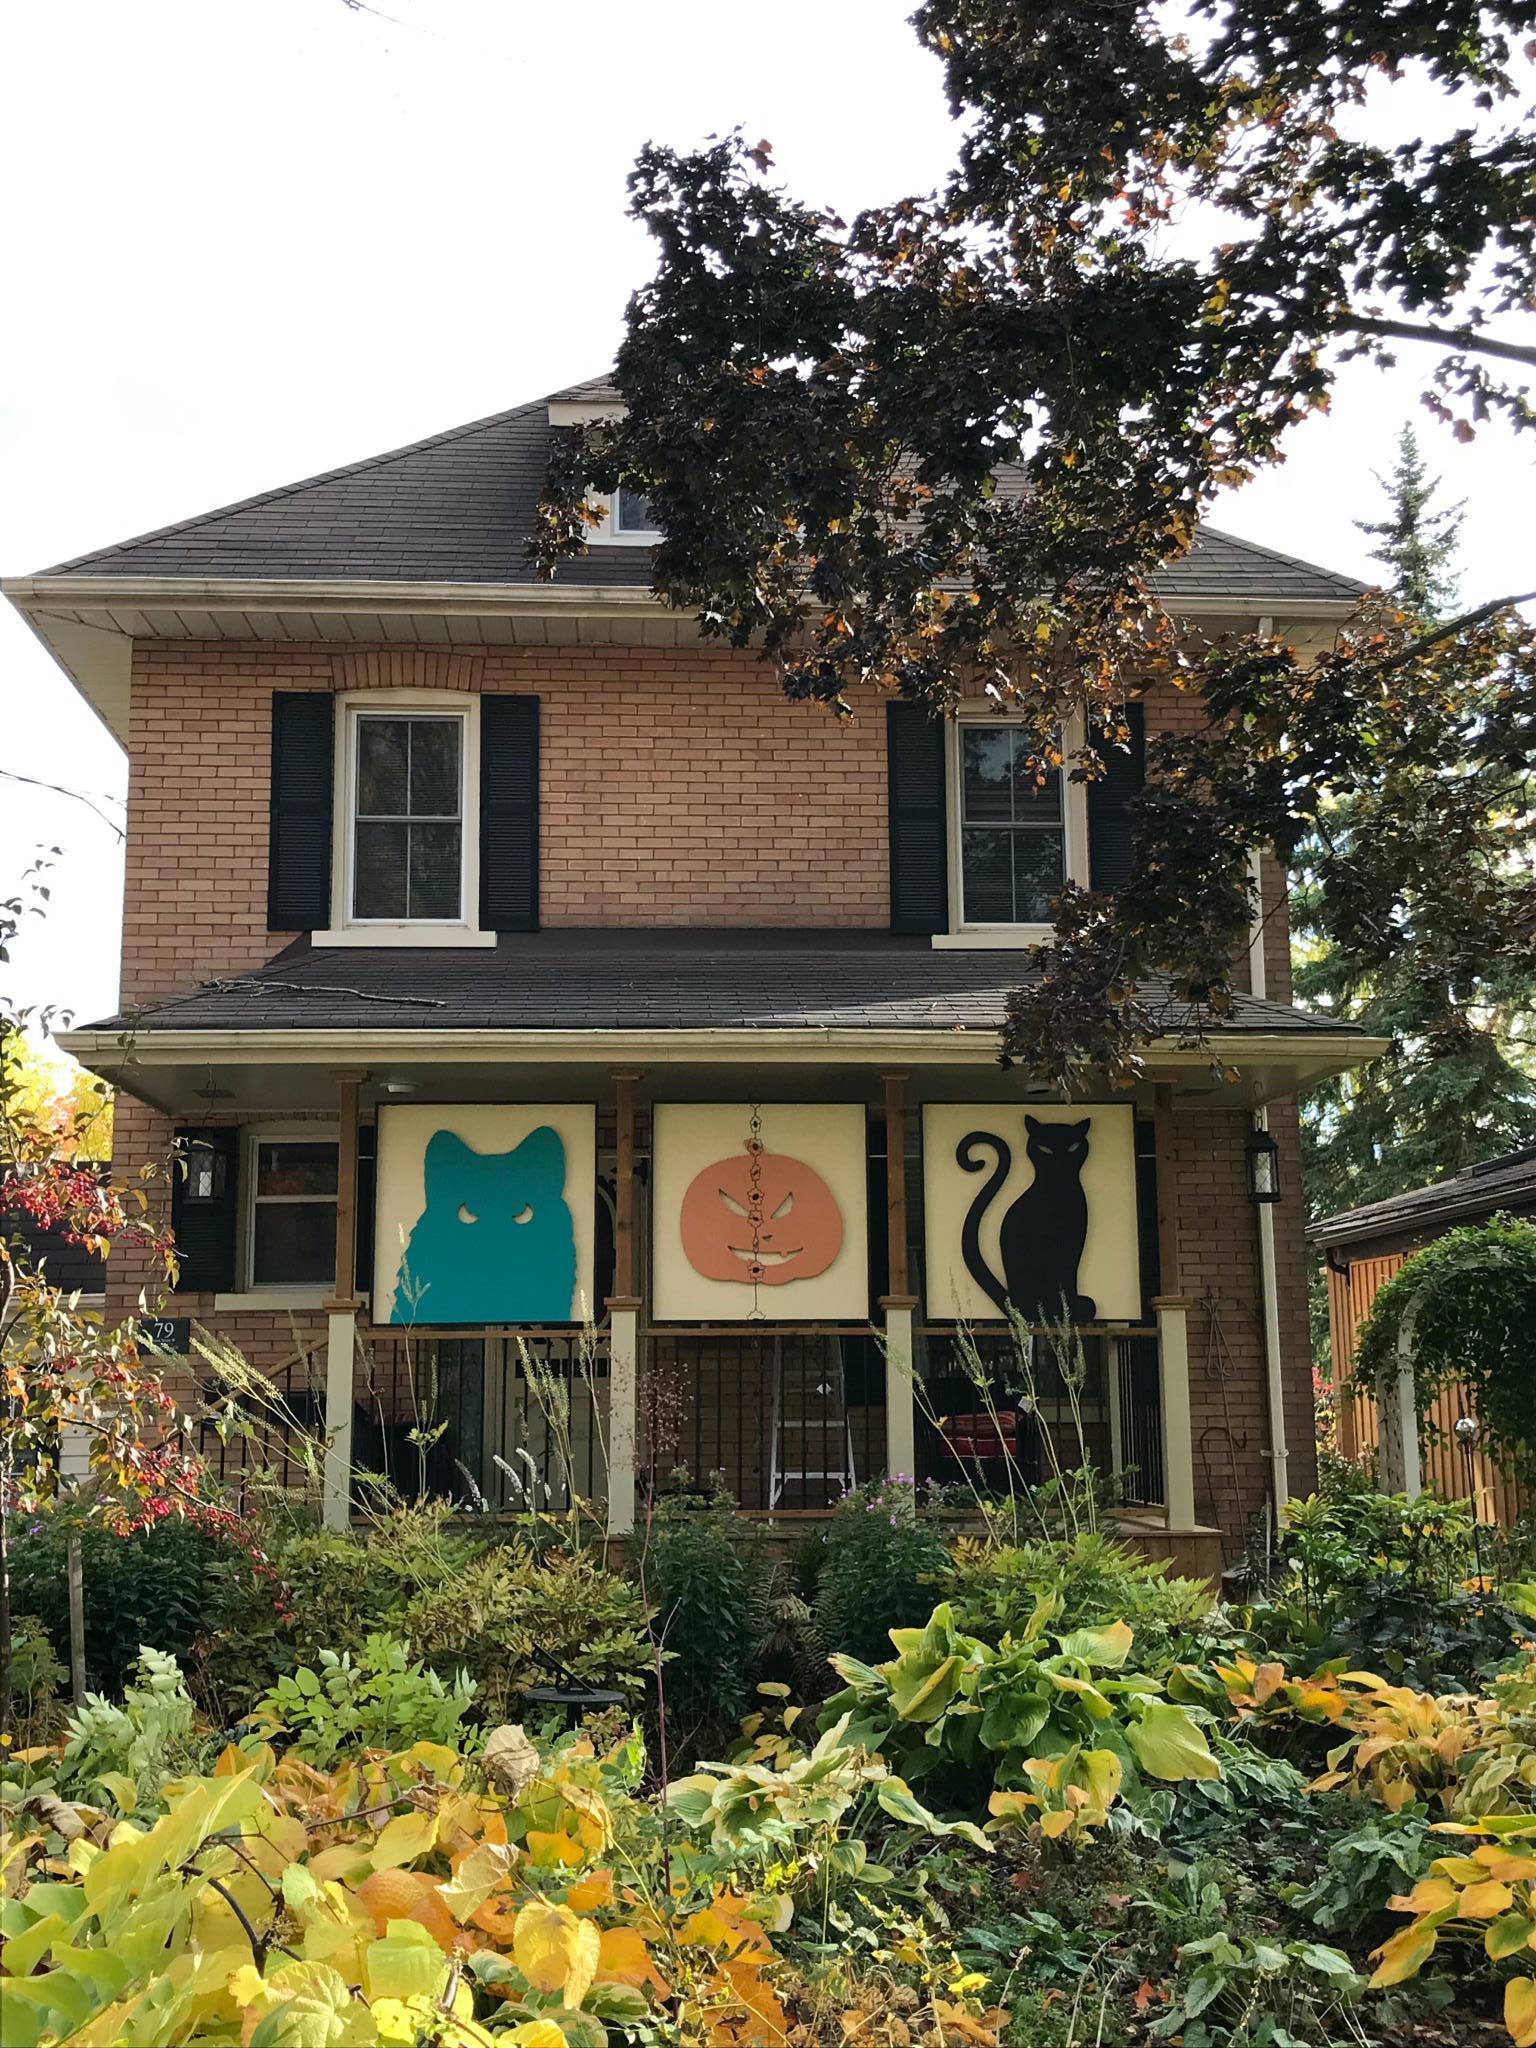
This year we’re looking good for halloween with some brightly lit panels on the front of the house.
First of, this is not my idea. I took inspiration from this great Instructable Halloween Garage Door Silhouette. We don’t have a garage though, so I wondered if I could do something for our porch.
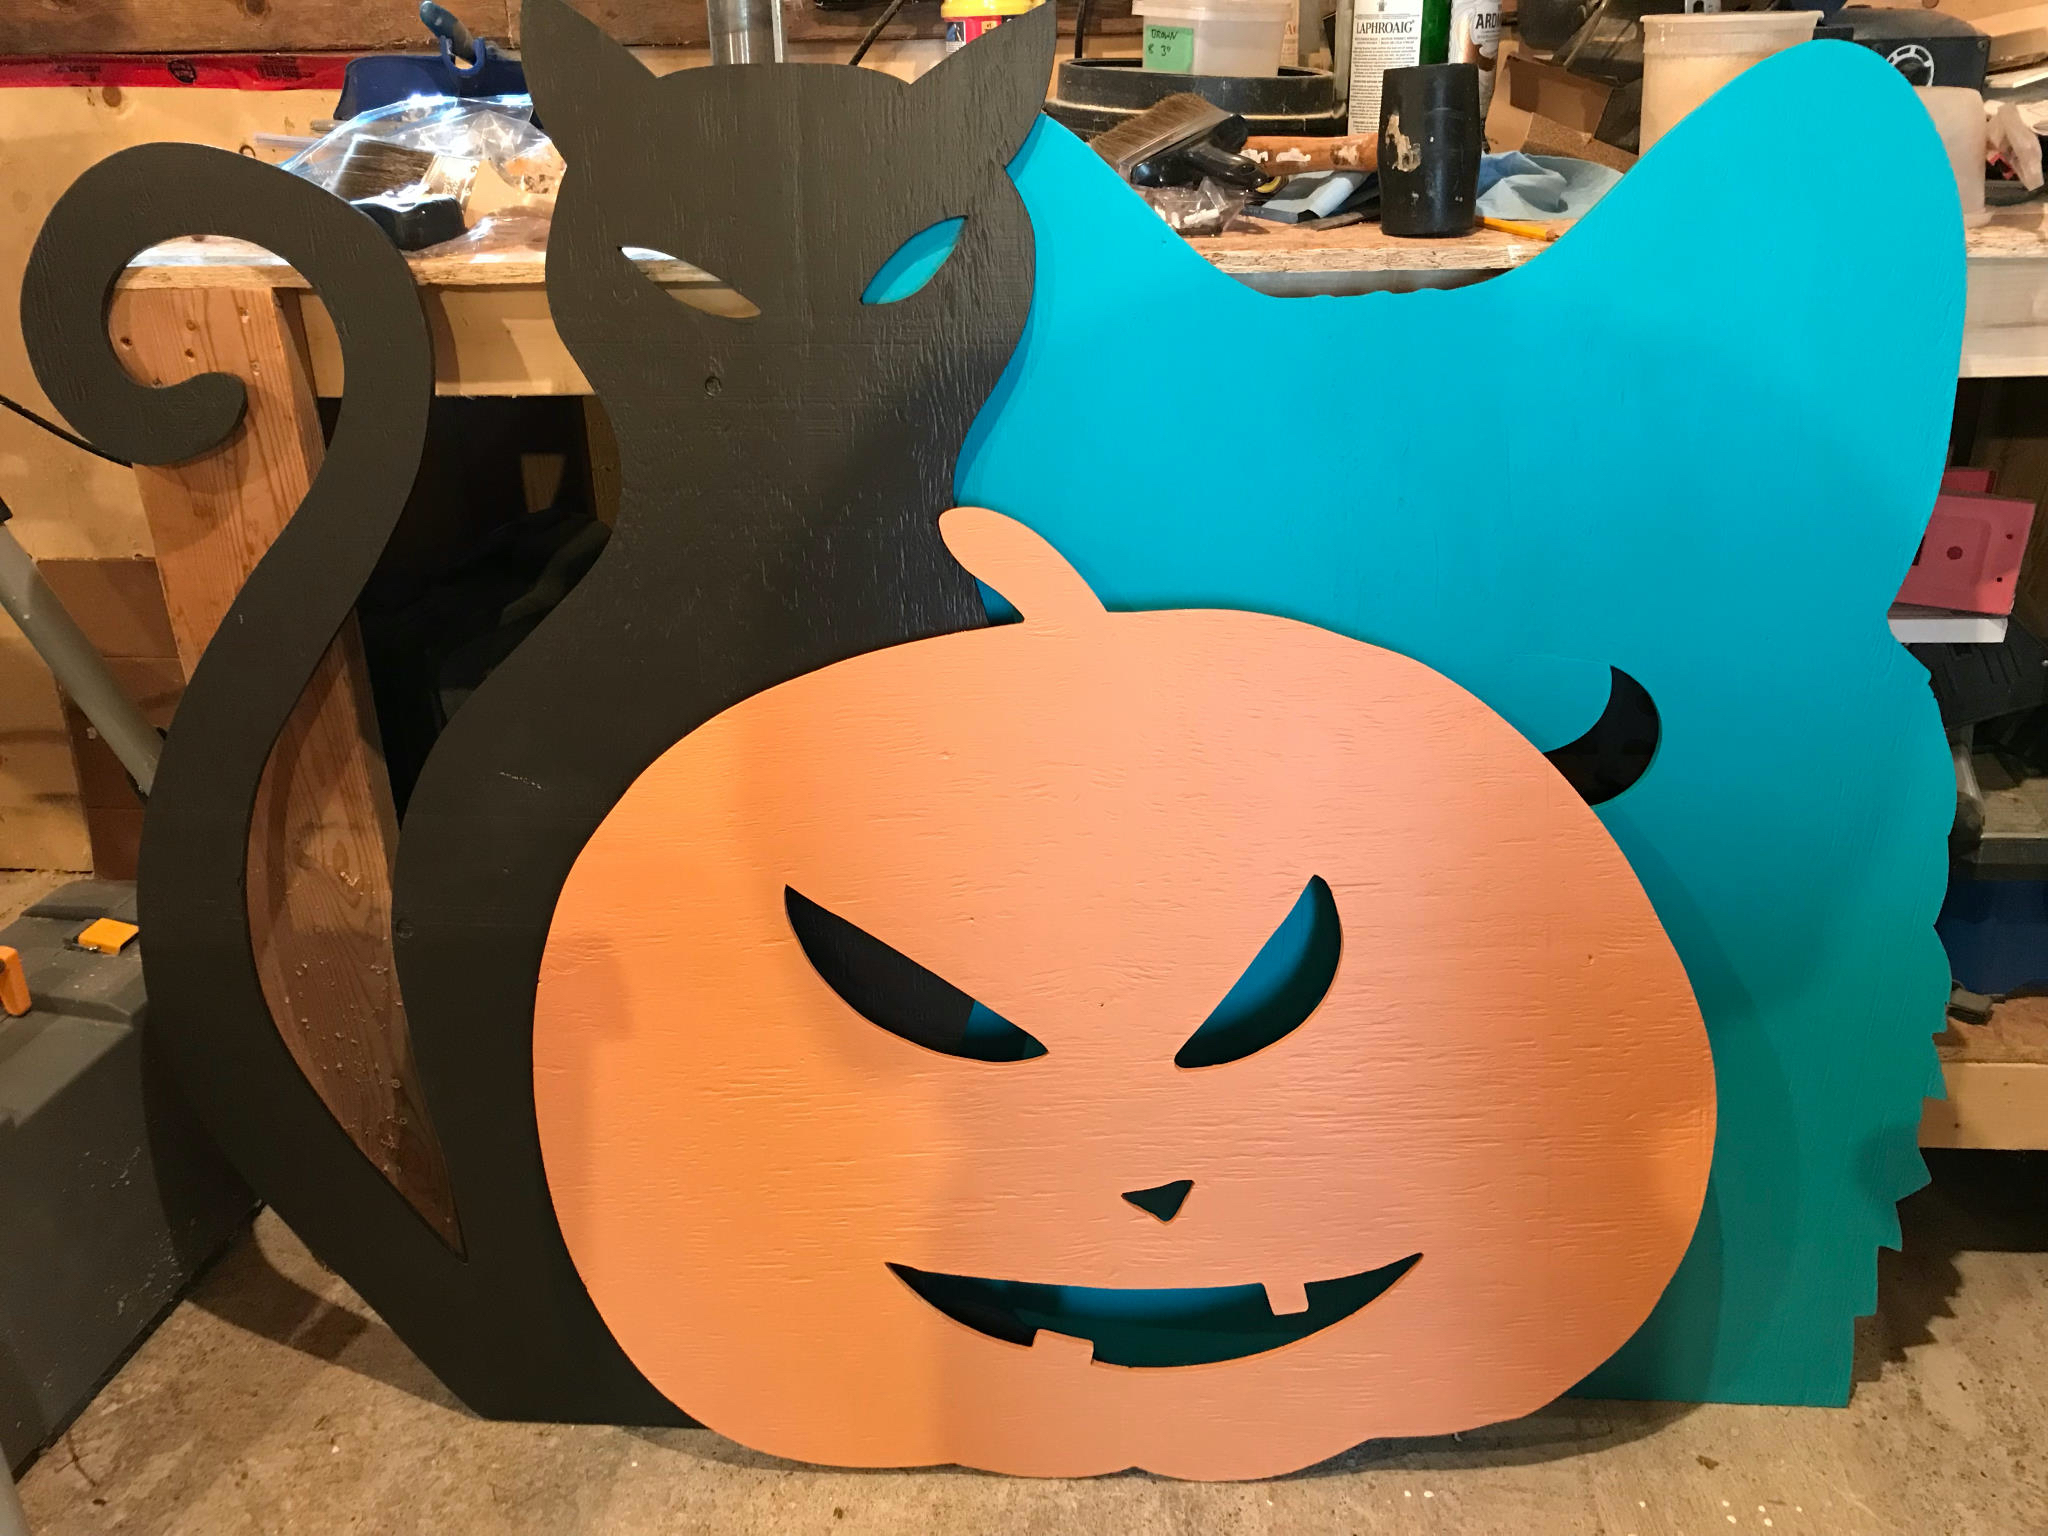
But what to do? I’m not the real arty type so it took more than a few google DuckDuckGo searches to get some ideas. The dragon was a favourite but in the end I went with classic family friendly shapes, as we do get a lot of kids on our street.
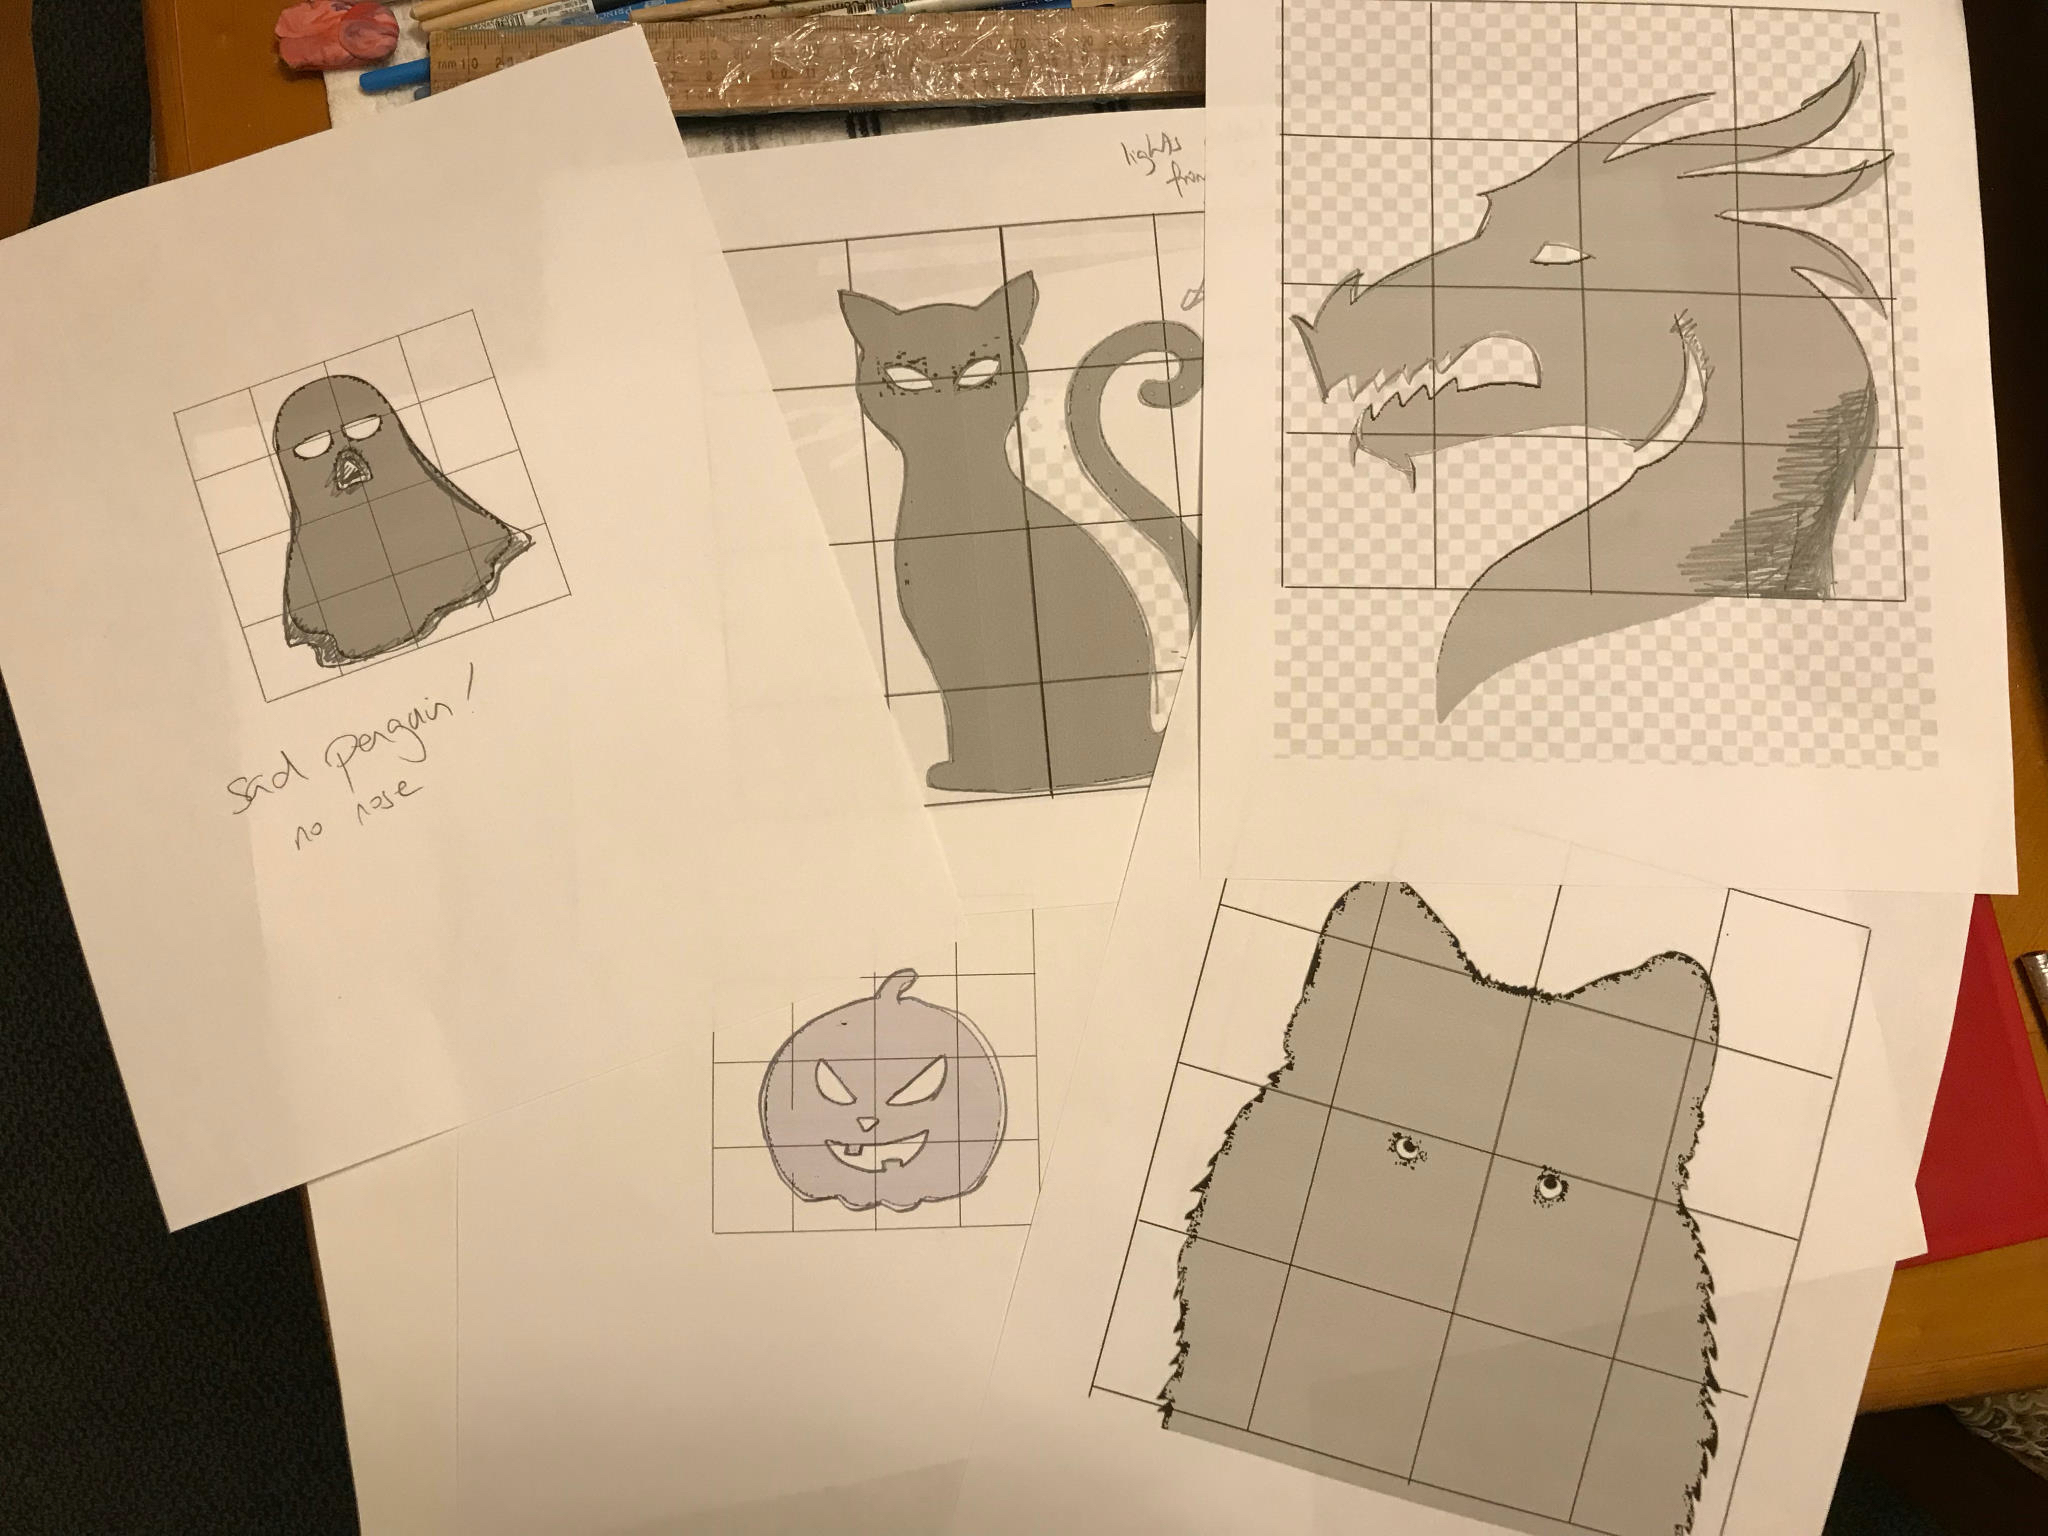
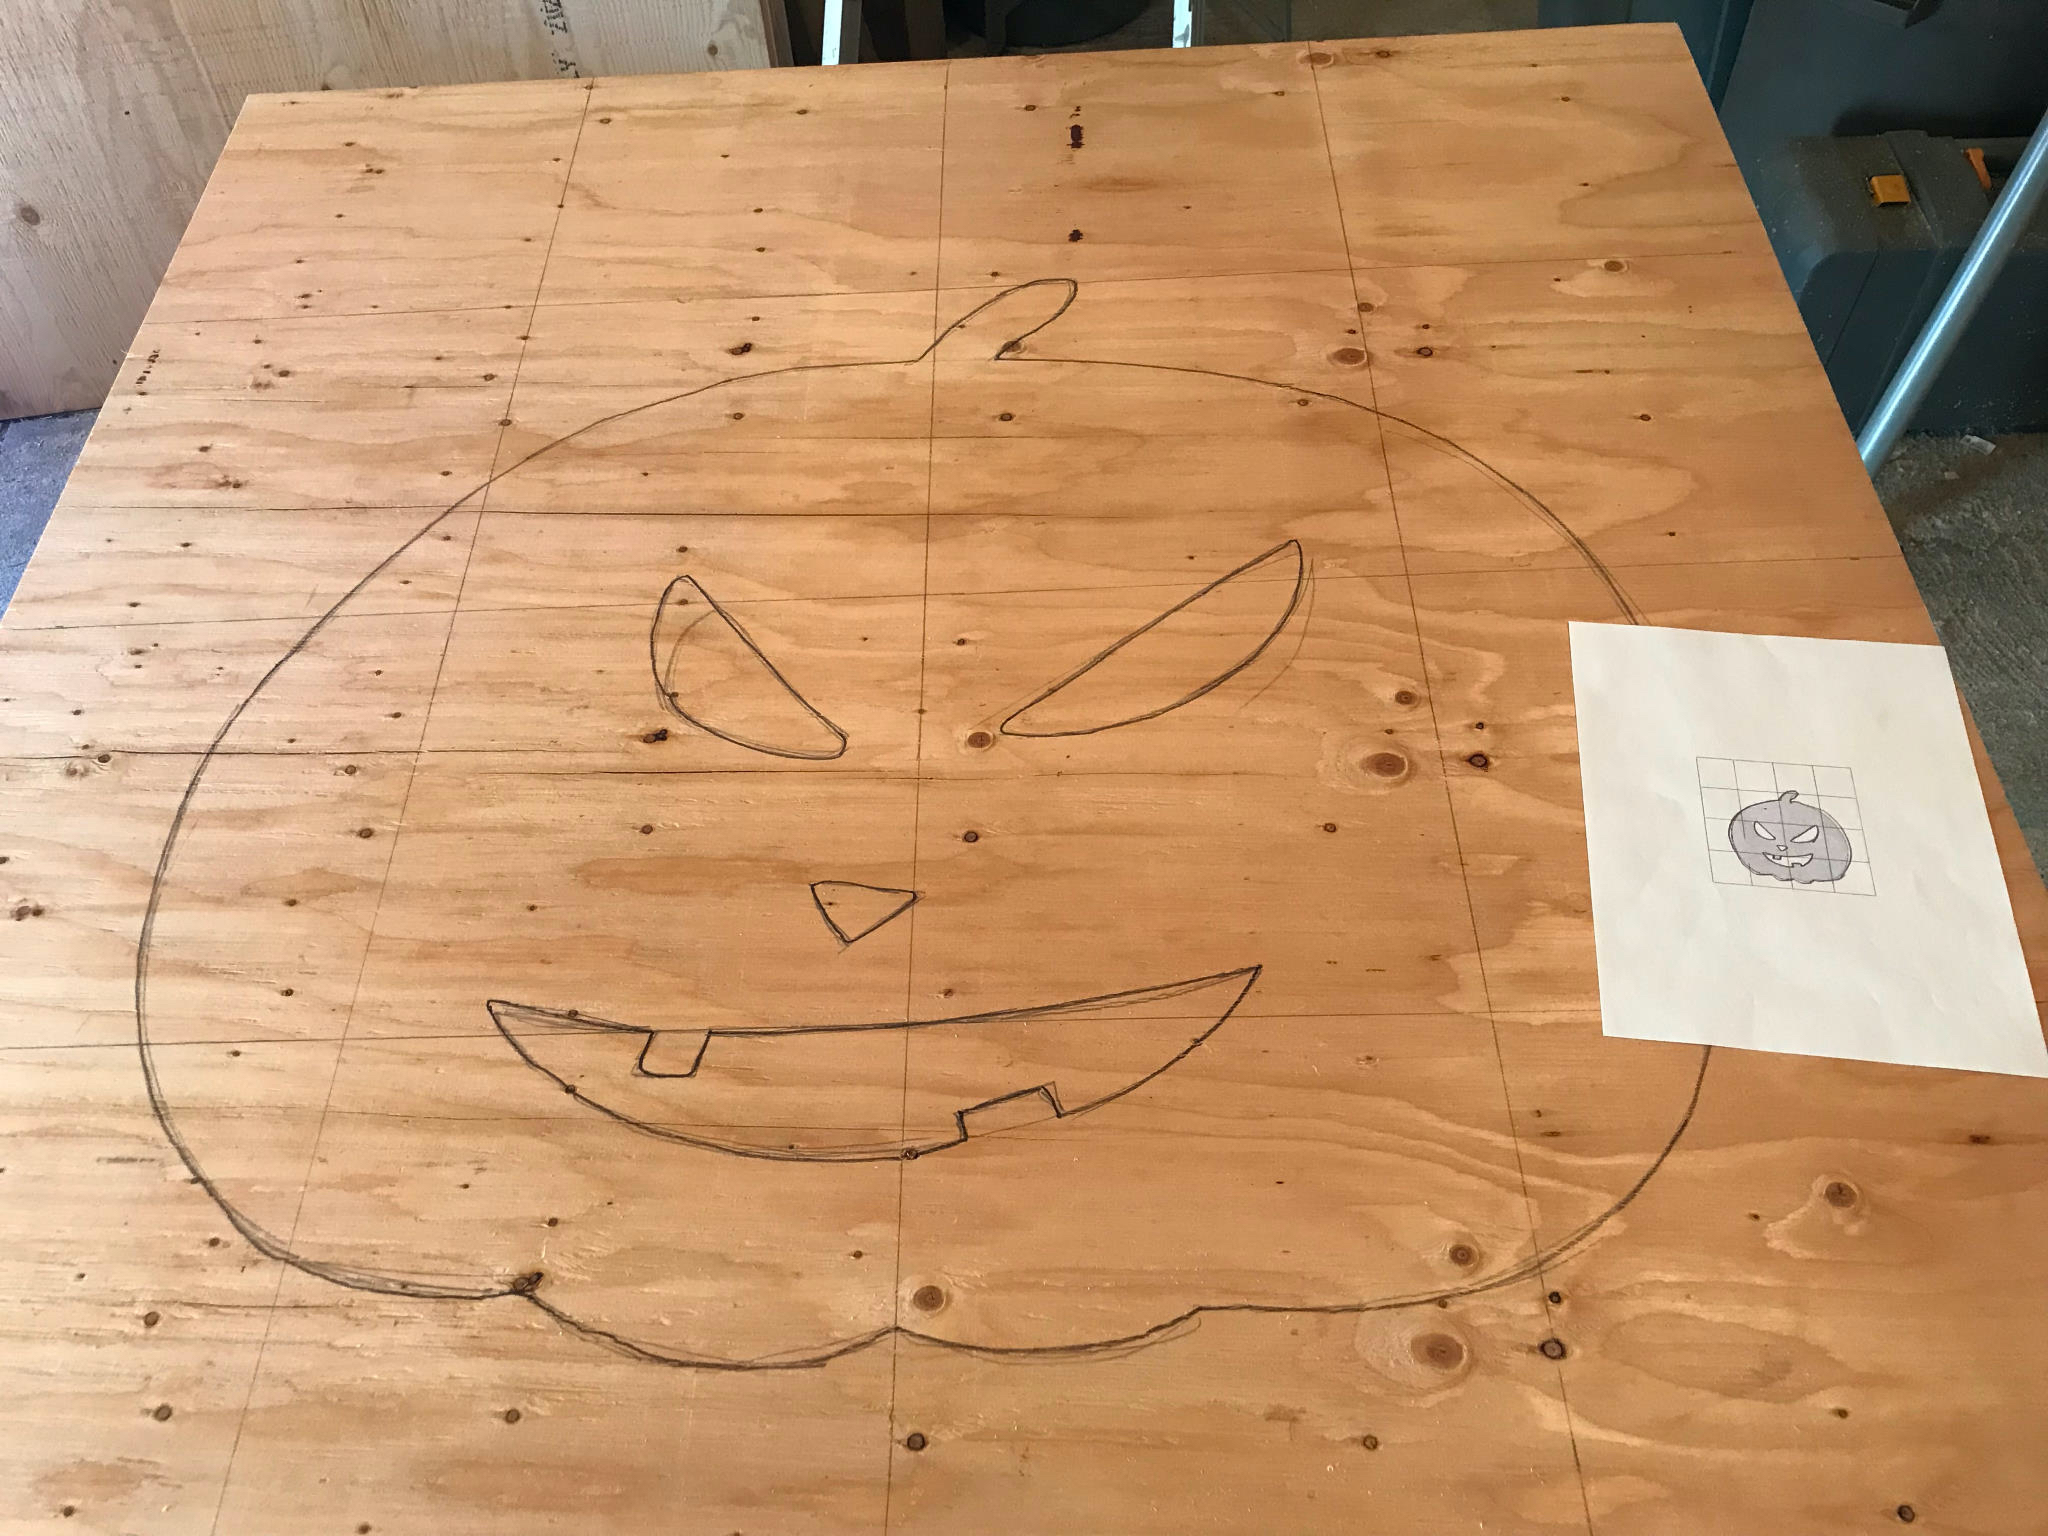
In order to transfer the designs onto 4’x4’ sheets of plyboard I used the grid technique. This is where you split up an image into smaller pieces and copy each of the smaller pieces. I found it useful to draw the copies in a light pencil, then iteratively draw over the top until I had something I liked, and only then use a black marker.

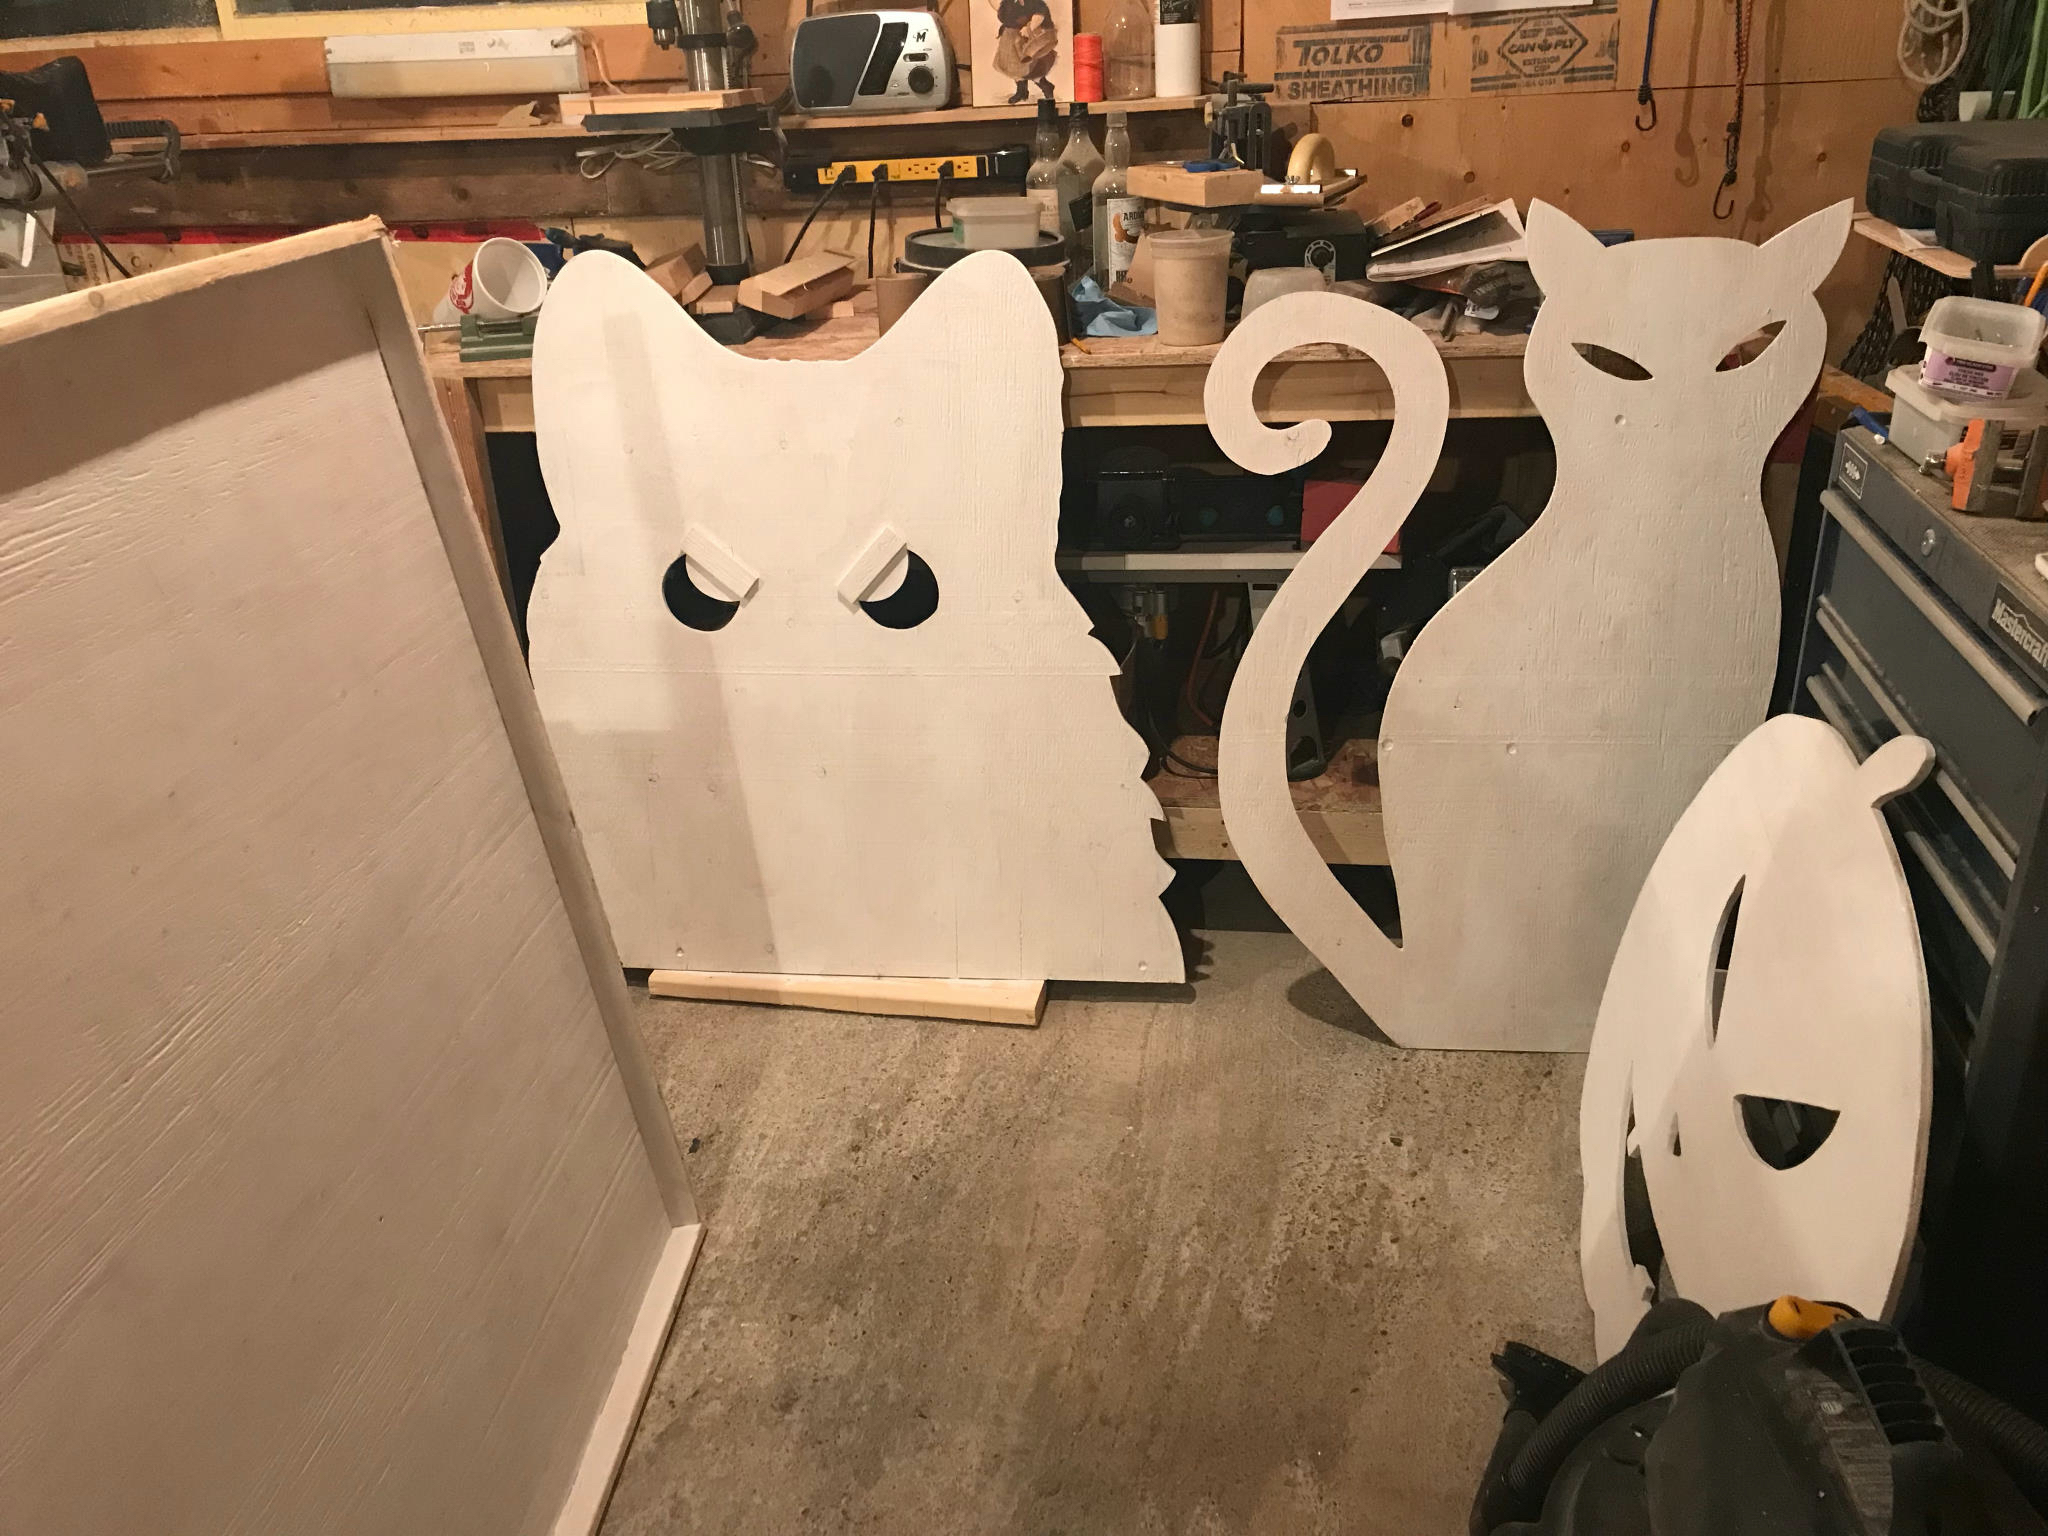
Then the shapes were cut out with a jigsaw and painted. Let’s not underplay this part. Each shape got two coats of primer and two coats of paints (the paint was left over from our stash we used to paint rooms in the house). It took a while. They’re looking good though, though I was pretty pleased at this point.
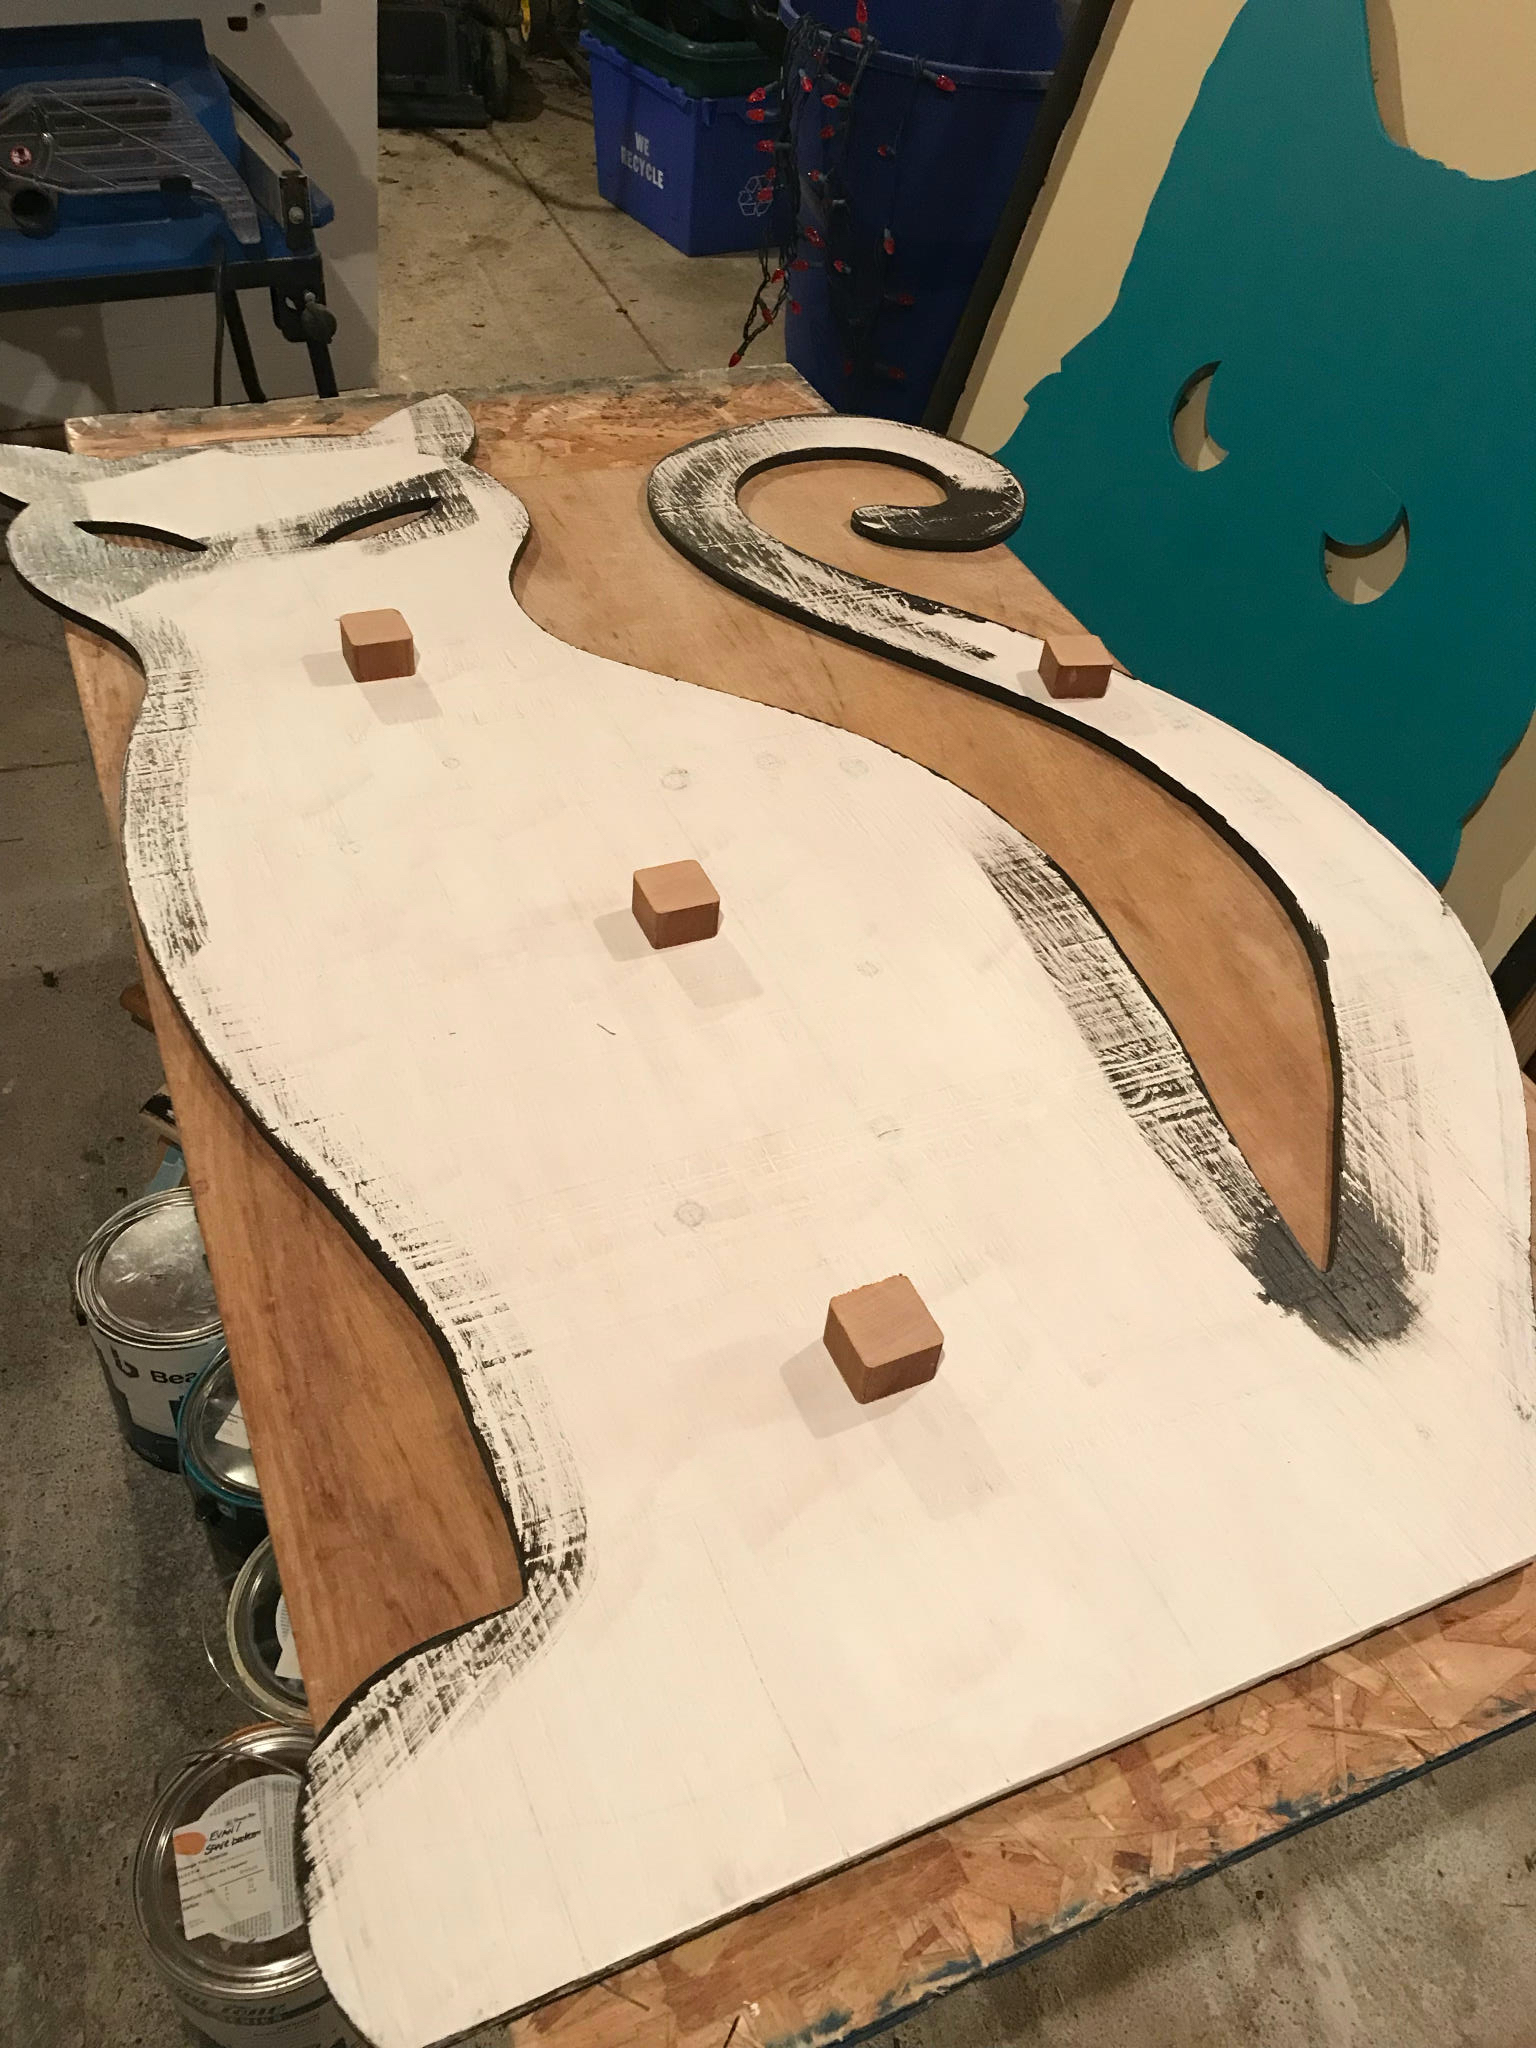
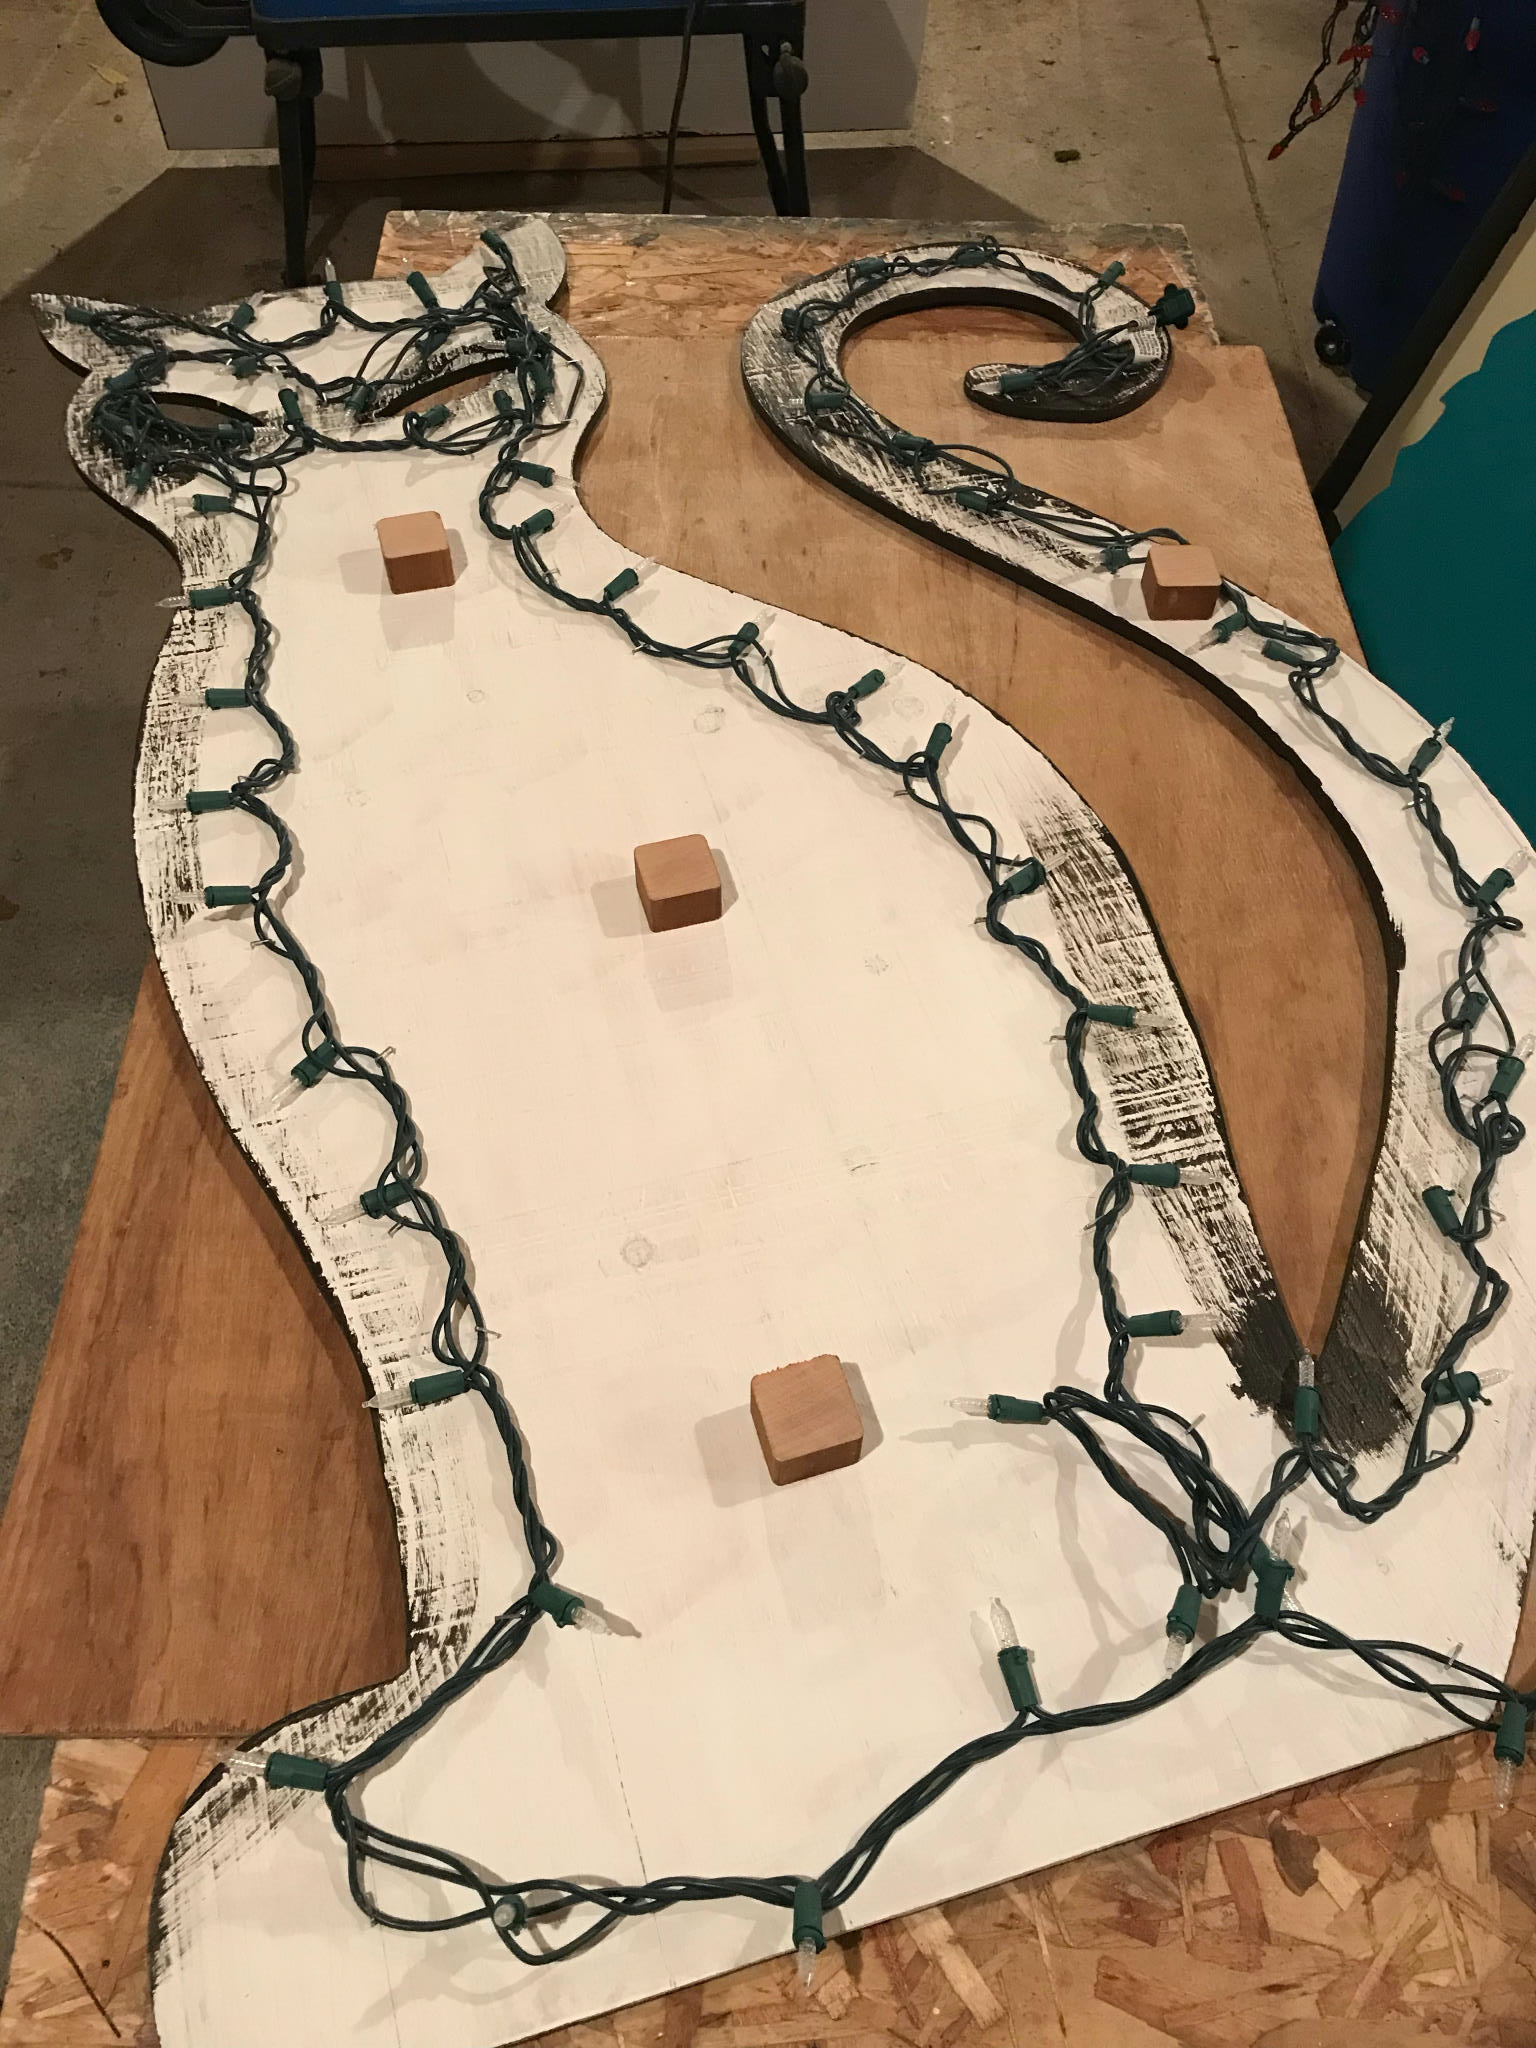
Originally I wanted to use strings of LEDs. But I just couldn’t figure out which ones to buy that could be cut, and what power supply to use, etc. So in the end I just went with LED christmas lights. On the back of each figure I glued some 2”x2” blocks so they could be attached to the backing boards, and then stapled the lights on.
There’s a missing step I did not get pictures for, where I made 3 frames of plywood and edged with 1”x3” strips. My thinking was that when lit the the edge strips would make a frame. Here’s two of the designs just loose in the frames and lit in the shed.


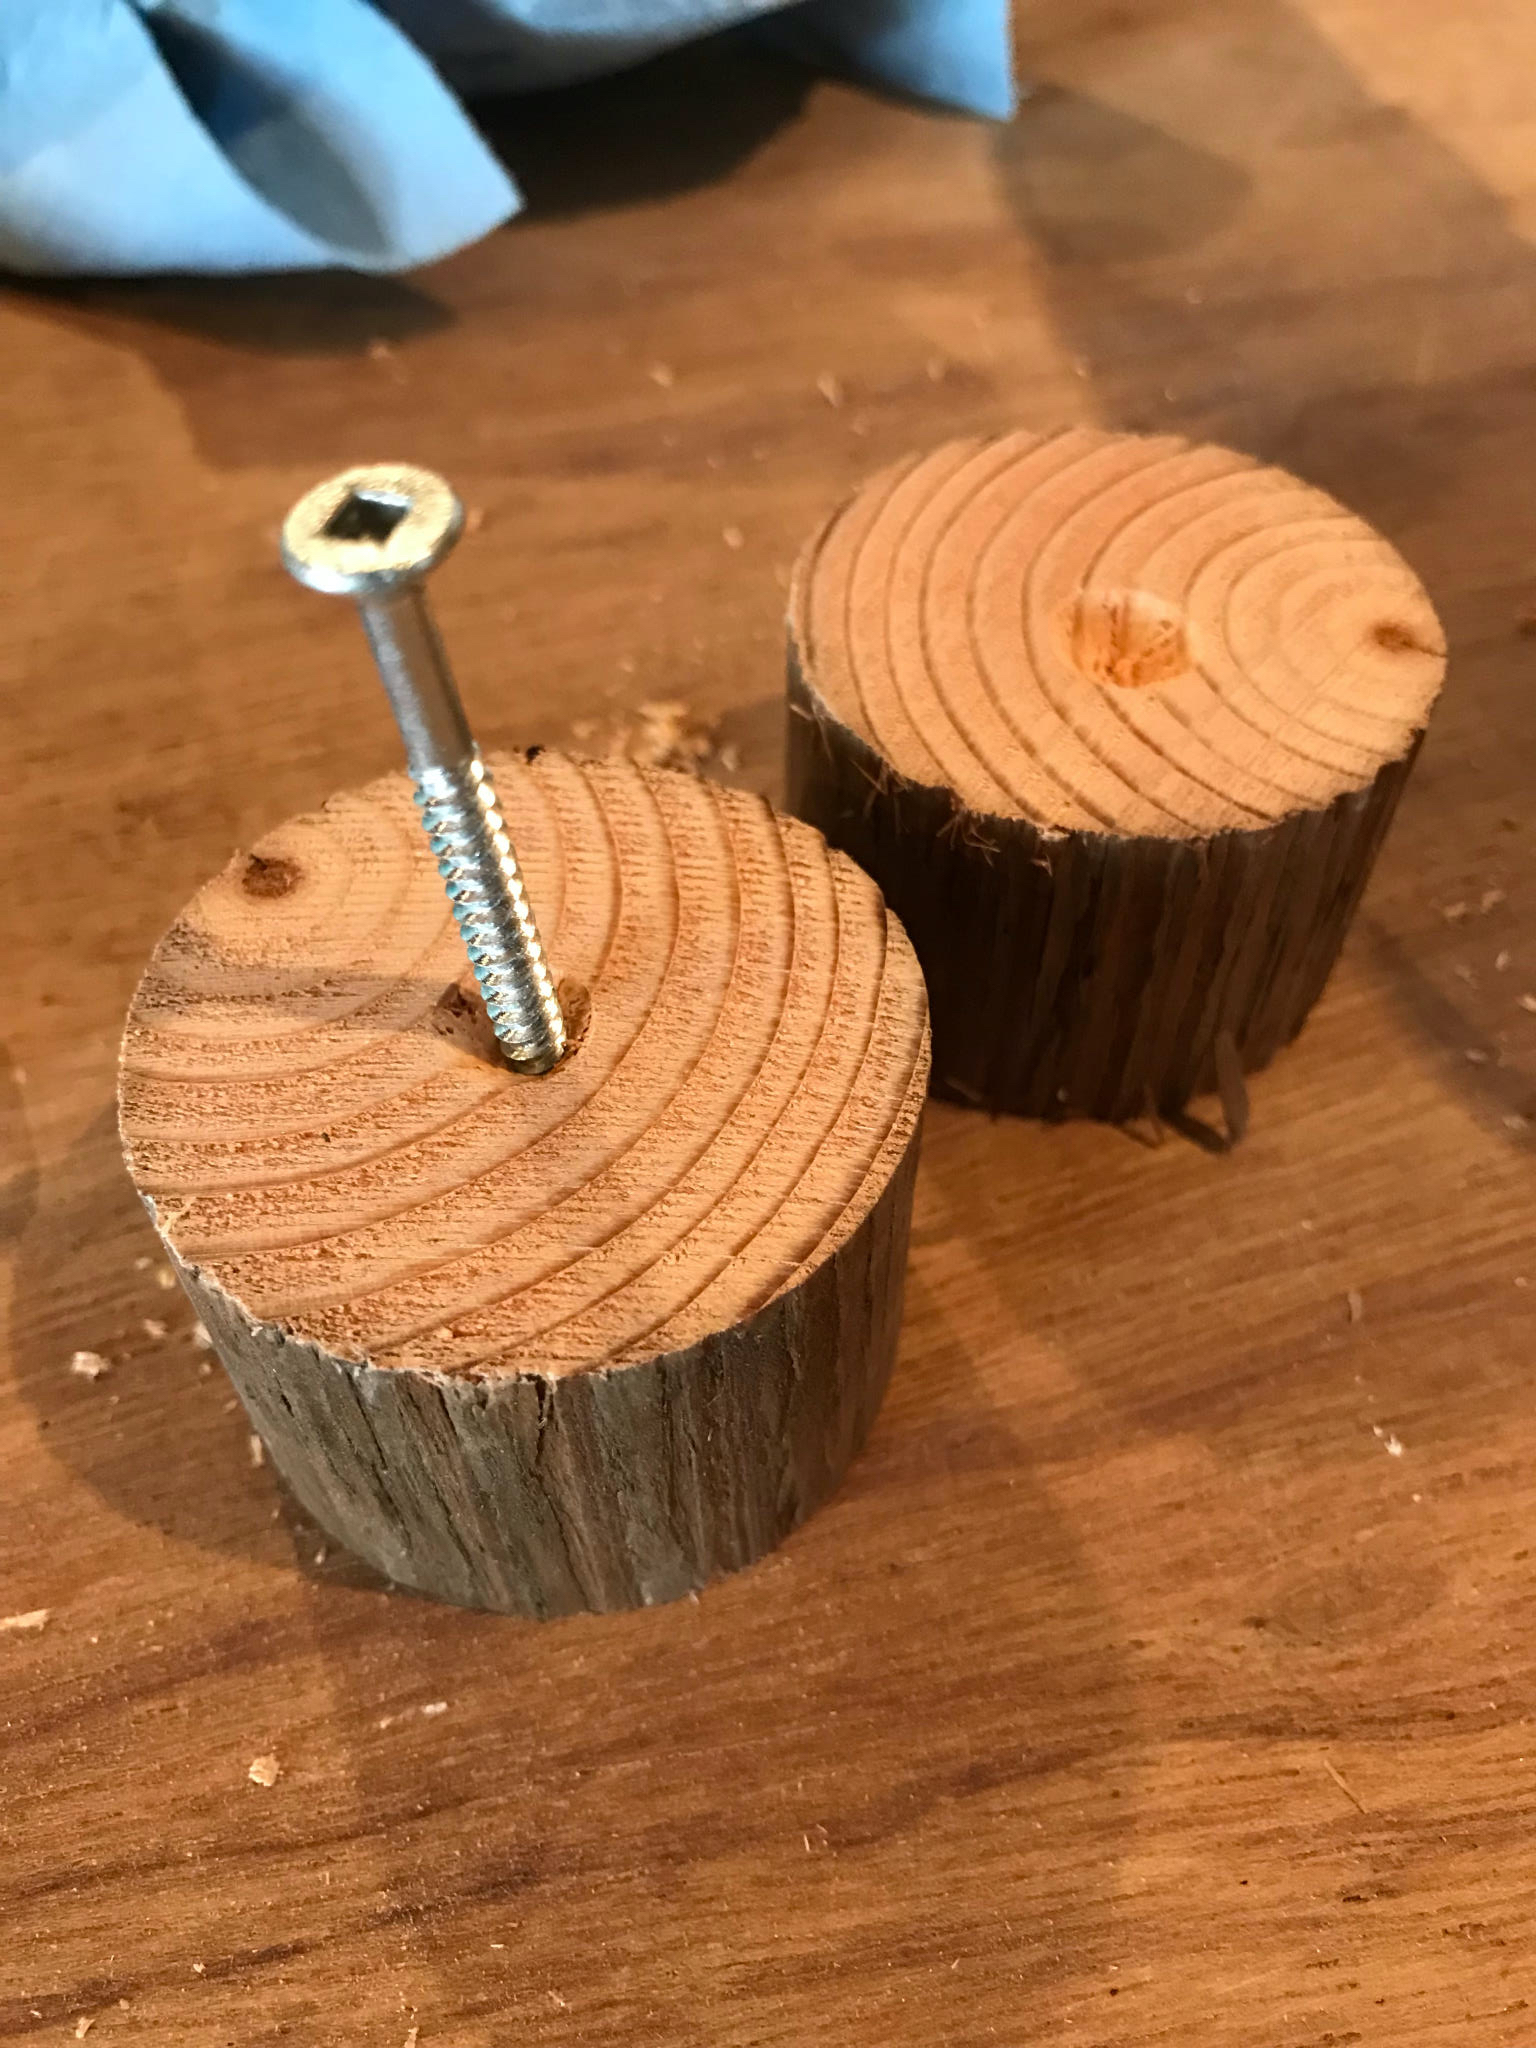
After screwing the figures to the backing boards (the screws went into the glued blocks) I realized I would need some spaces on the bottom of the frames. Looking around I saw an old broom handle and cut some of that into 1” pieces which fit the frame and worked a treat.
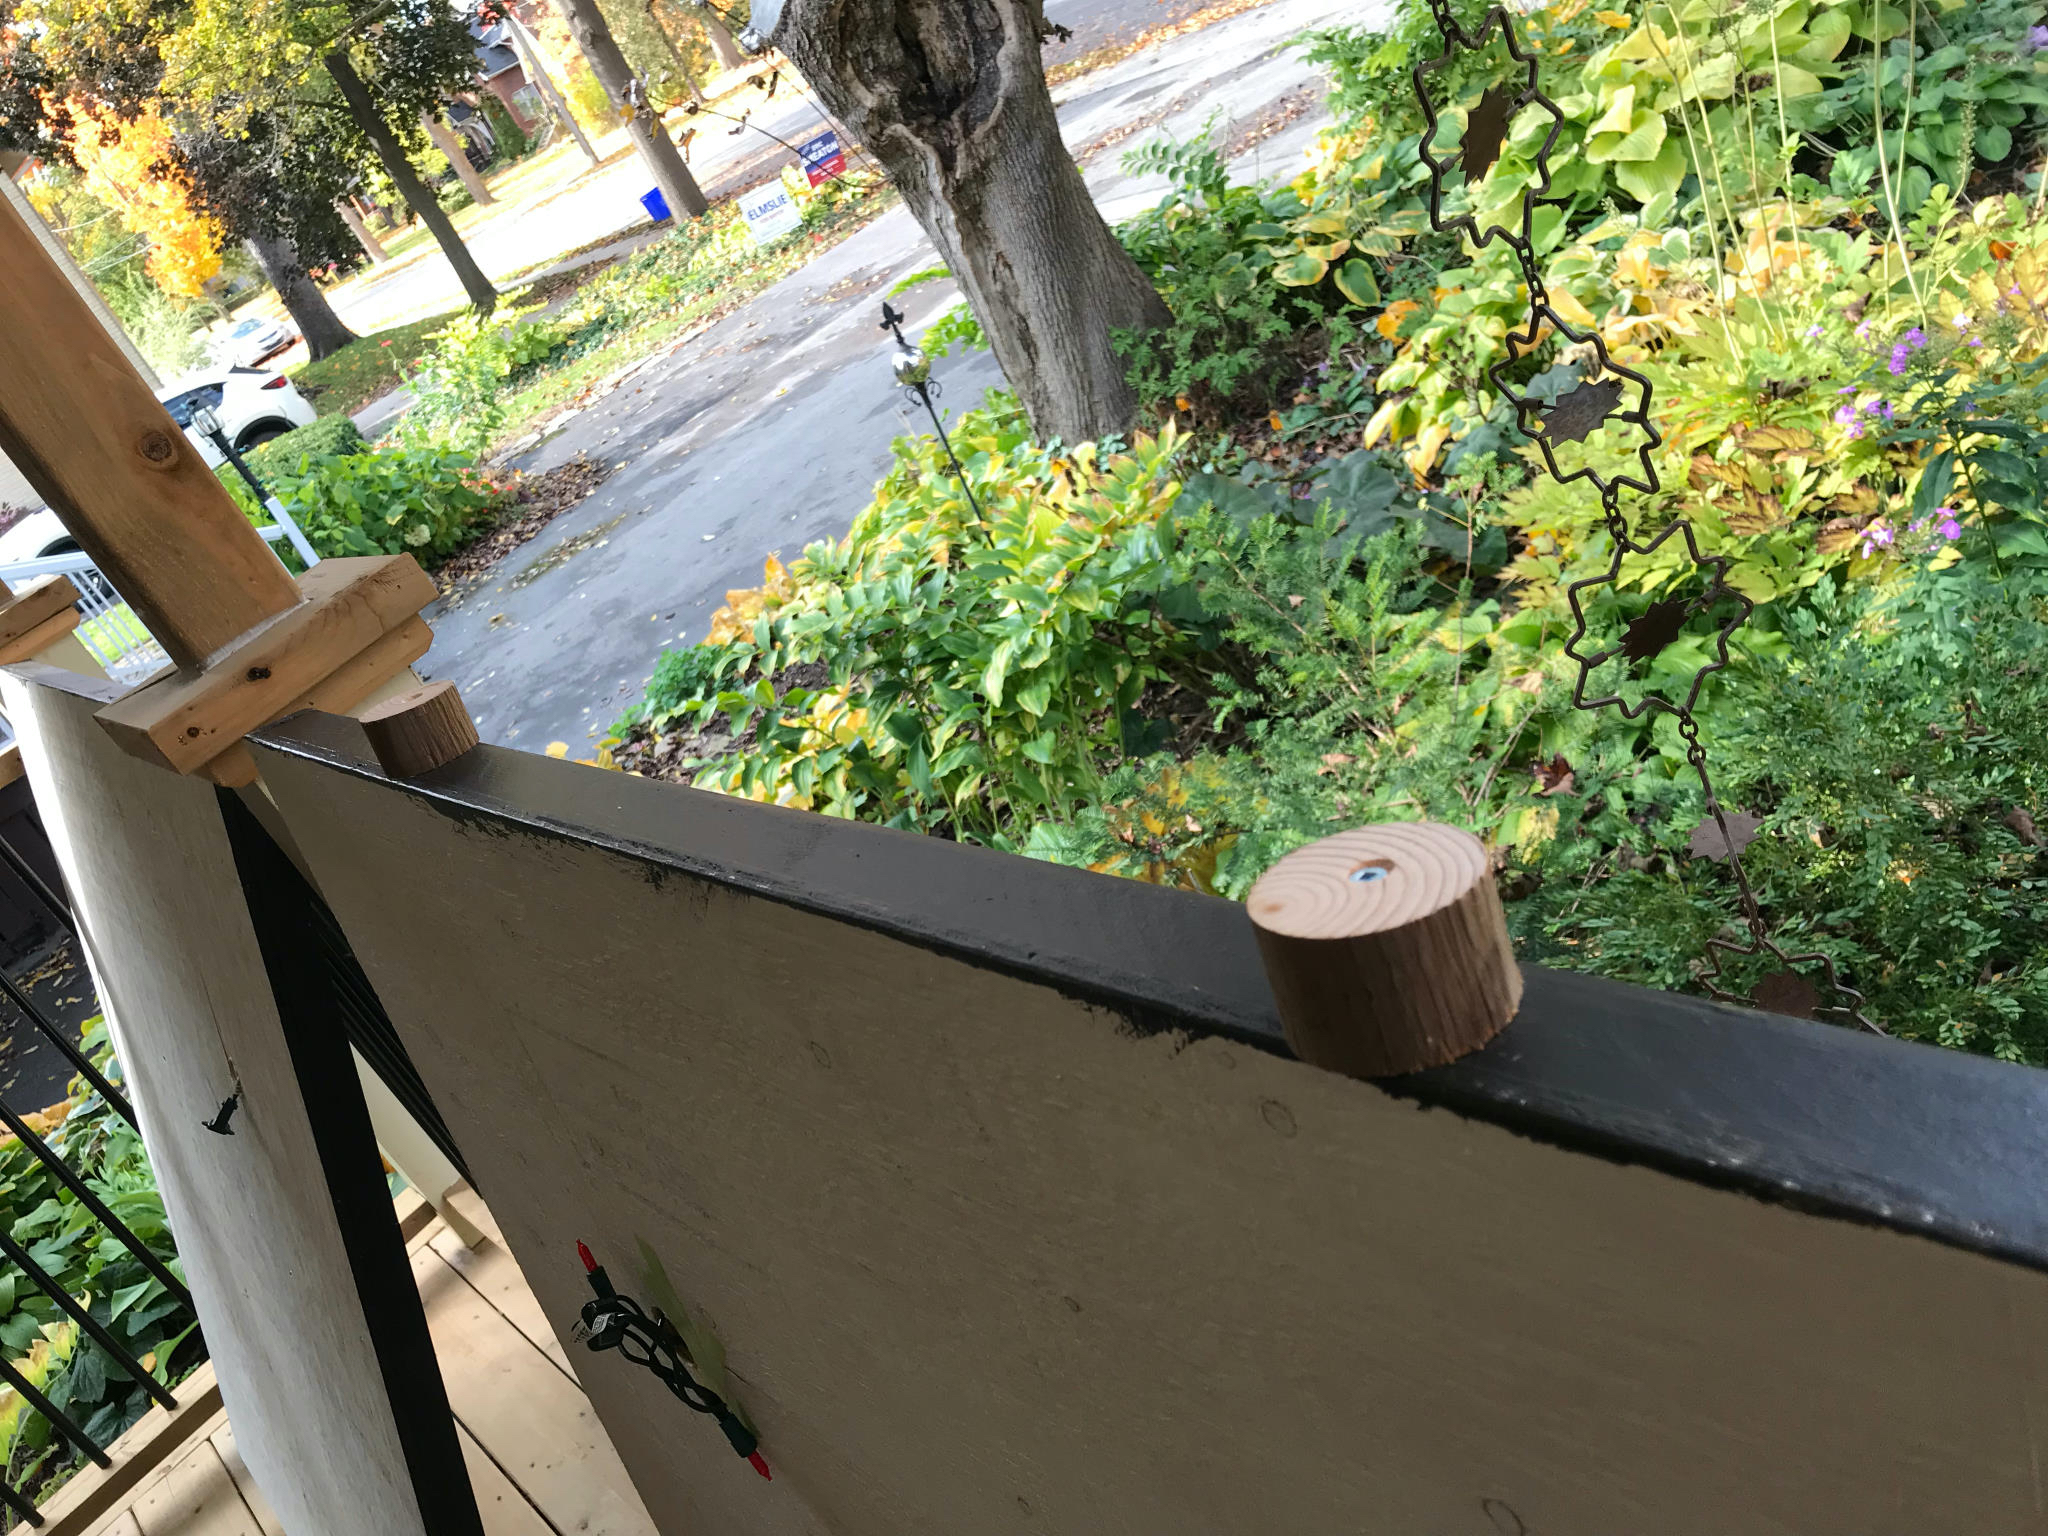
Now the fun part. Each board was lifted into position and held in place with some dowel rod and metal brackets. They are only going to be up for a few weeks so didn’t wnat to do anything really permanent. In these pictures you can see the LED strips coming out the back of the boards. The idea is to hook them up in serial so only the first one needs to be plugged in.
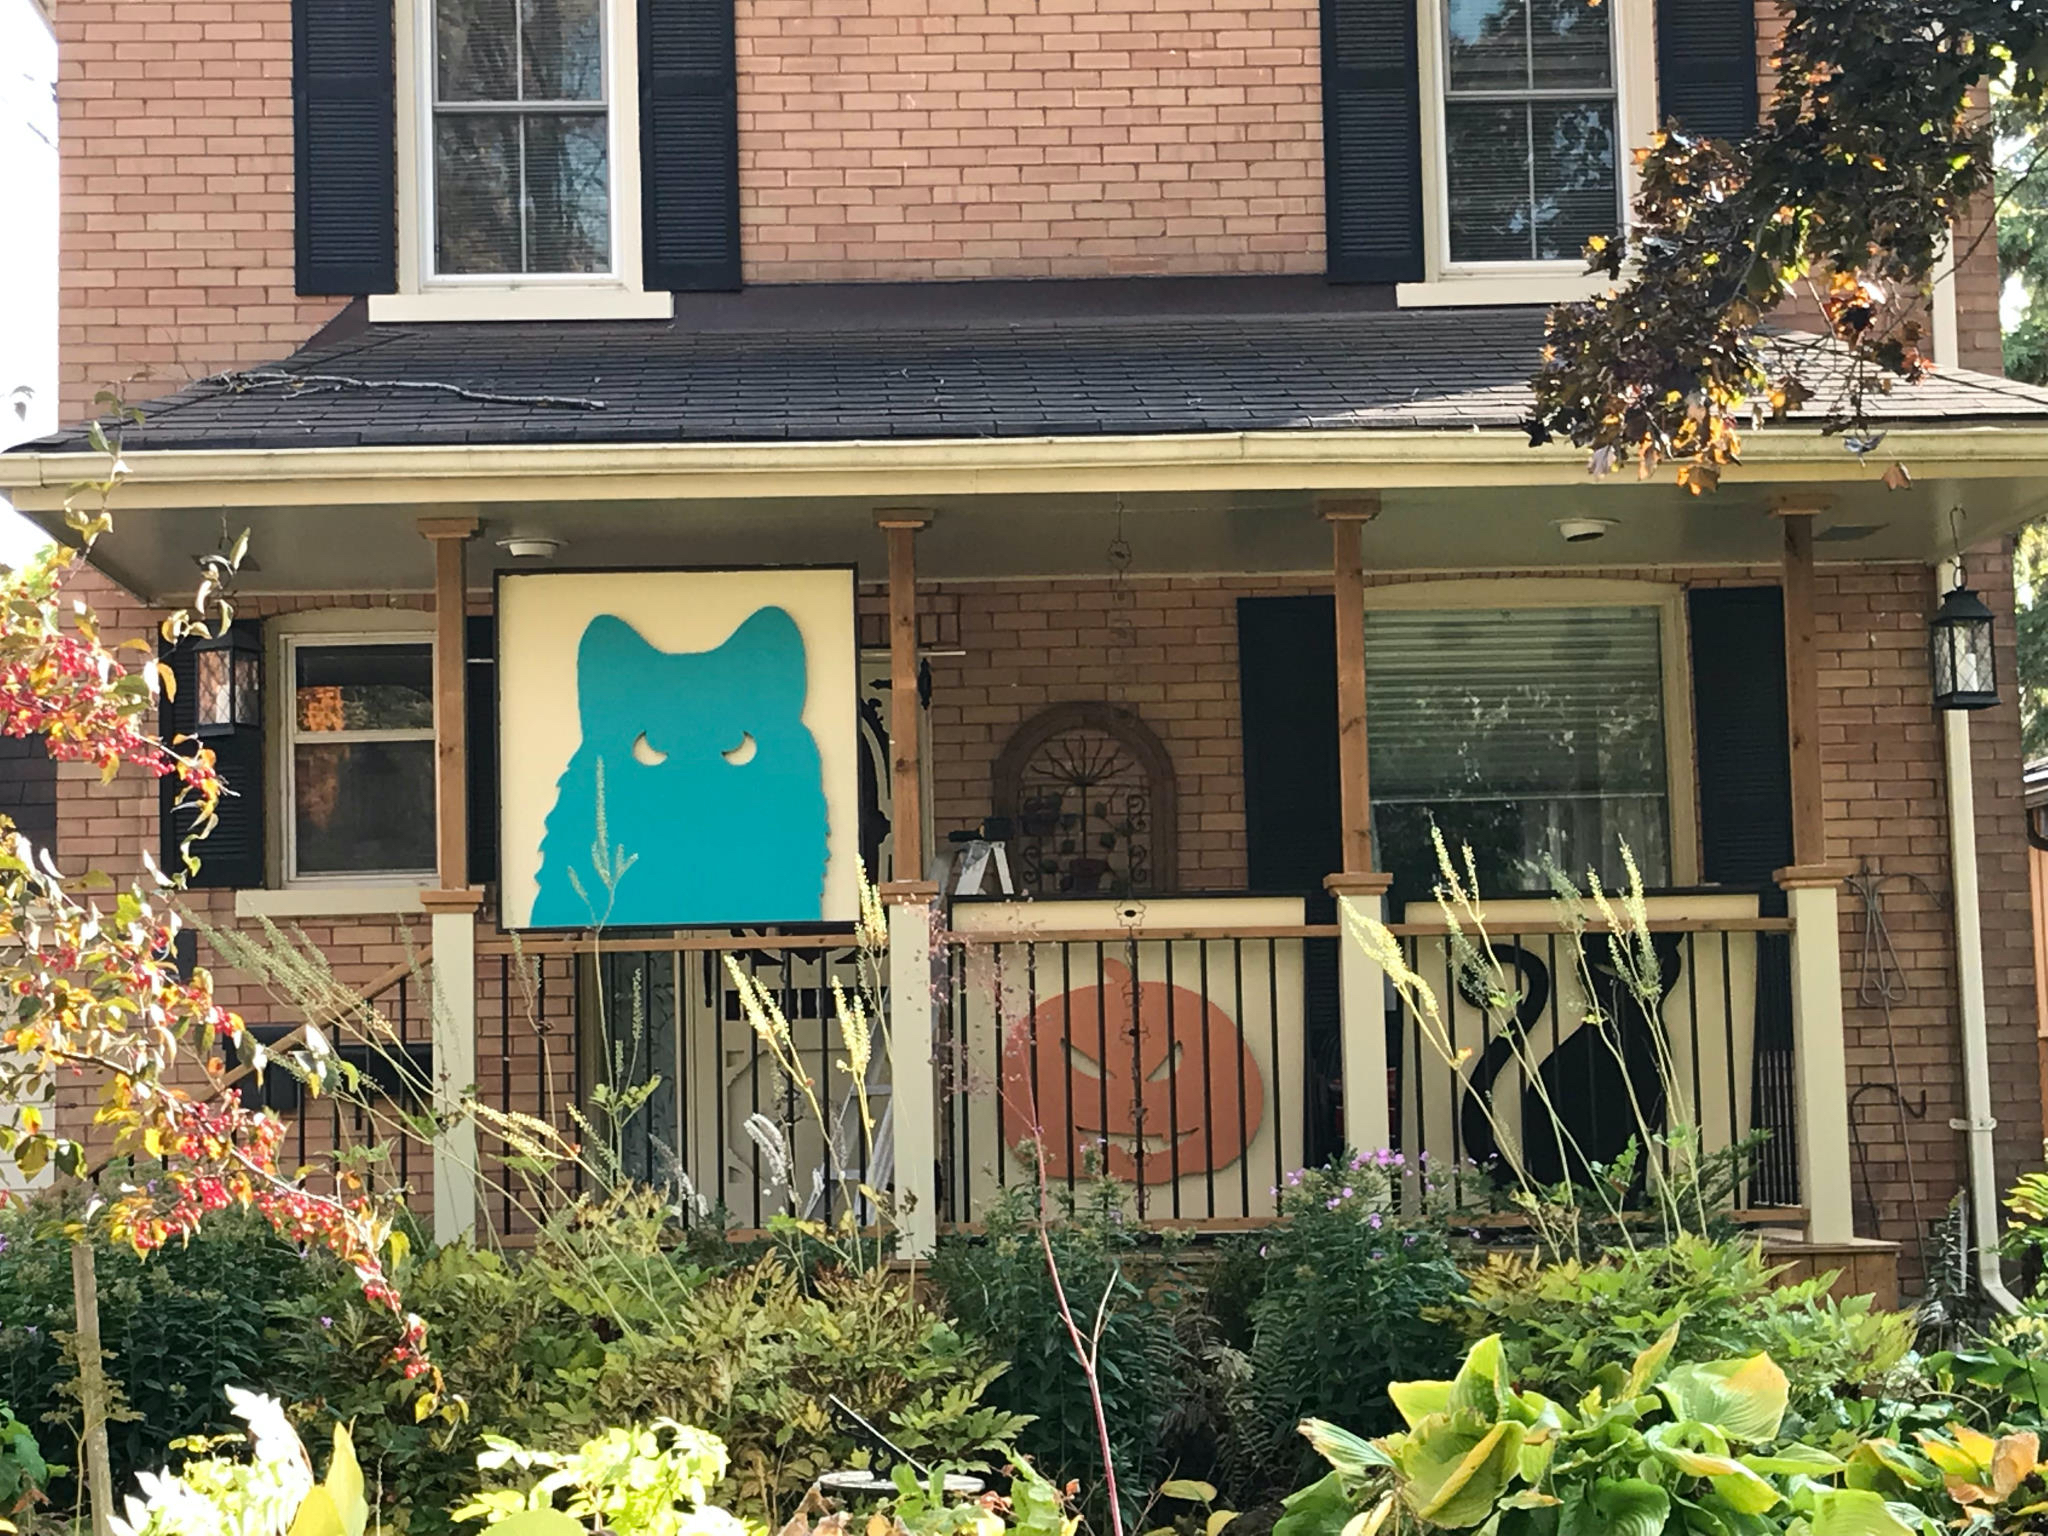

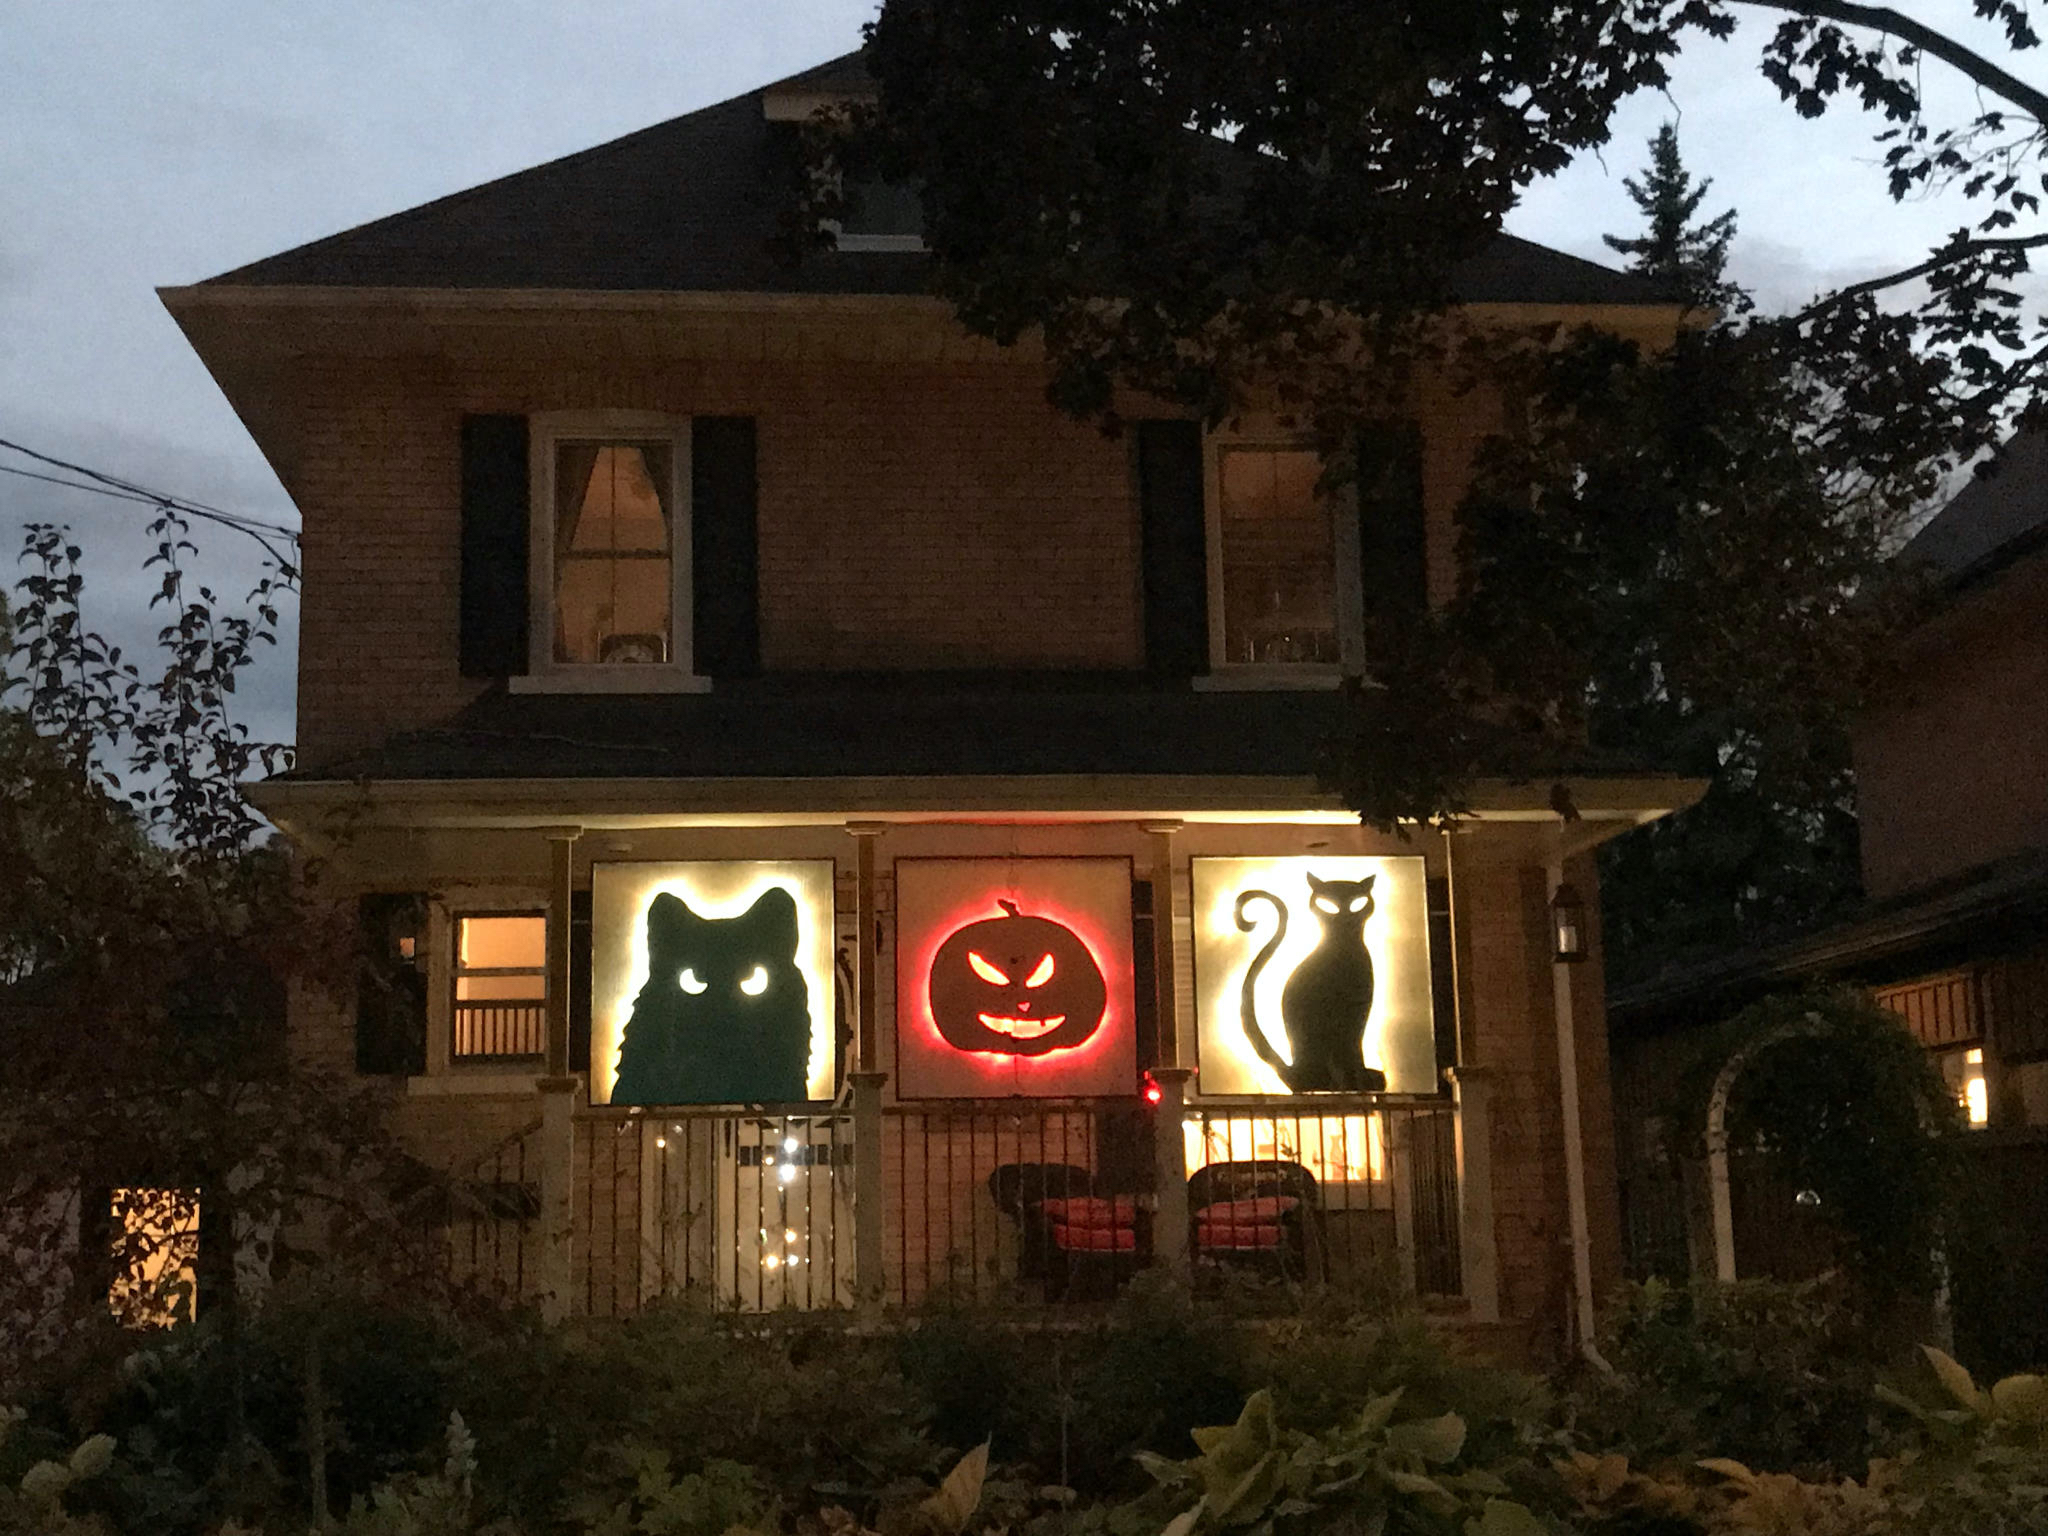
And here they are, all hung up and looking rather fab. I would have liked to have used bright yellow paint for the background and vivid orange paint for the pumpkin but I was trying to keep the budget down by using up paints we already had. Maybe next year I’ll repaint them.
Of course, it is at night that they shine - literally. The pictures don’t quite capture how they look, in real life the LED strips make more of a scattered light, rather than the single glowing look they have here.
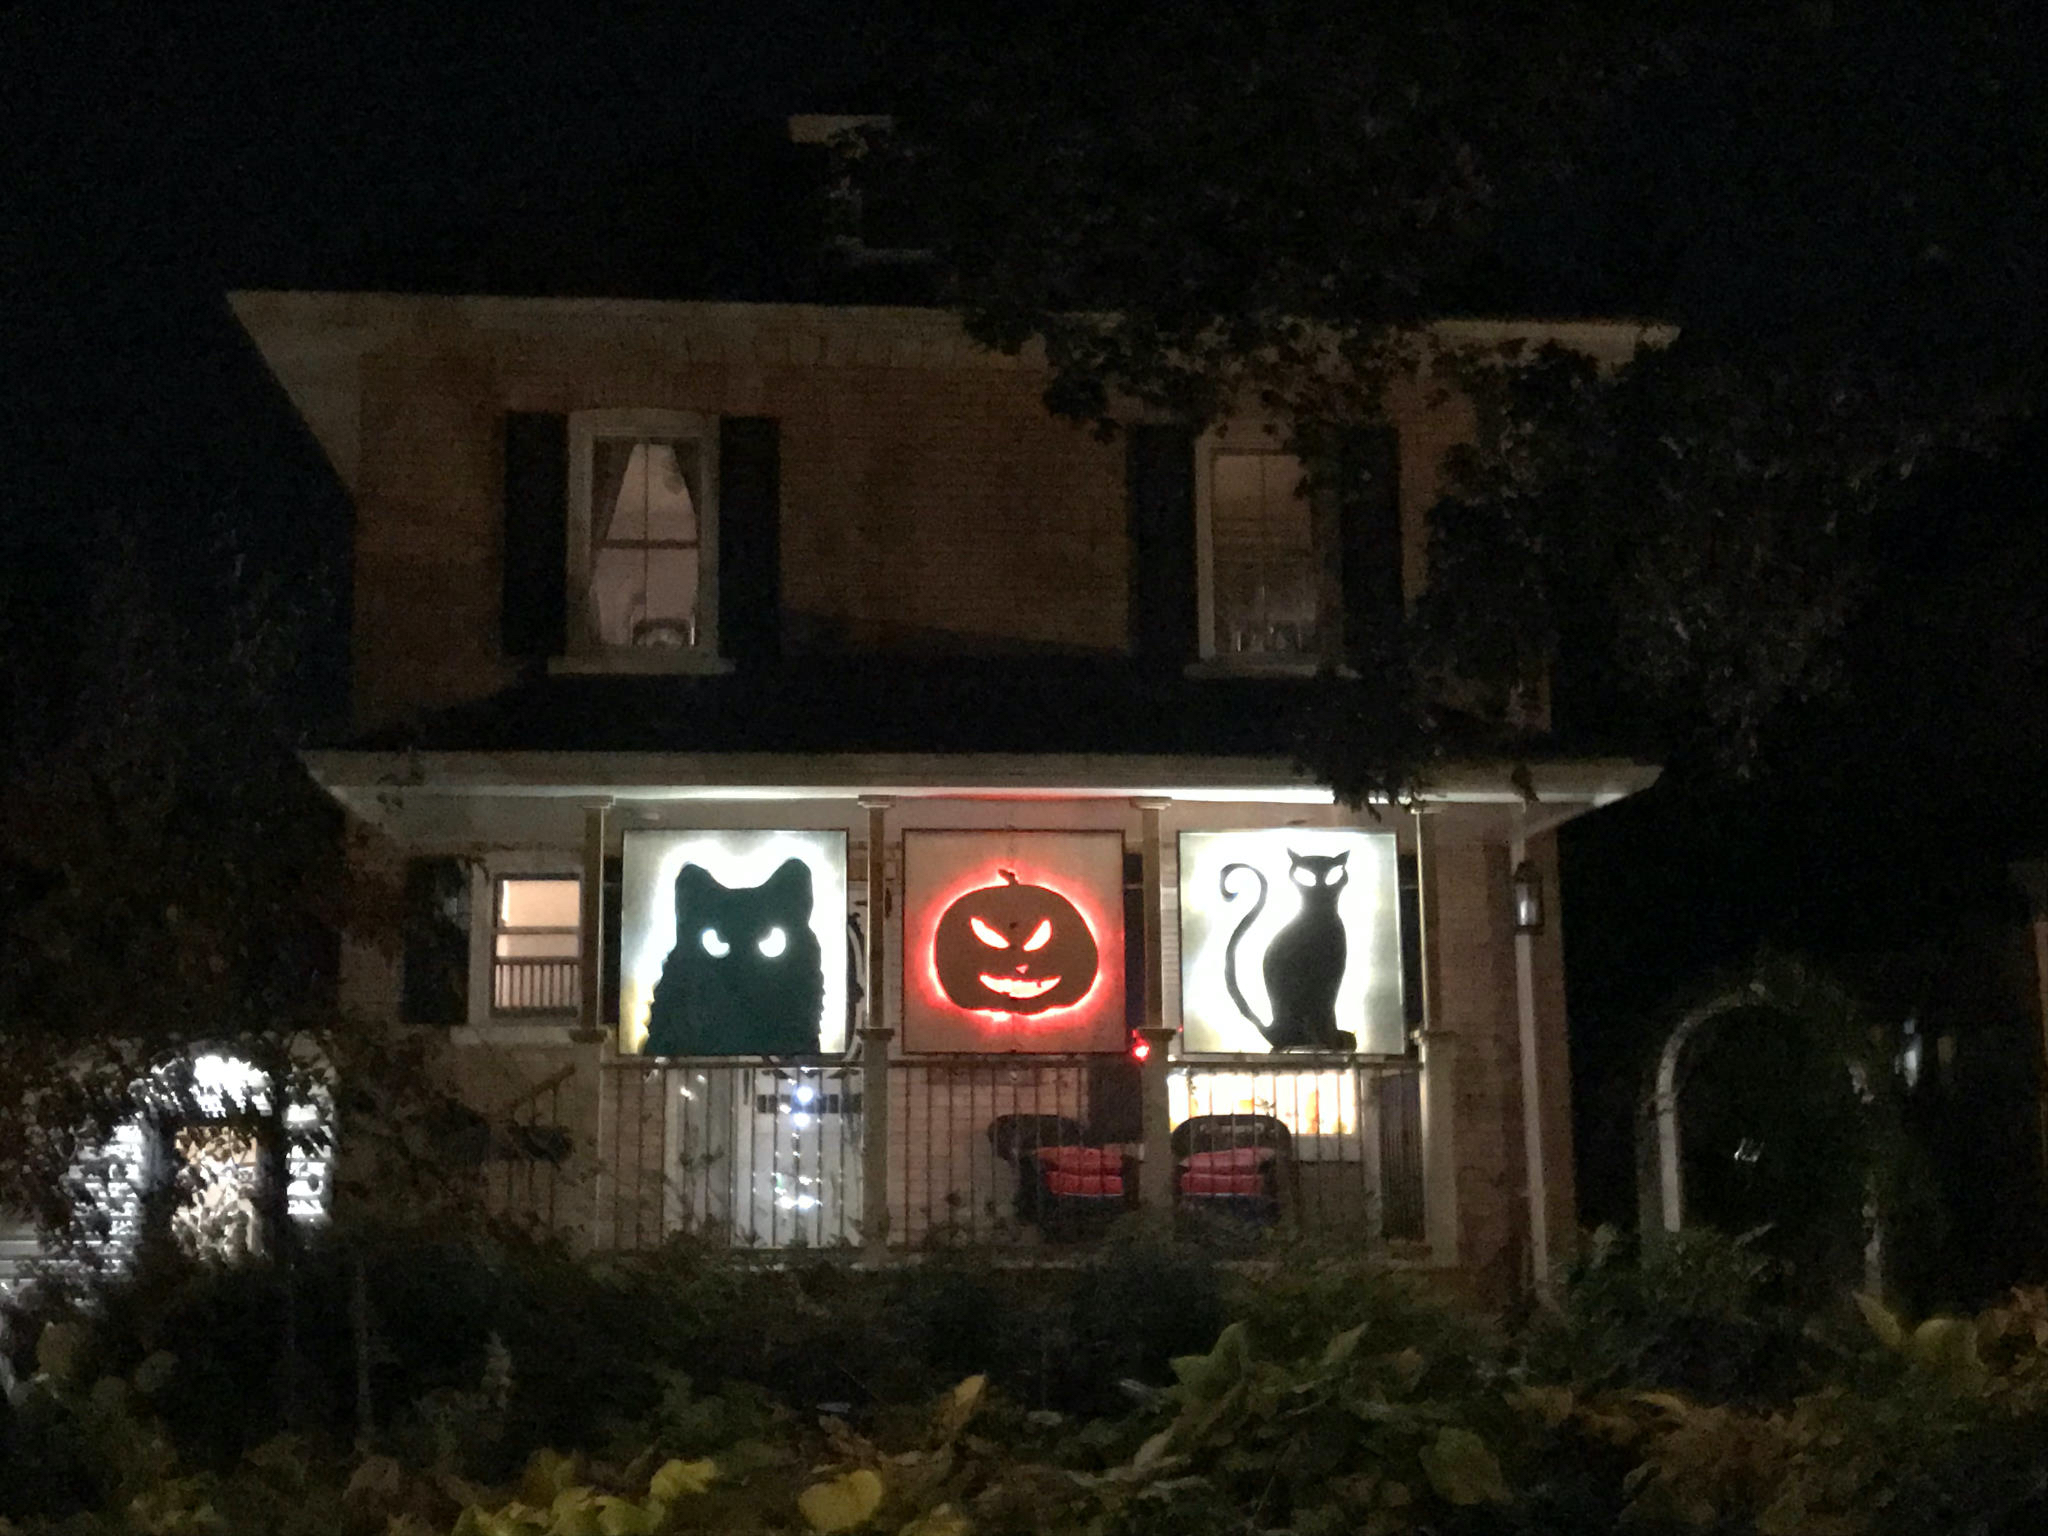
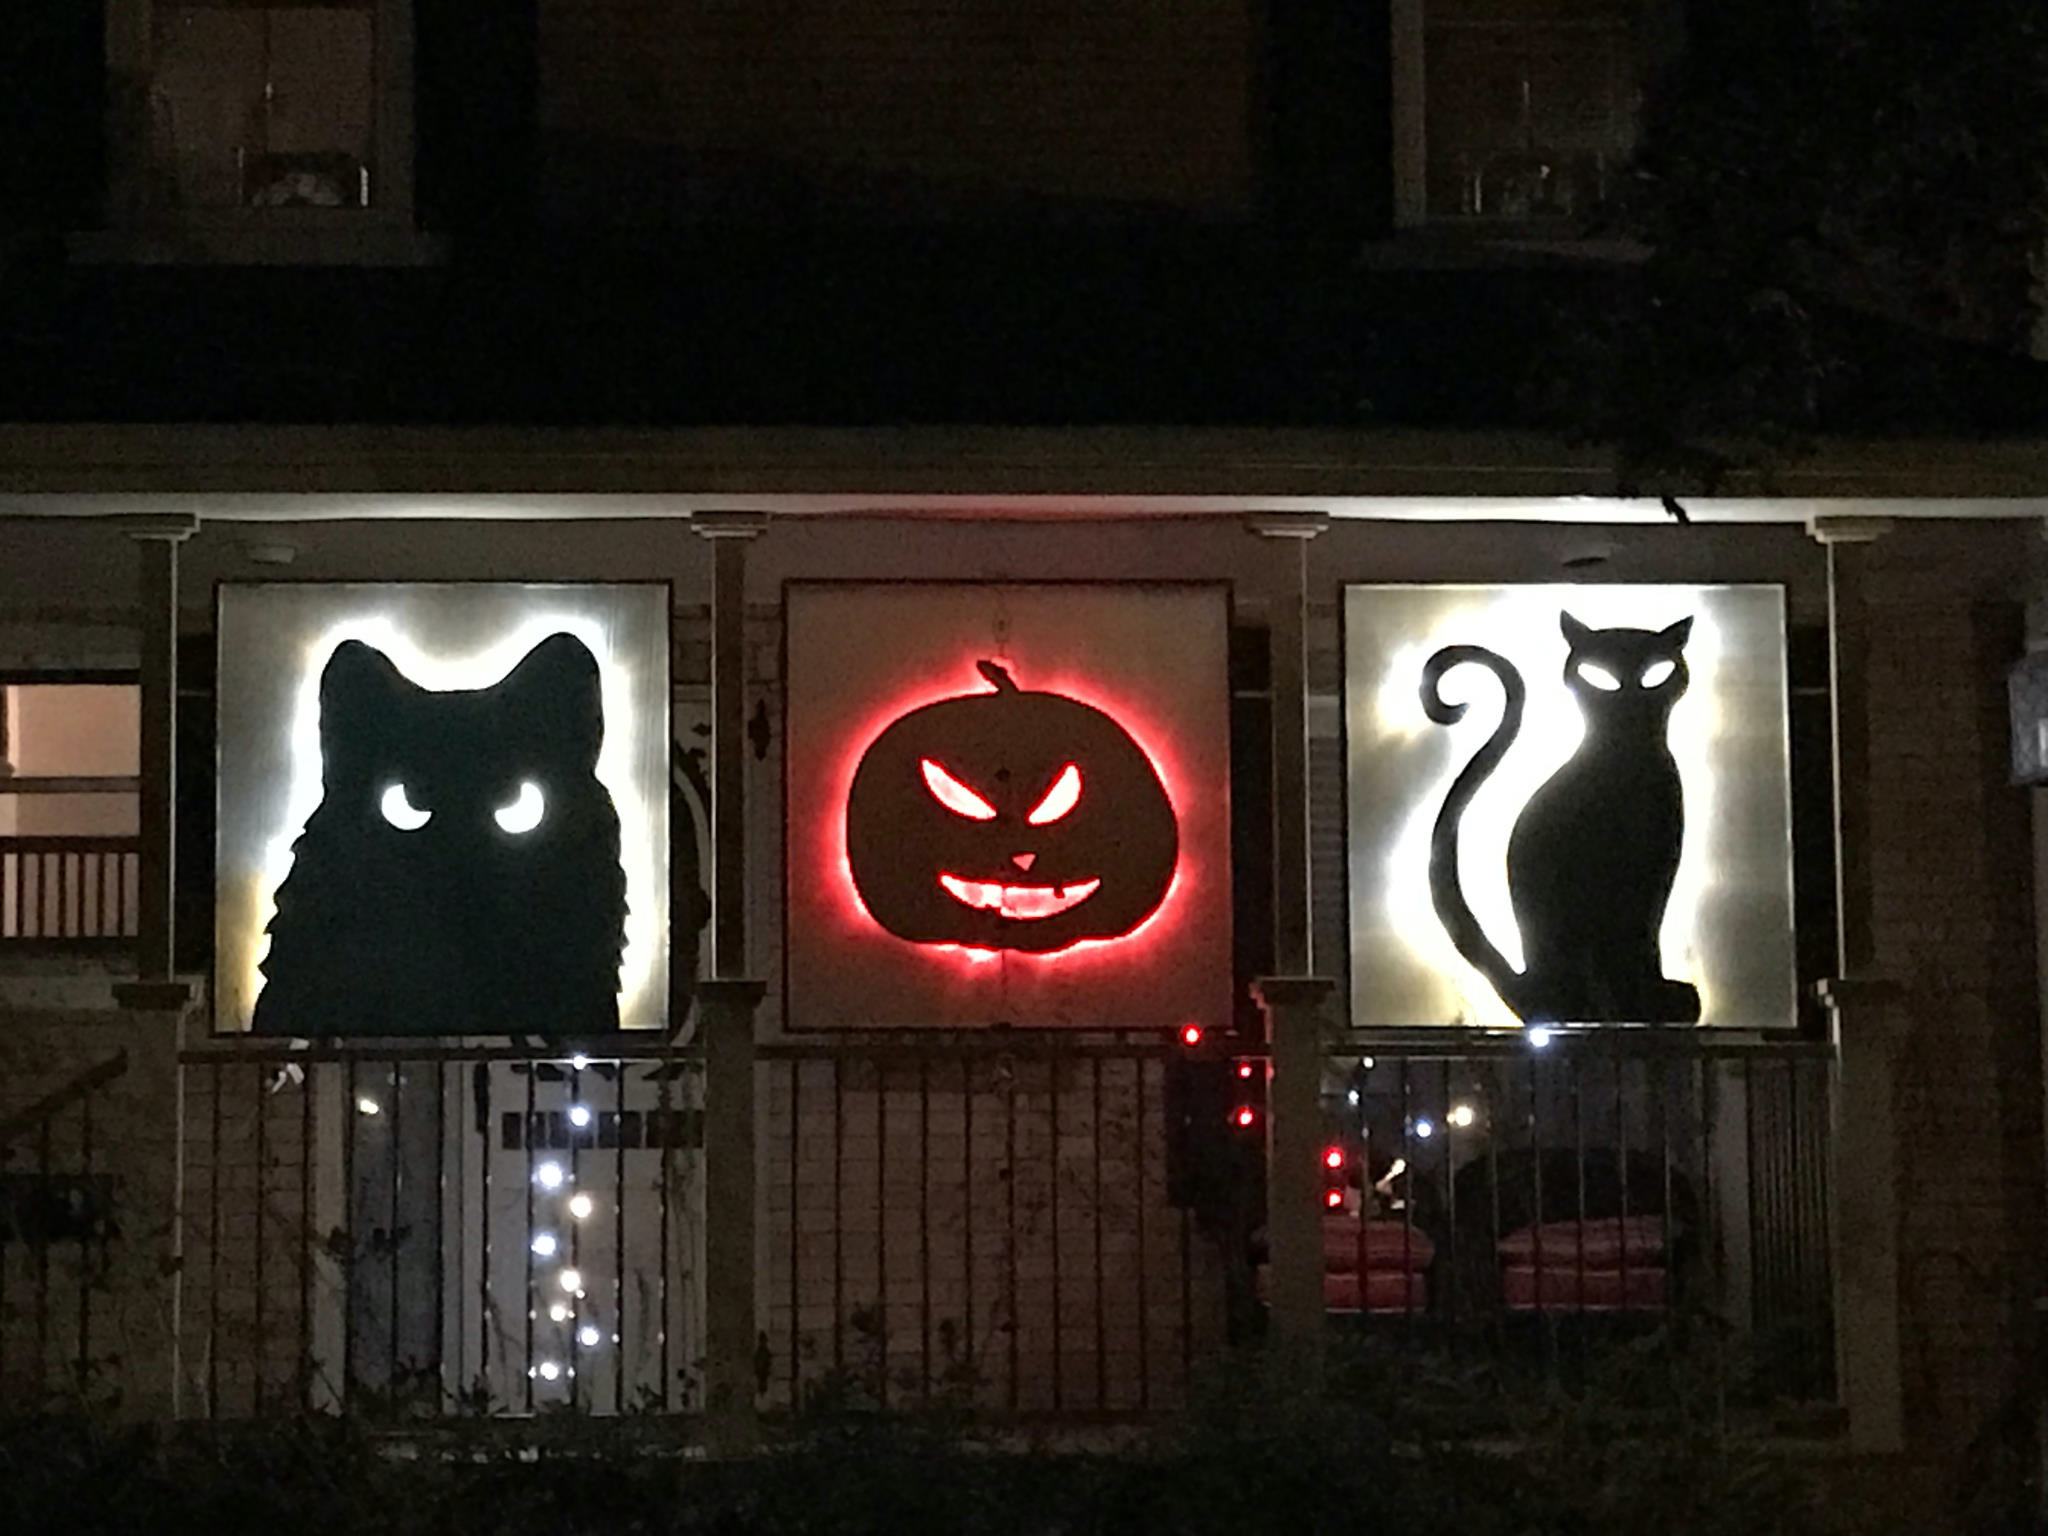
Overall though, I’m really pleased with them.