Workshop Reorganization 2
Next step of the reorg (see part 1) is to rip out the old mismatched shelves and put some thing more practical in its place. Rather than more shelves I wanted to try out French Cleats instead. Instead of explaining it here, take a look at the french cleat wikipedia article instead. Got it? Good.
For those of you who don’t like waiting till the end of the book, here’s what I ended up with.

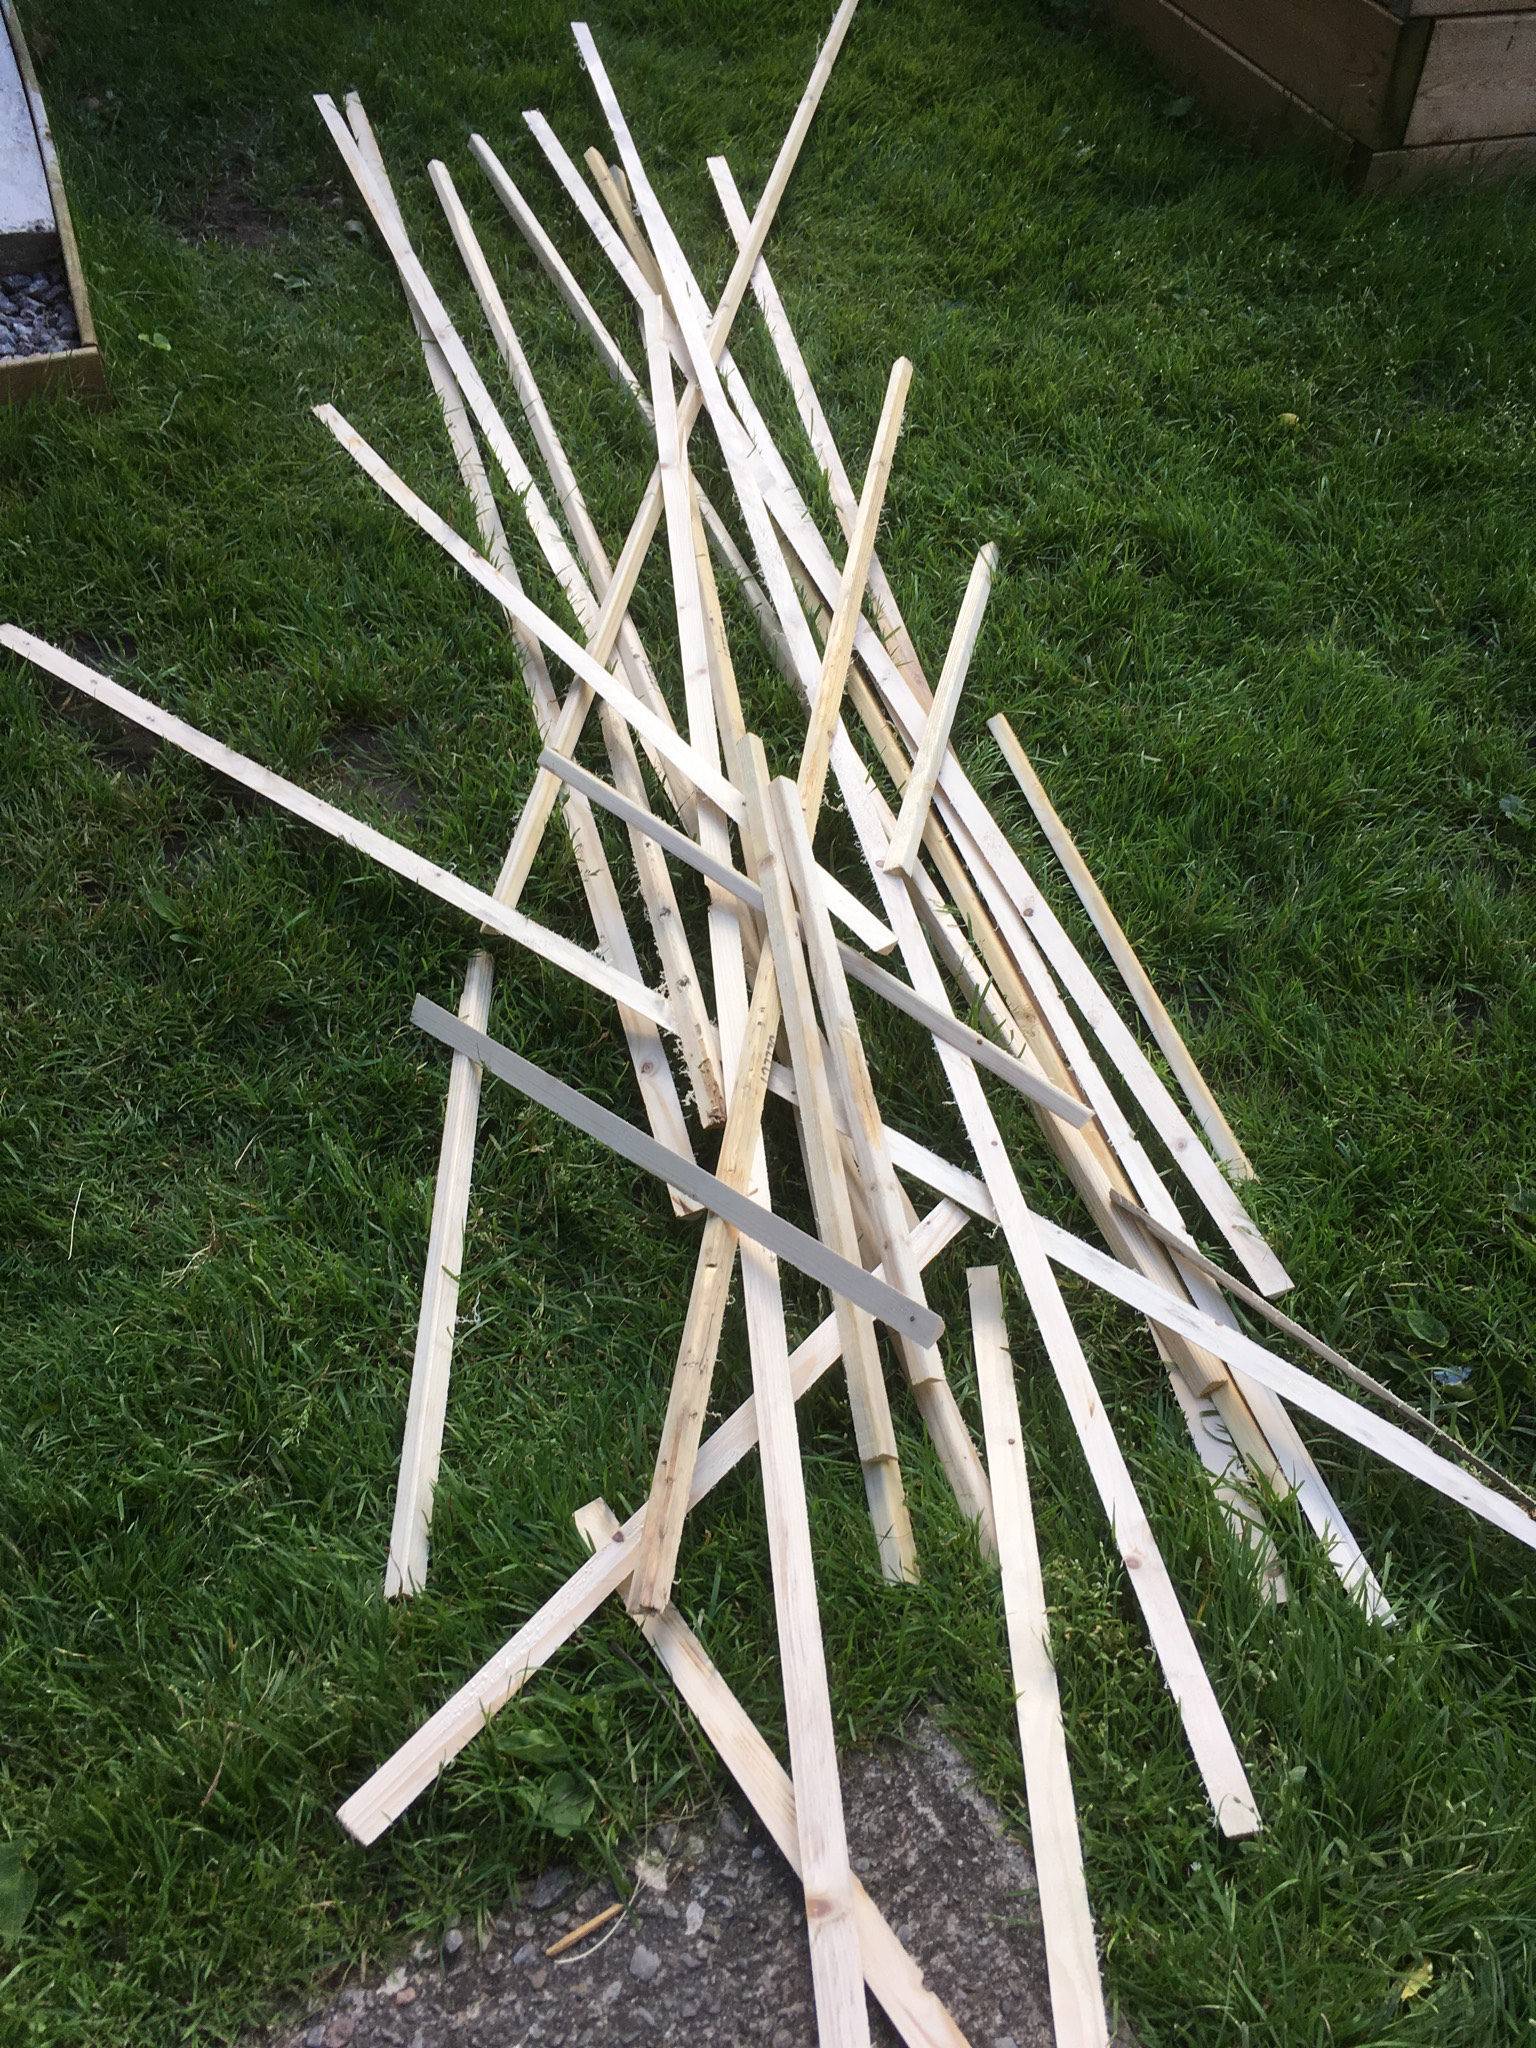
The first step was to get the plywood sheets and wood delivered. A lot of the articles online say to buy a 4x8 sheet and rip it into the strips needed. That wasn’t going to work for me as I don’t have the space or a suitable table saw to rip large sheets. Instead I went for dimensional lumber that could be ripped down the middle at 45°. That was a fun hour and generated the following pile of strips.
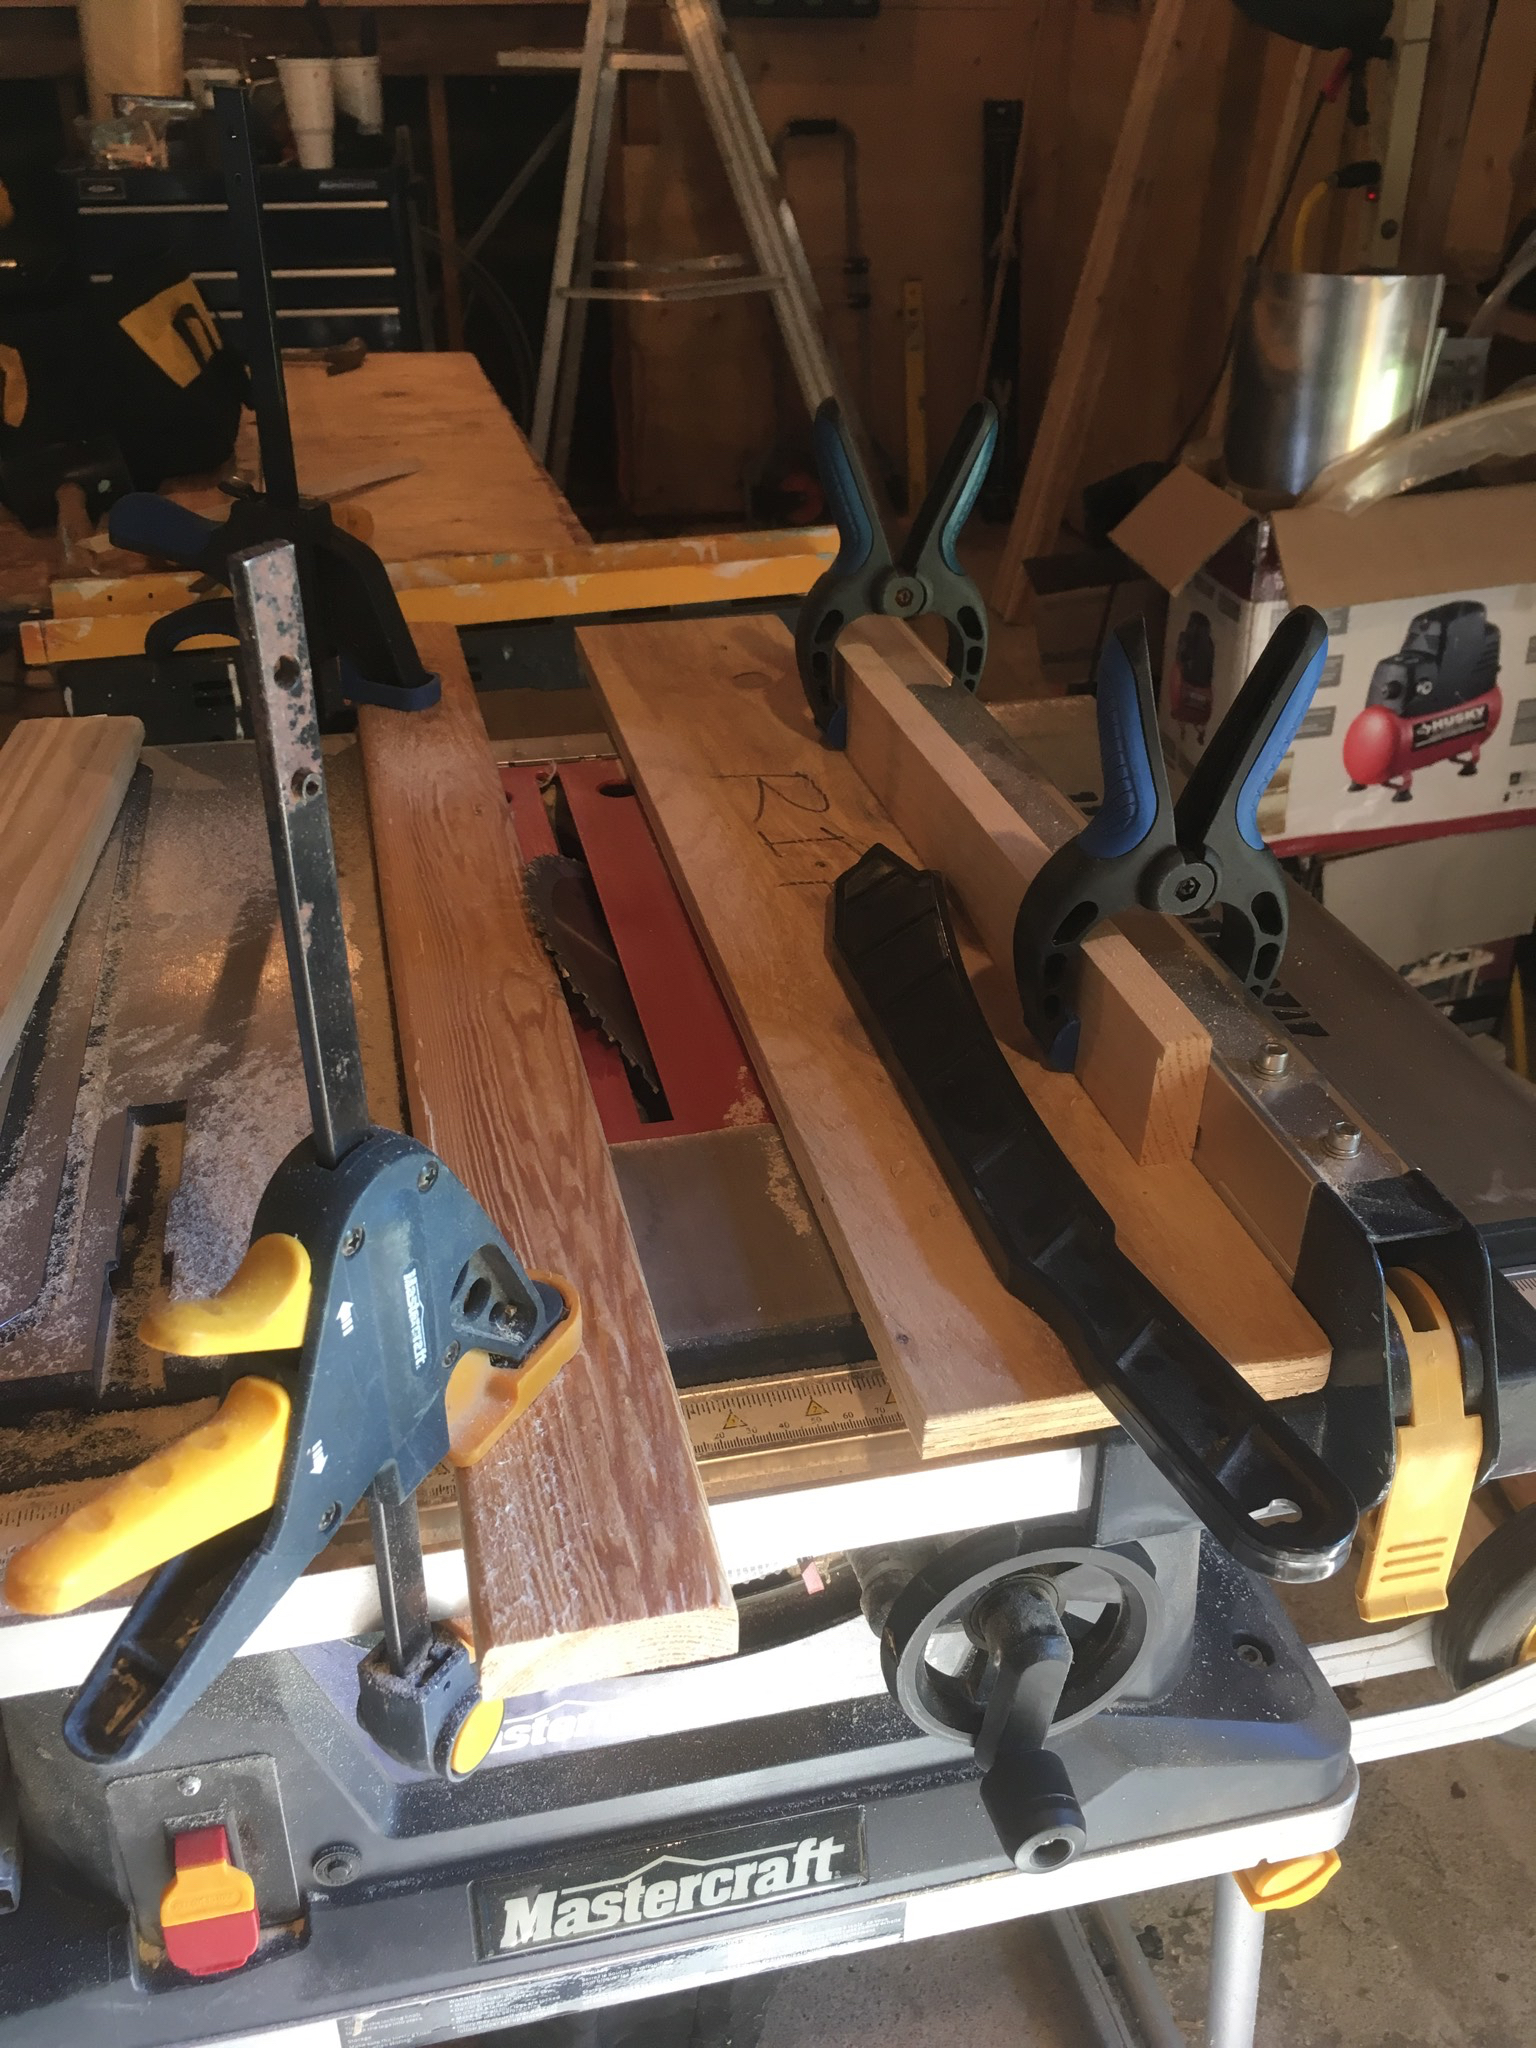
Incidentally, to make this easier I used some clamps and scrap wood to create a jig of sorts.
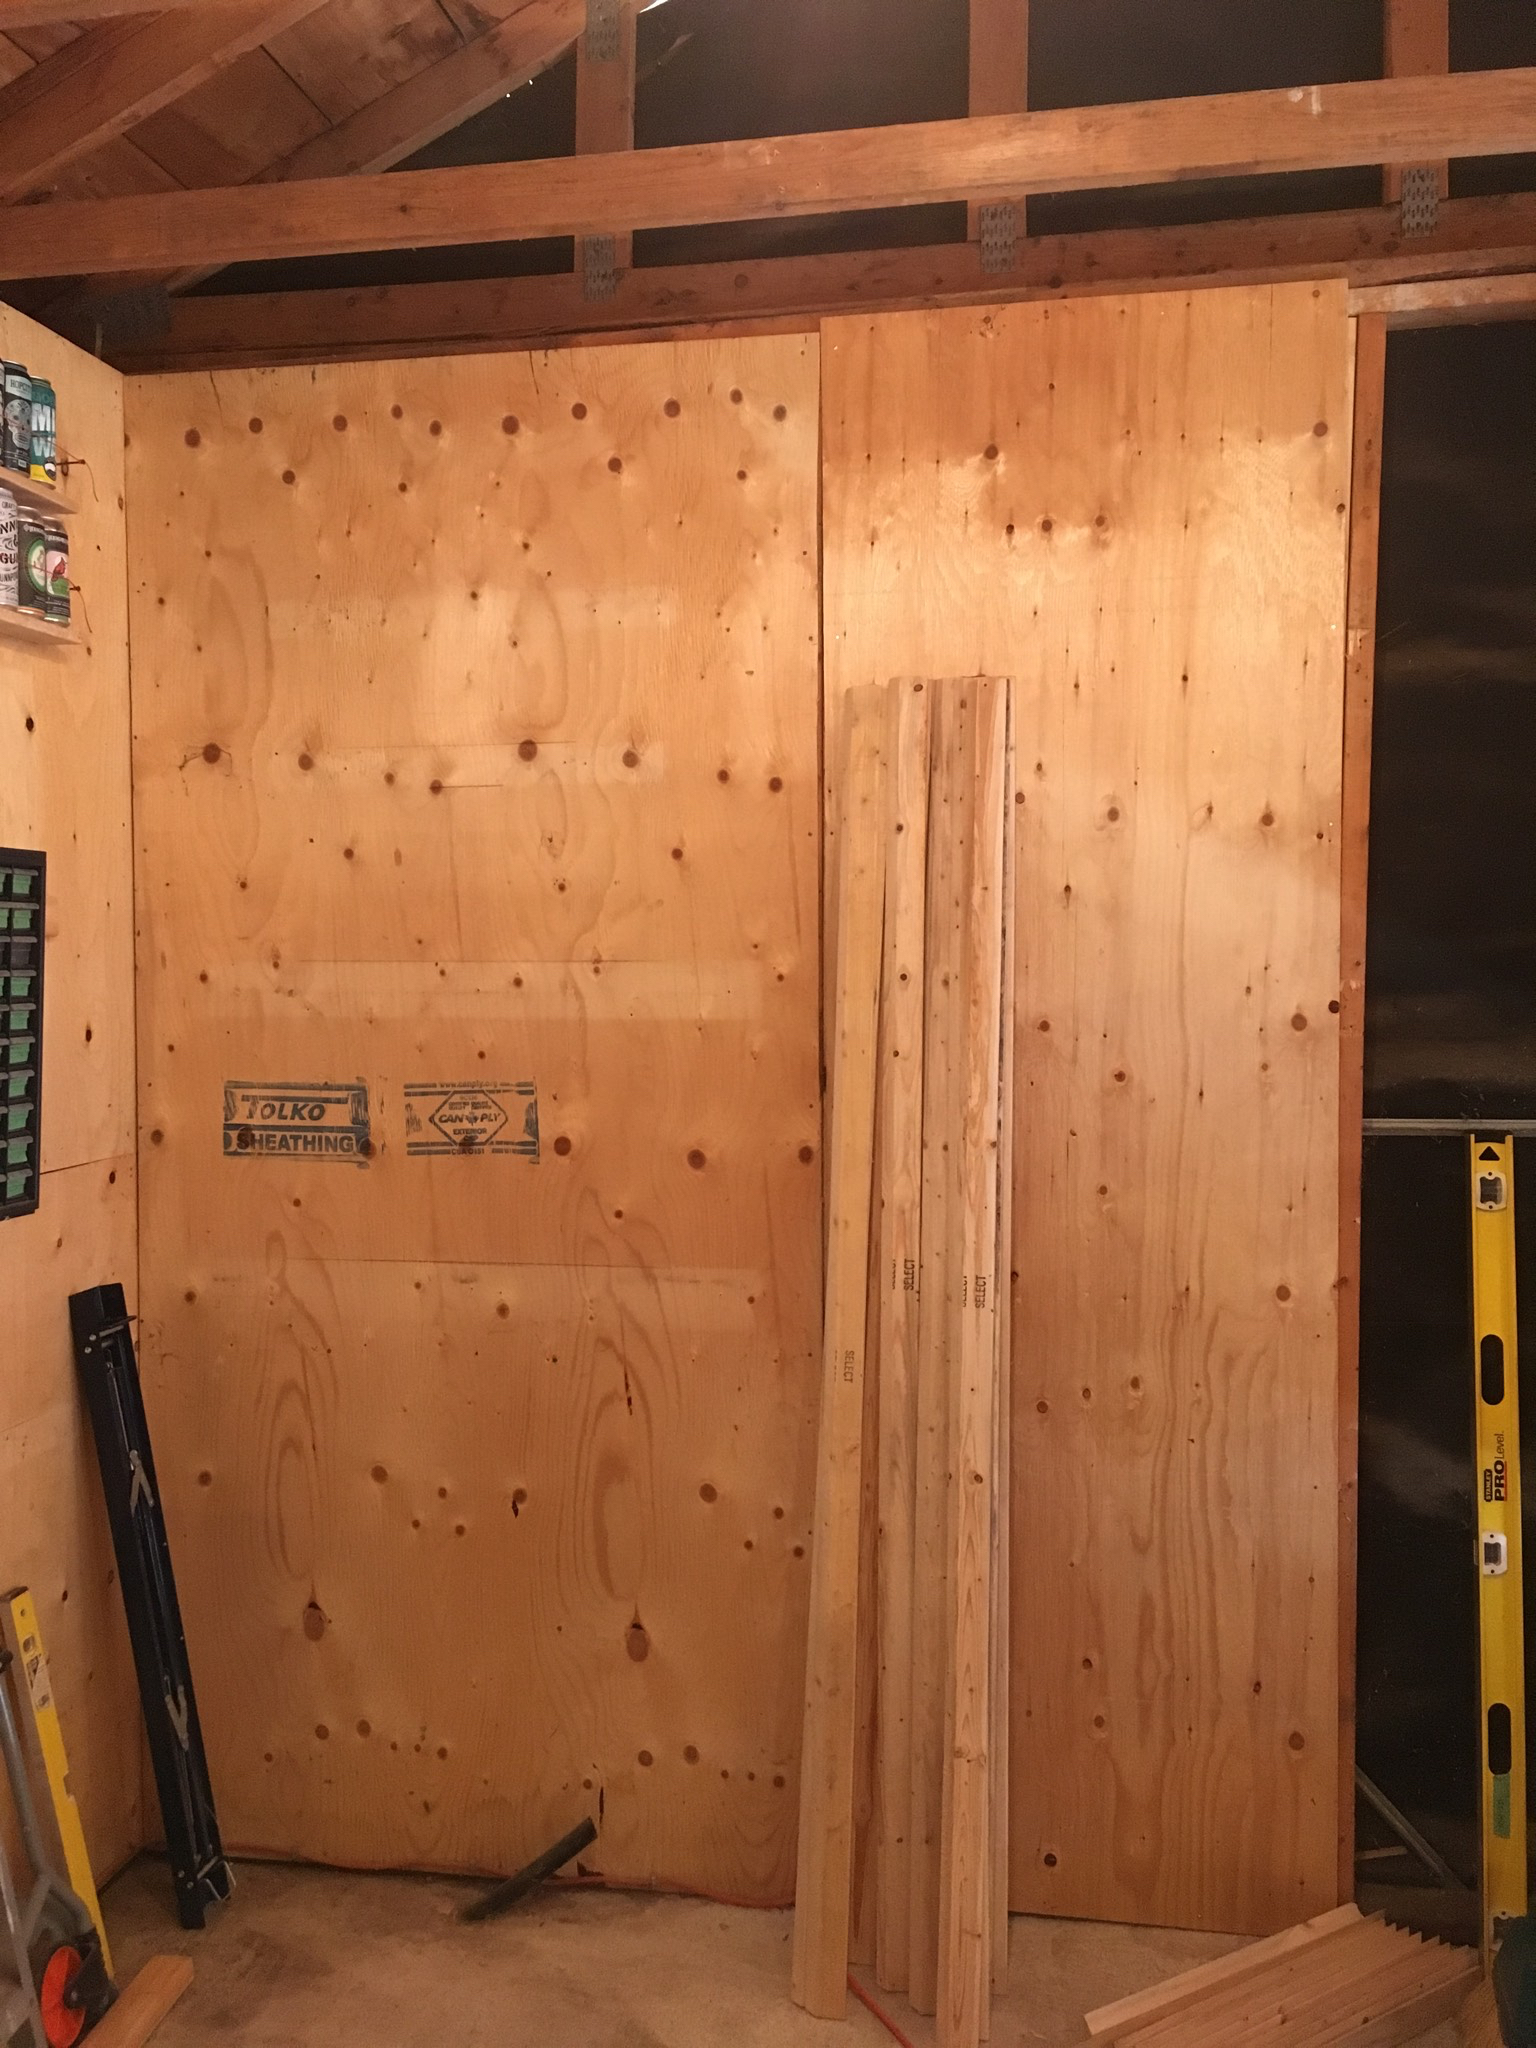
Next up was to put some sheets on the wall. I already had some of these up so just continued along to the next stud.
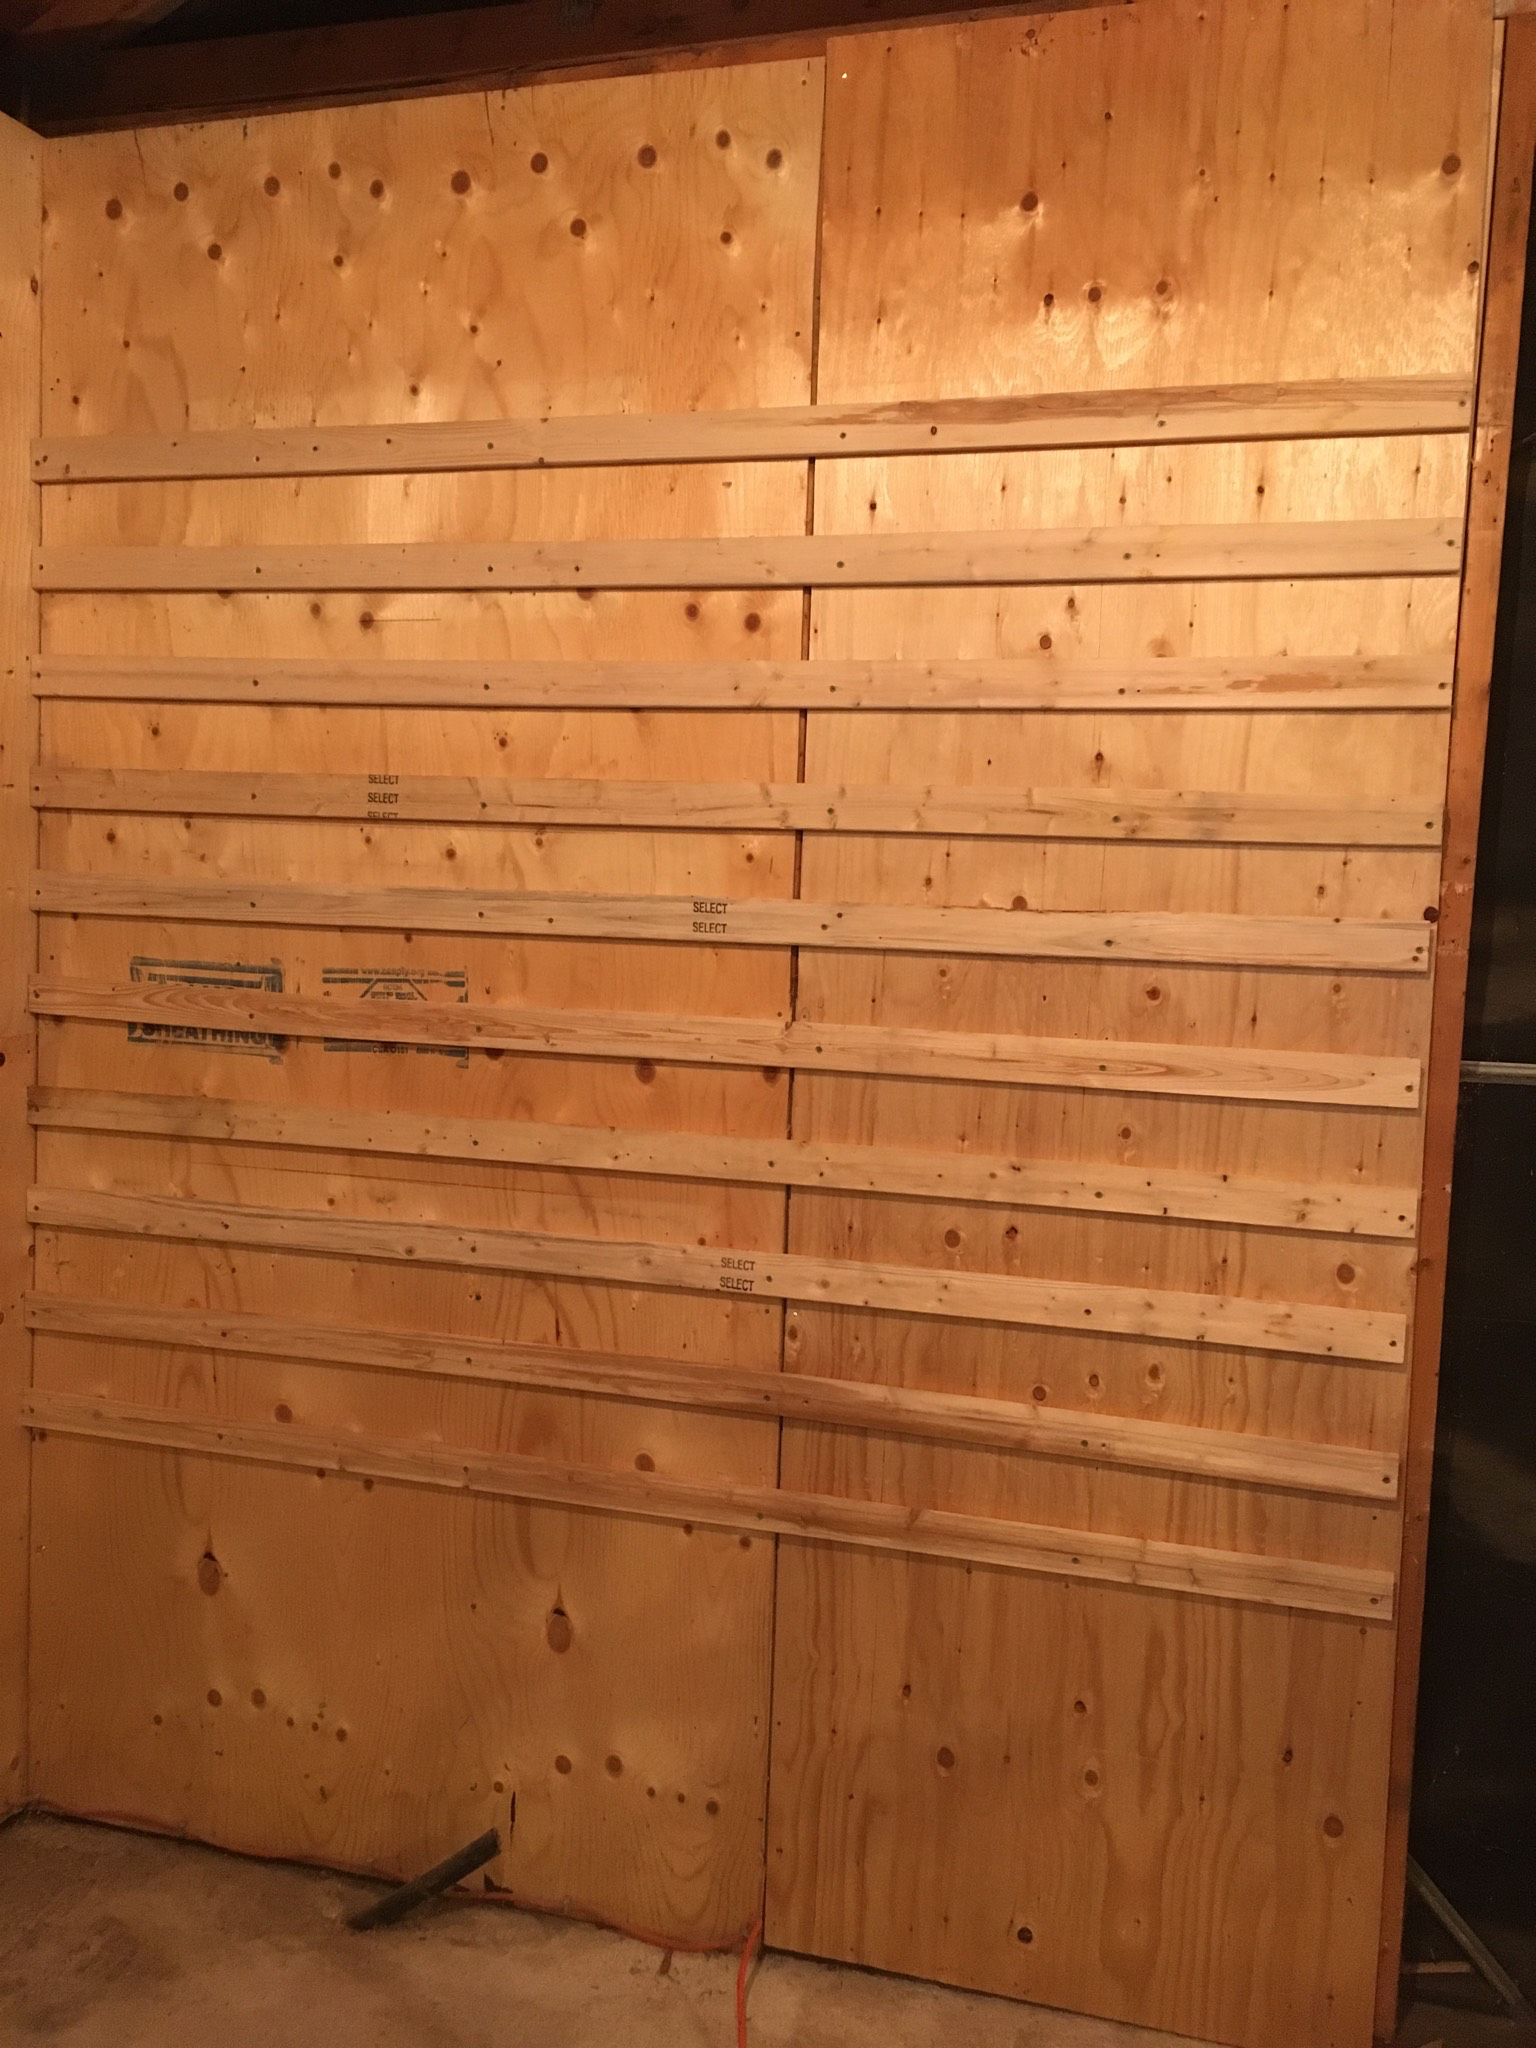
Right, looking good. Next task was to space out some of the strips evenly 10” apart. This is made more interesting when you forget to mark out the studs before hand and you decide to use the ‘knocking’ technique to hear where the studs are. Eventually I found all the studs and so we have this.
That’s the wall prepared, but now the next question is - what to put on it? I tried a few simple things to get the hang of it, like taking a small parts organizer and placing a strip on the back.
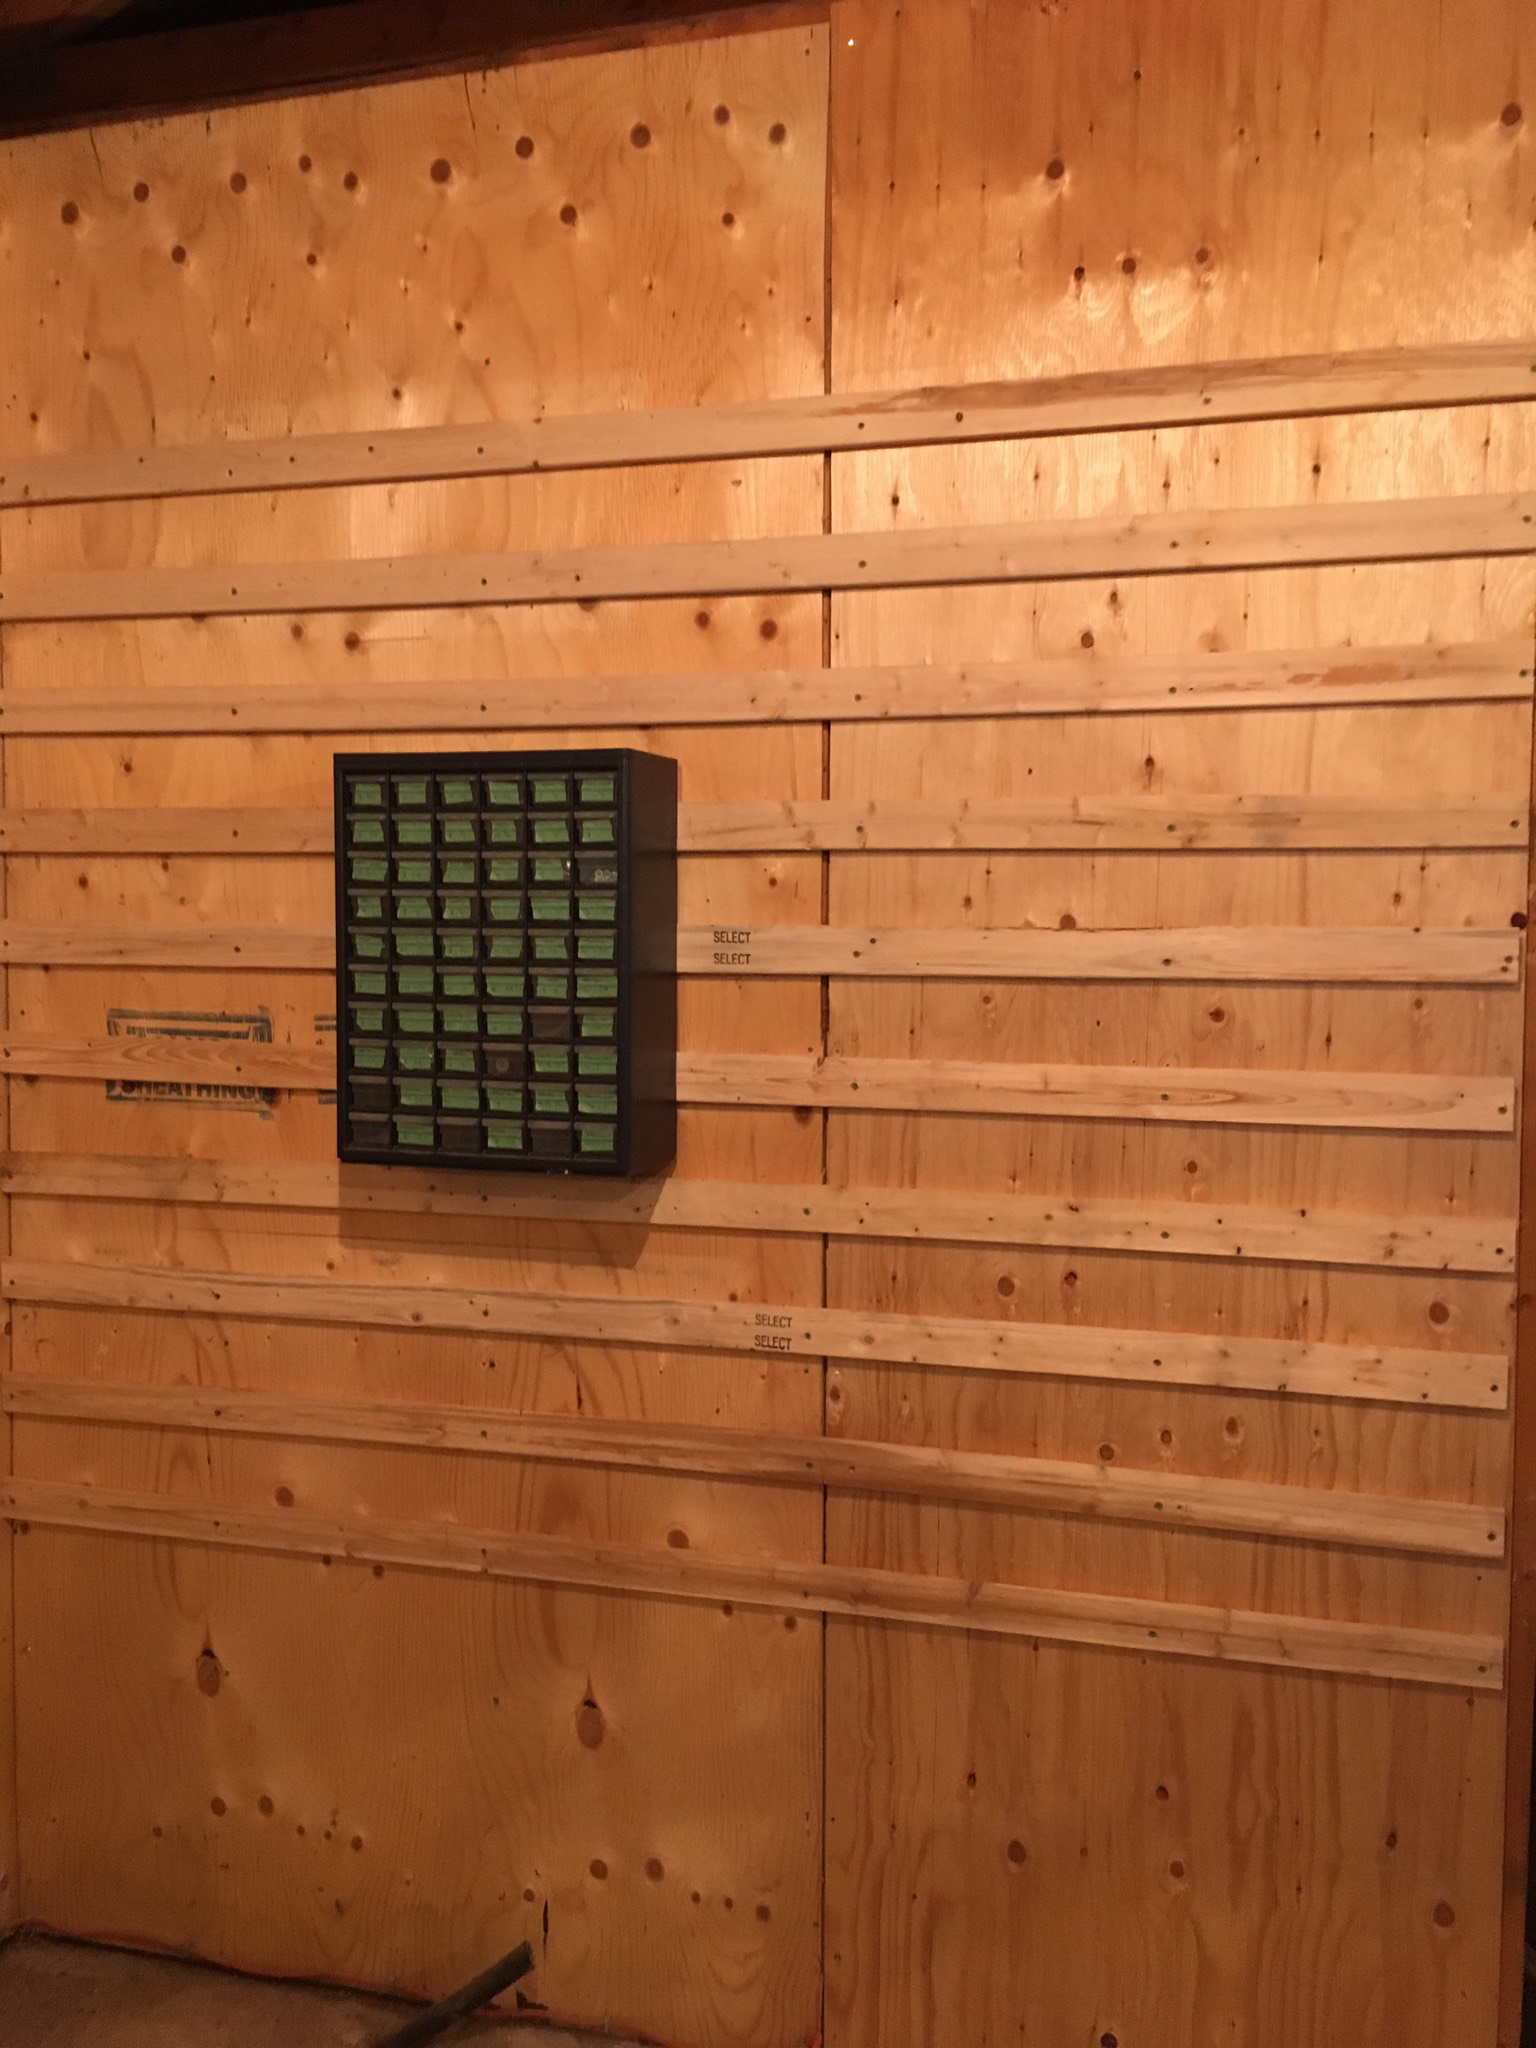
And much fun was had moving it around from place to place. But seriously, what was the most practical way to hang lots of stuff? The internet is full of neat ideas for clamps, angles and the like but I couldn’t find anyone who just wanted a big wall for storing things.
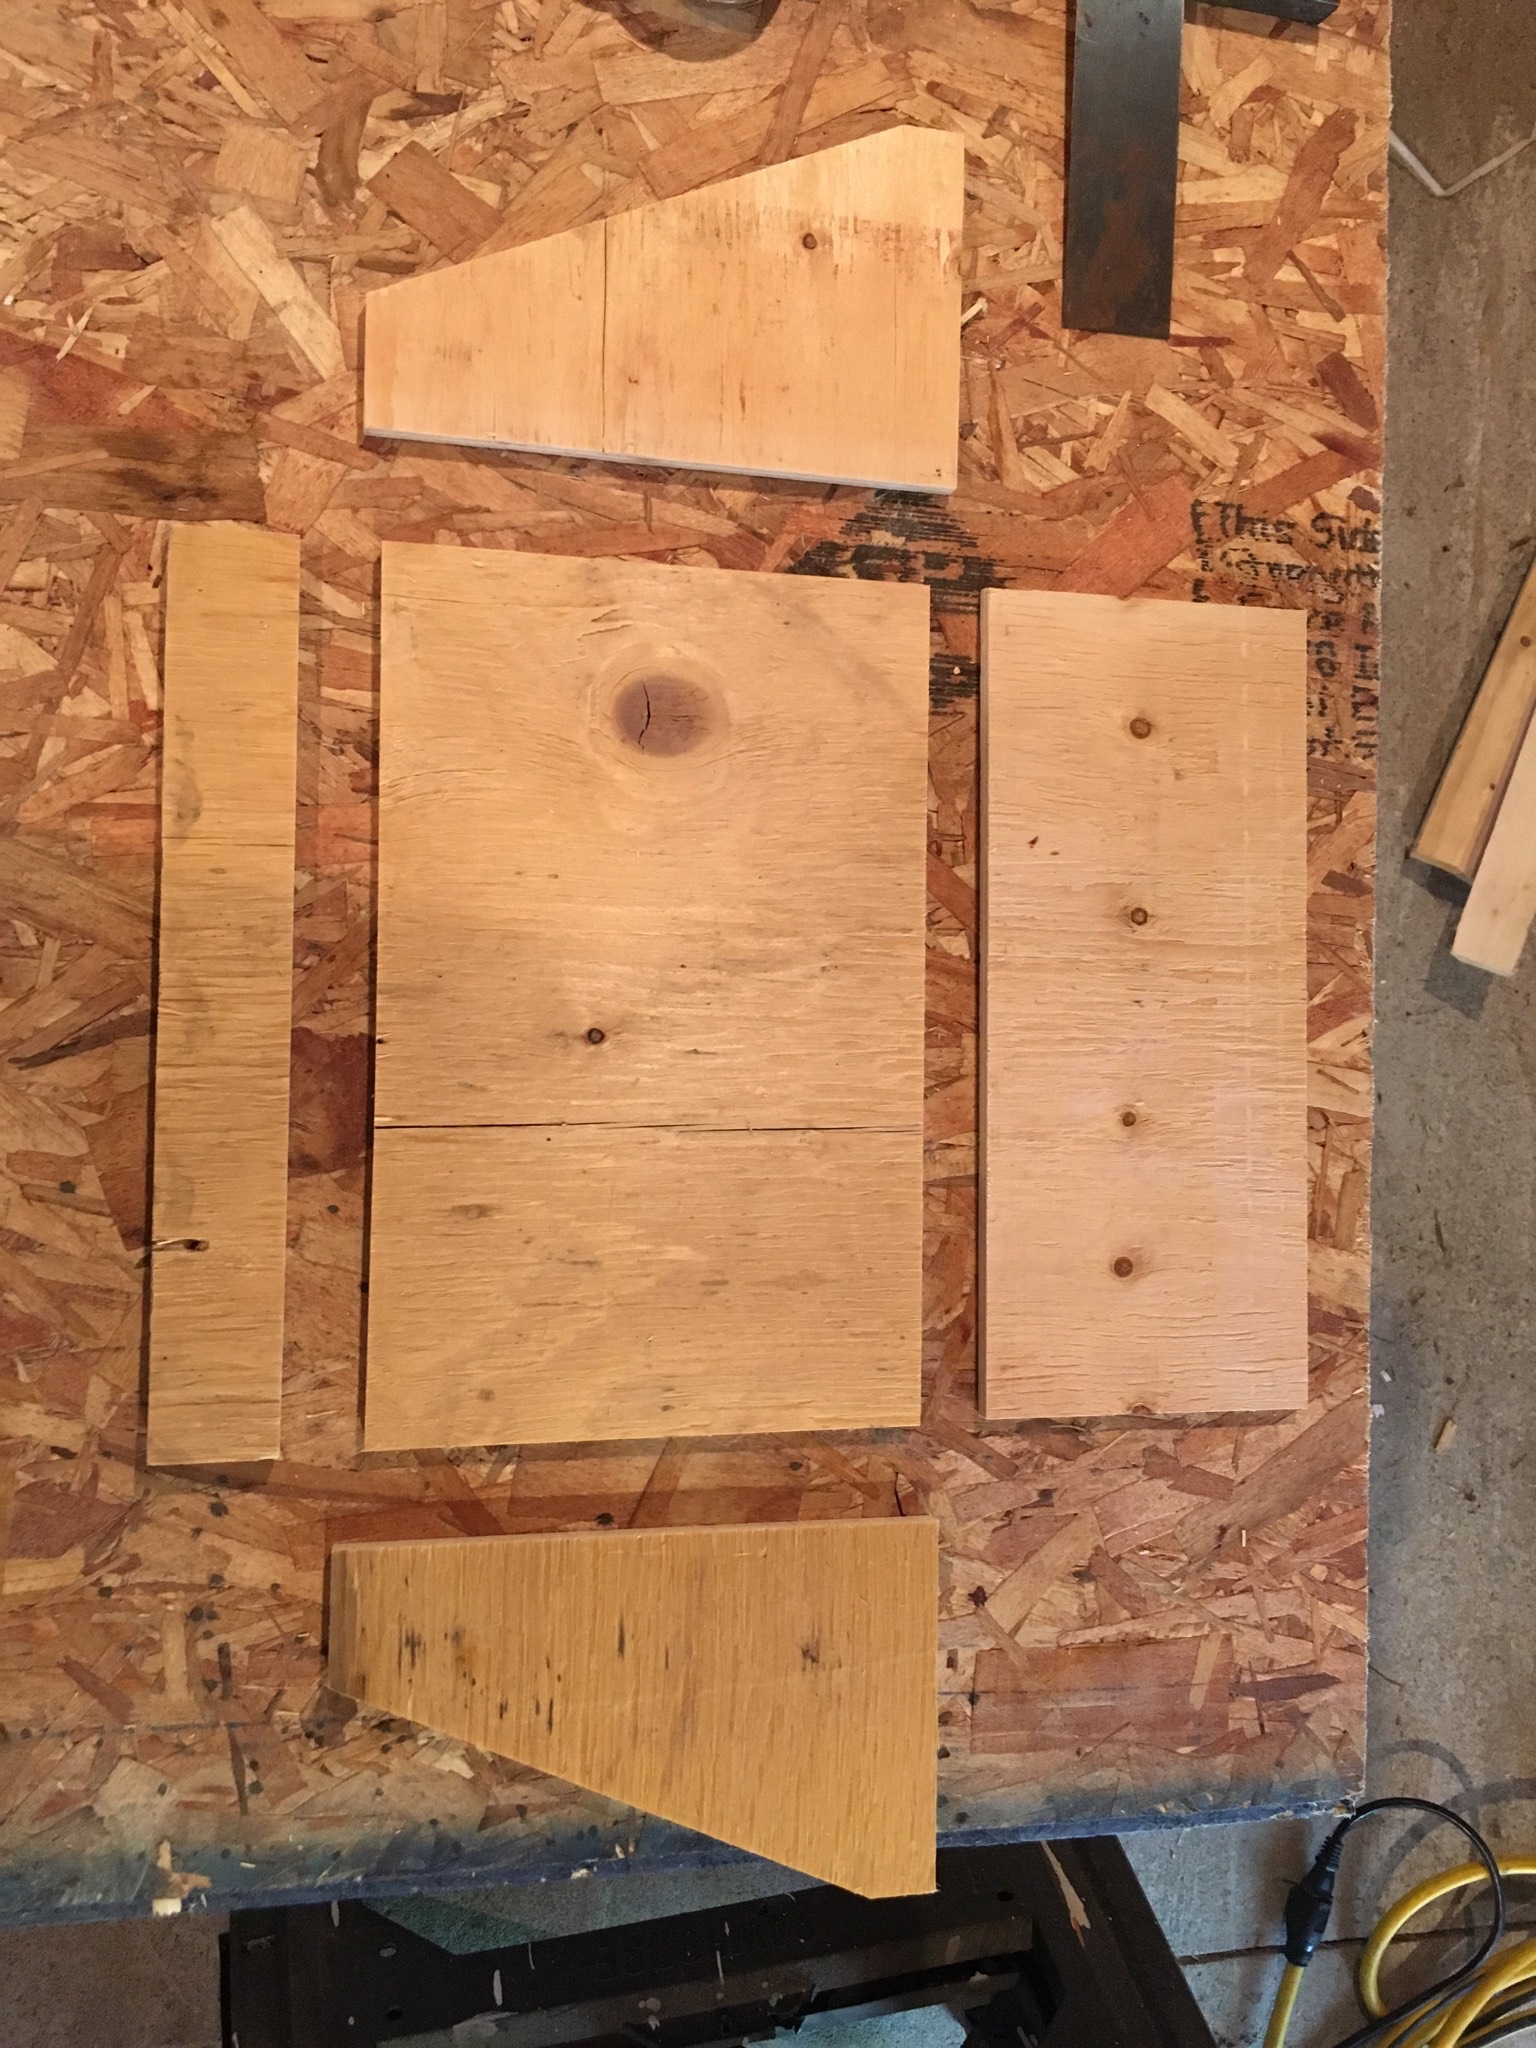
So the first attempt was a shelf designed to fit two empty cat litter containers. Which, by the way, are surprisingly useful for putting in things other than cat litter. Here’s the test template
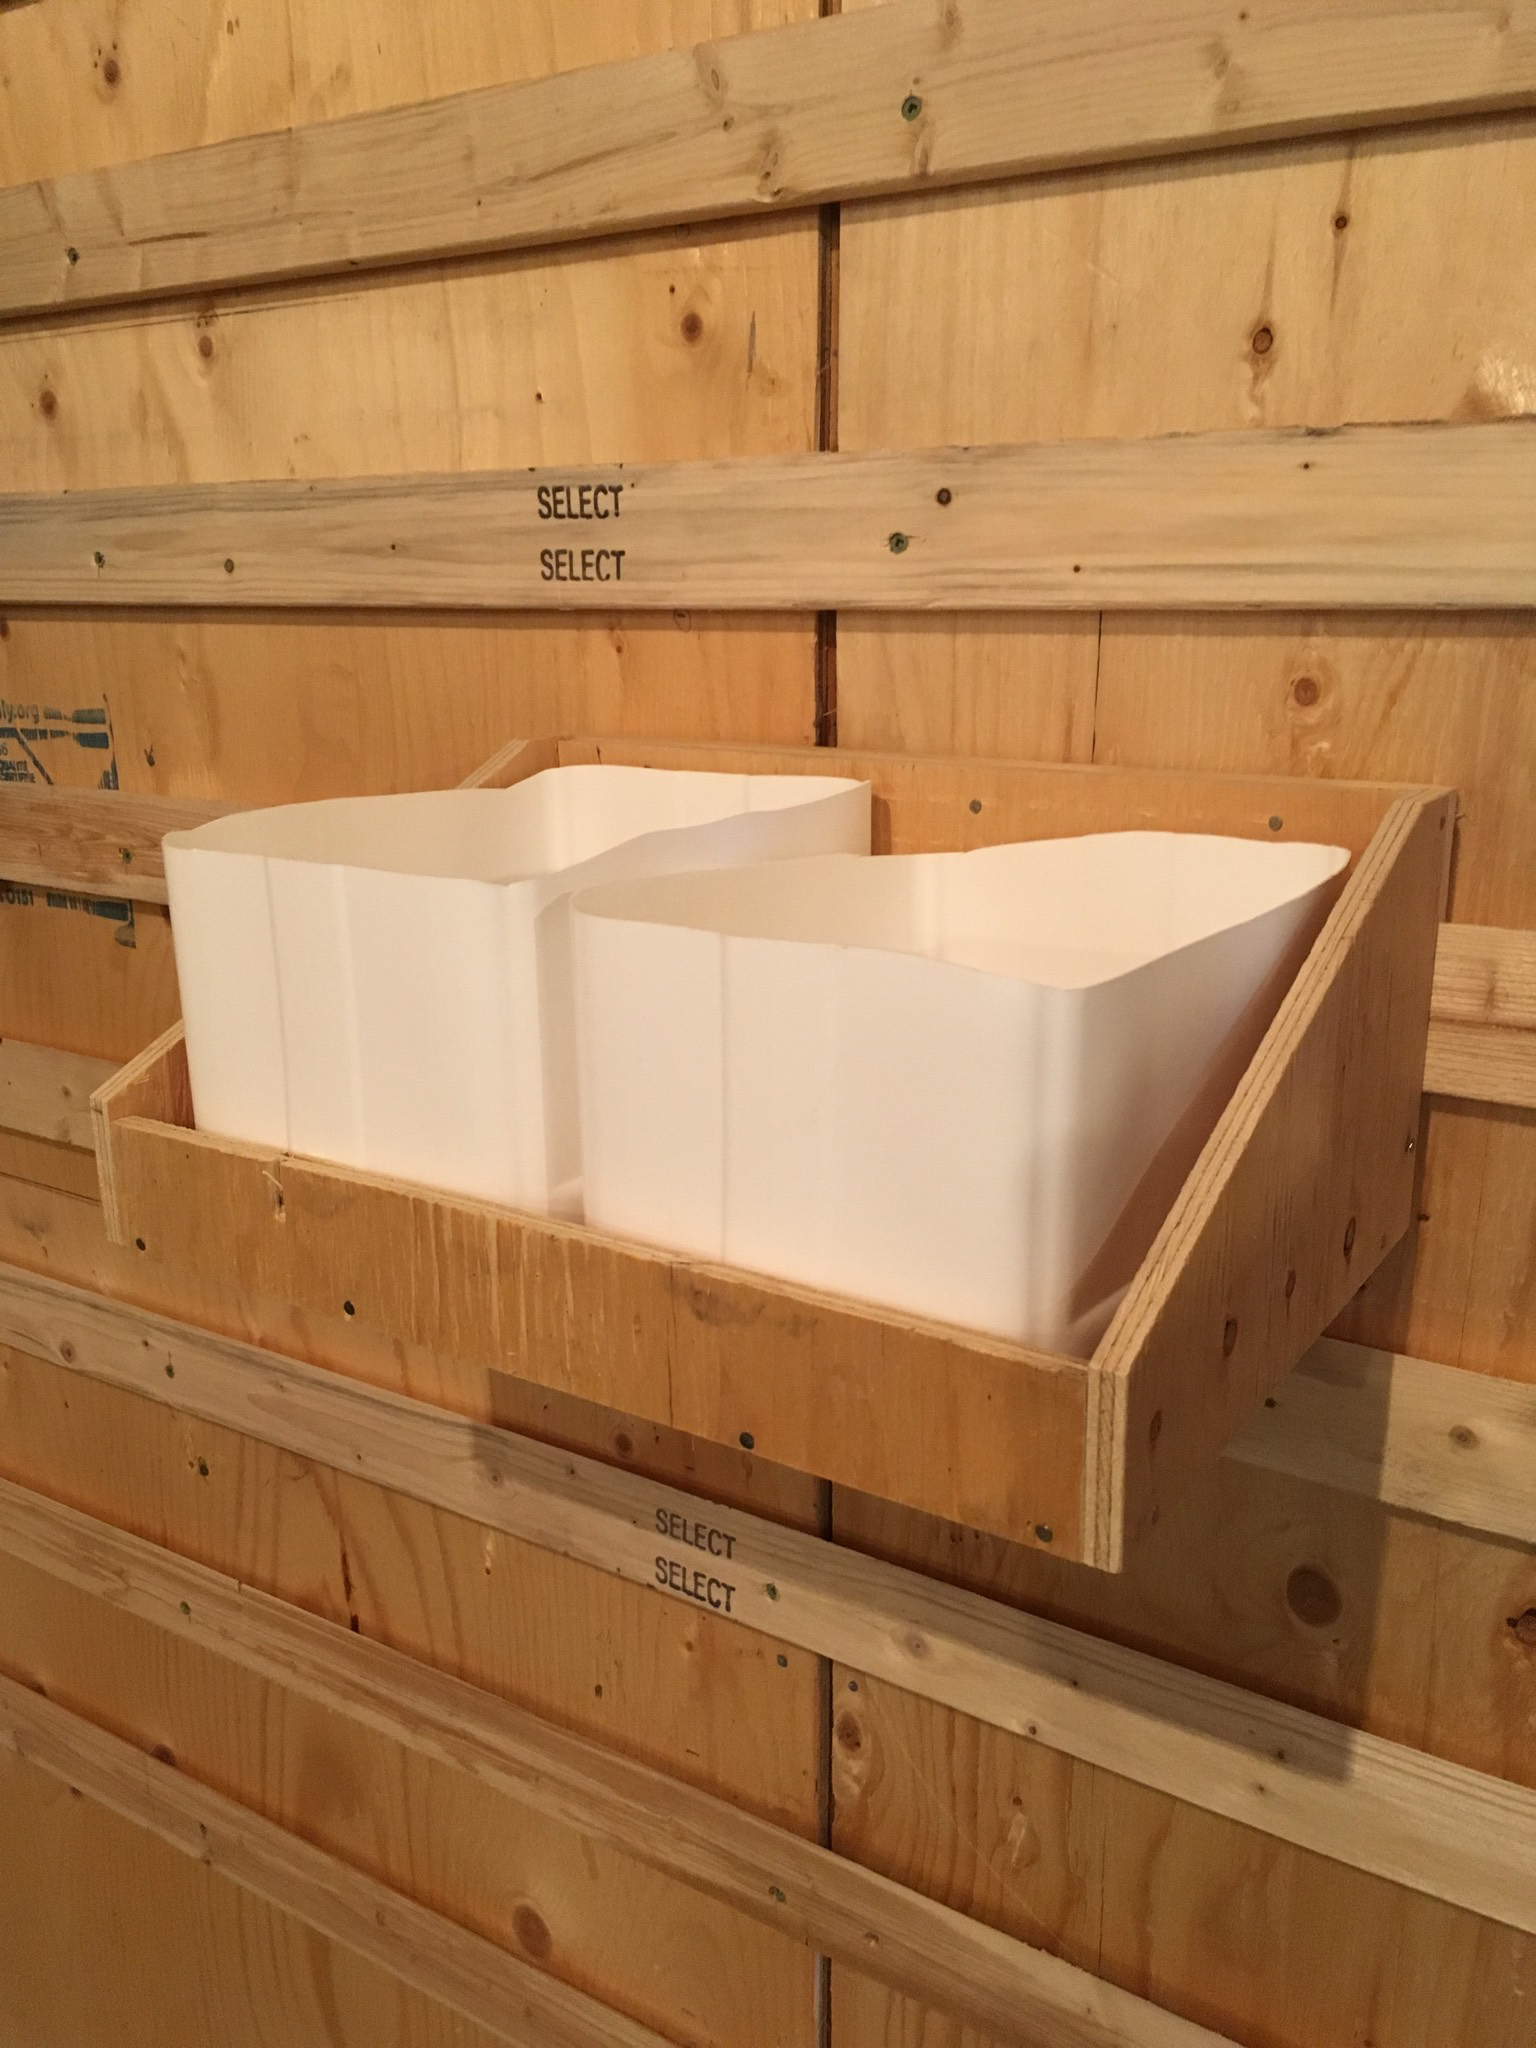
Here’s one put together with the aforementioned cat litter receptacles.
After much moving around and putting in of things I came to the conclusion that
- I liked moving the shelf around a lot more than I should
- It was too short. Not reaching to the next strip down meant that it pulled away from the top strip a bit. Fine for light weights but no good for something meatier, like power towels.
- This could really work for just about anything. I tried it with tools like a cordless drill and circular saw, which both fit nicely. Also spray paint, WD40, boxes of nails, pretty much anything I could find to stick inside.
The next template I made had a longer back and few other tweaks.
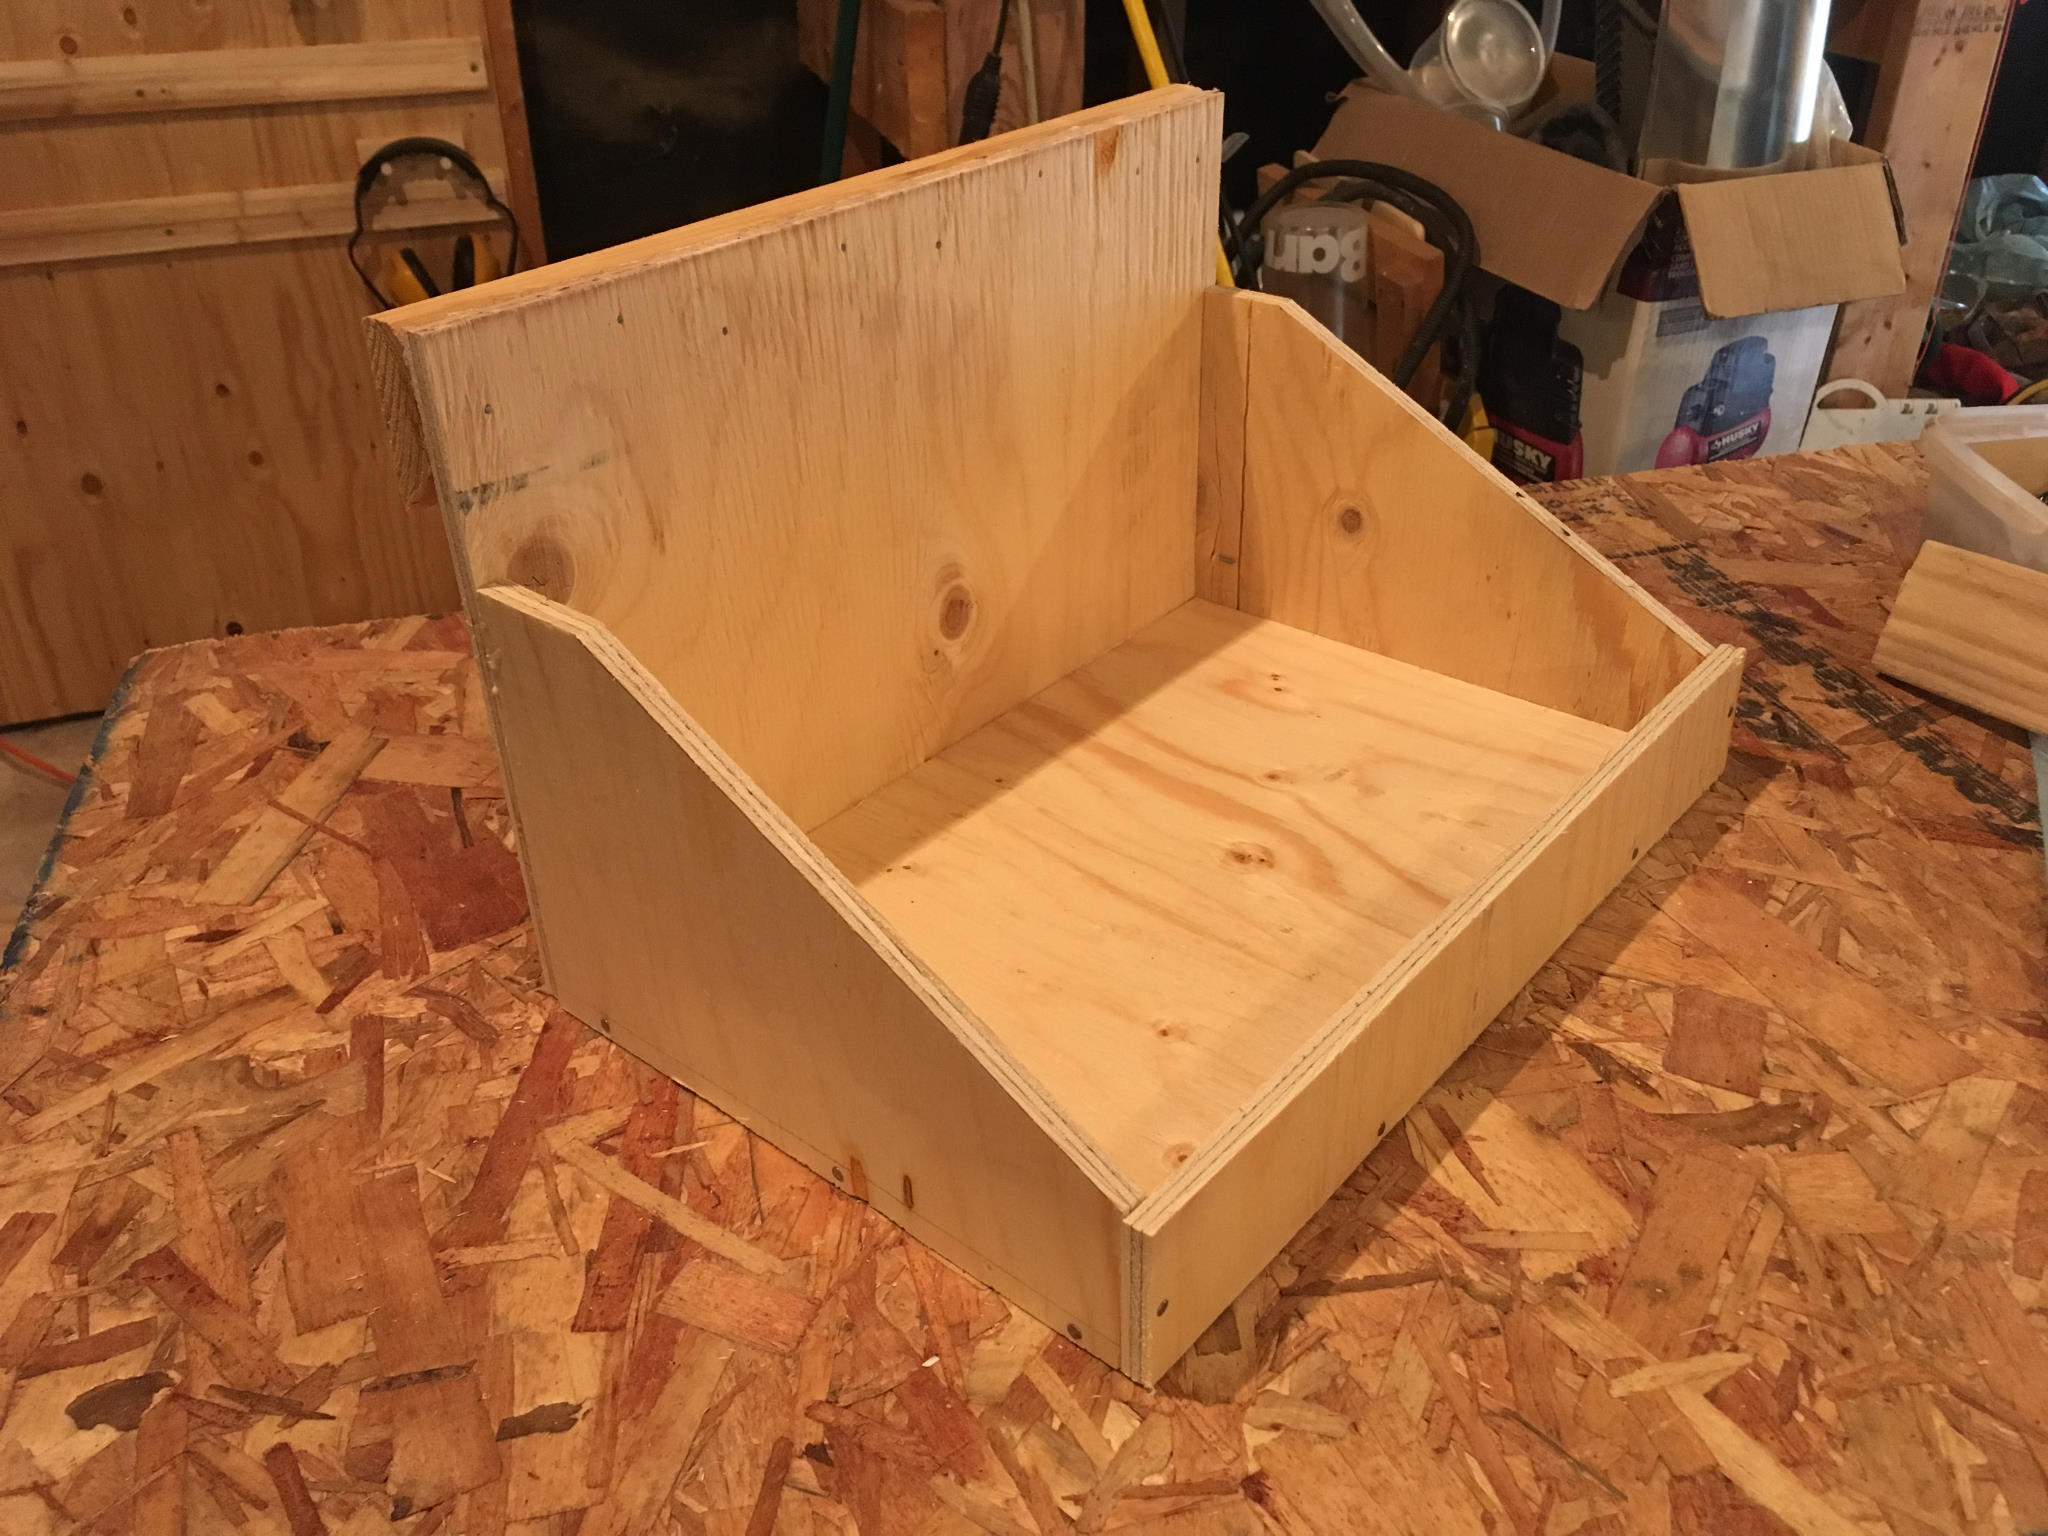
Then I went ahead at made as many as possible from the remaining sheet, which turned out to be 8.

Notice that these straddle two of the strips making them more stable and able to take more weight.
Naturally I couldn’t wait to fill them with stuff and start moving them around.
I think I’ll take a break and play with it a bit to see how it goes. Plus I ran out of wood.