Attic Conversion
This one is a bit of cheat, most of this was done by a contractor. I’m posting it because its a great conversion and also the first time I trimmed a window.
Here’s the original look, with the walls covered with cardboard.
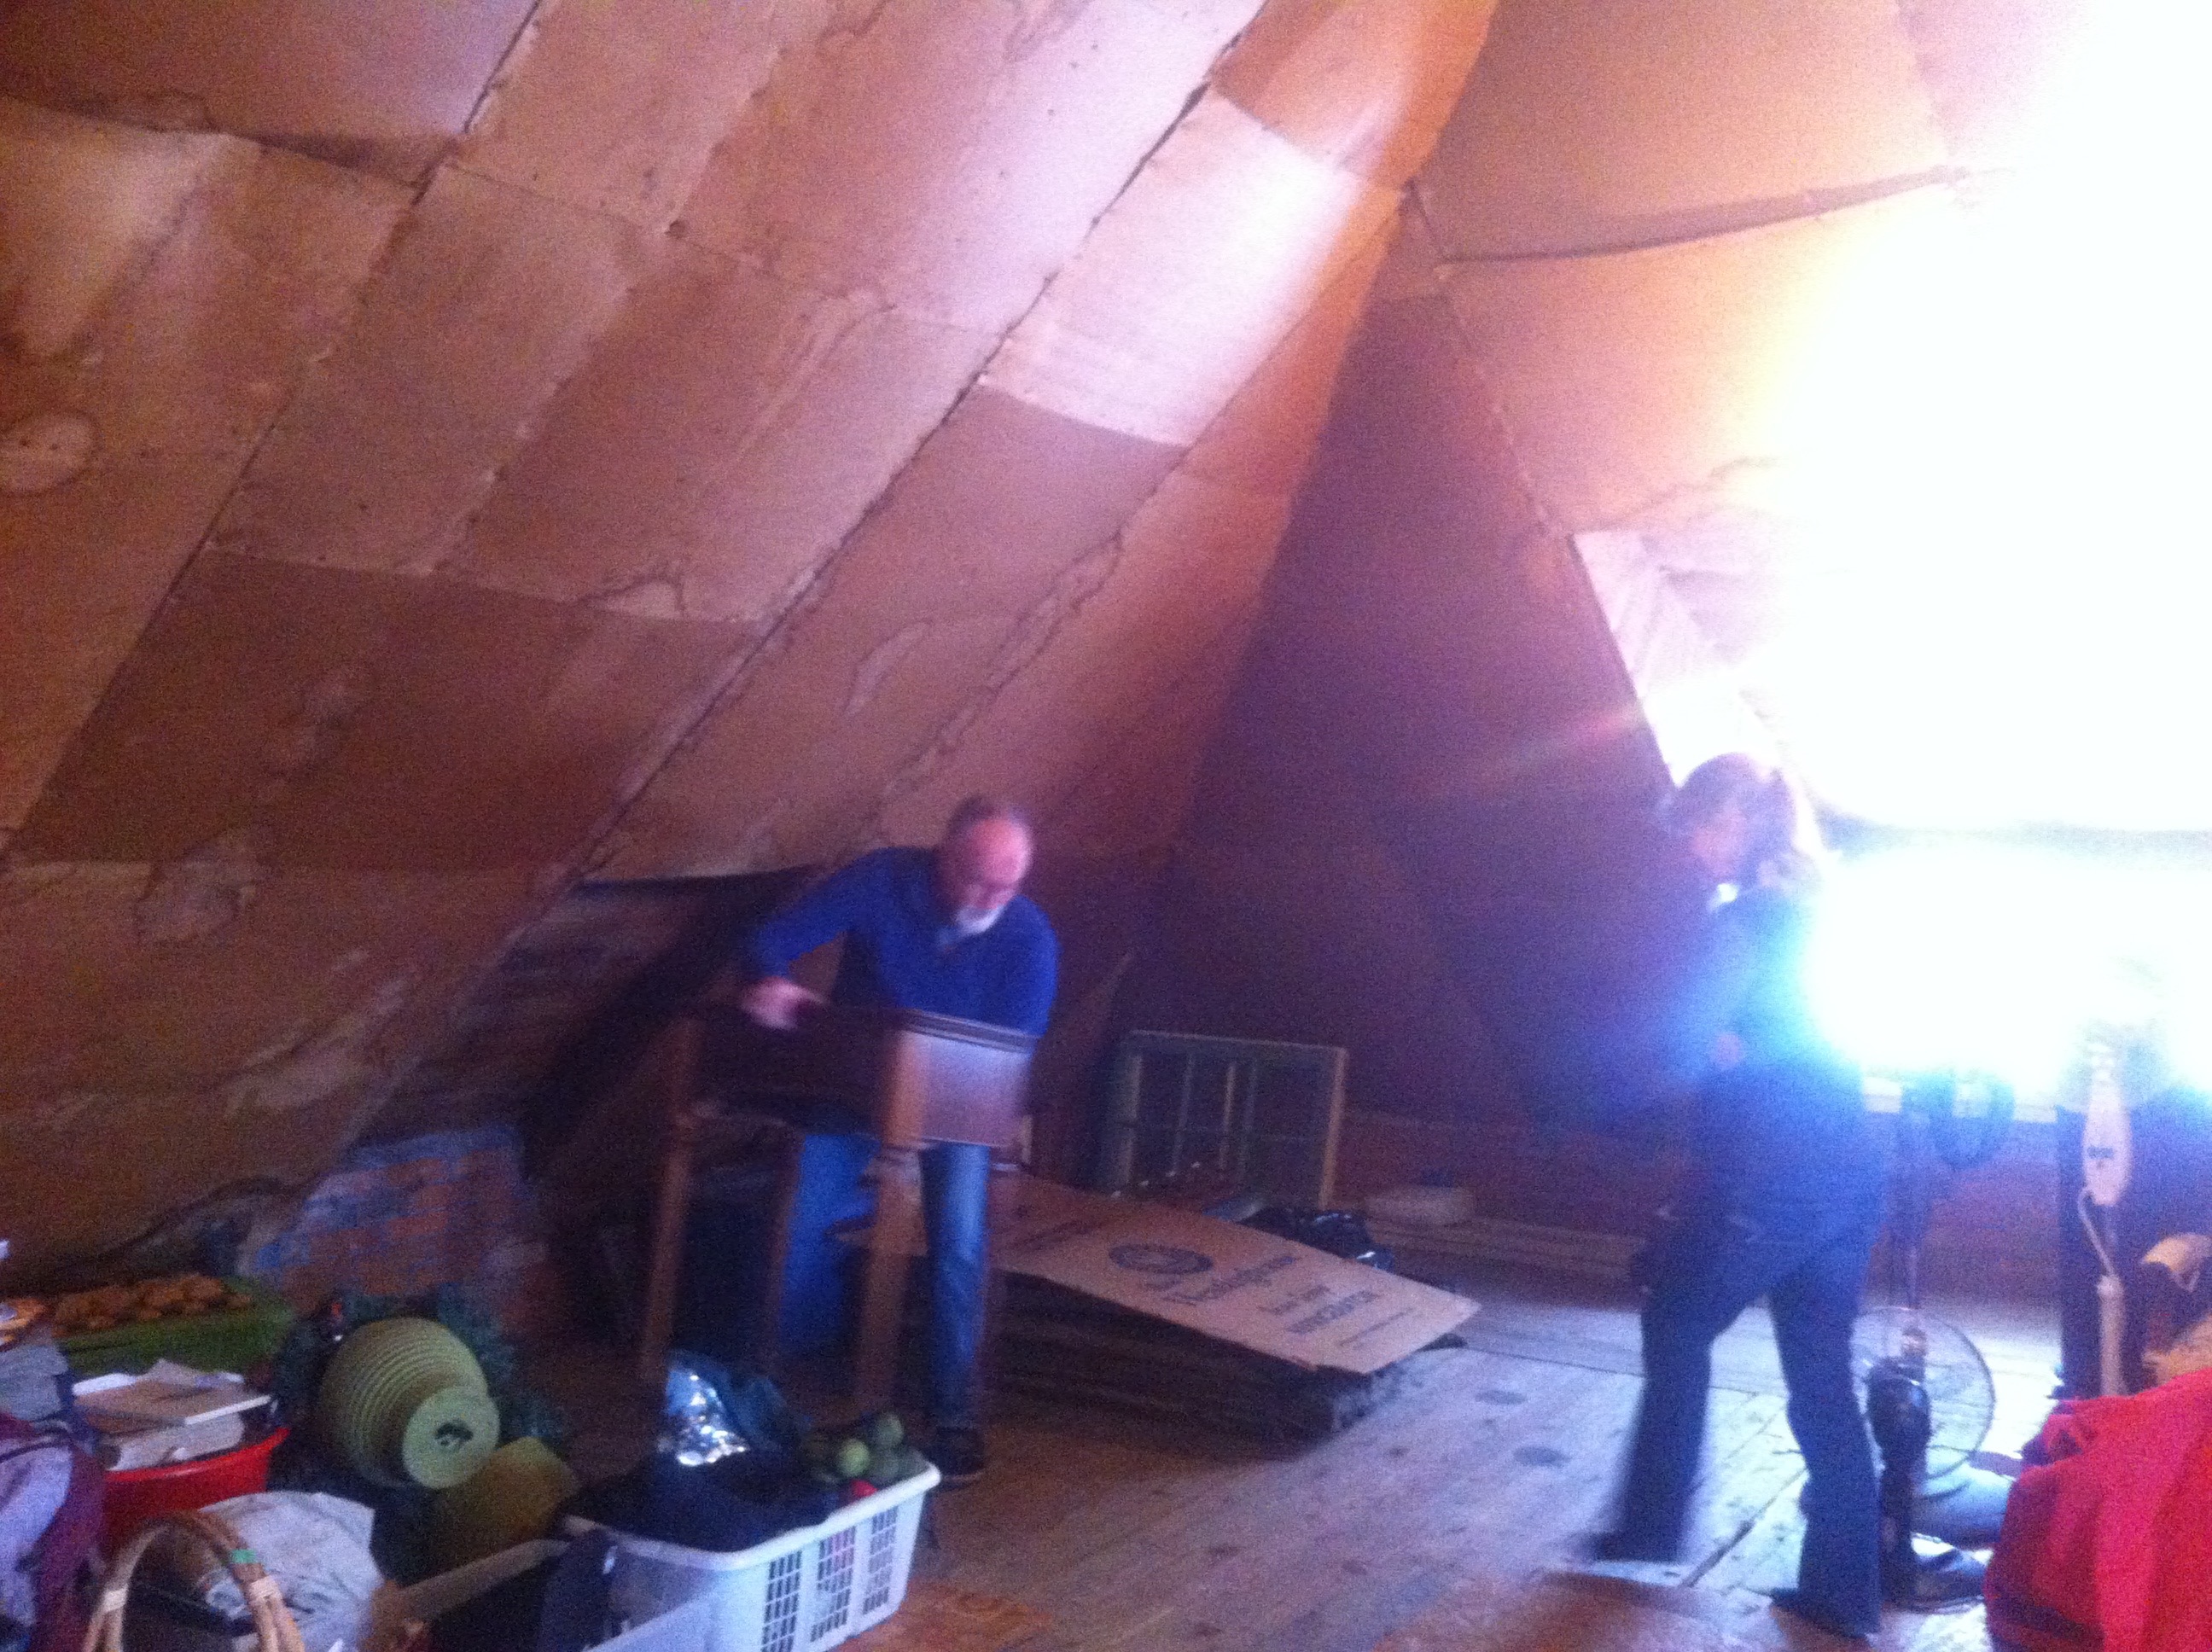
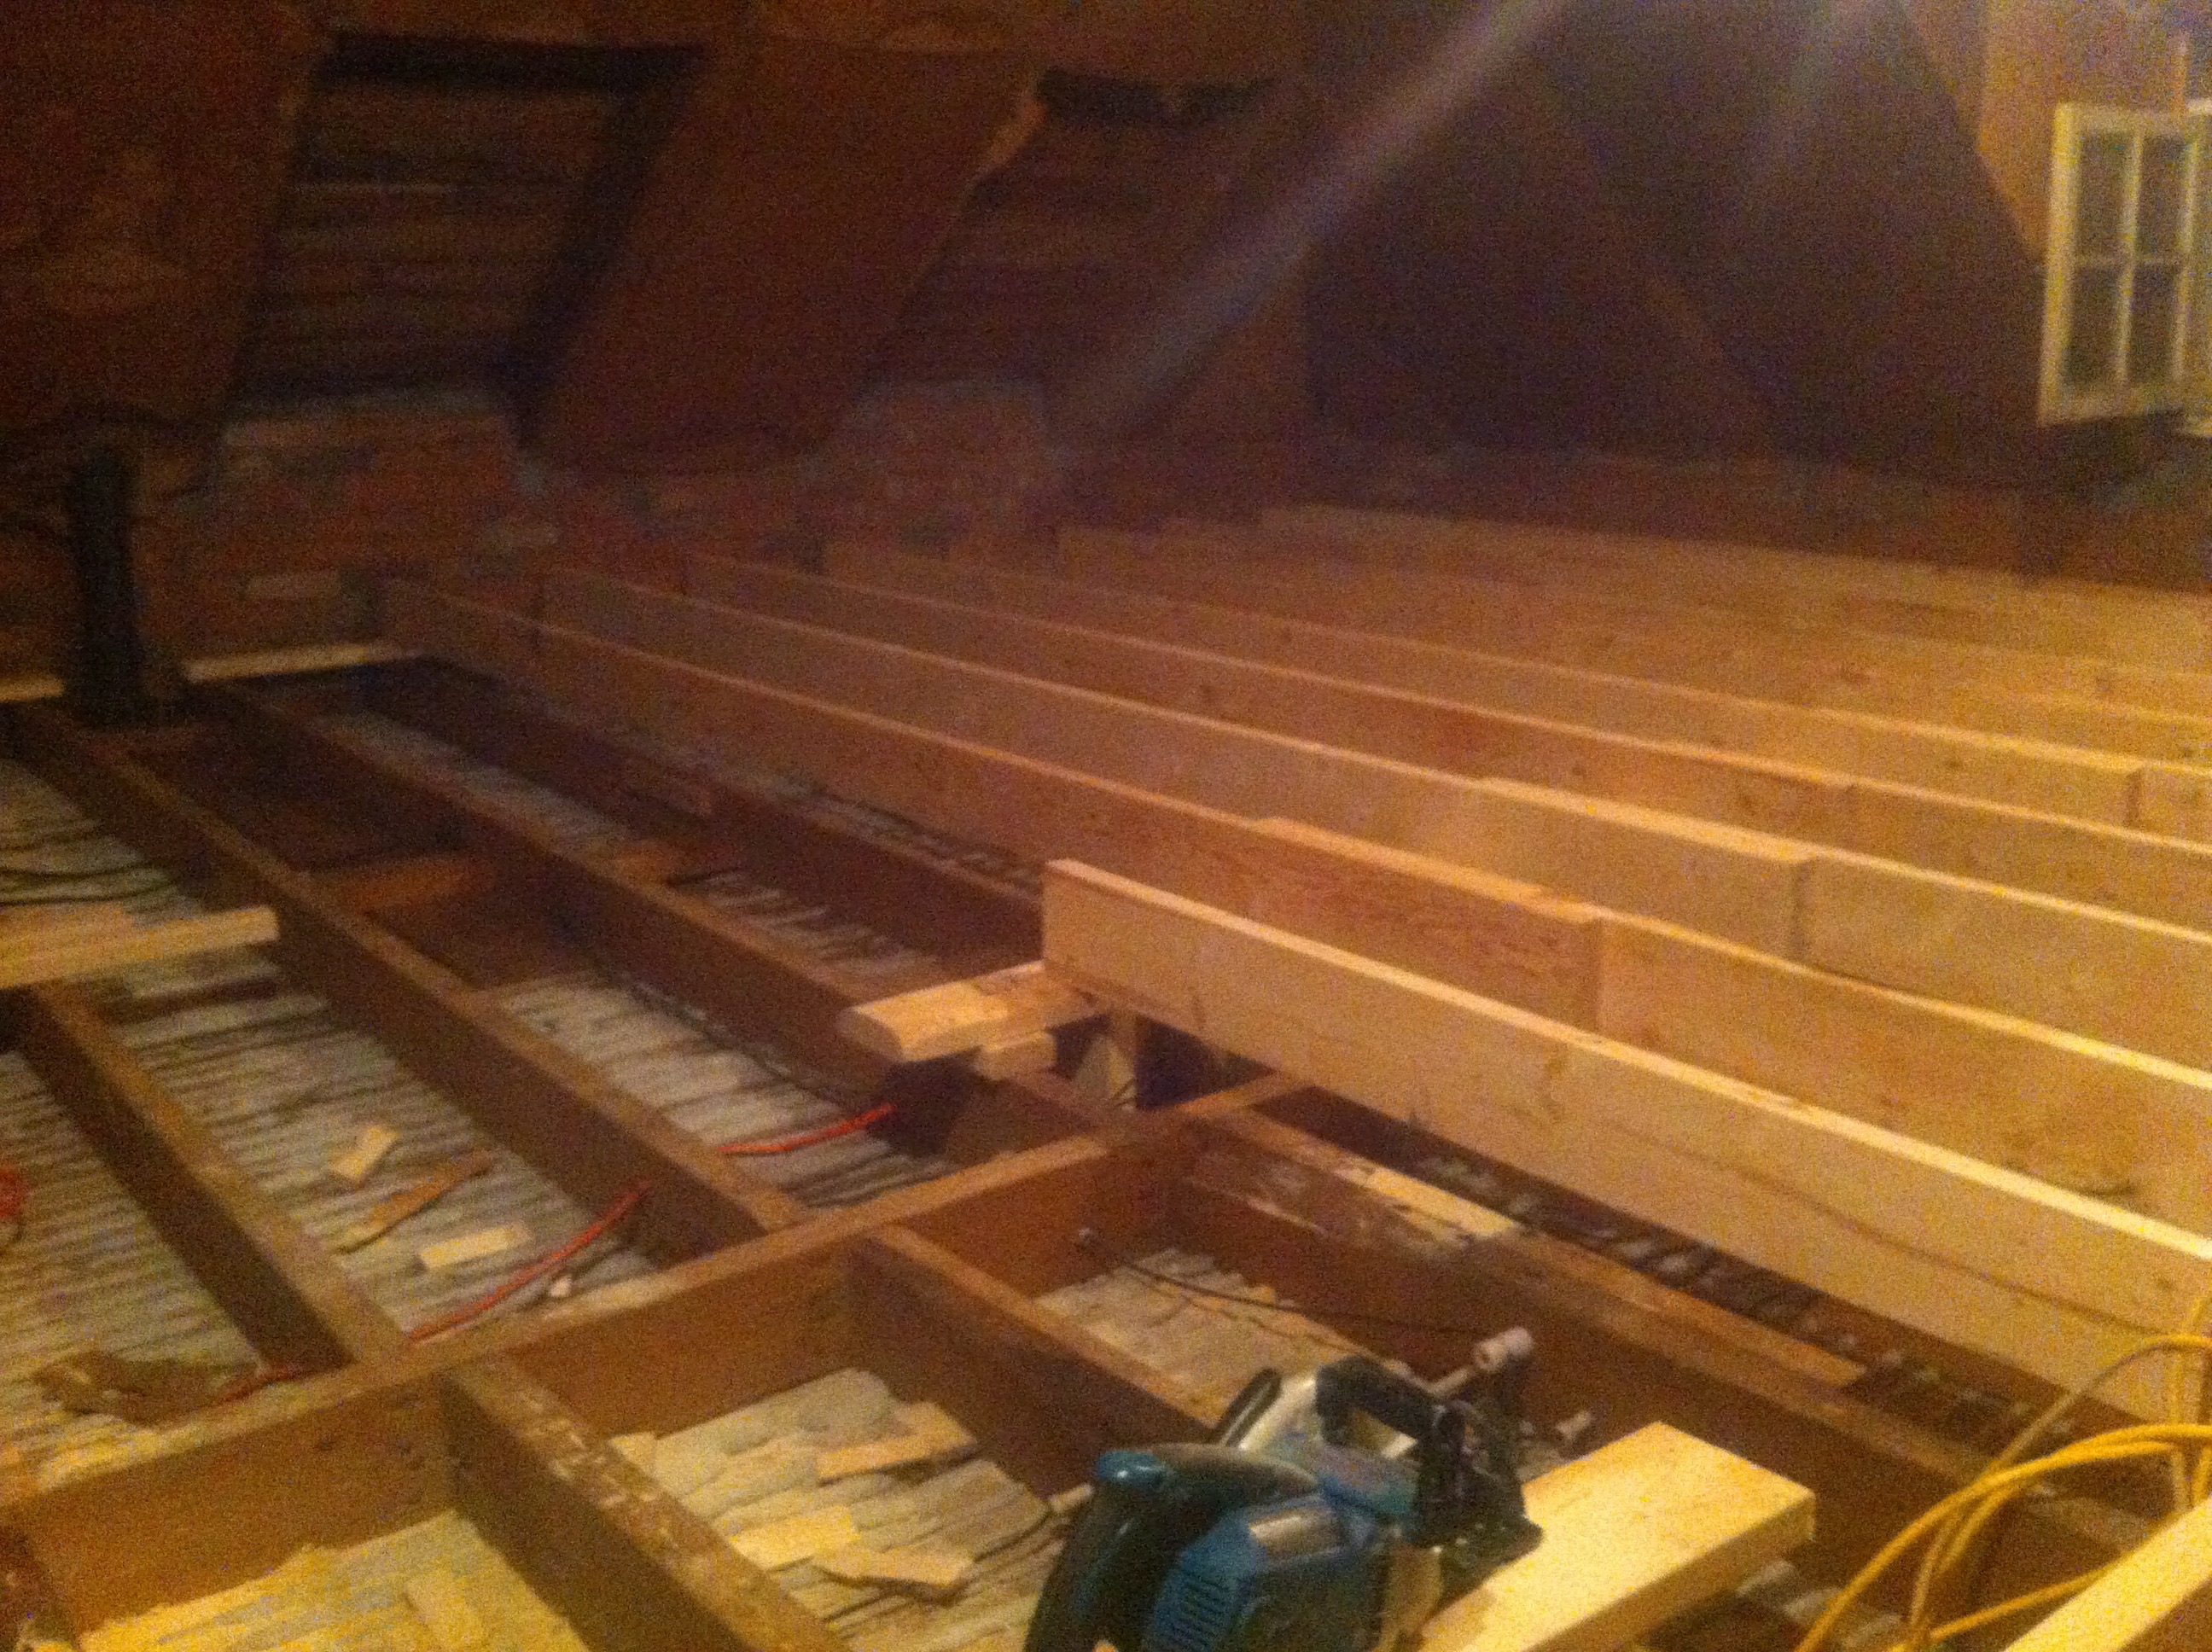
Since the floor had a depression in the middle the contractor was going to put some extra beams across. However, when the floor was taken up the situation was worse than we thought. So instead he suggested putting in a whole new subfloor. It took about 8” off the ceiling but gave us a much sturdier floor.
Here’s a view of the subfloor going on top.
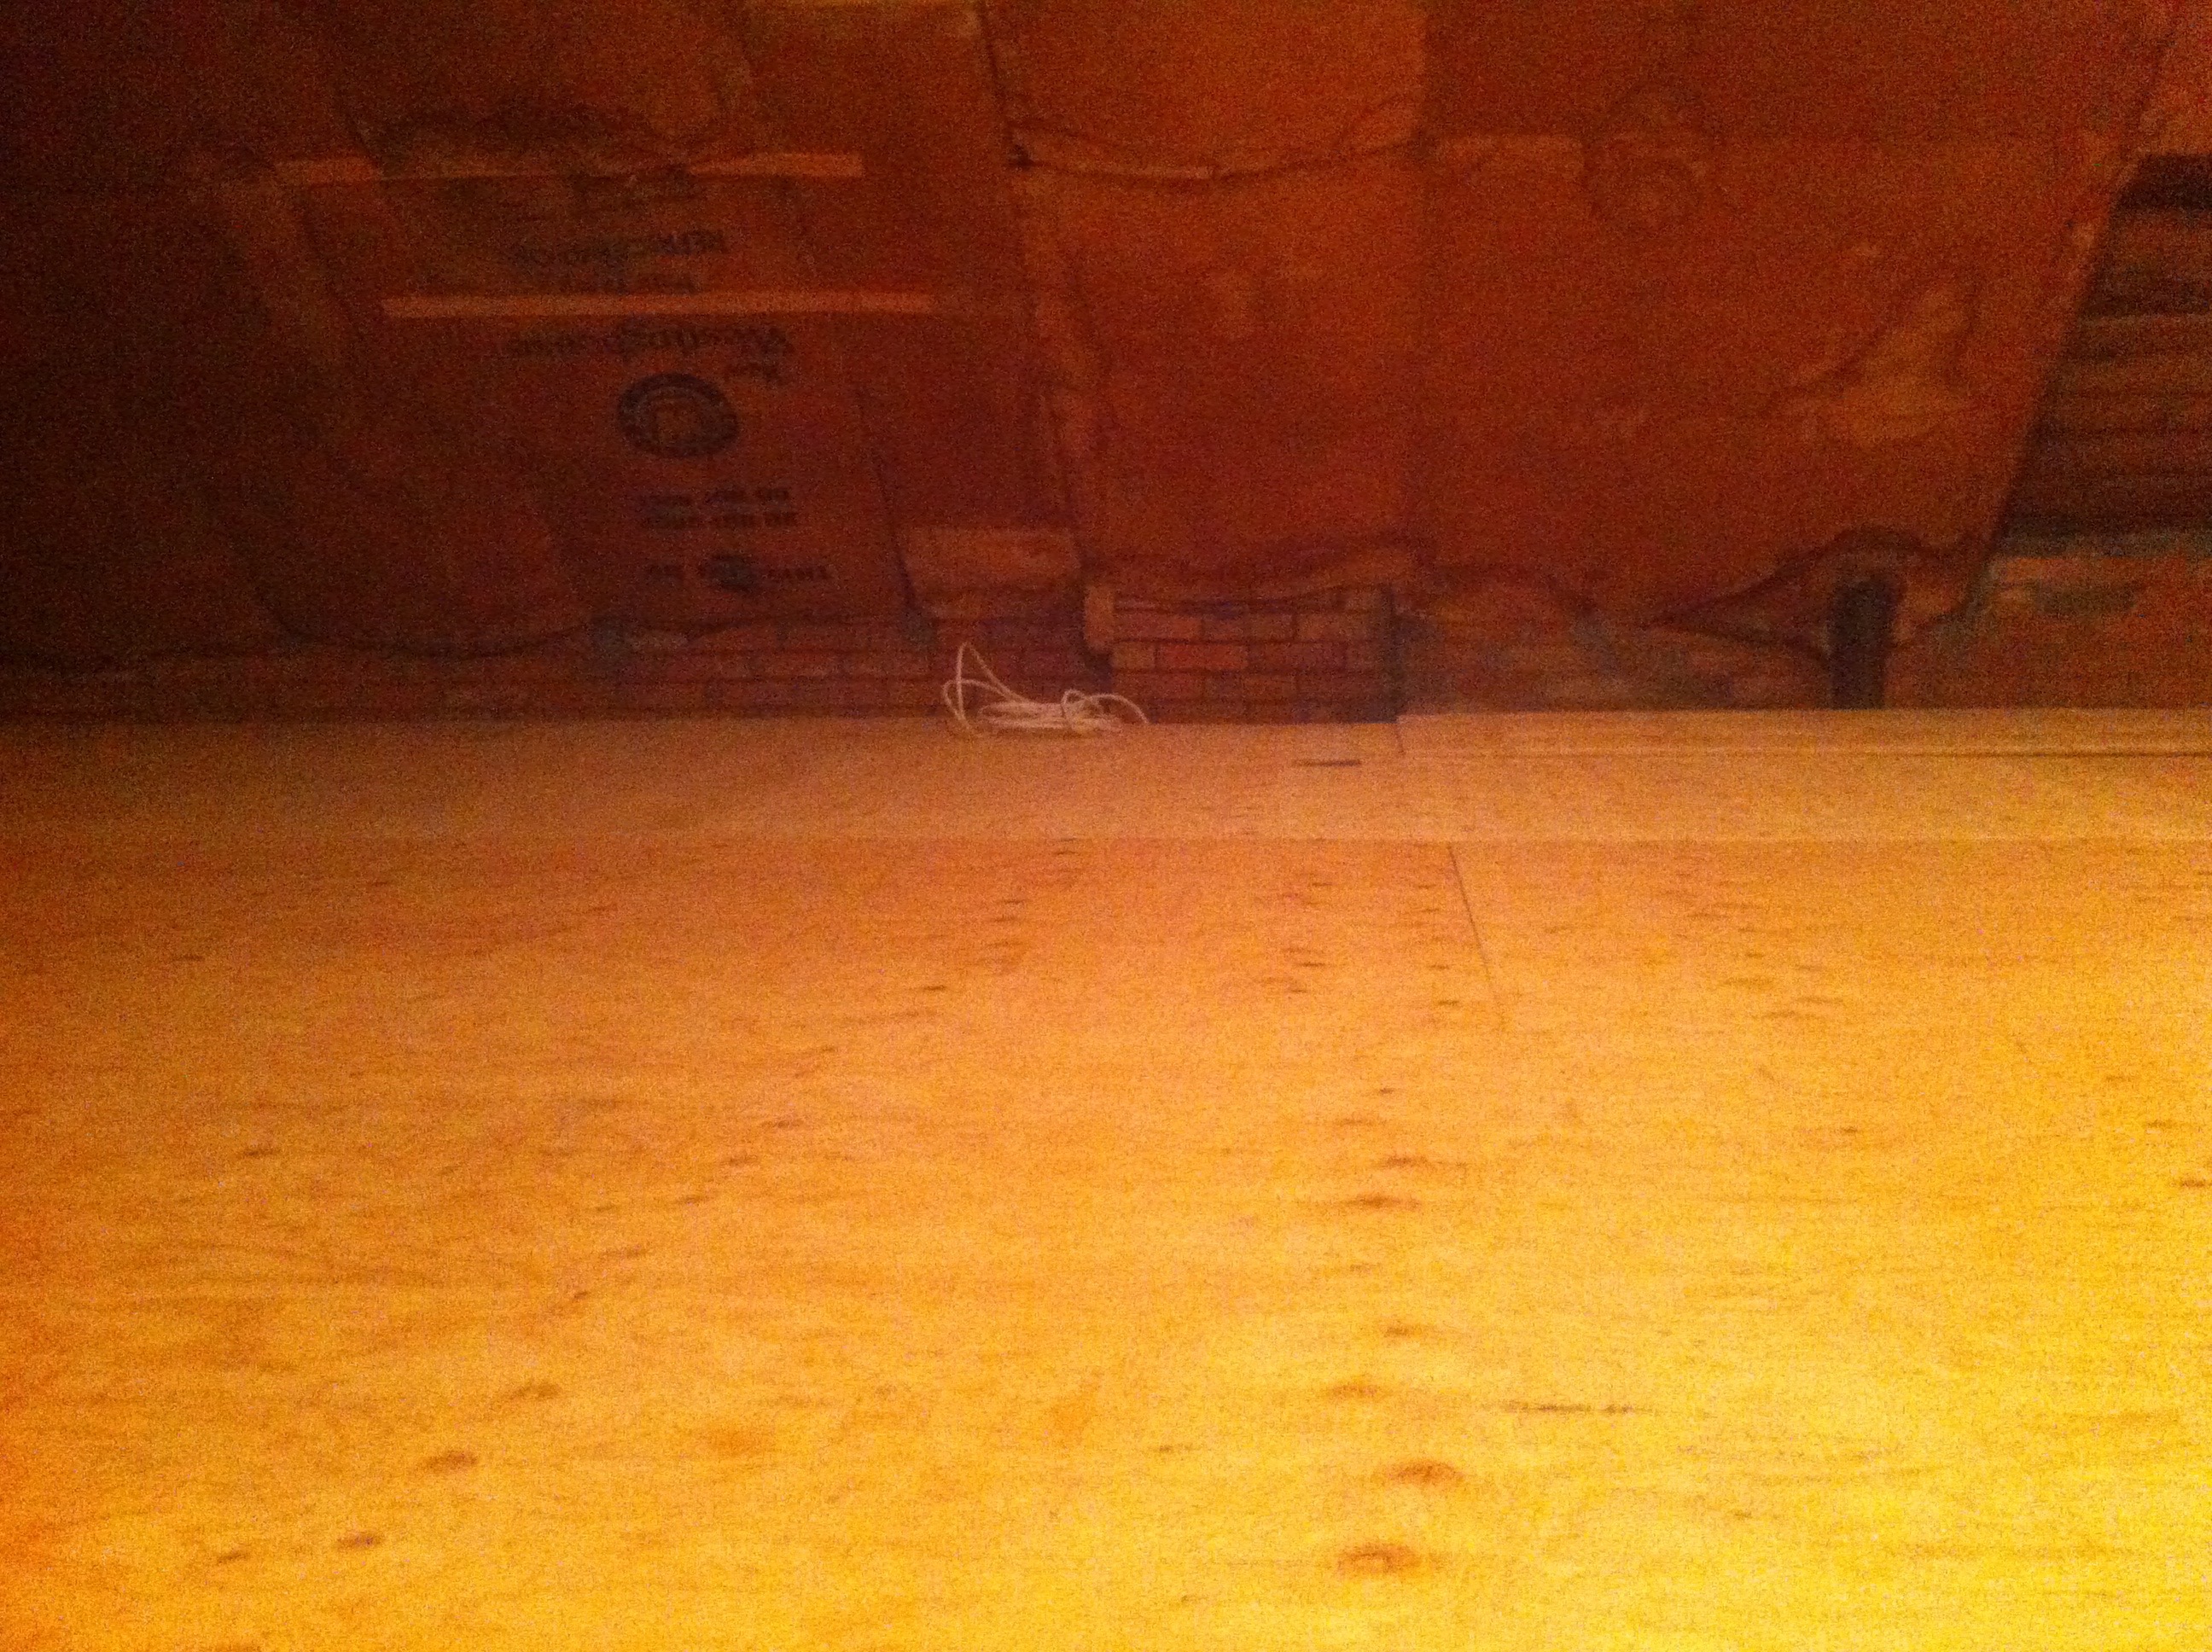
and the completed floor. Nice.
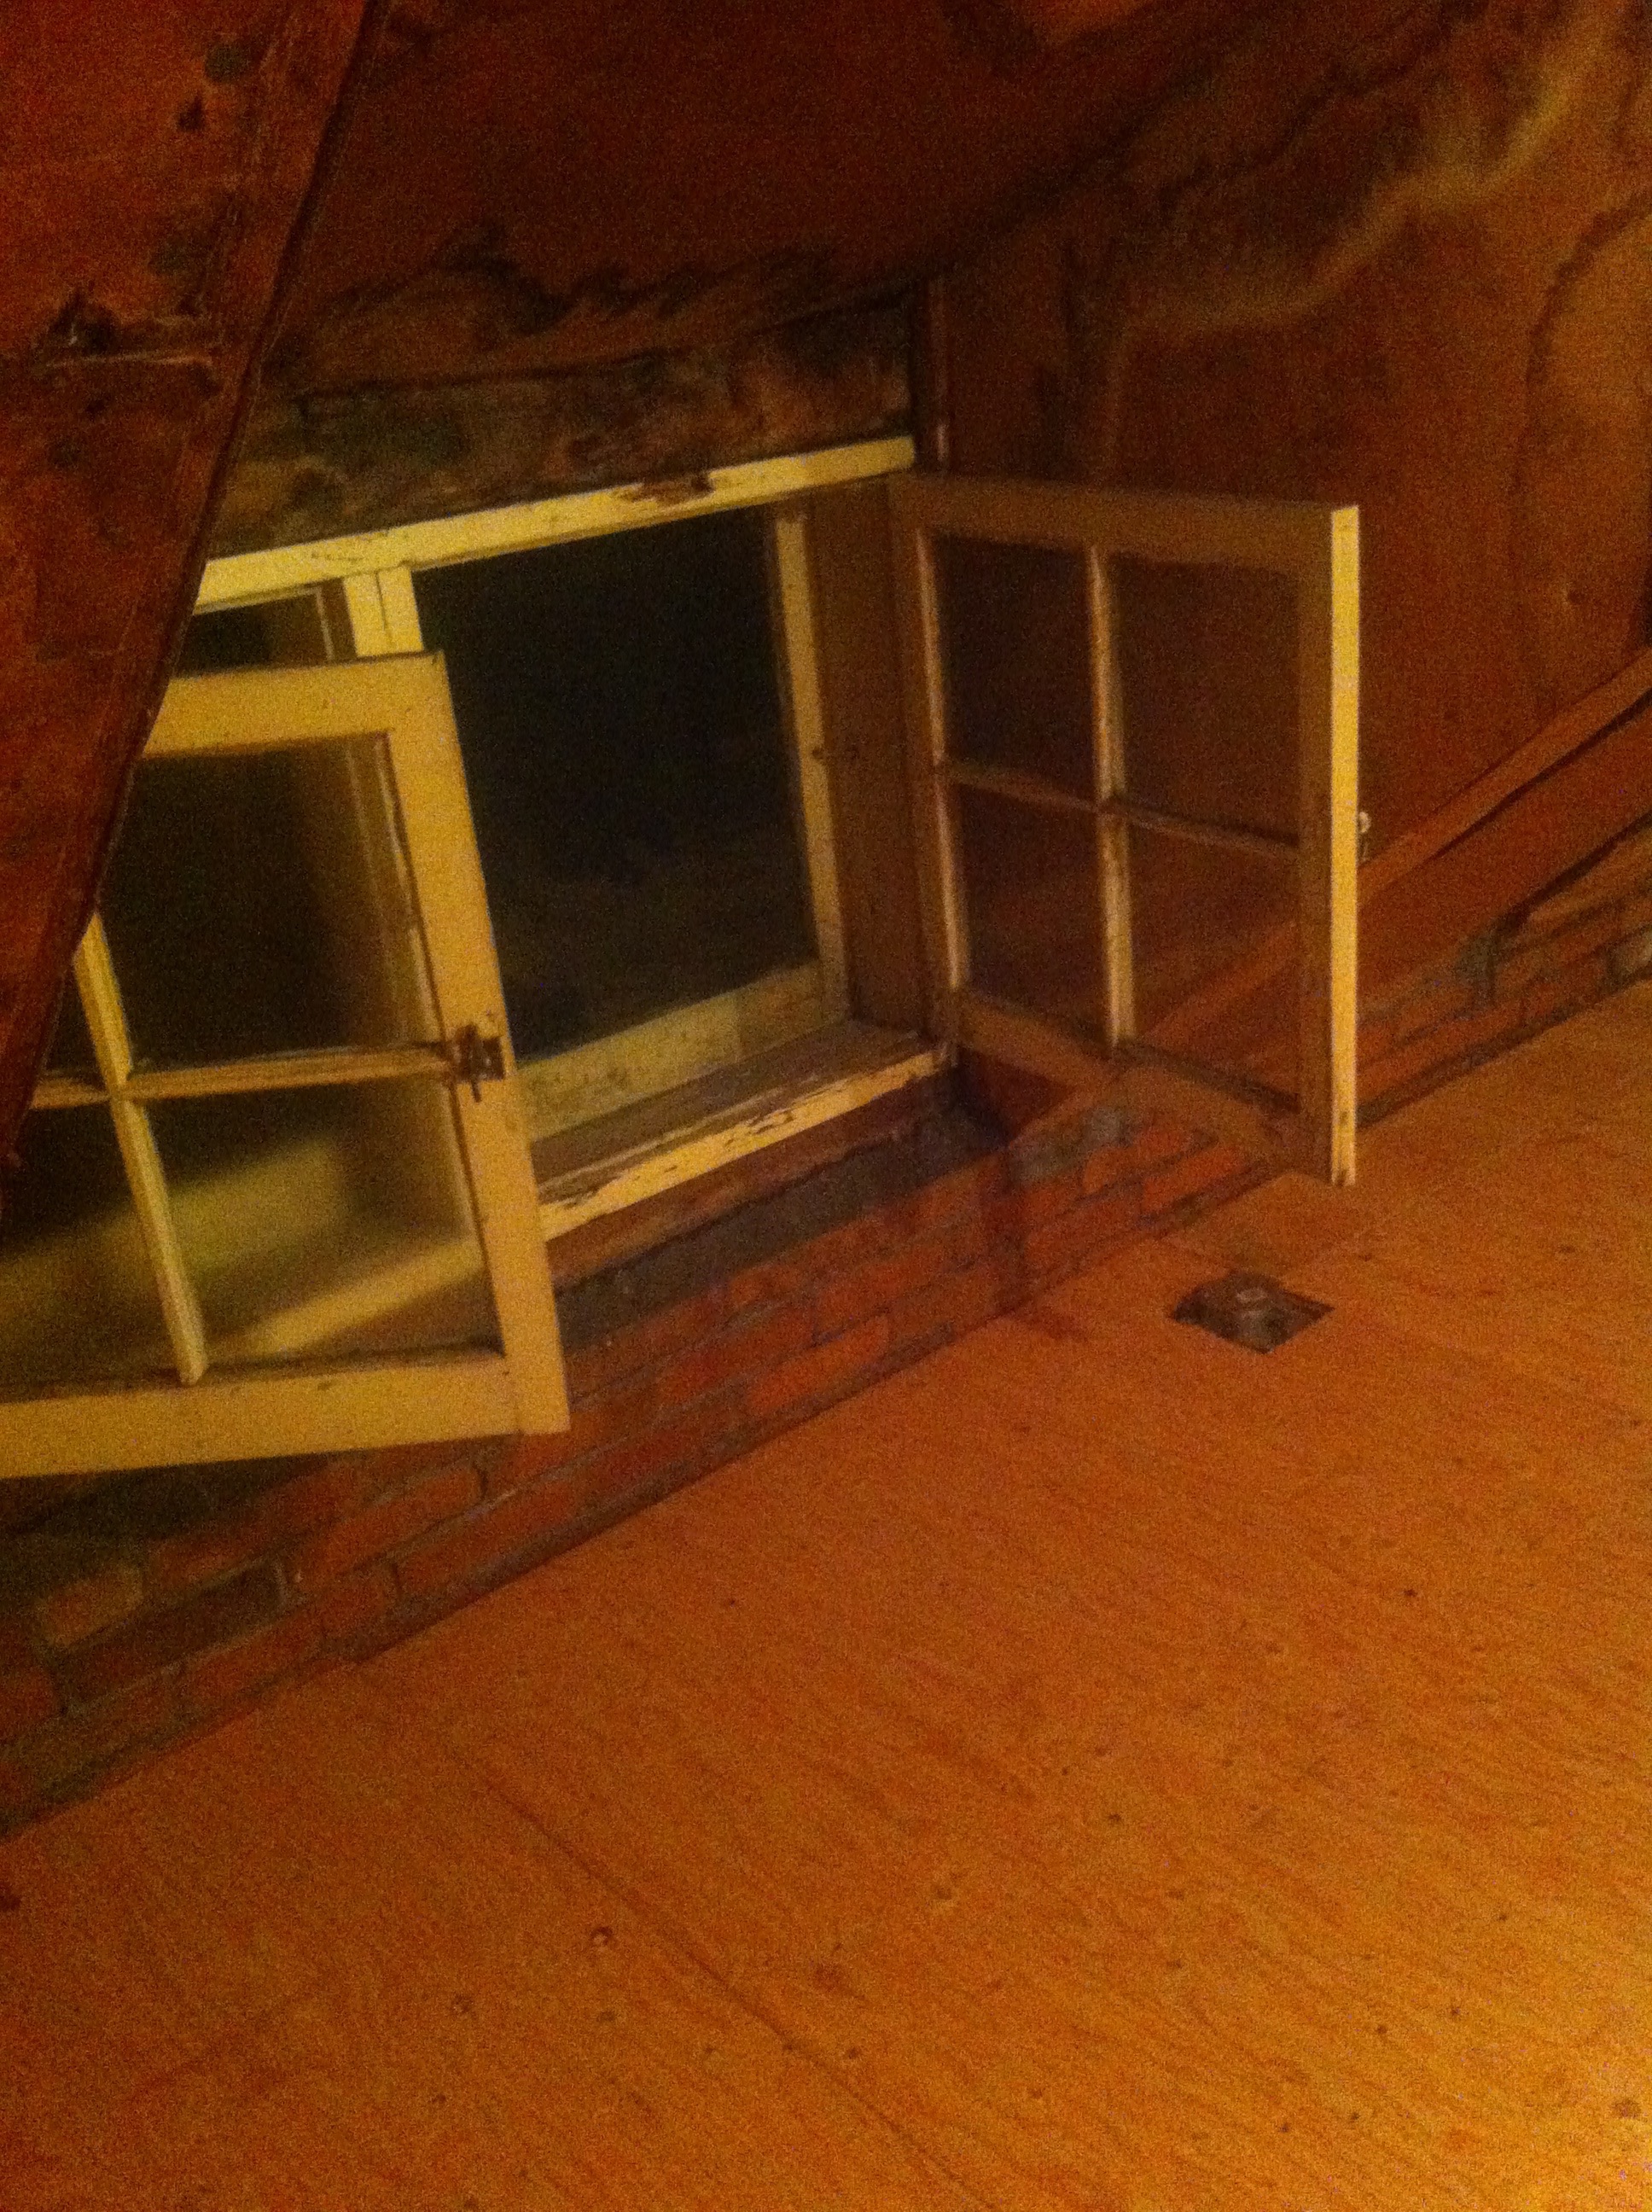
Still got the old windows and tatty walls.
Then it was time for us to get involved, so we did the (dirty) job of stripping of the old cardboard and old insulation.
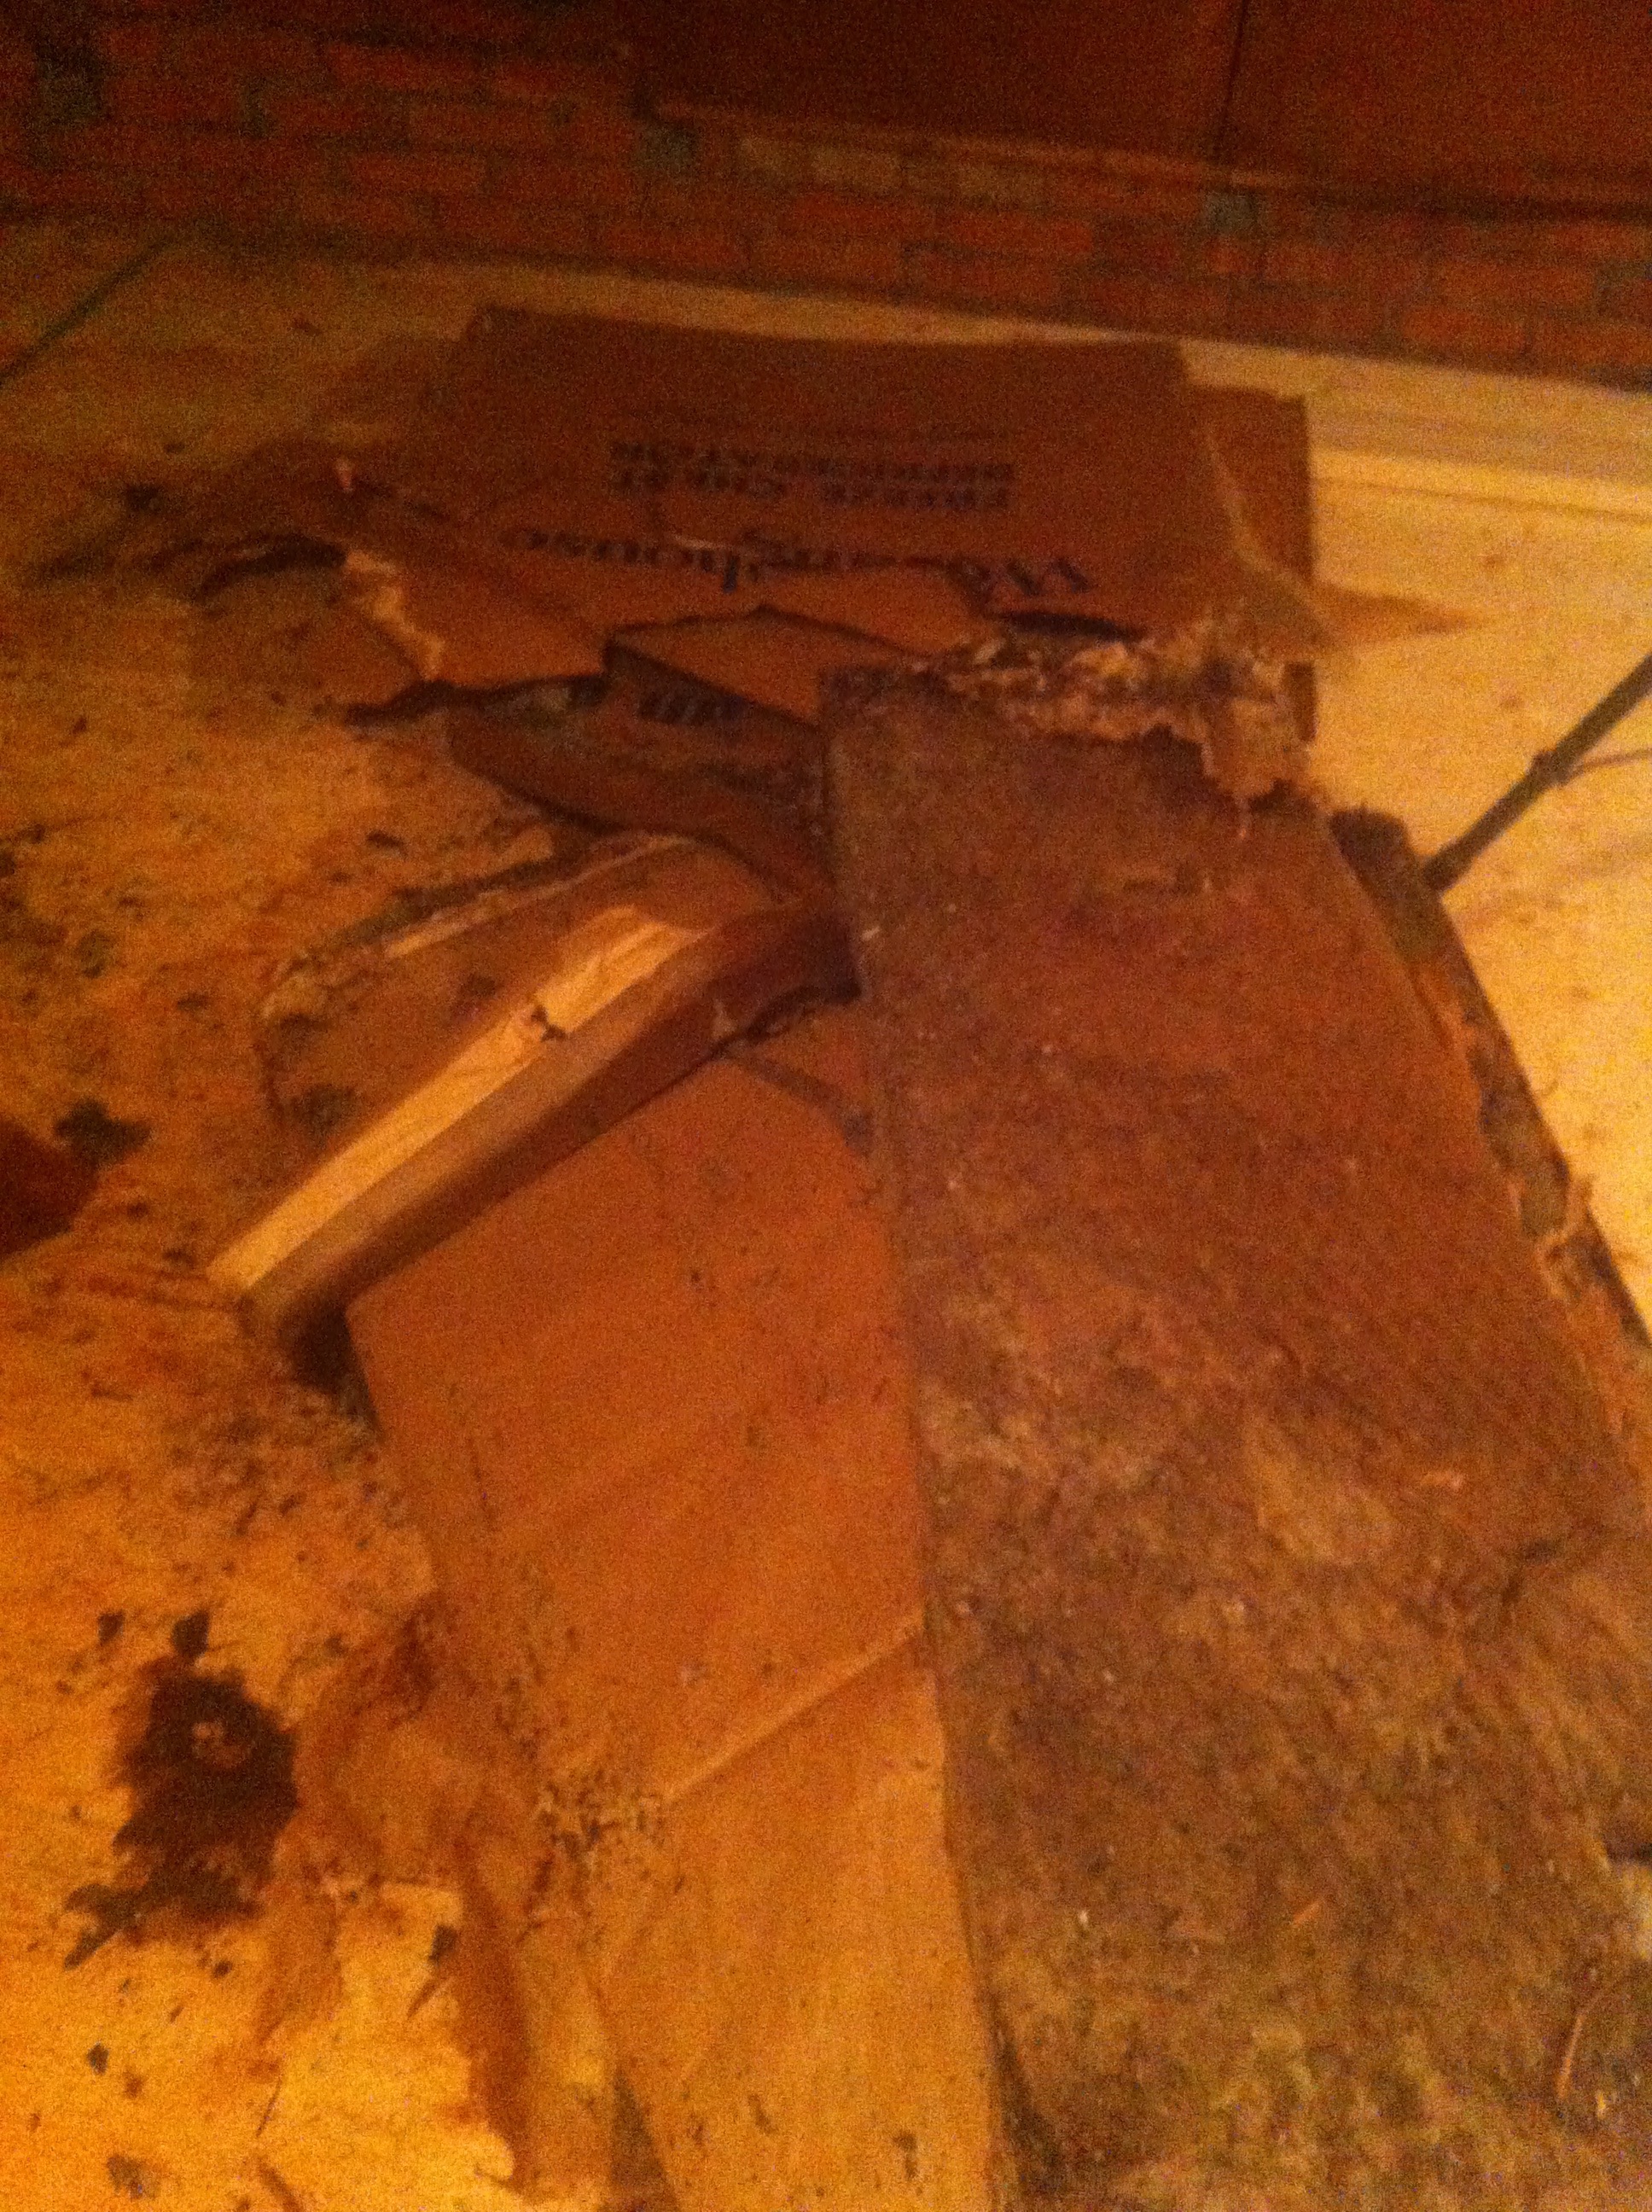
To give this
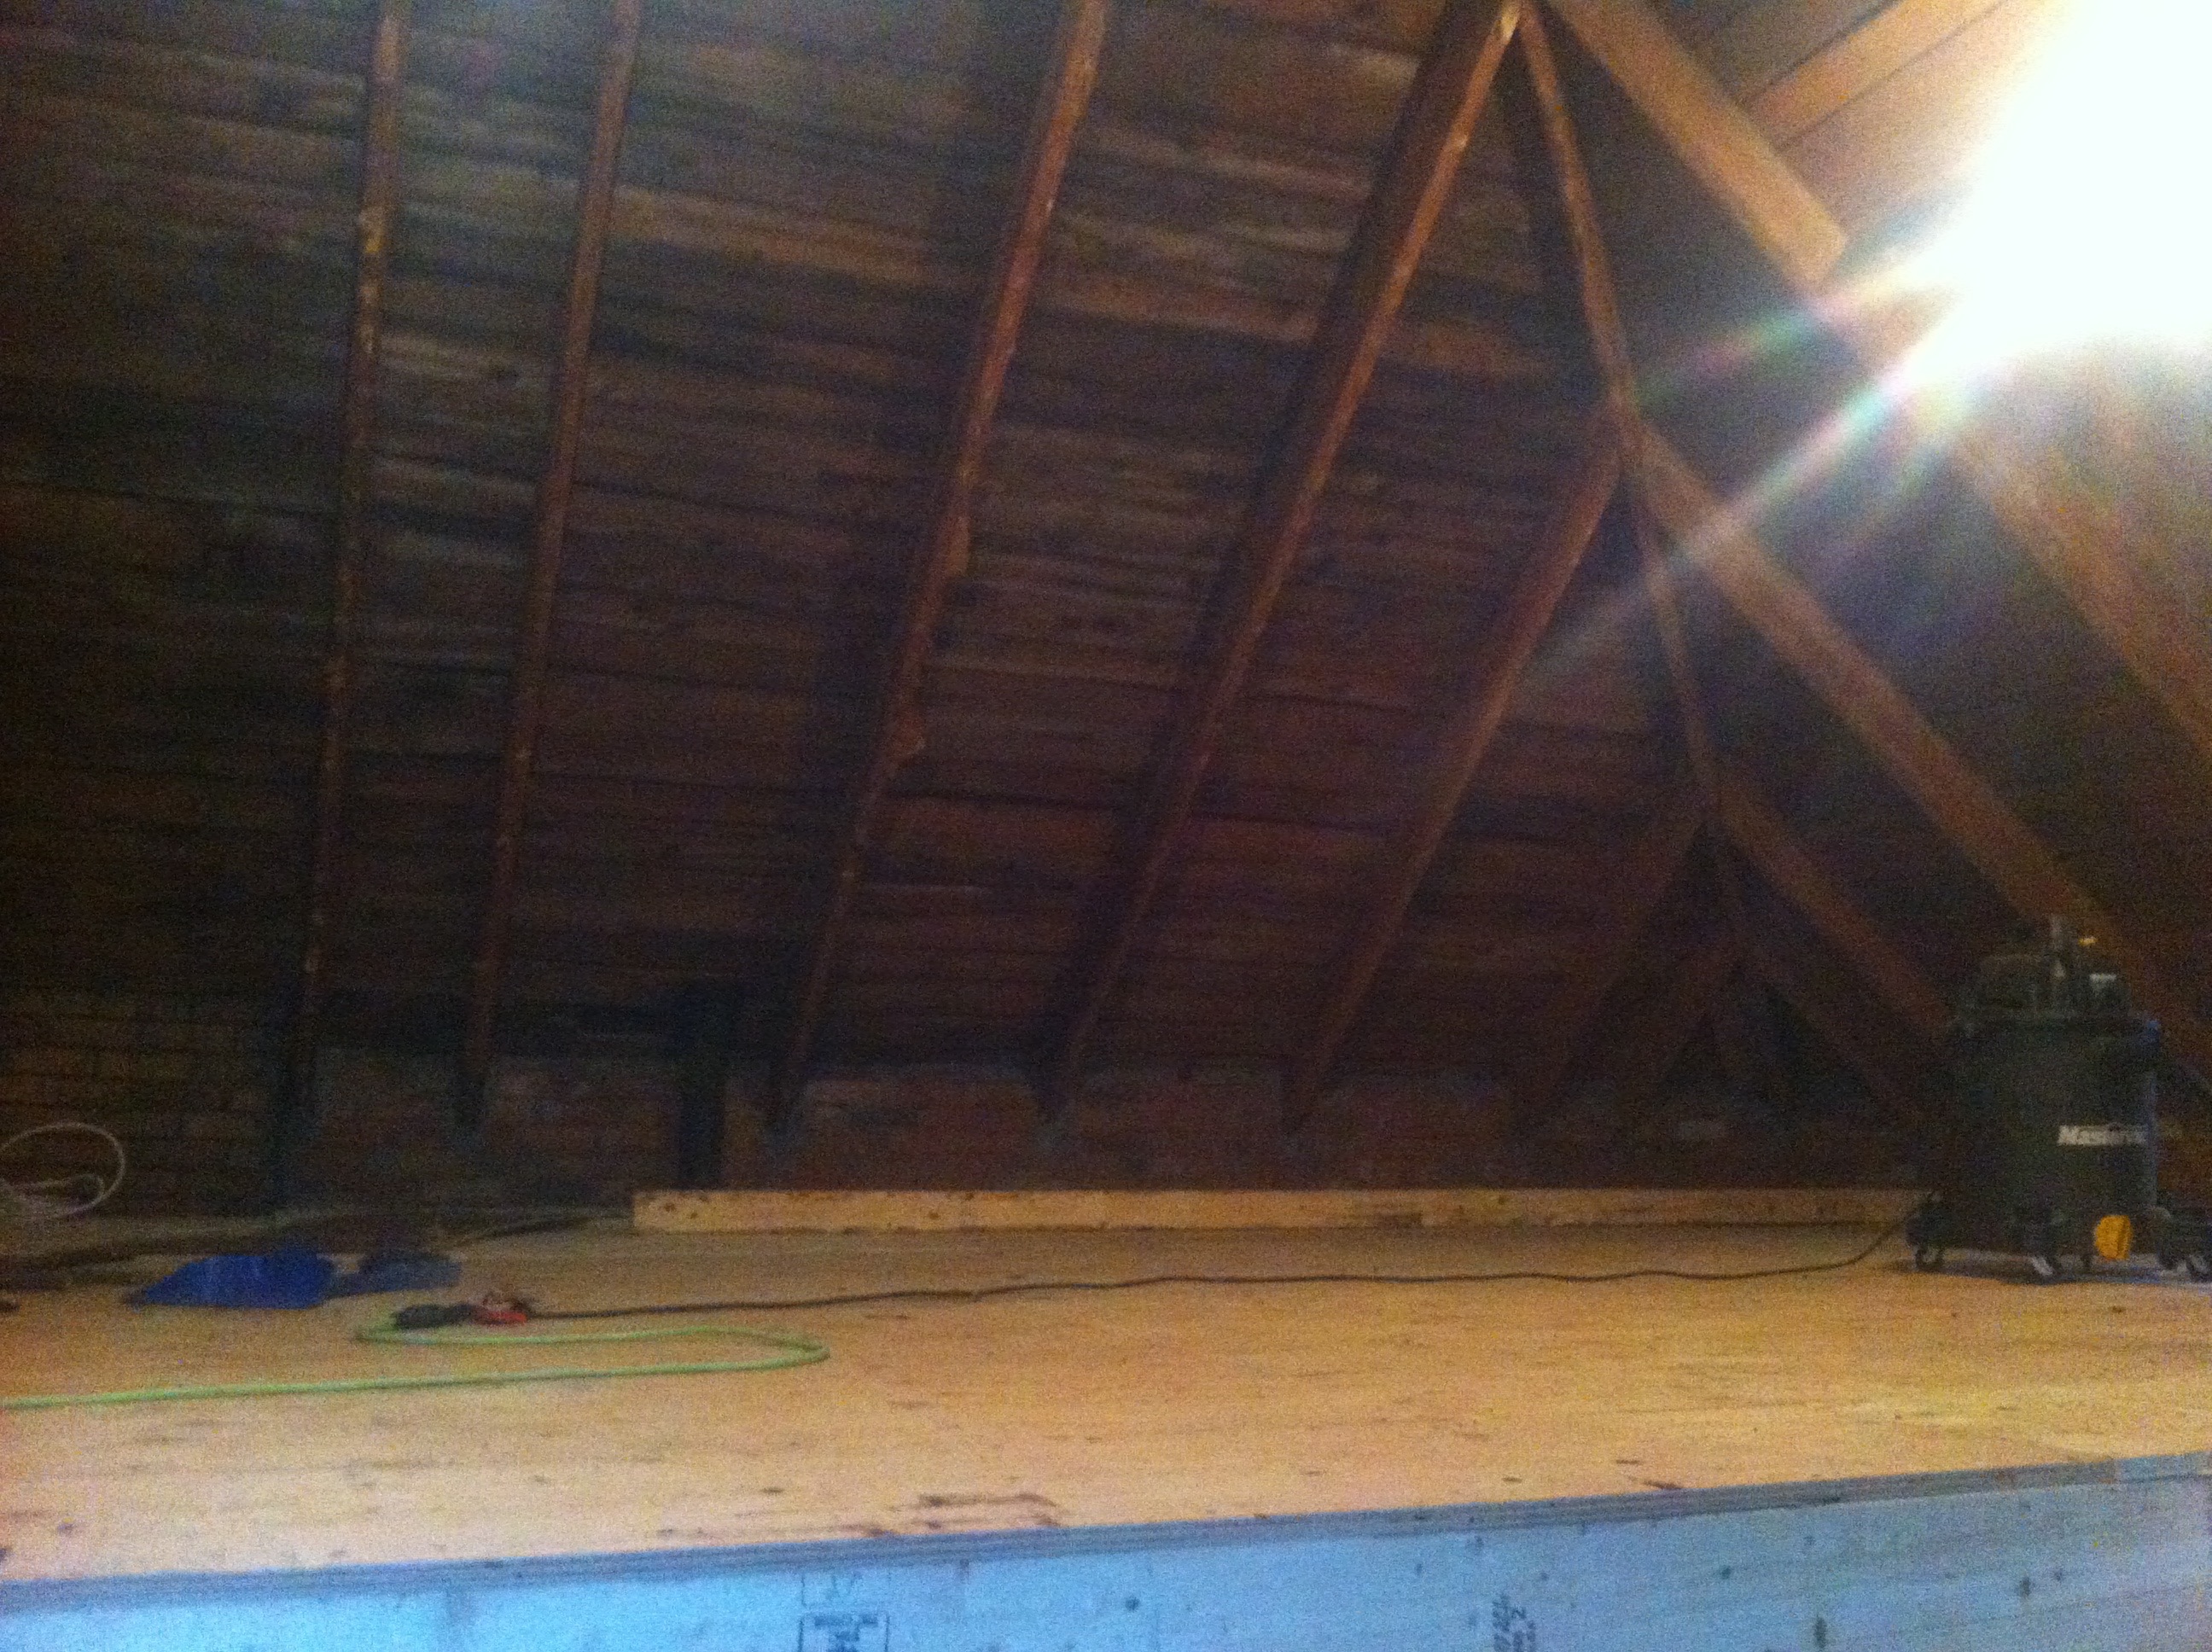
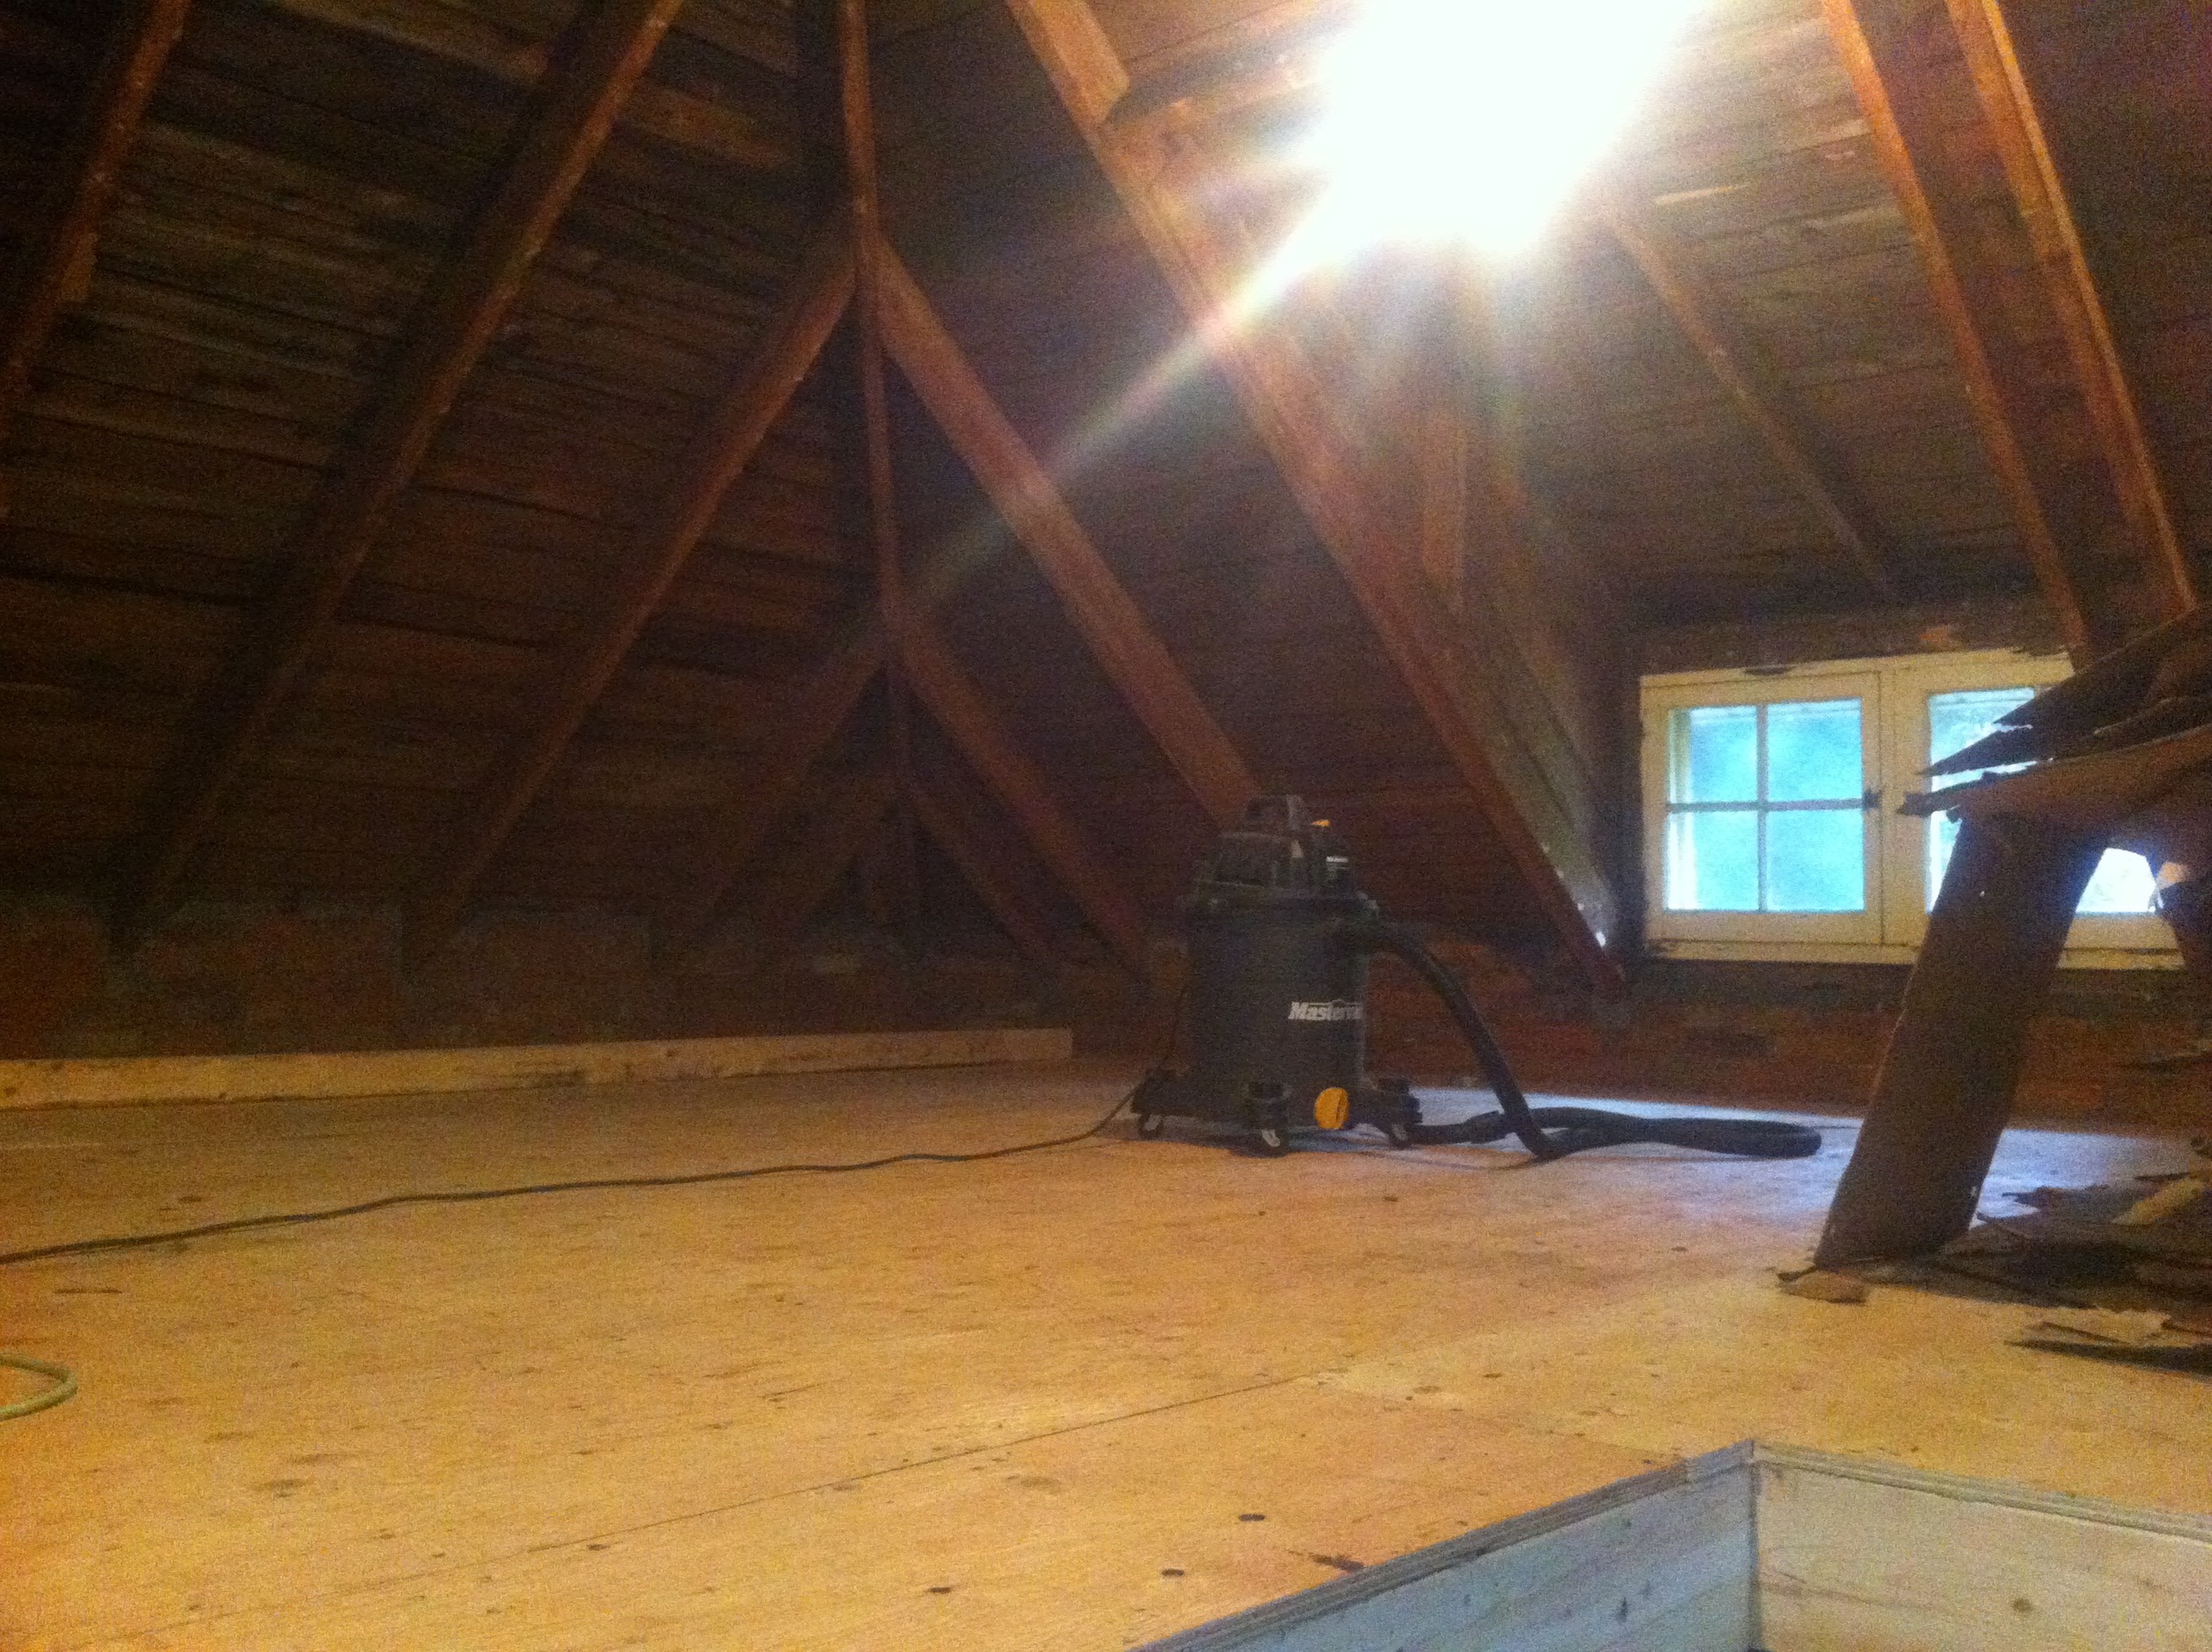
Back to the contractor who started framing up the two rooms
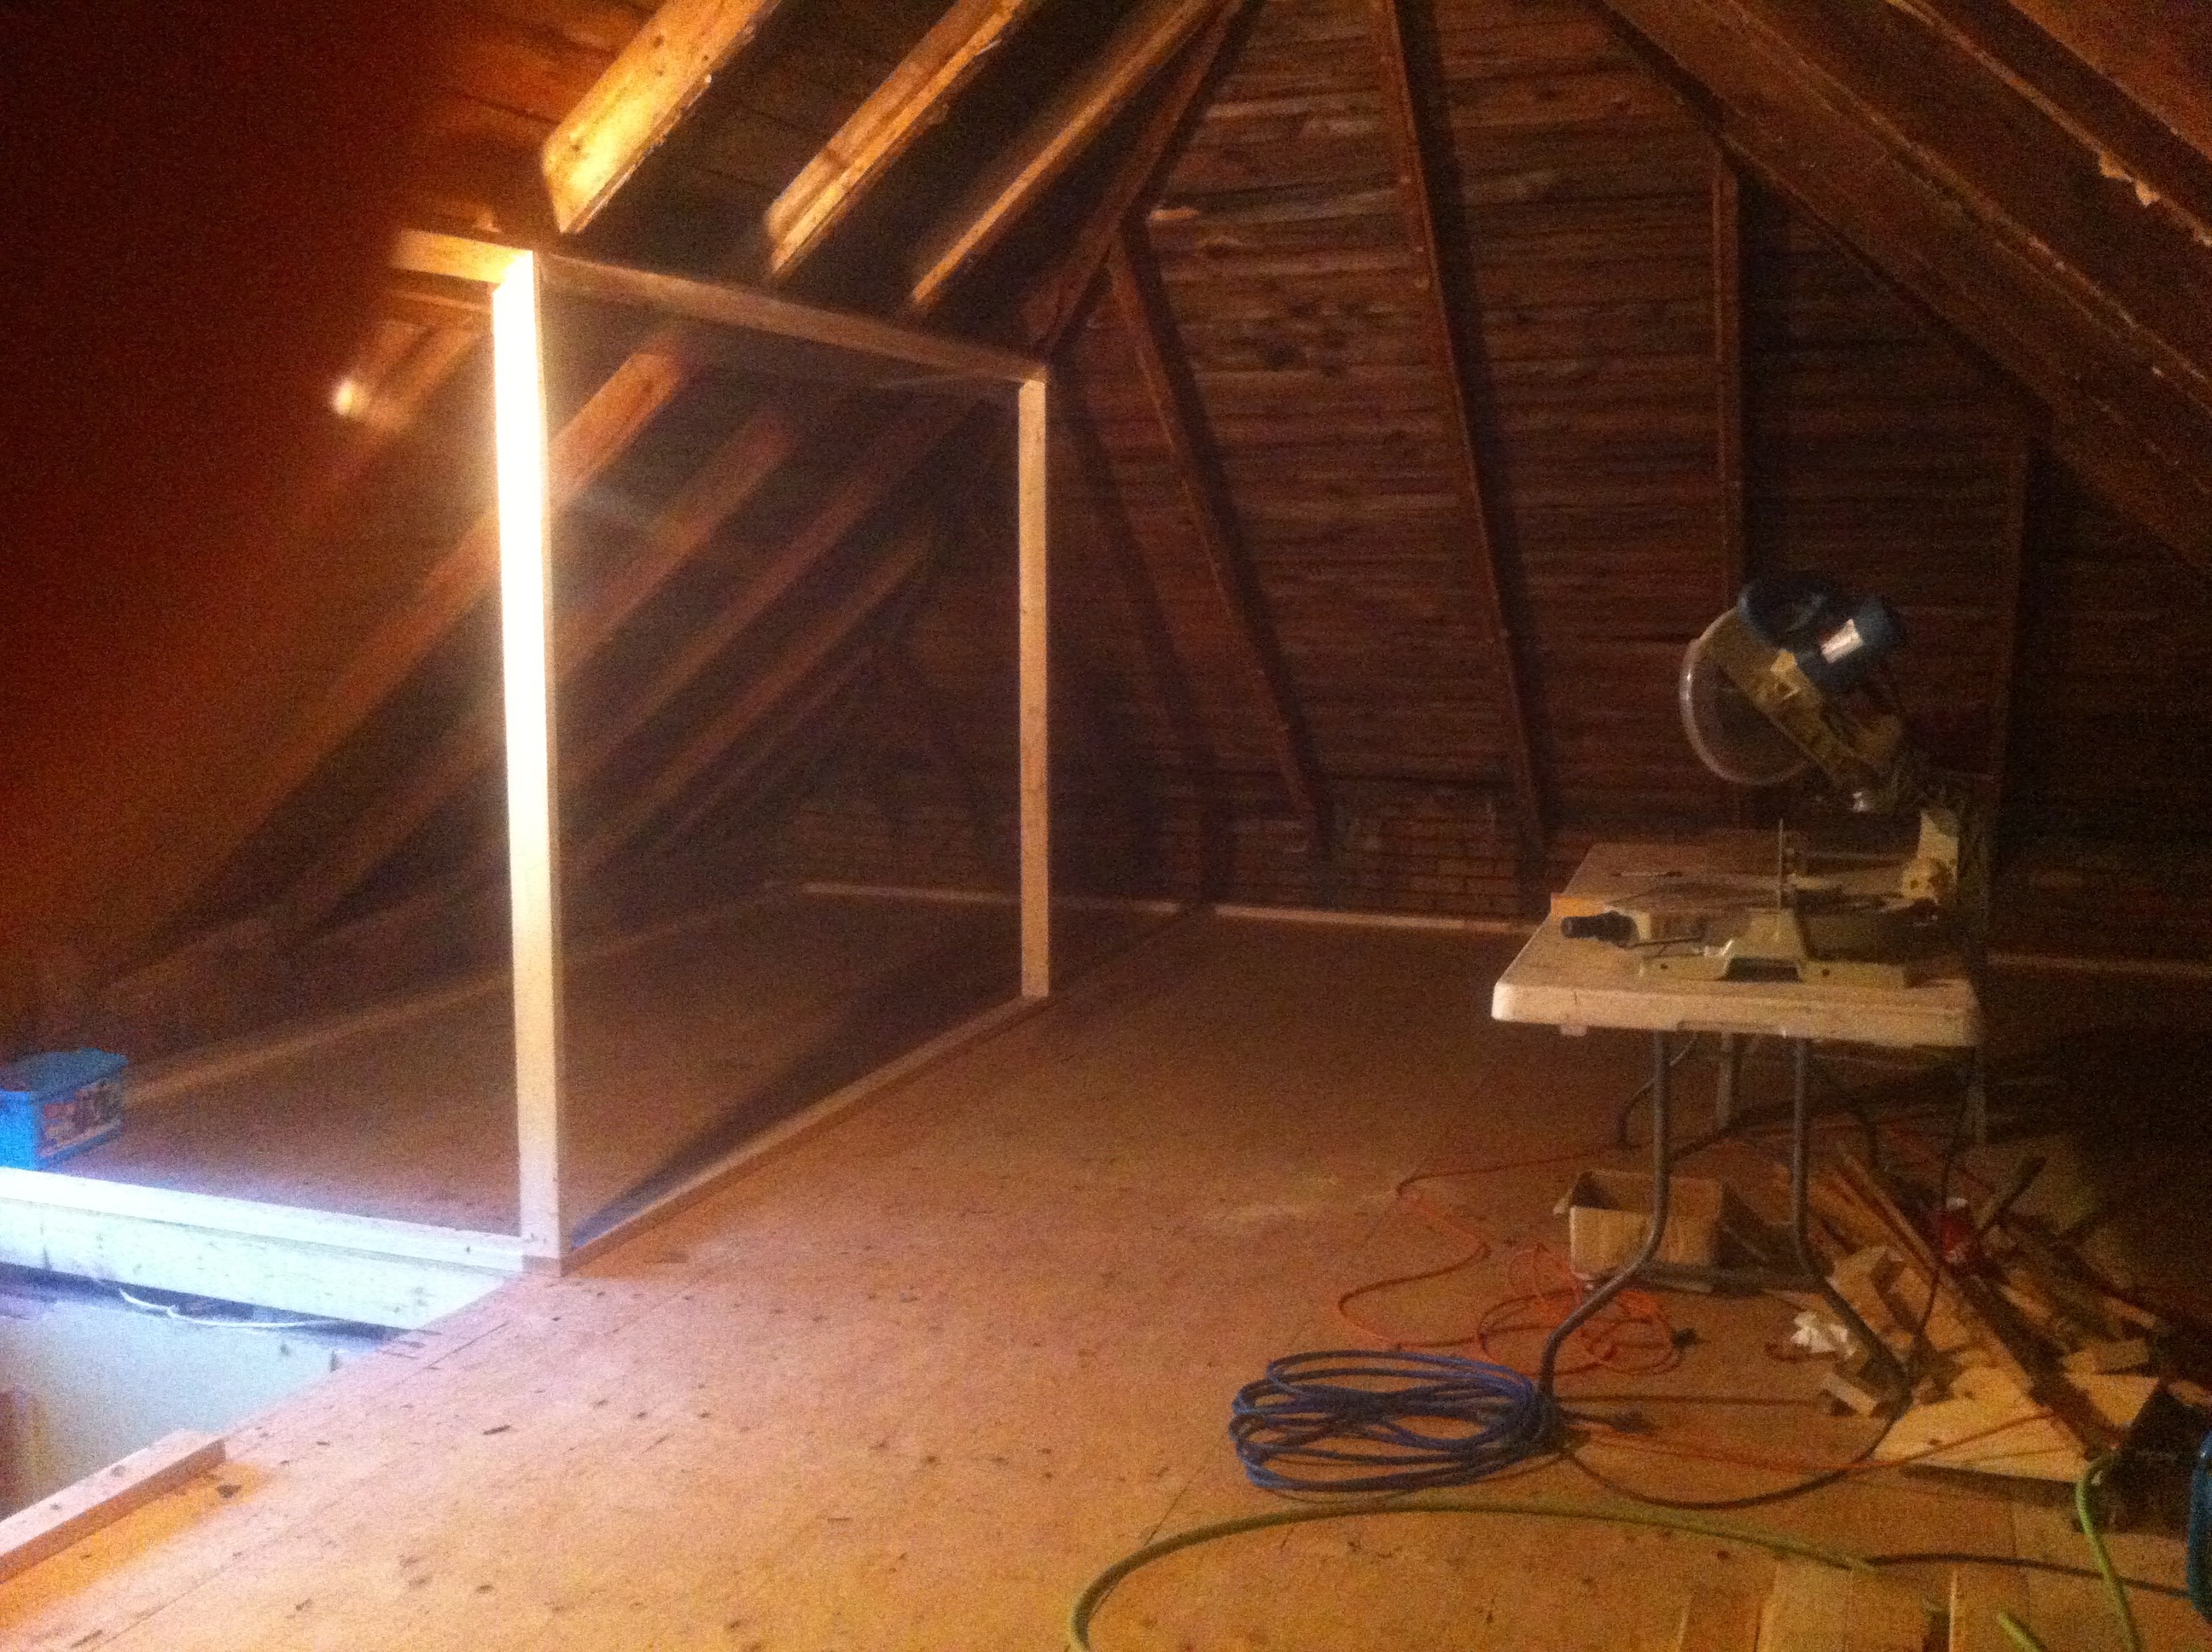
The original roof beams where a little small to put the required insulation on so the contractor added additional framing.
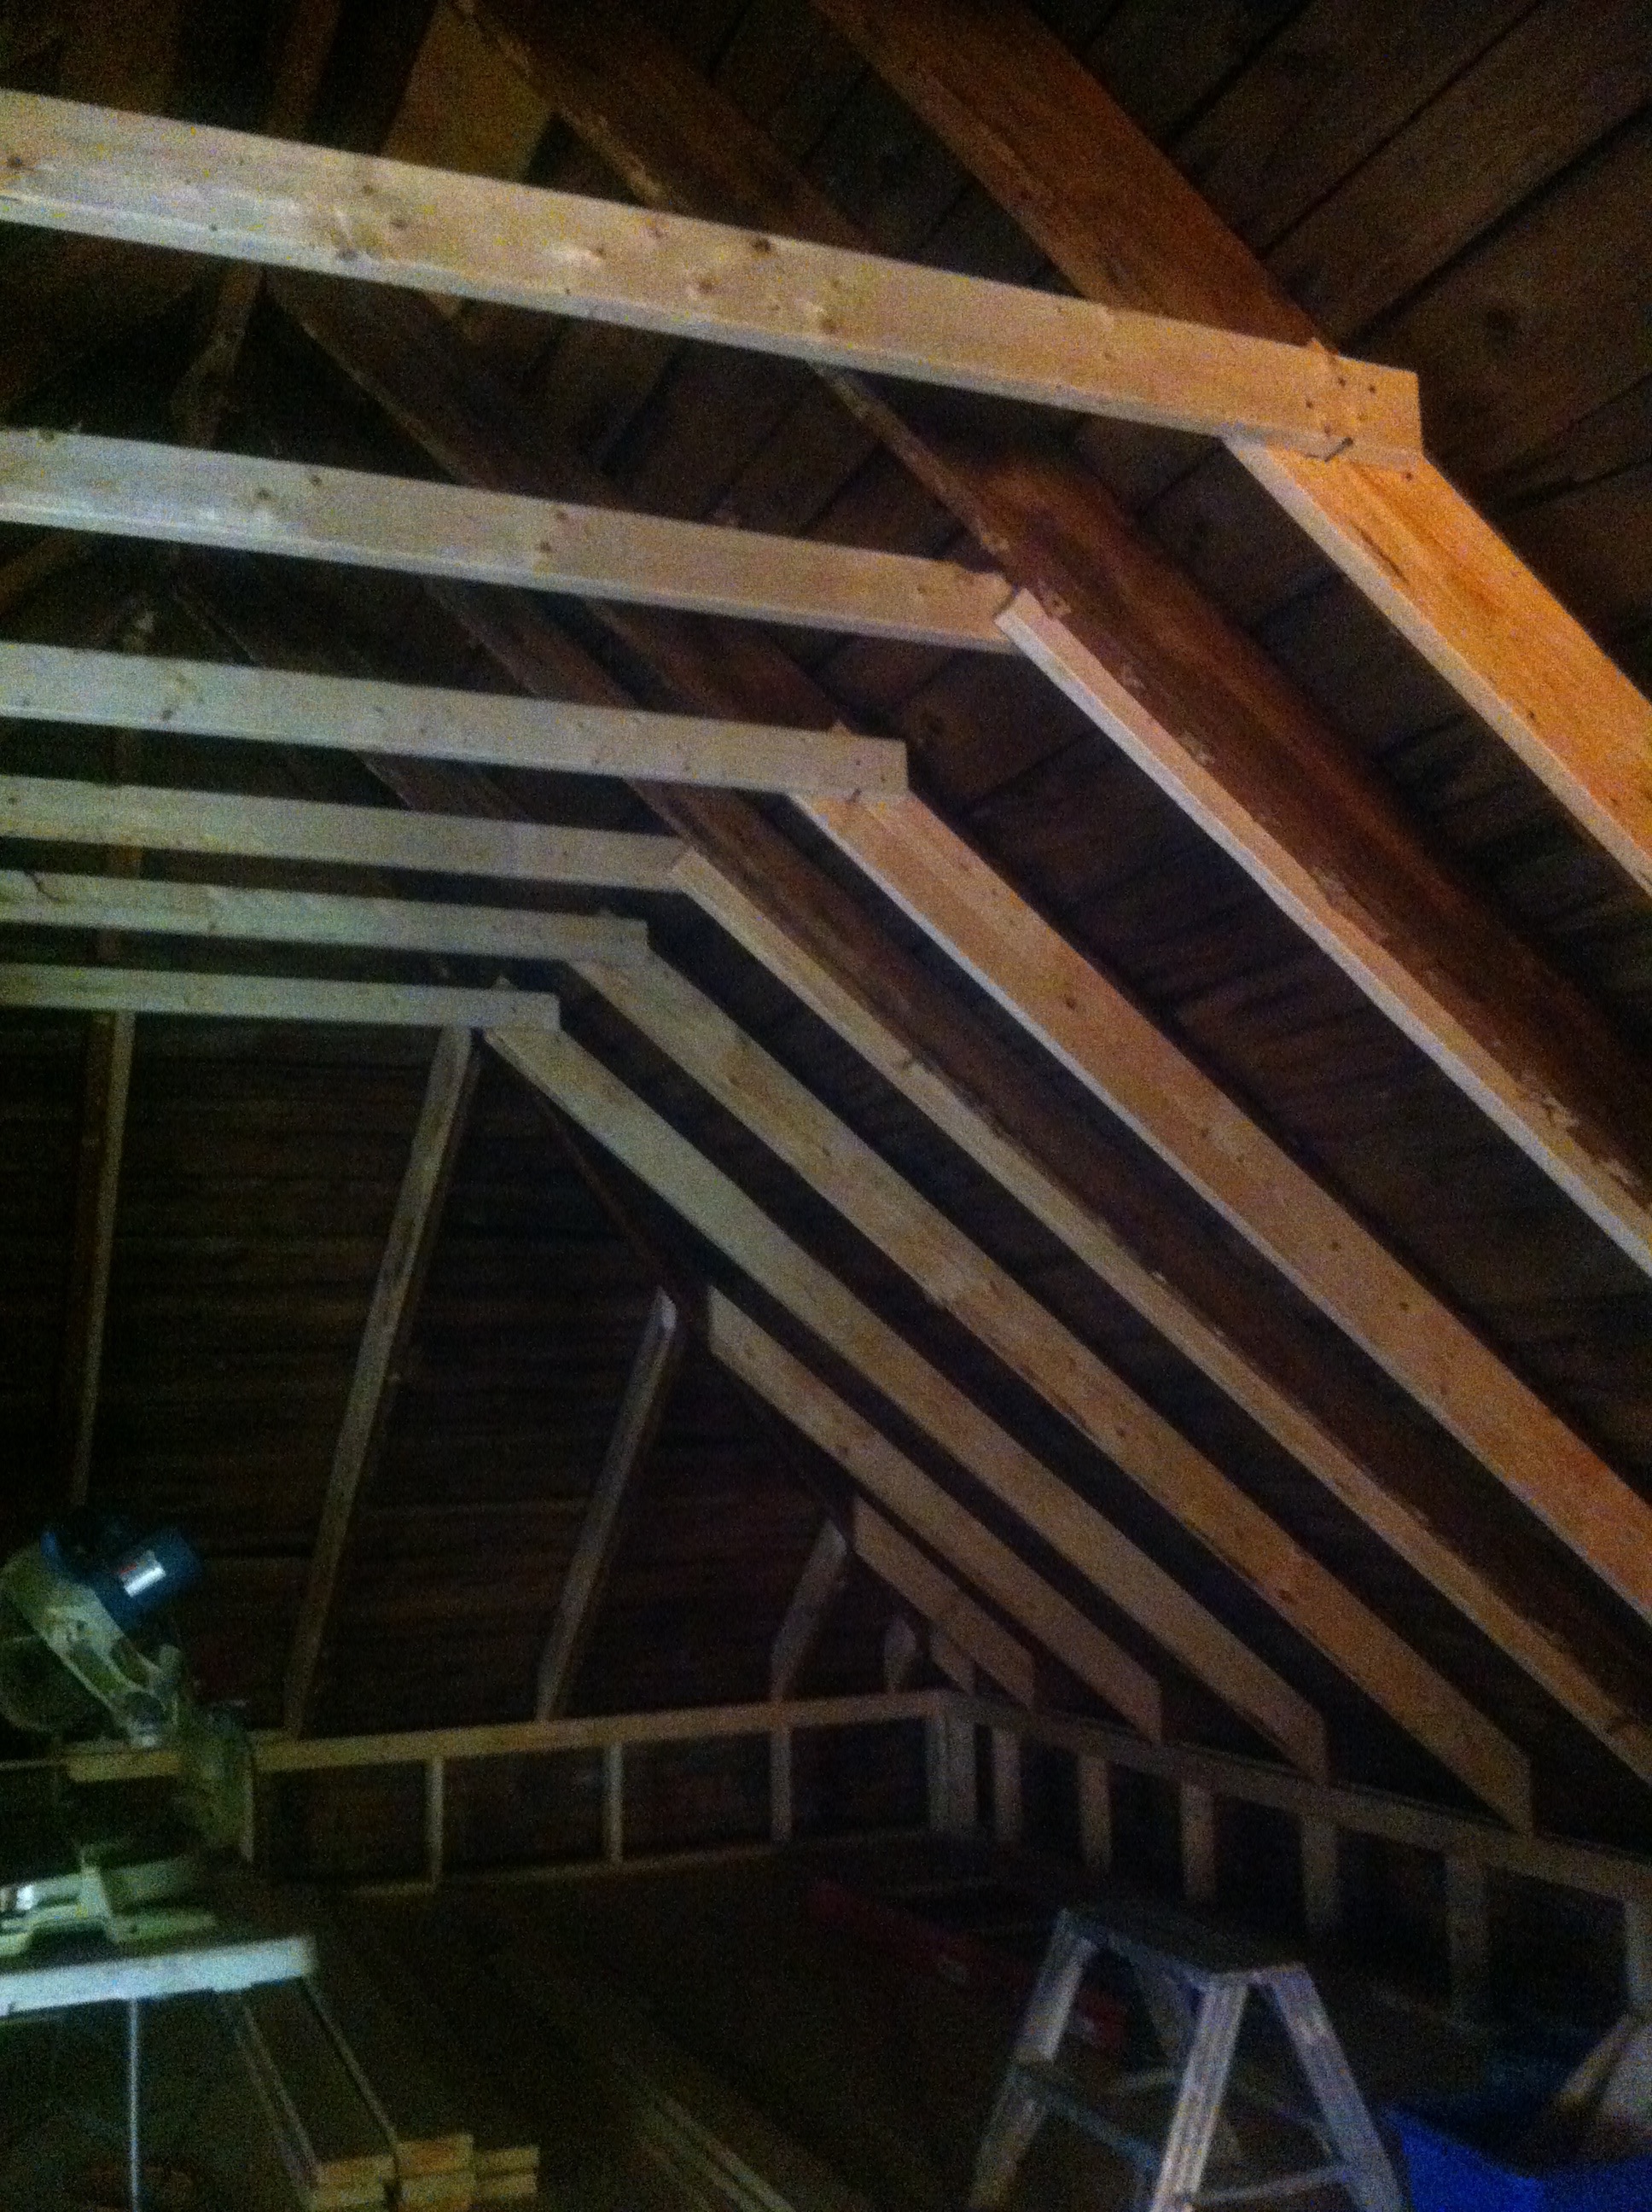
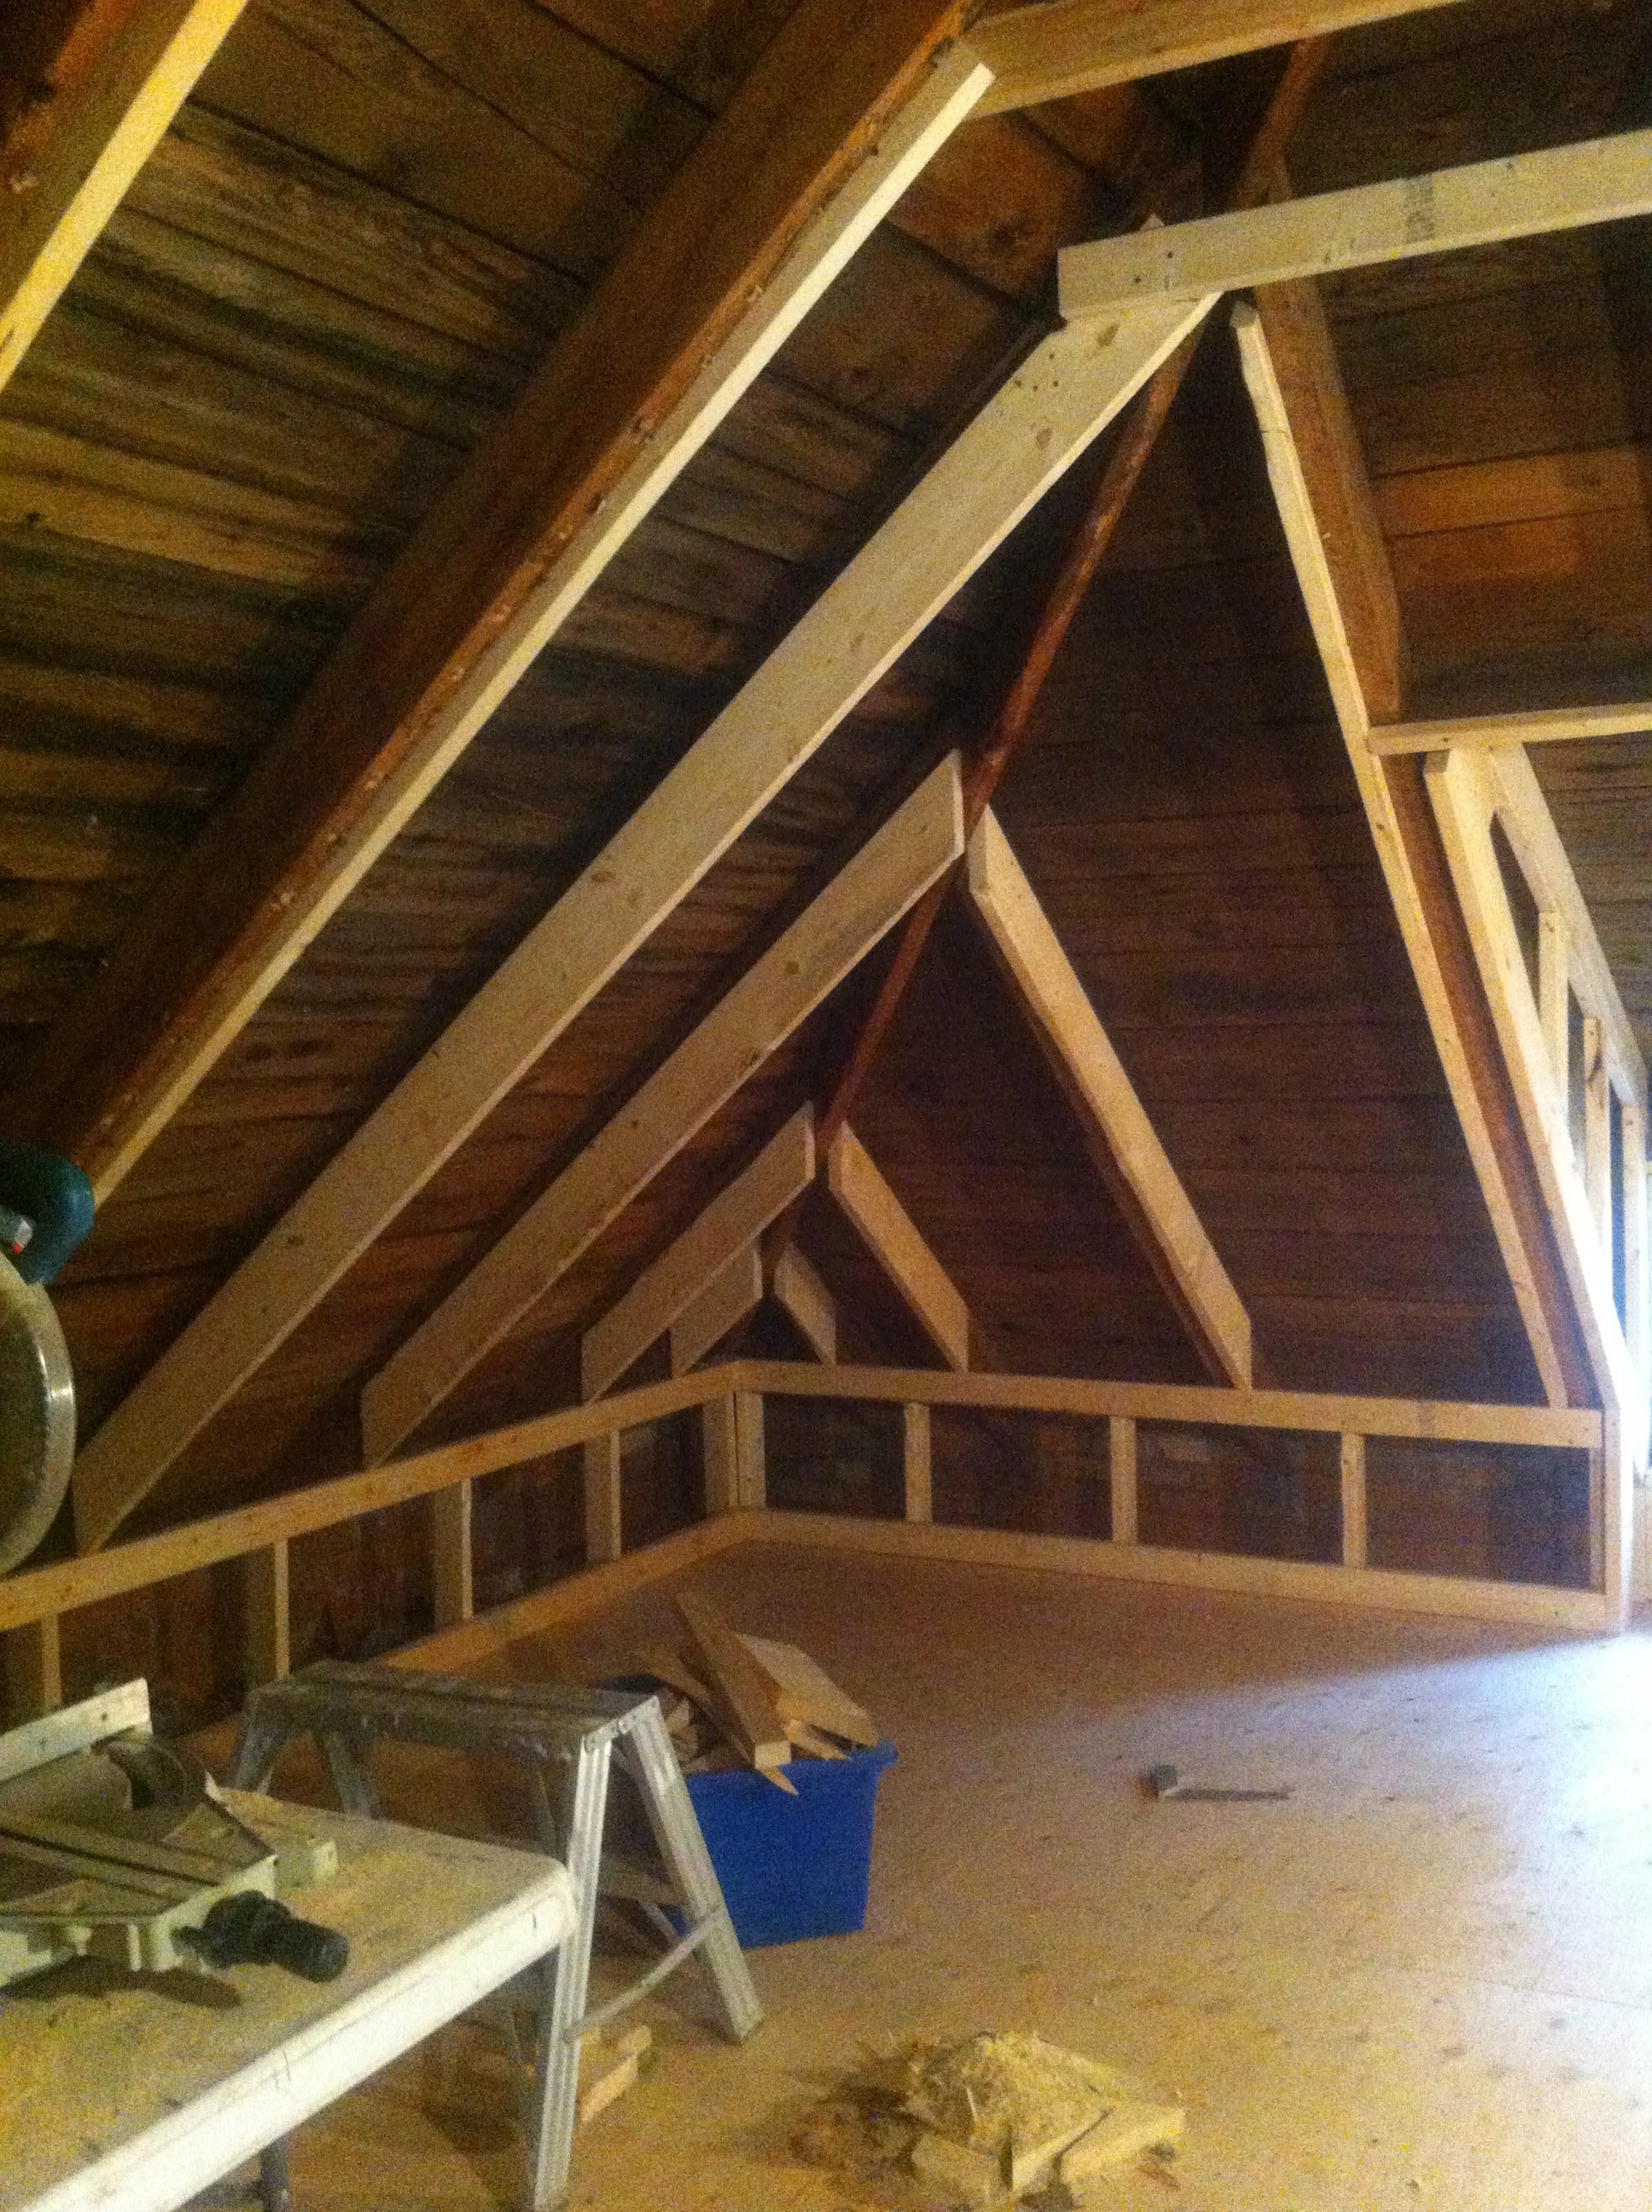
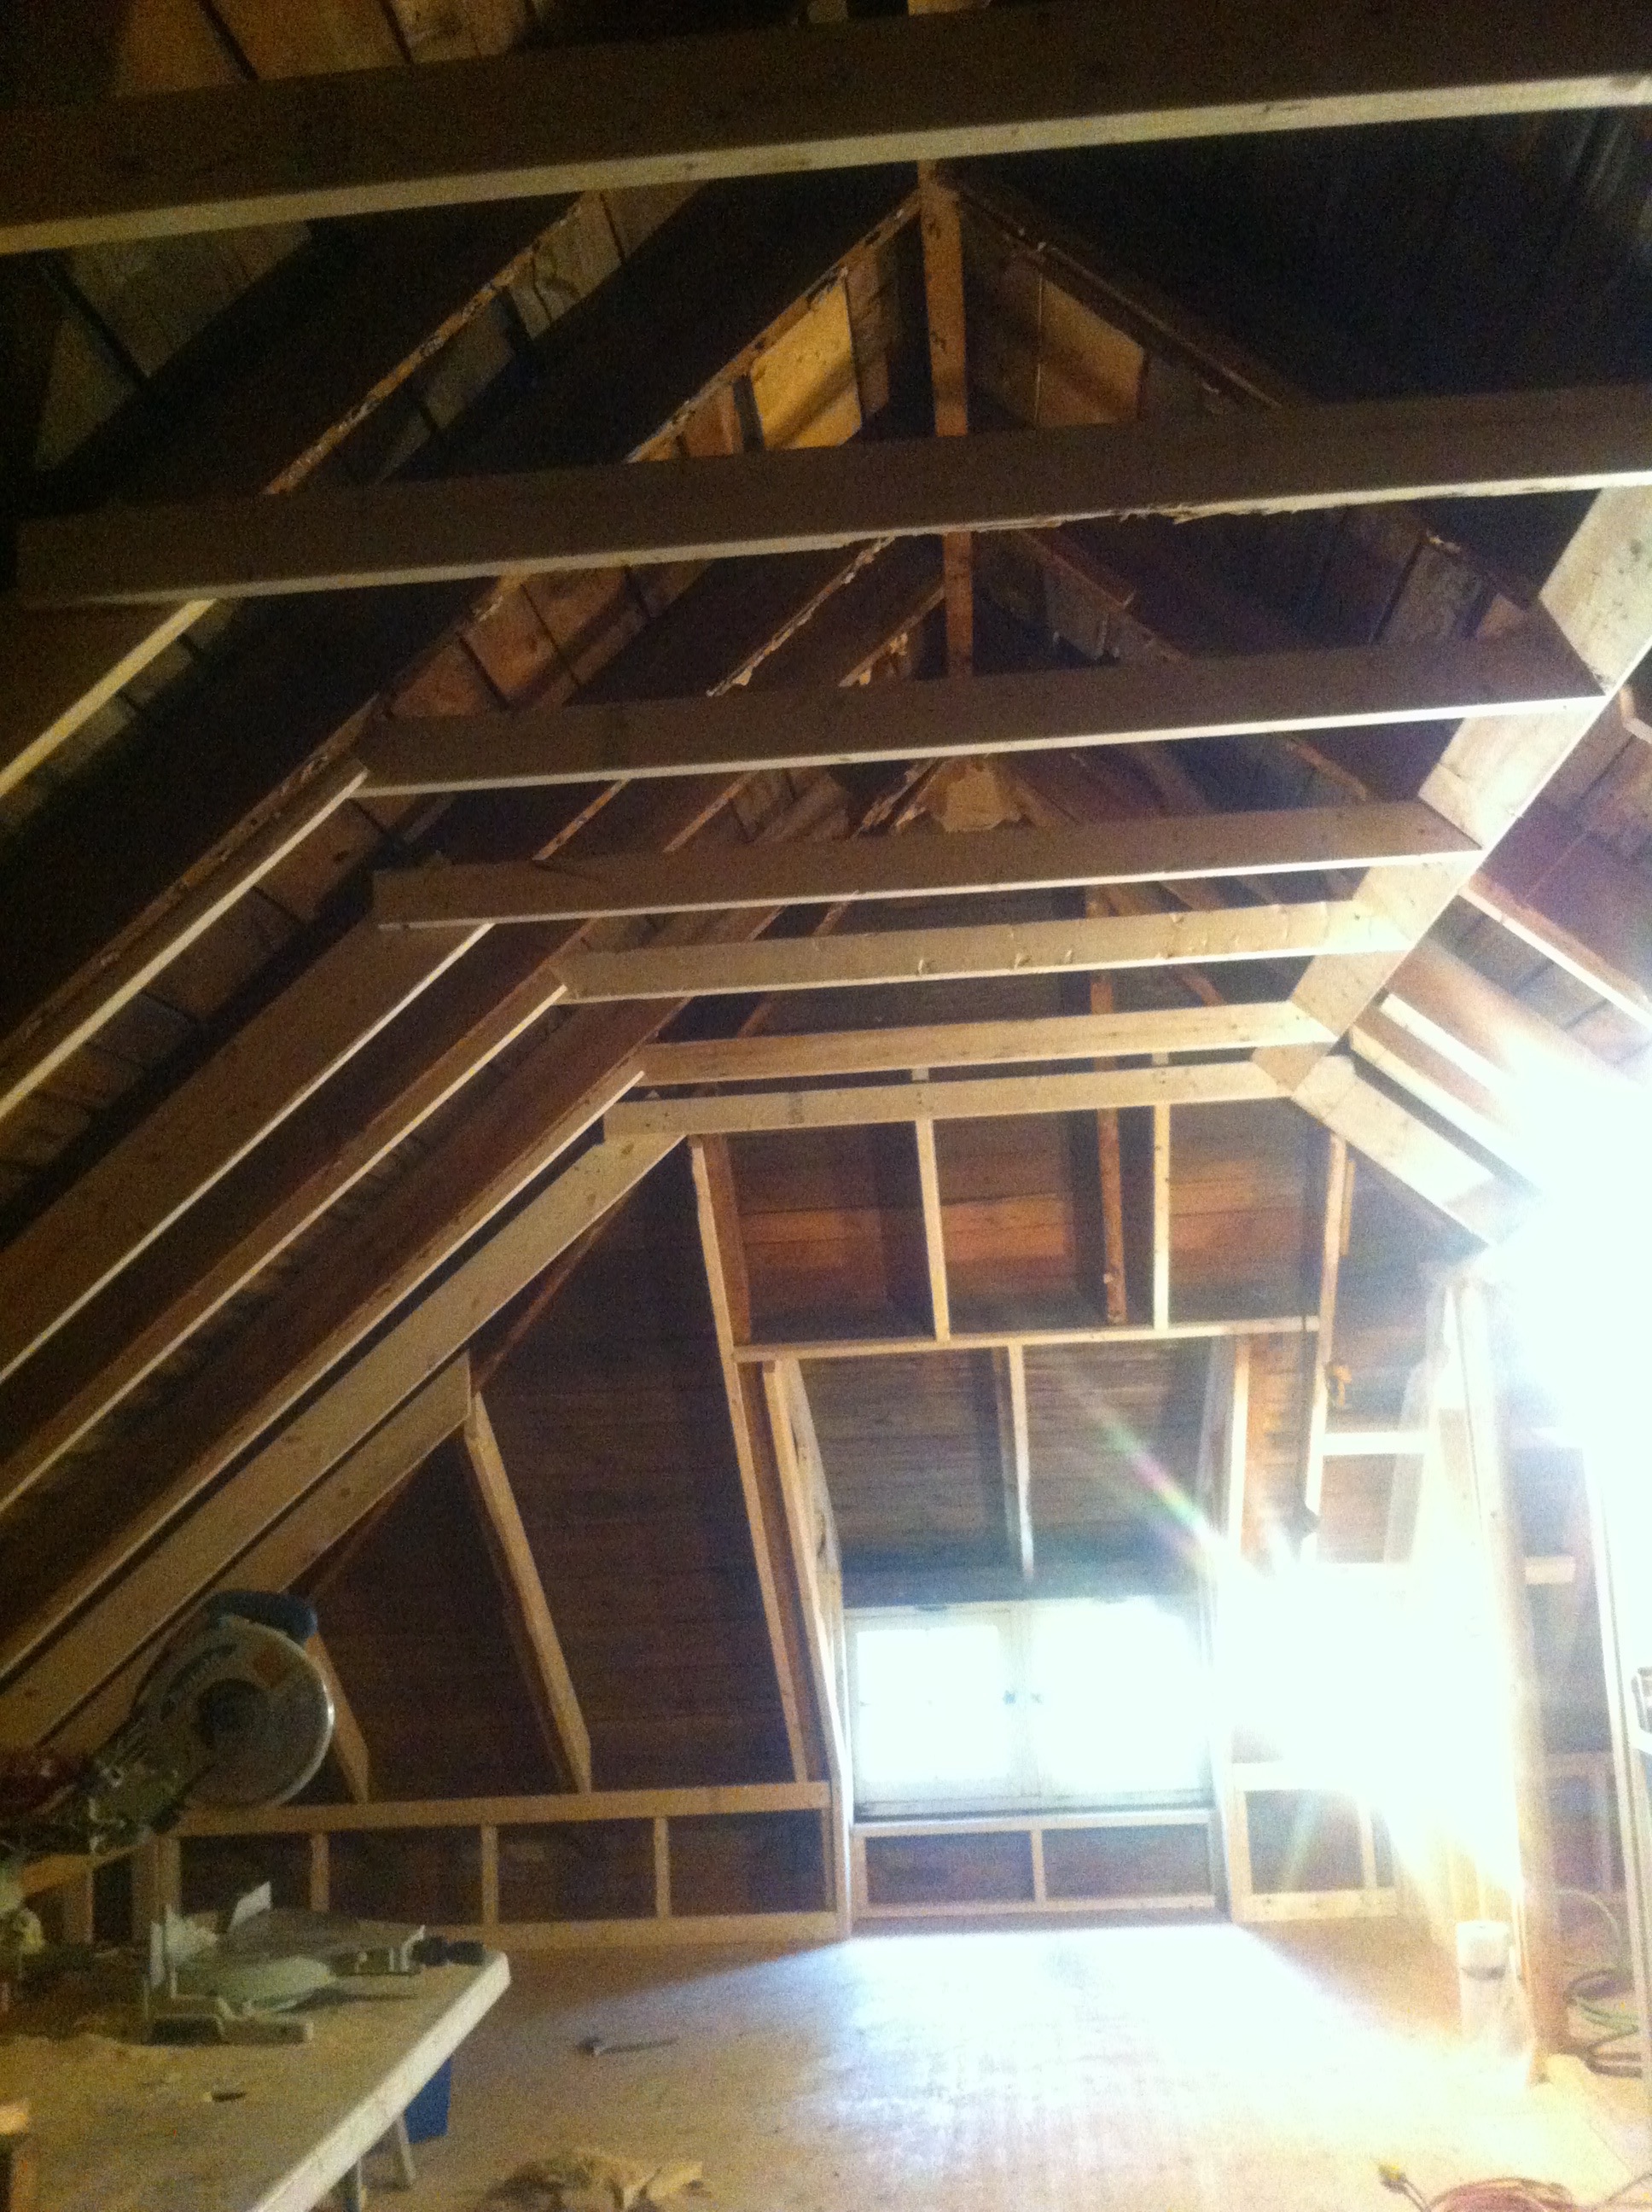
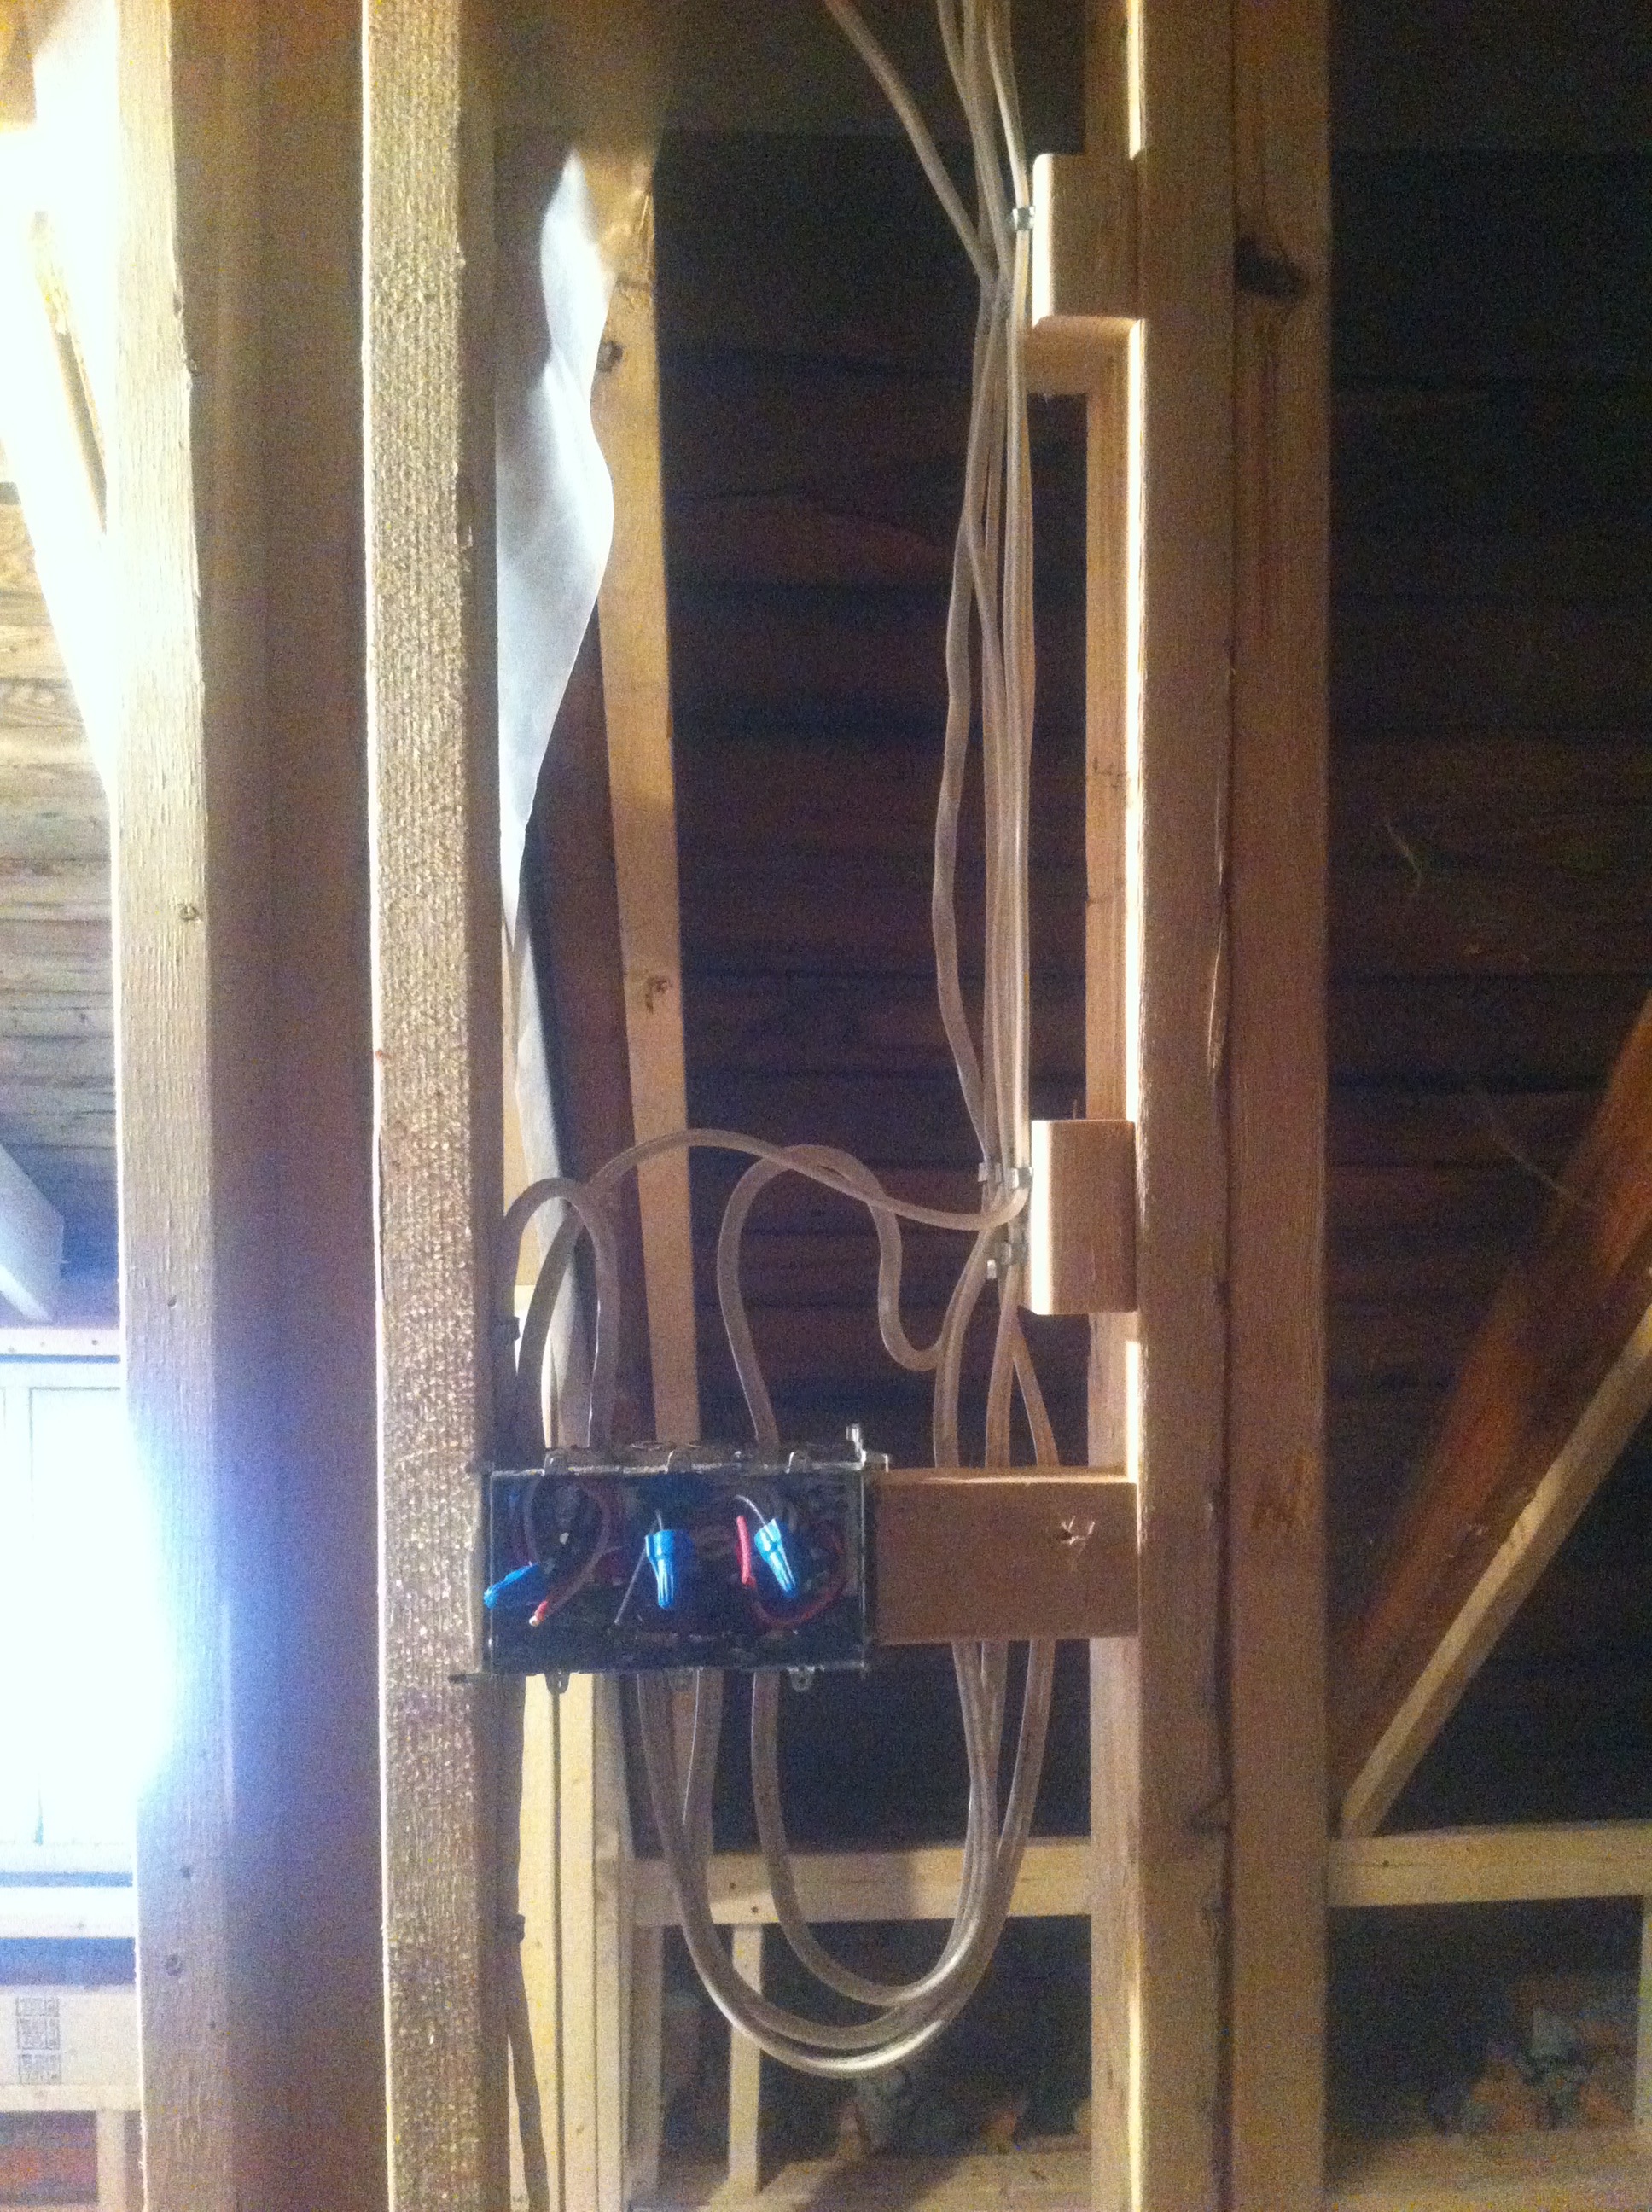
At this point the electrics for sockets, baseboards and lights/fans was put in. Three wires were dropped down a pipe next to an old chimney which was a great way to get down to the basement electric panel.
Insulation up next. Since the old beams were not equally spaced metal rails were added to make it easier for the plasterers.
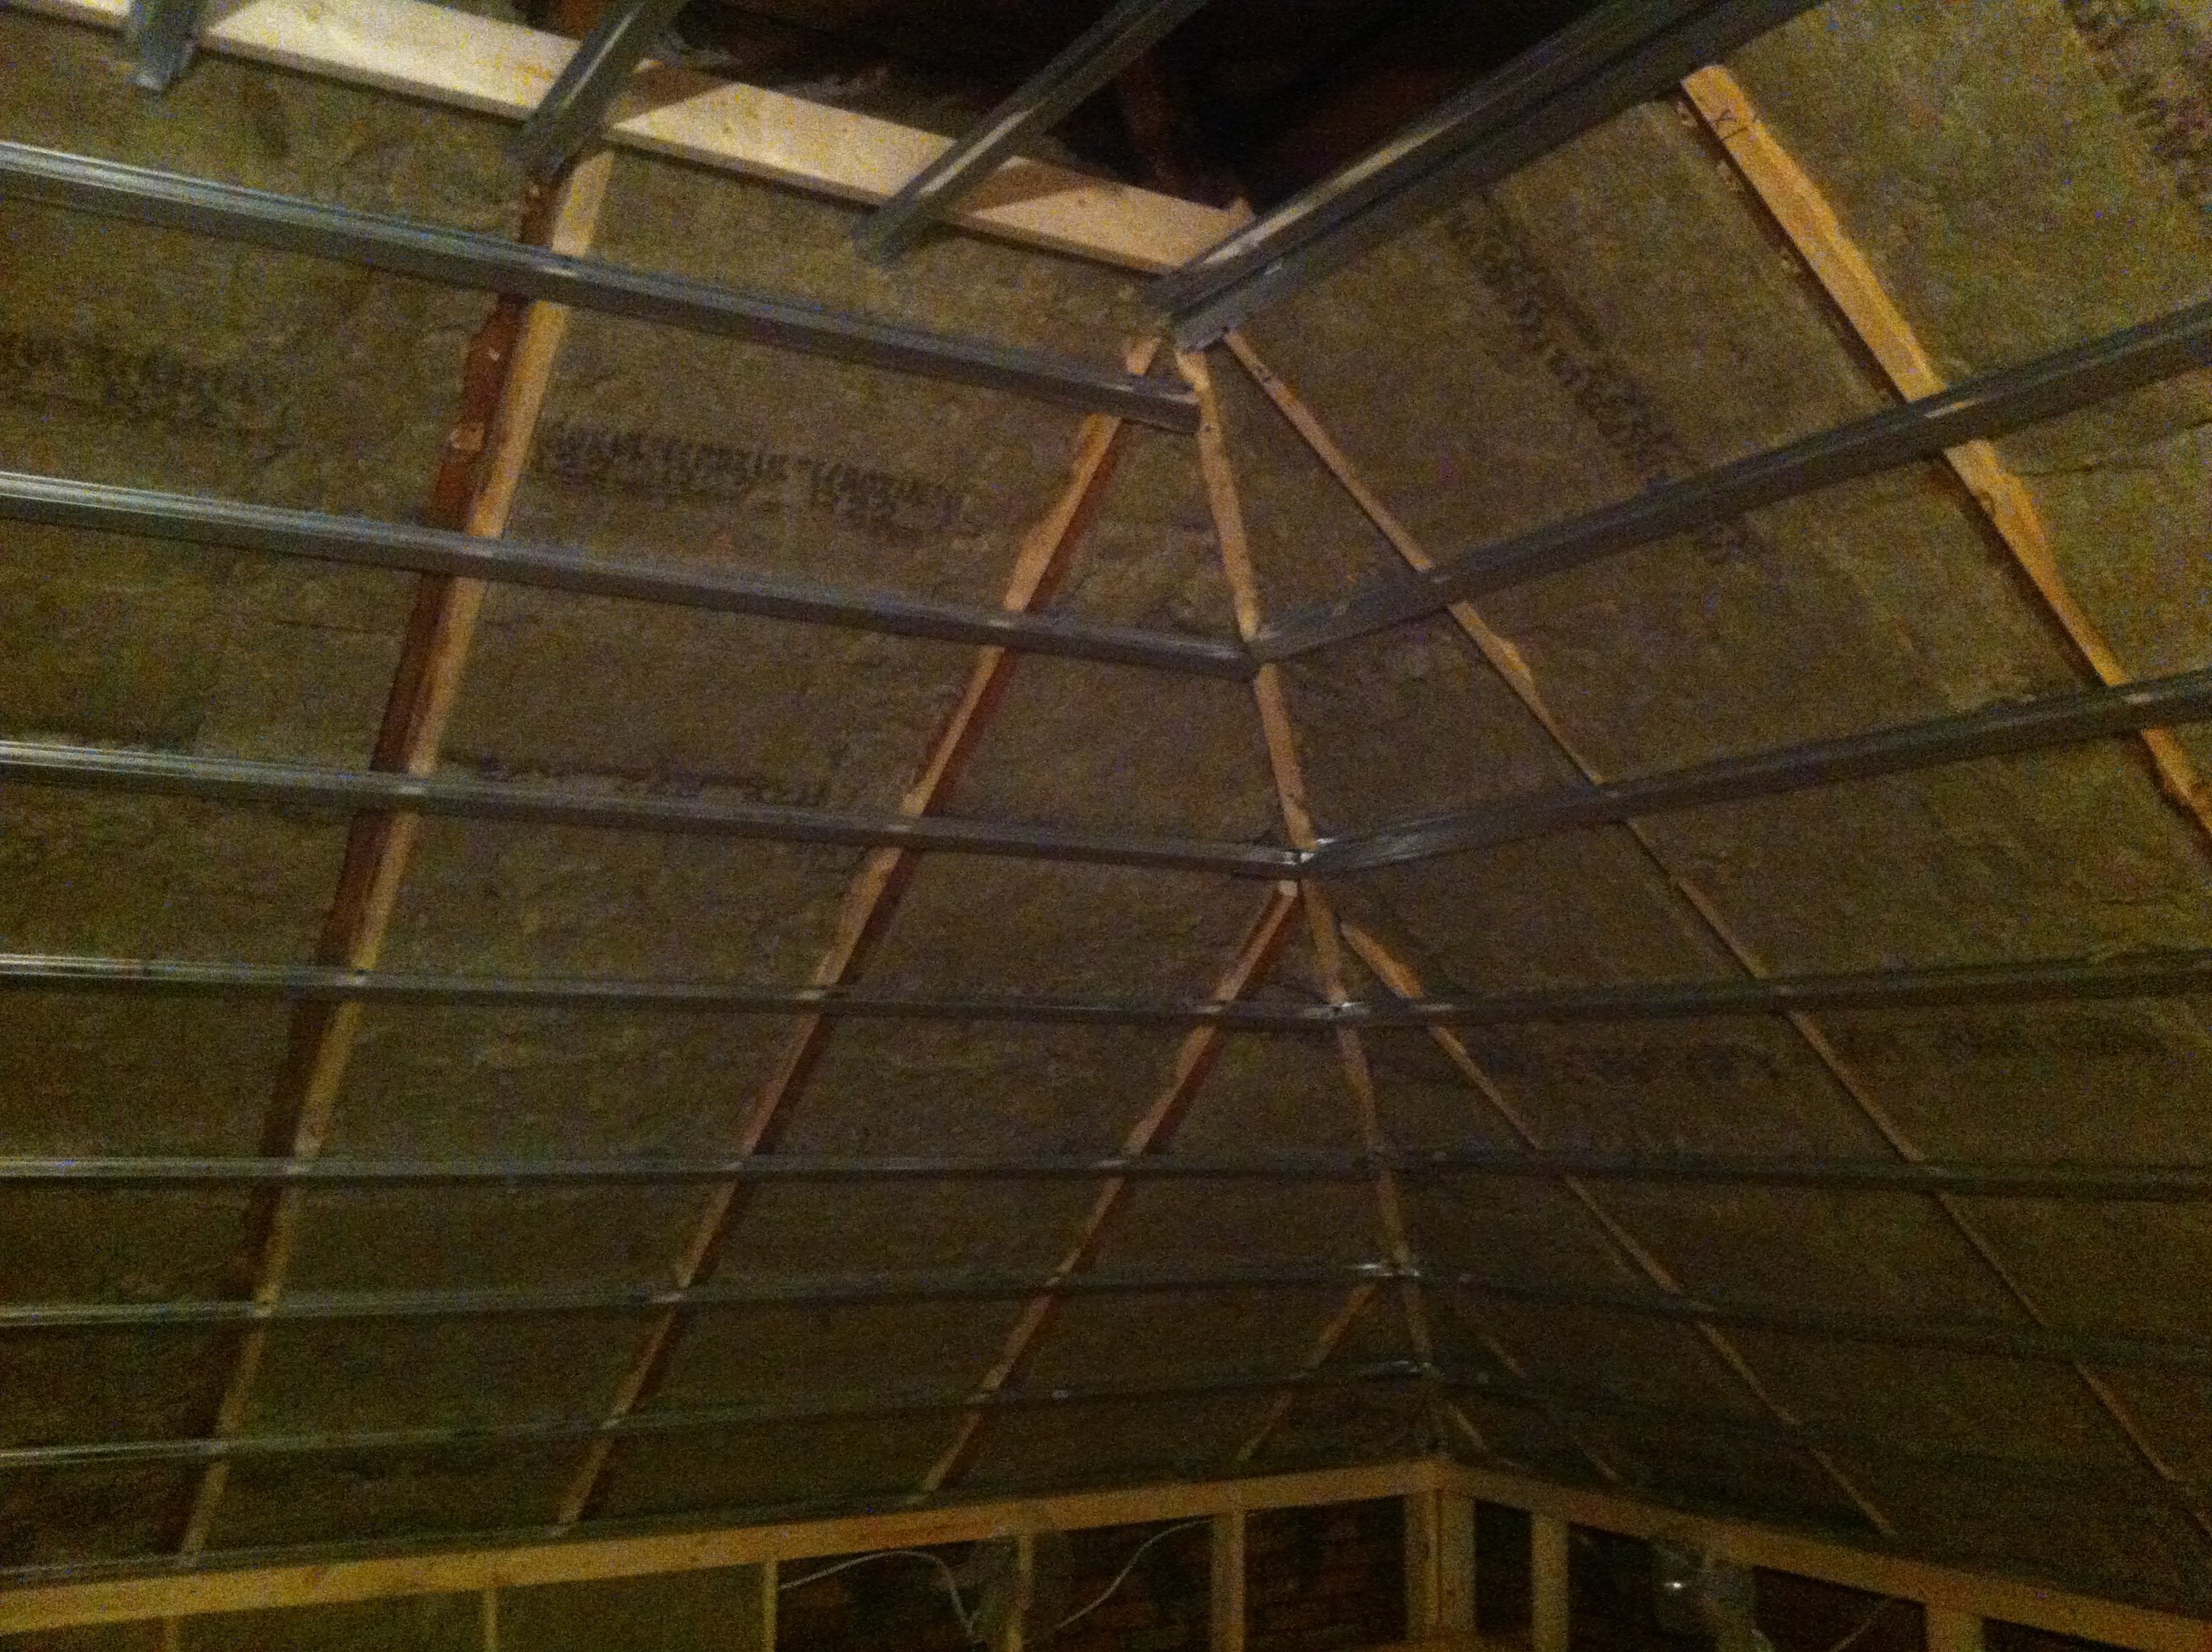
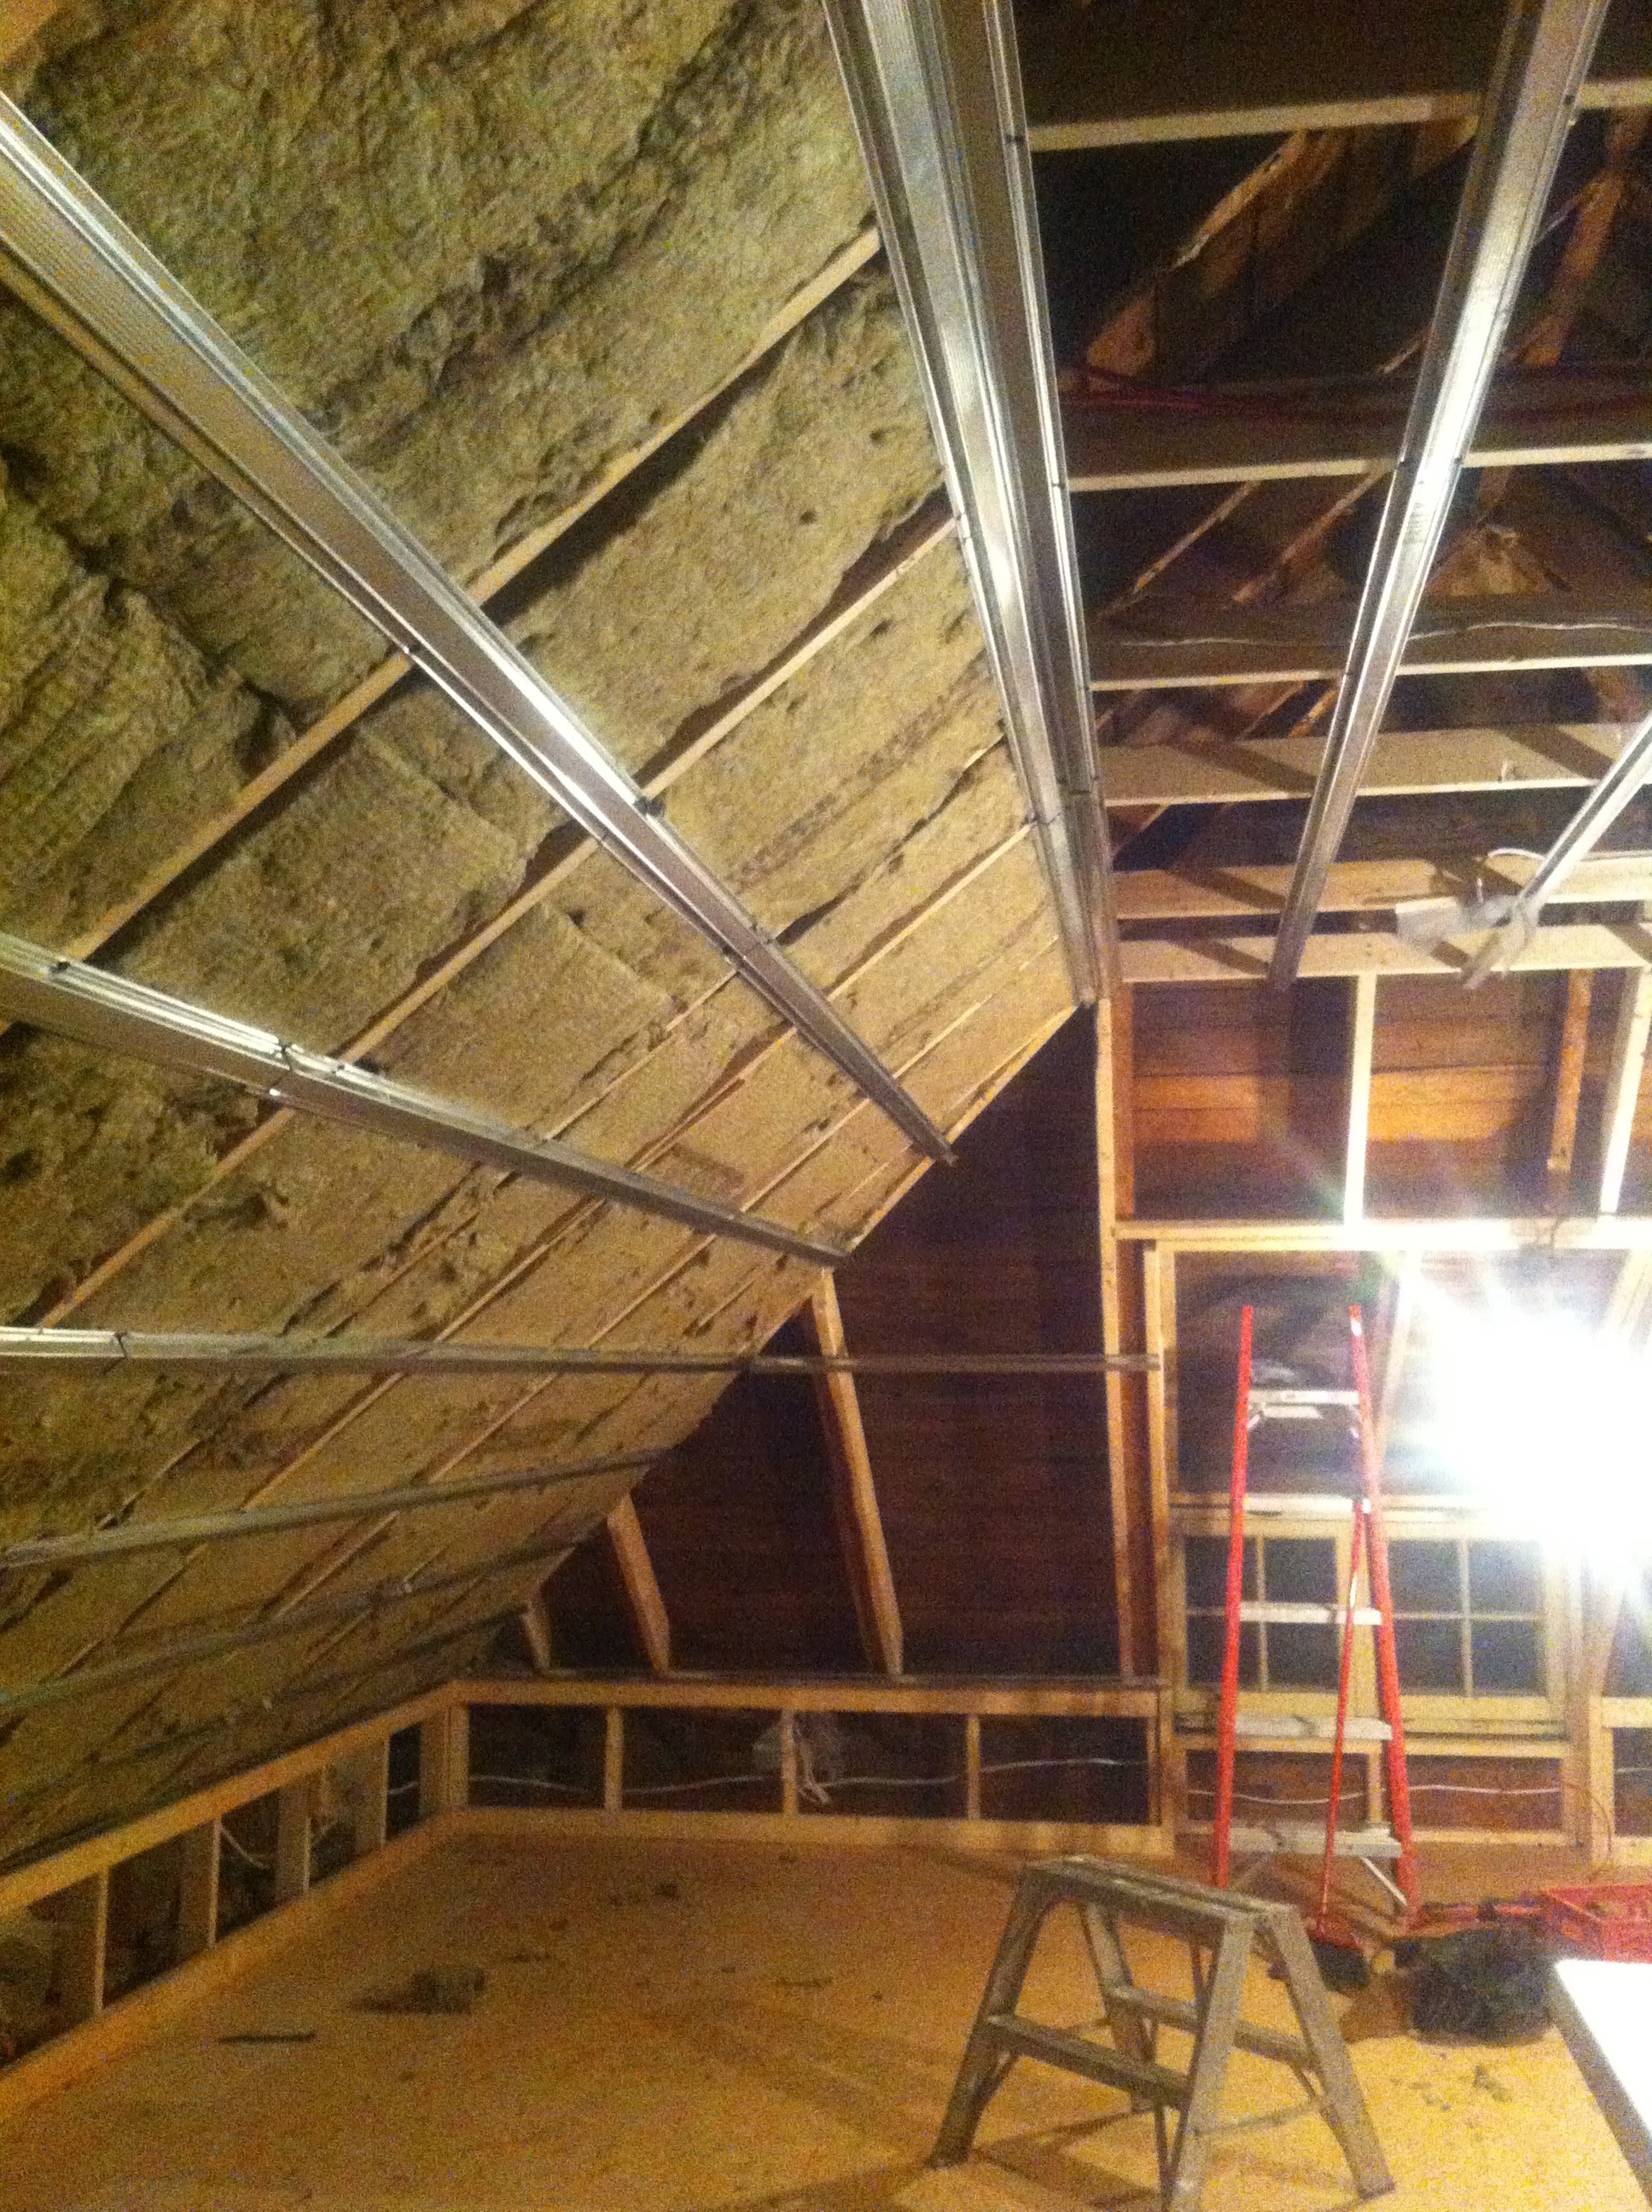
The plasterer was a sub-contractor and made a great job of it.
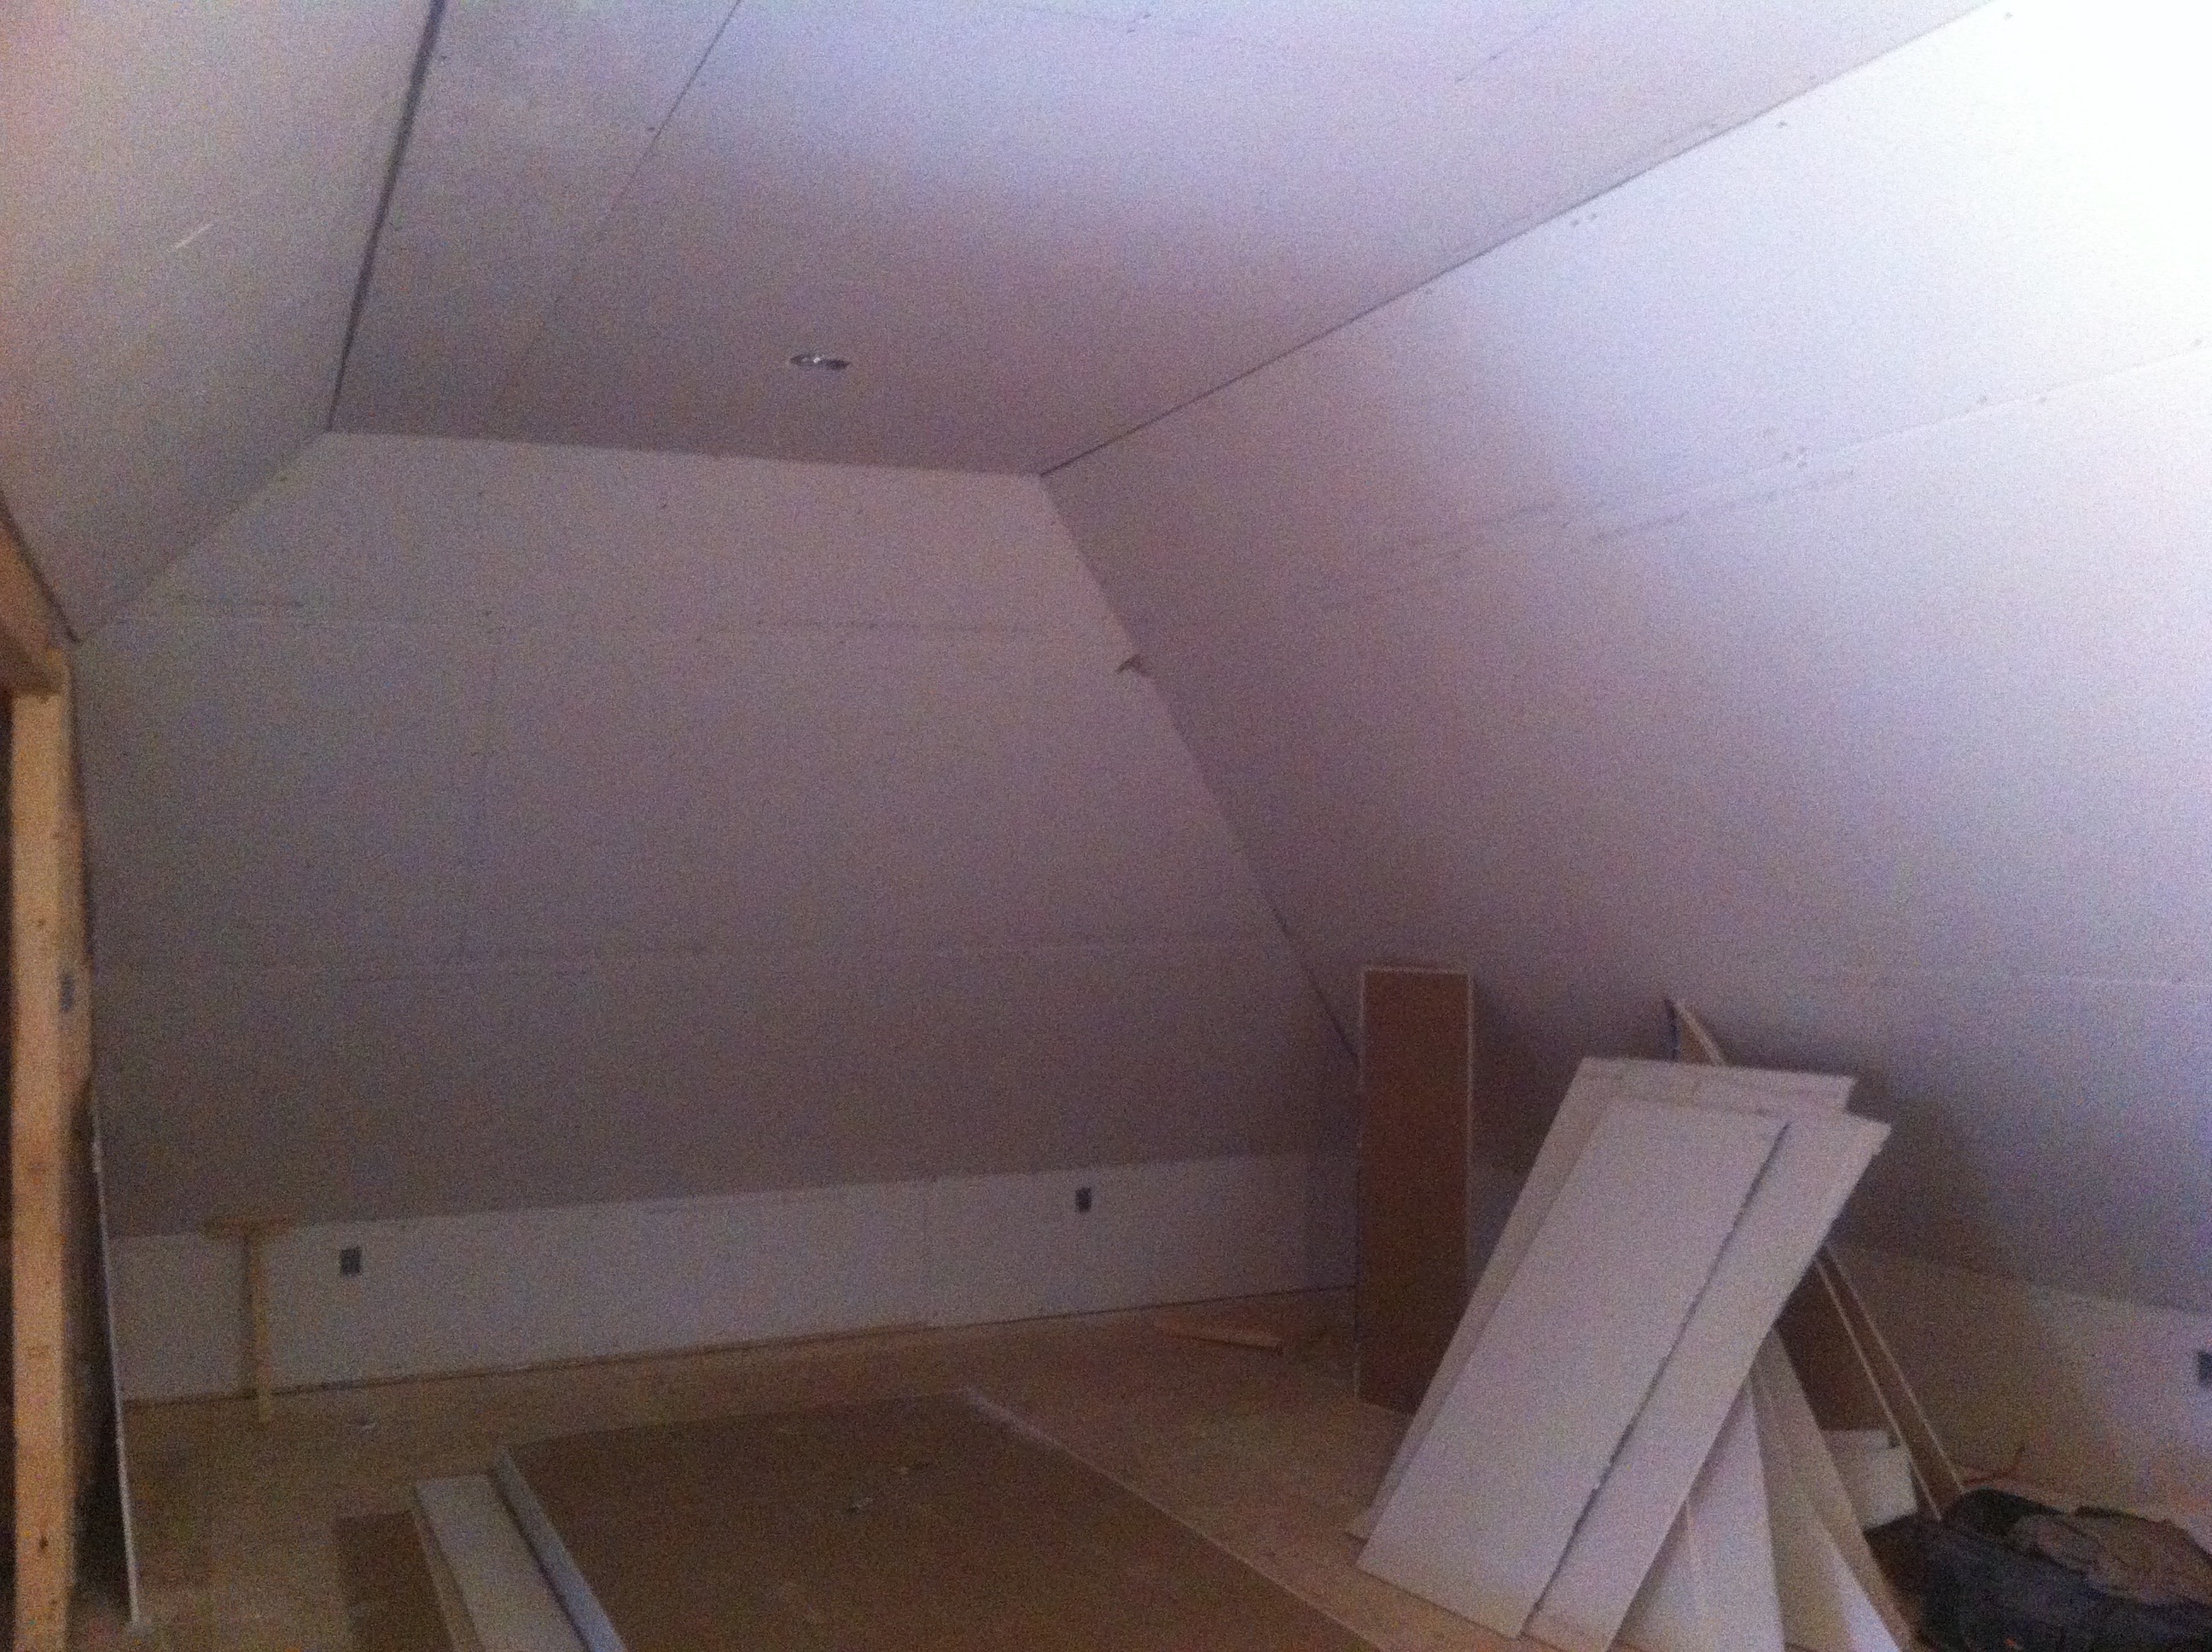
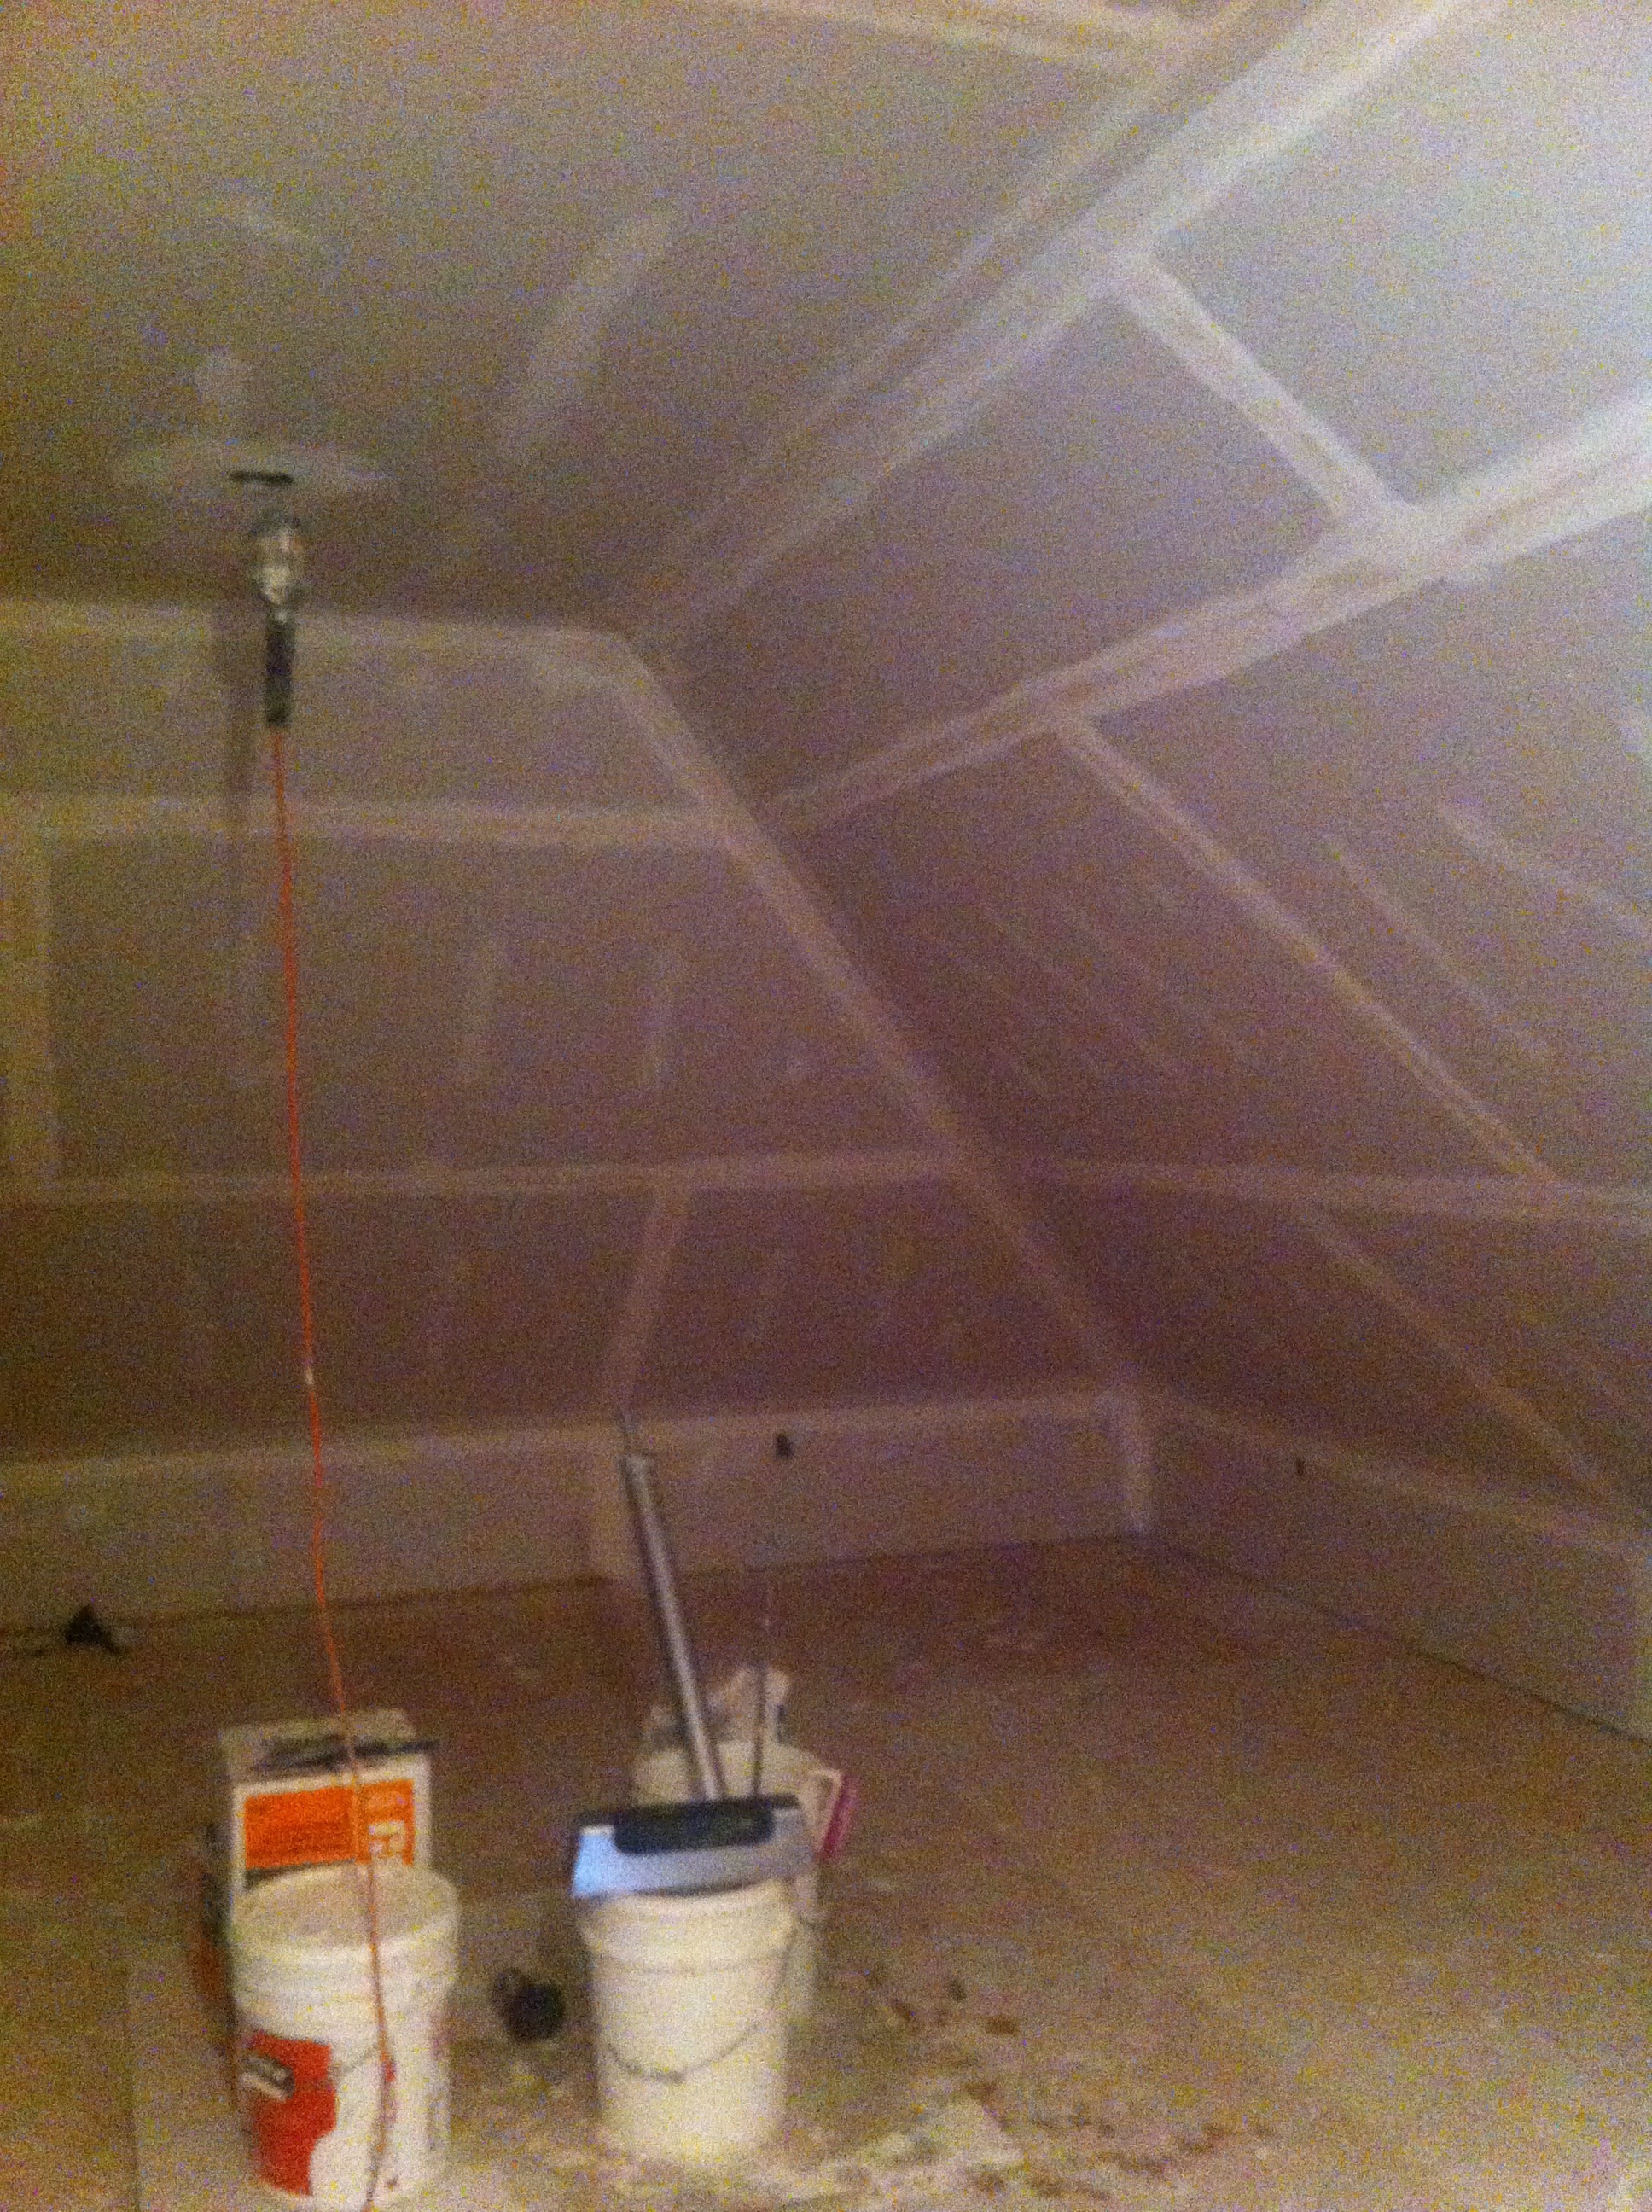
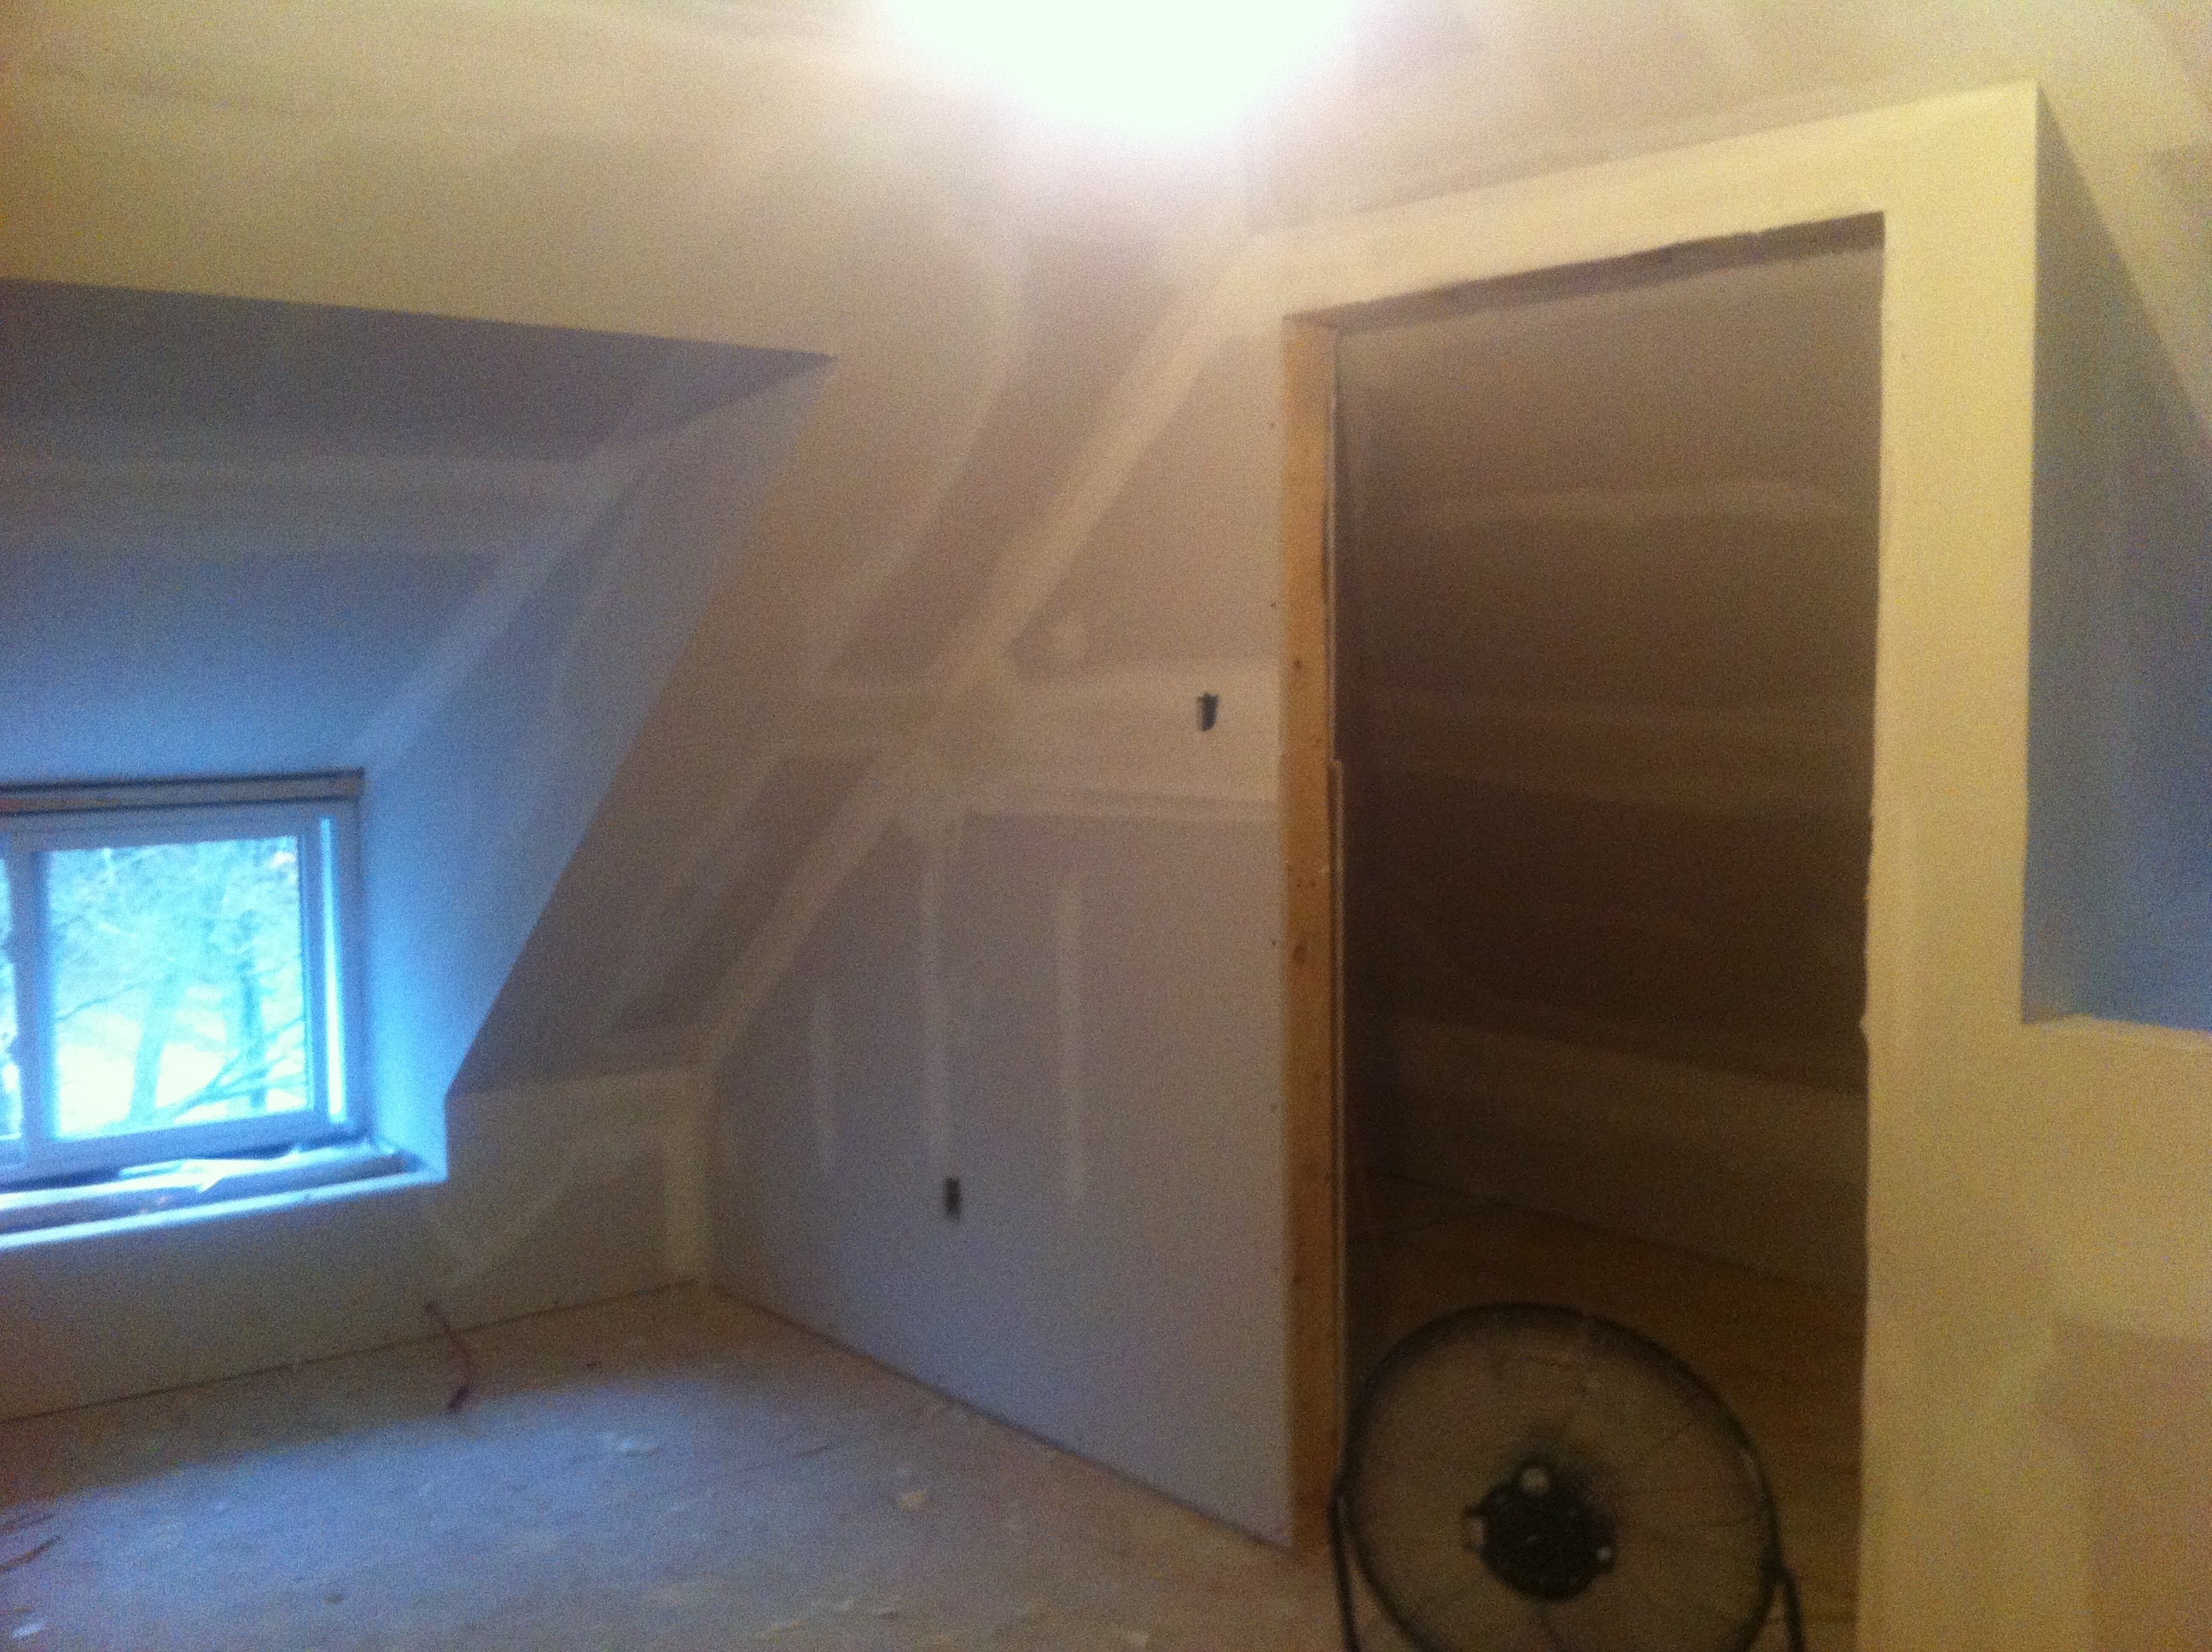
Mudded and sanded.
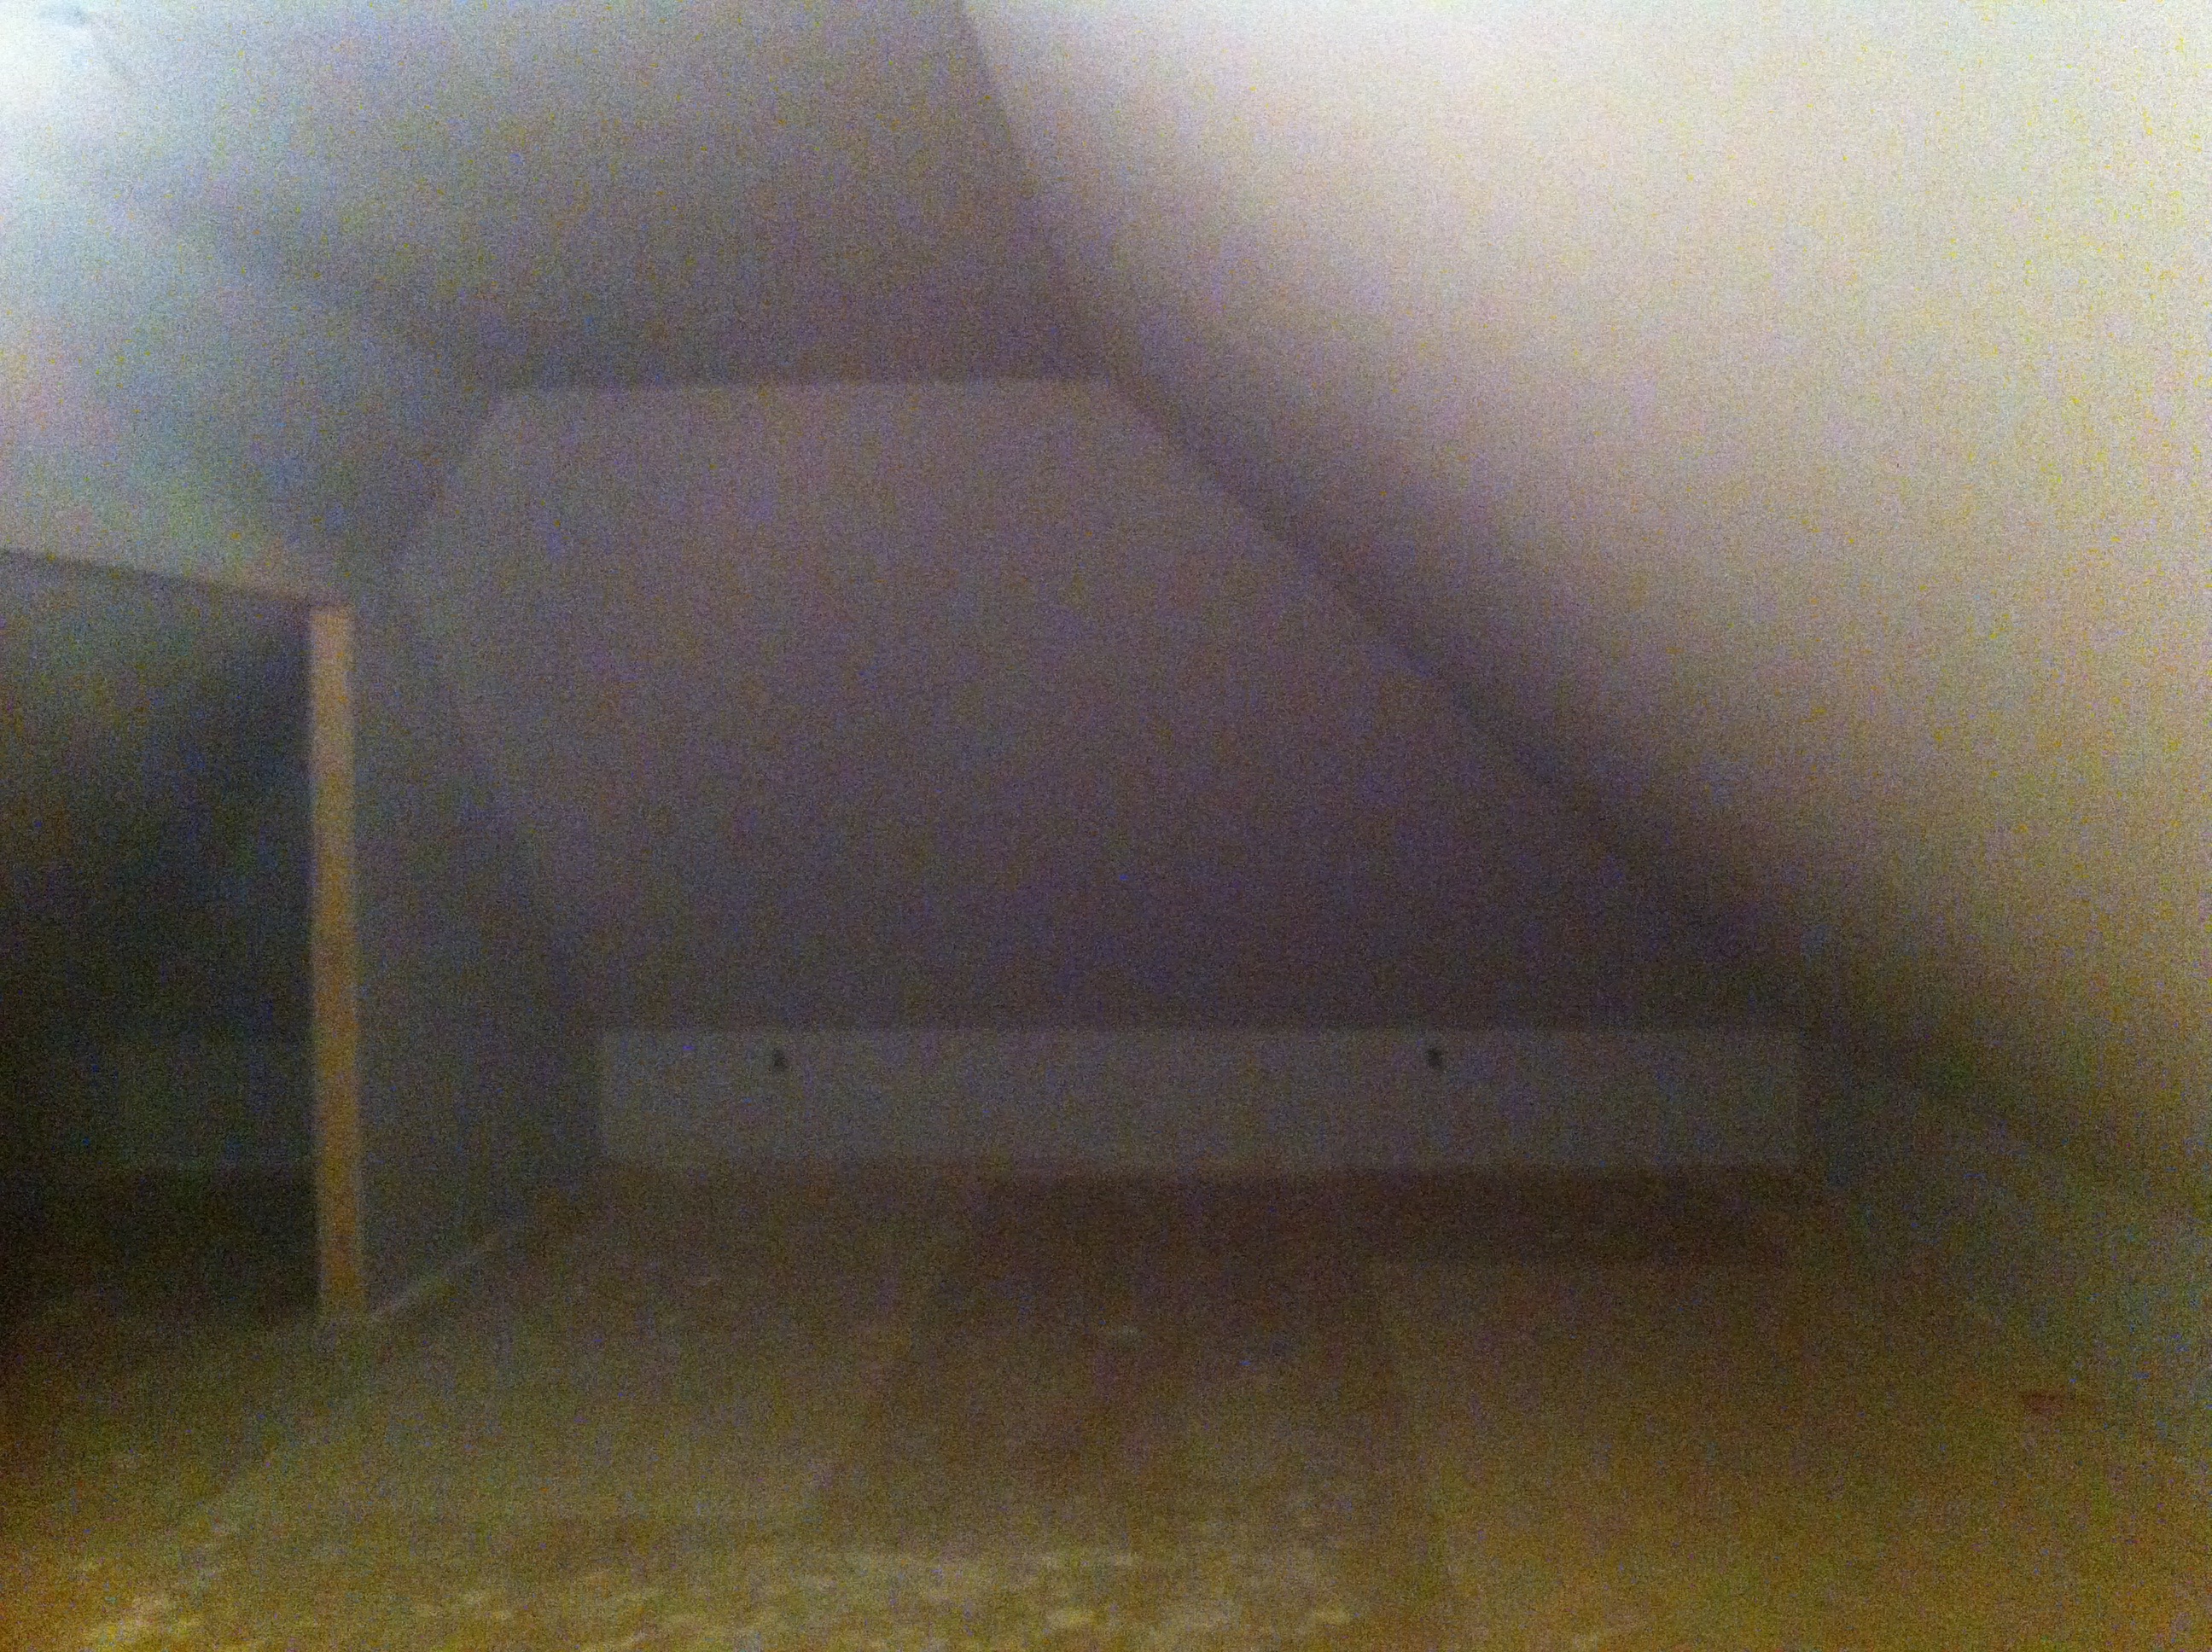
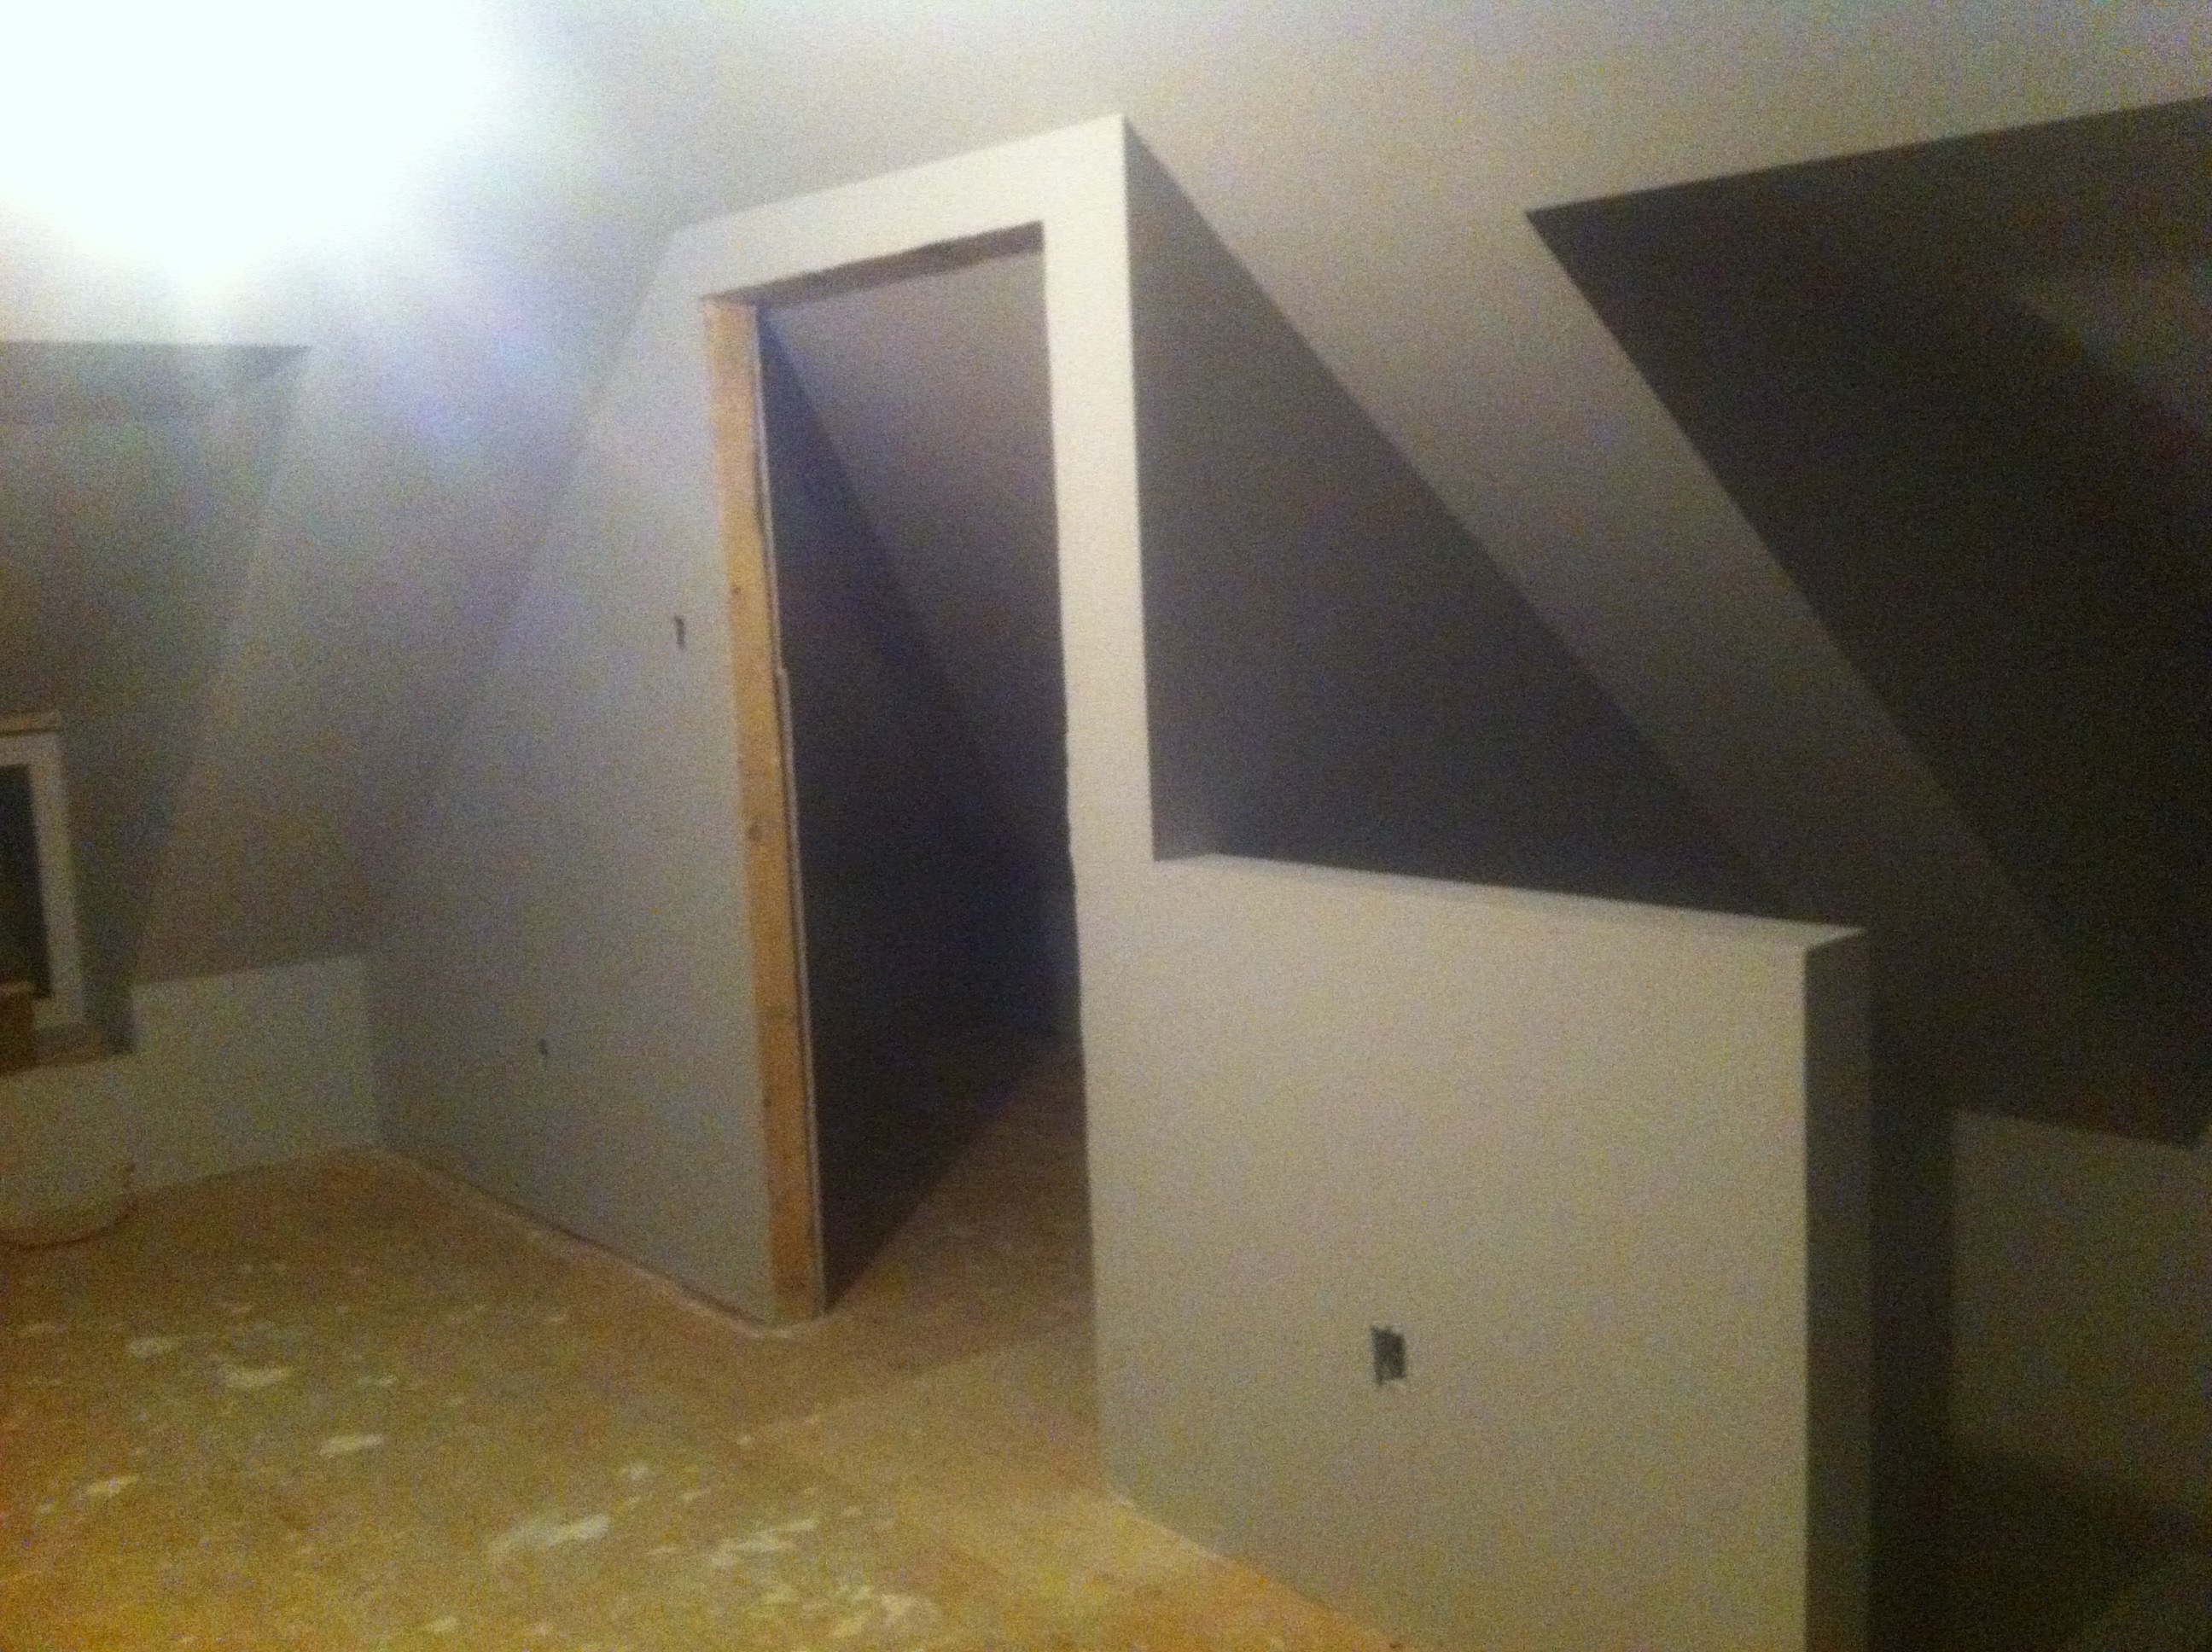
At this point the contractor had another break and we stepped in to get the carpet laid, paint undercoat (x2), paint topcoat (x2) and trim.
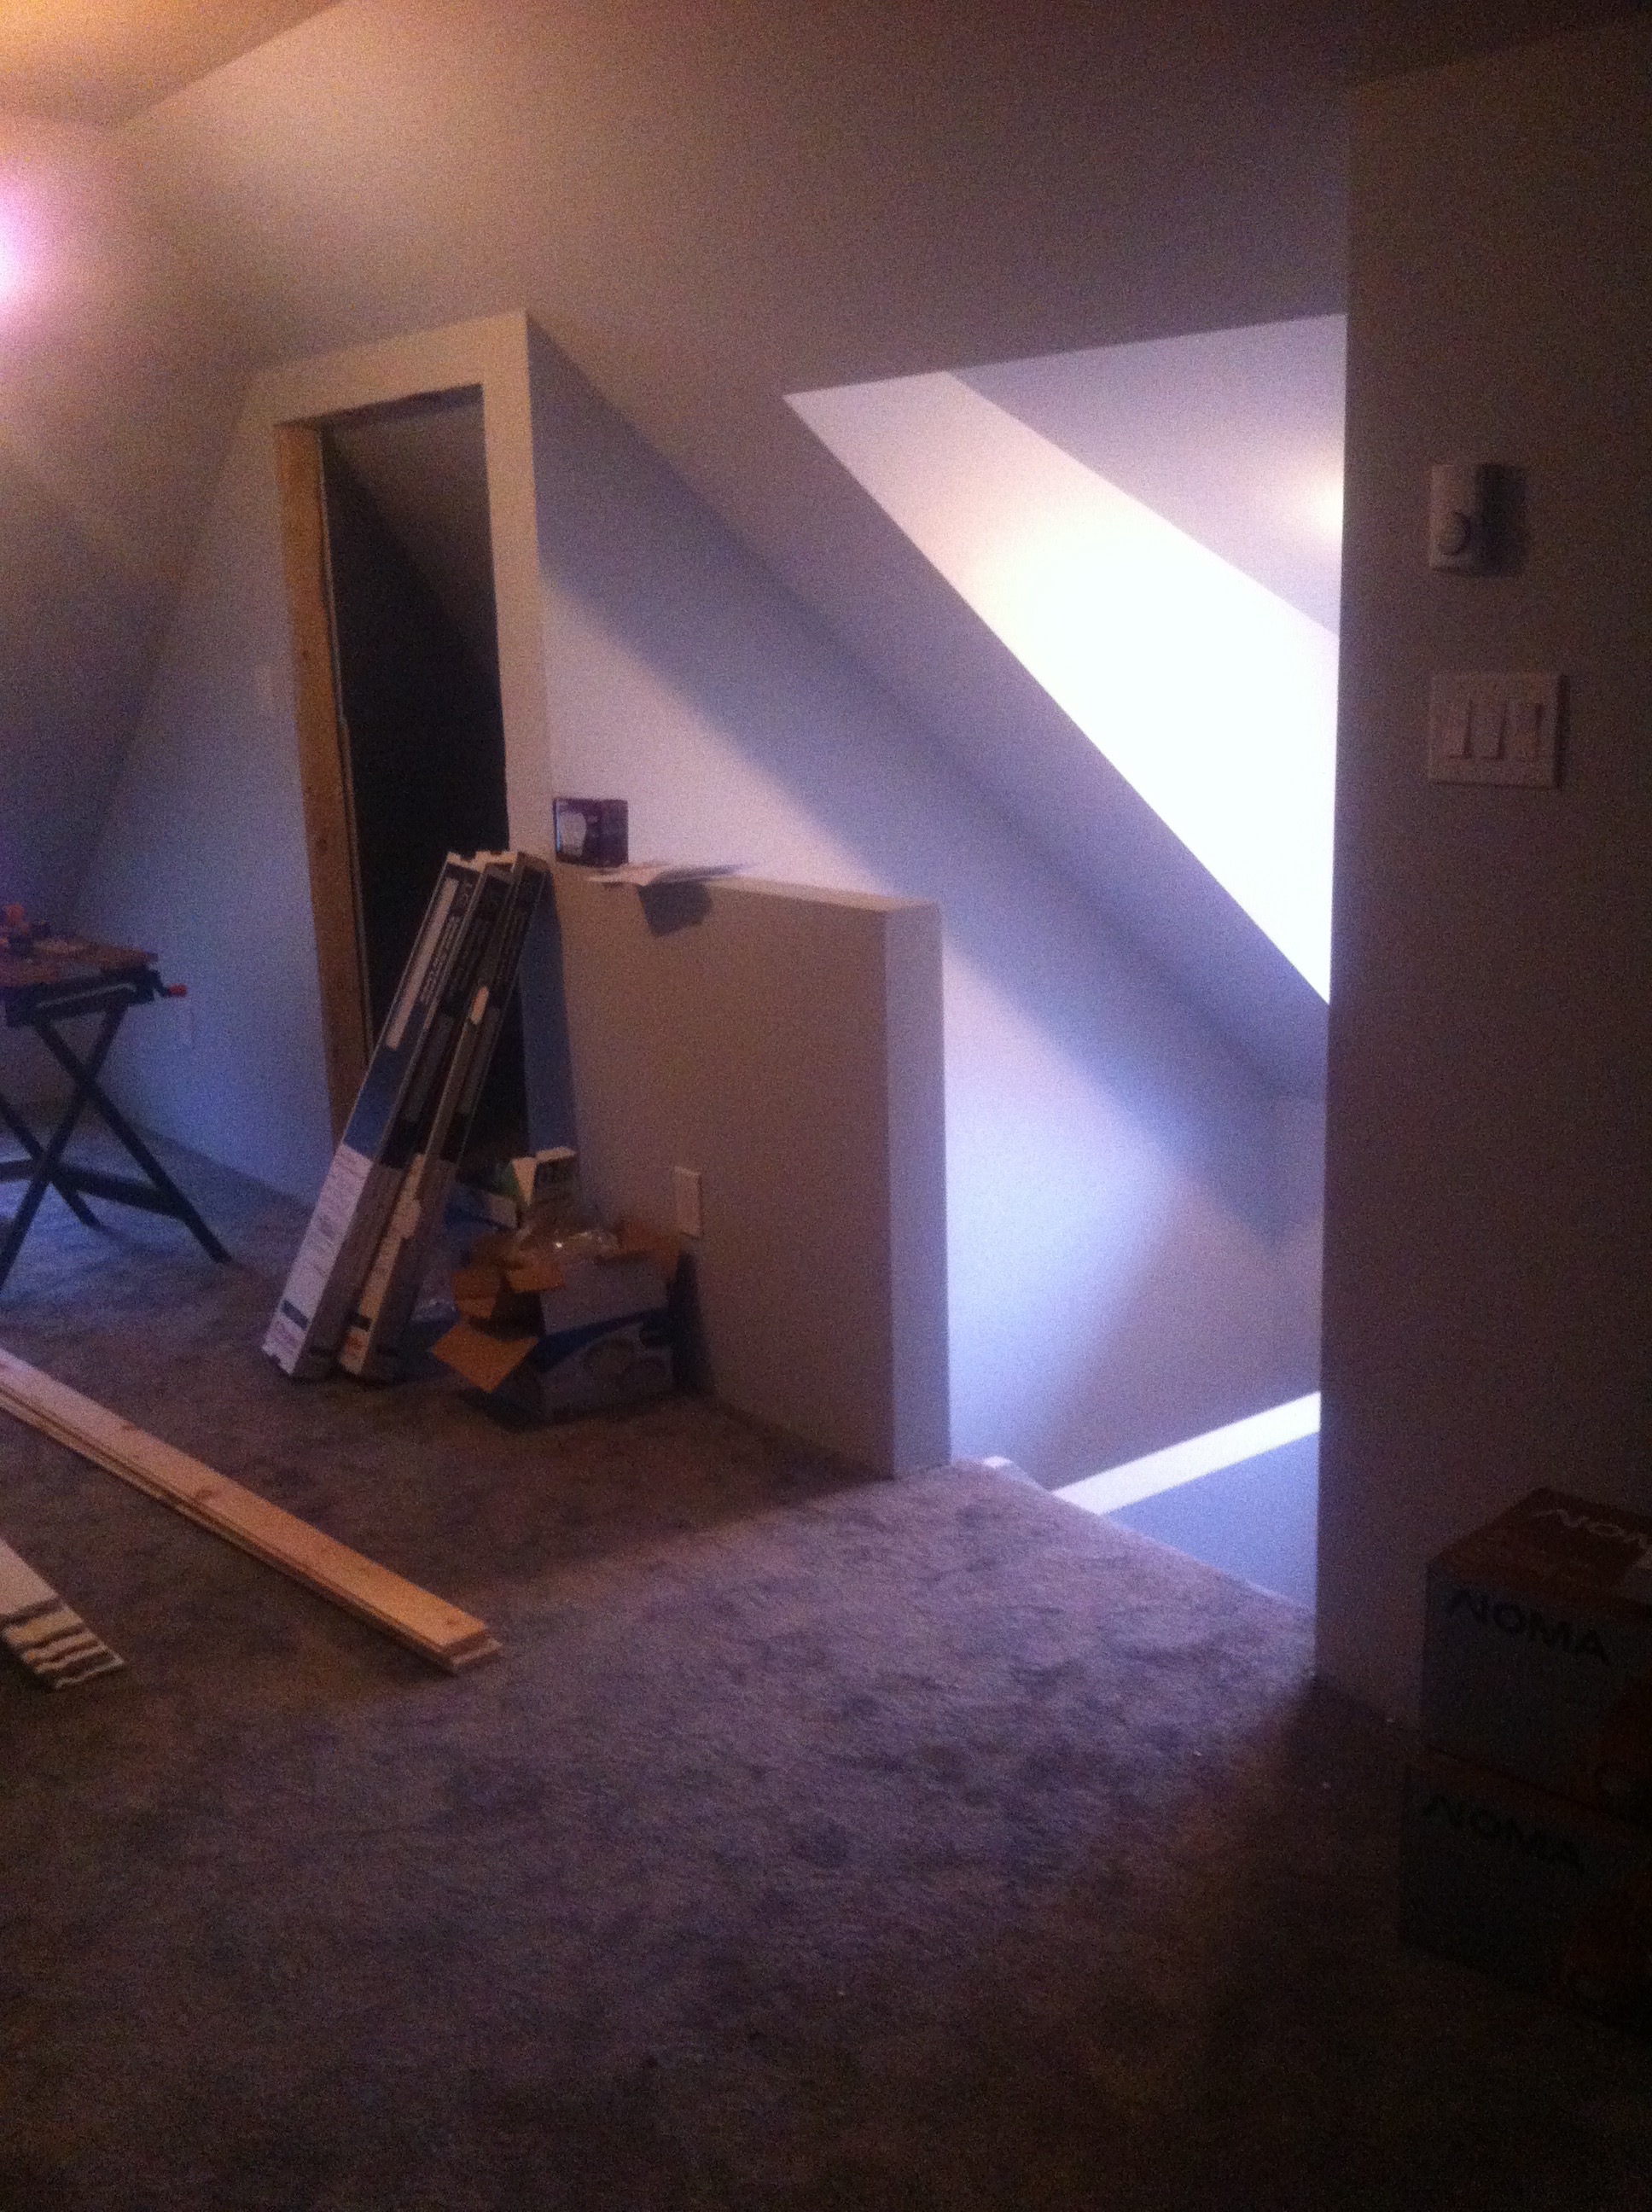
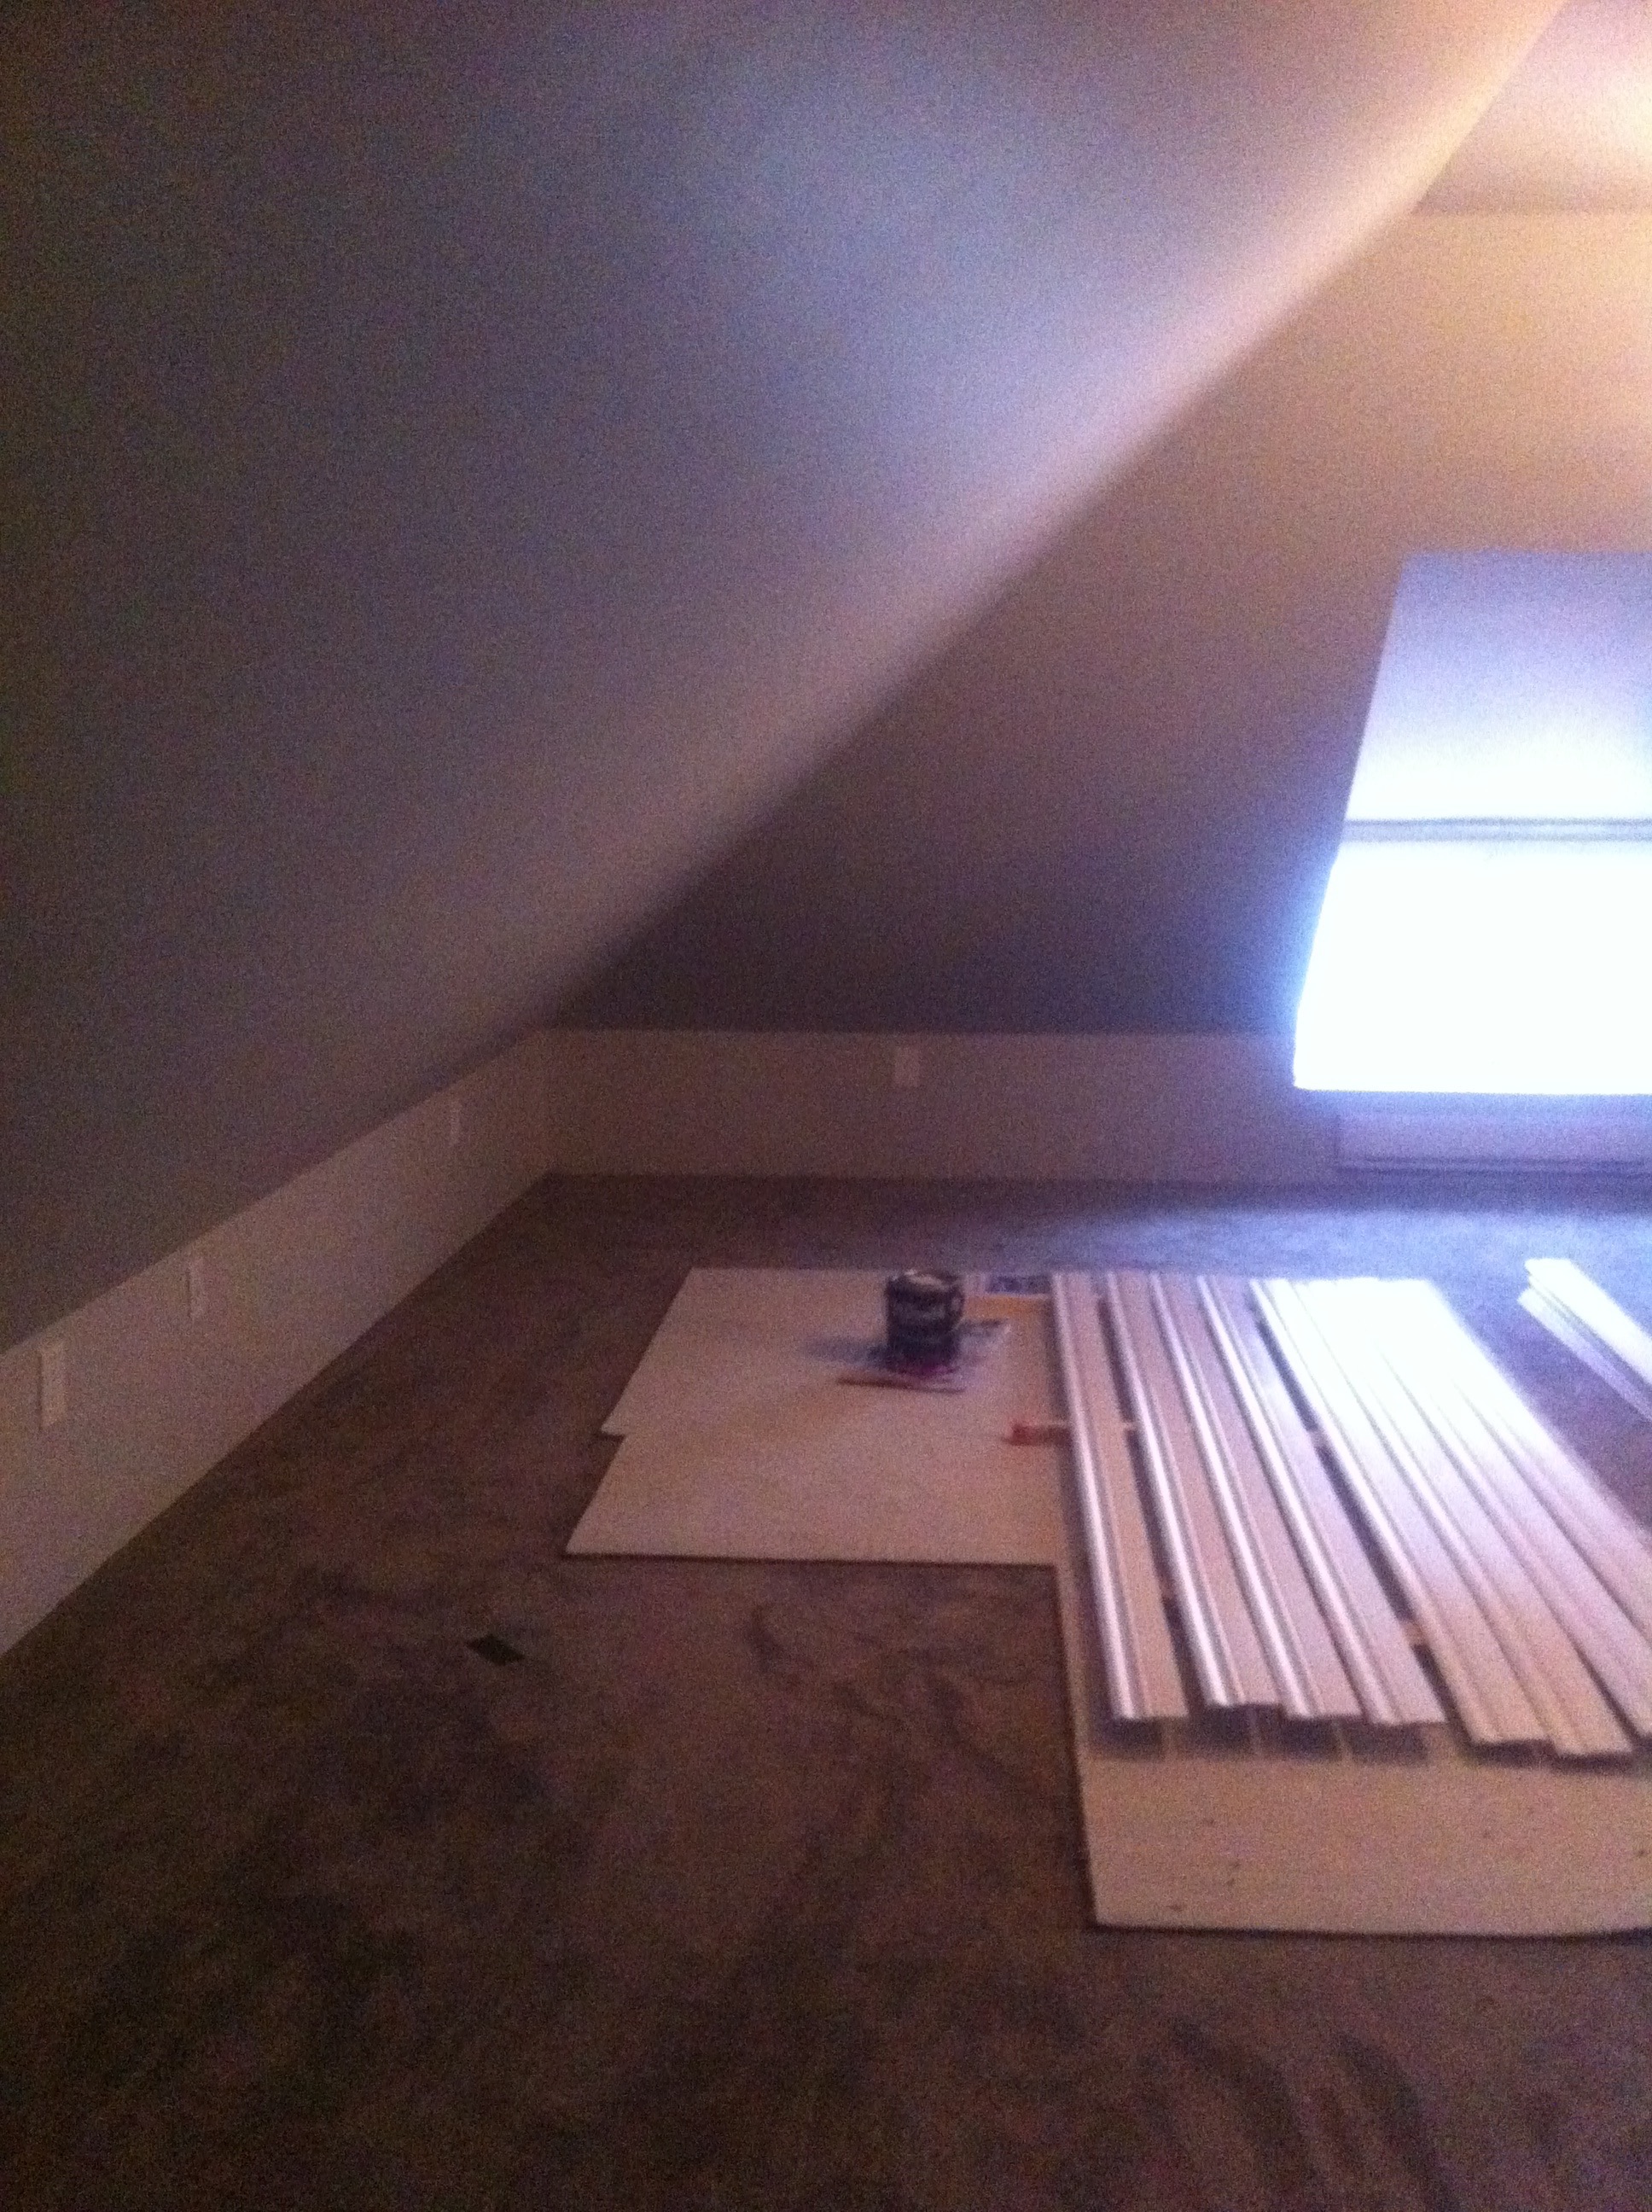
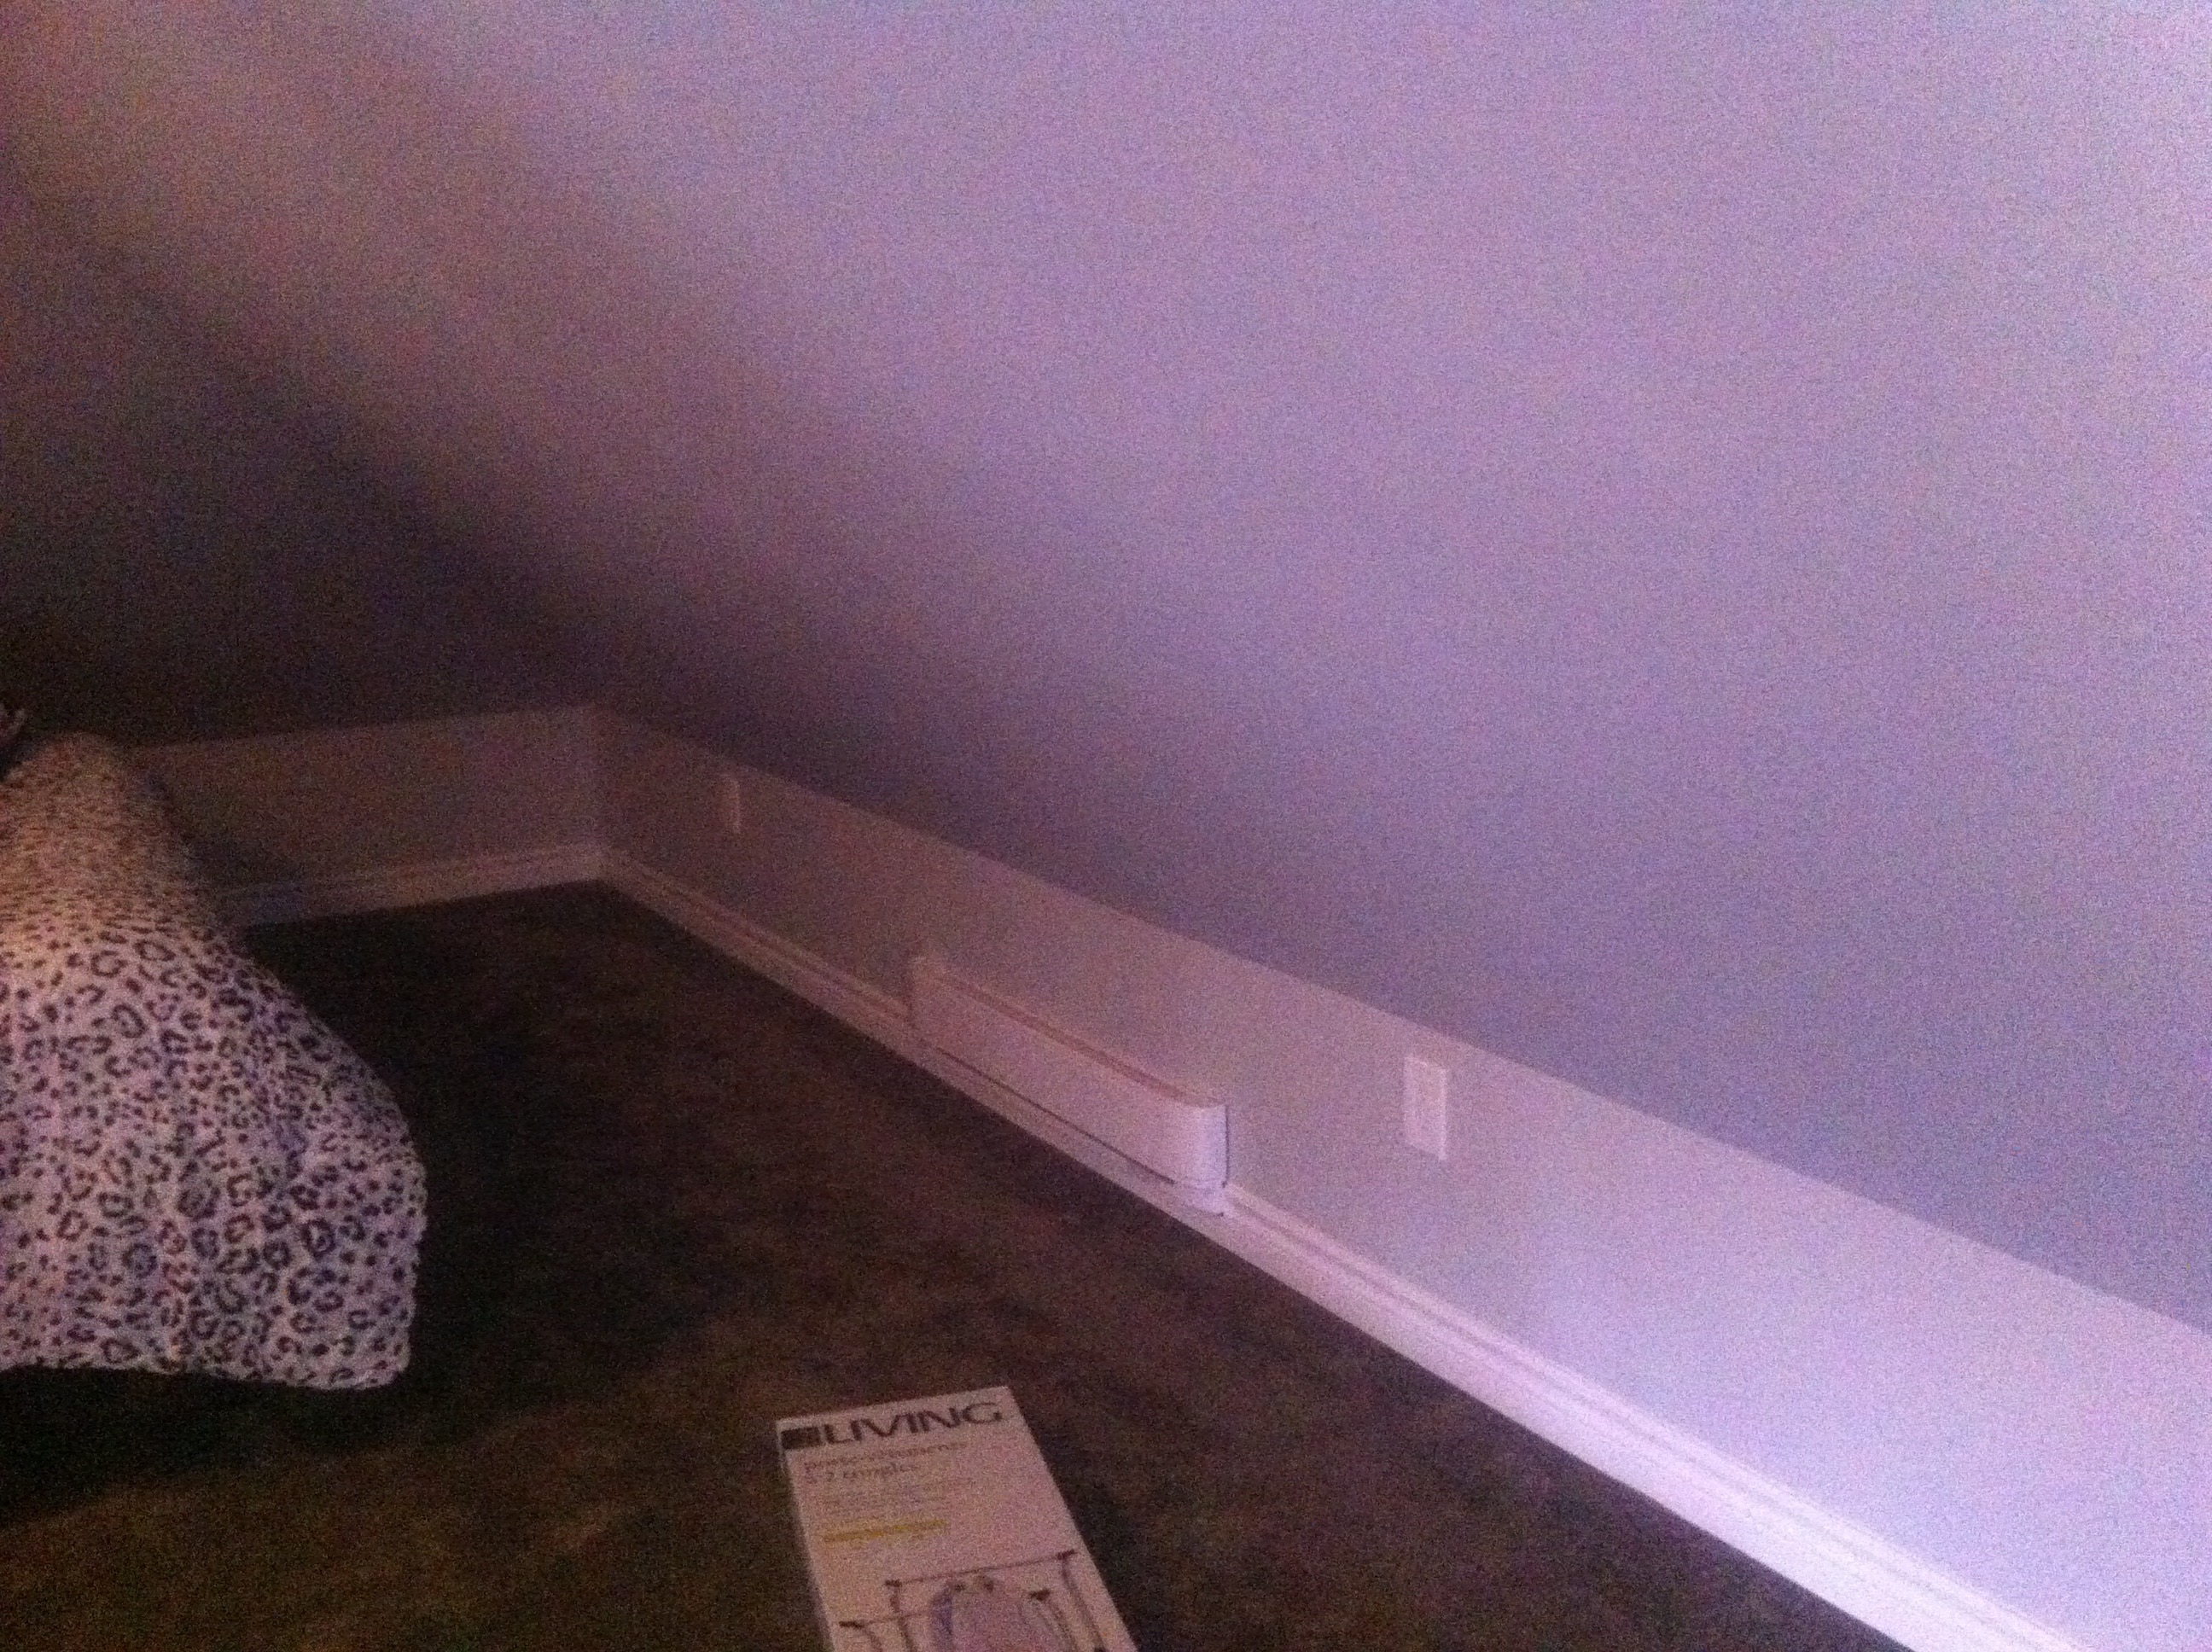
Some time around this point the election finished putting in the sockets, fans and baseboards. The contractor hung the doors and I added the trim.
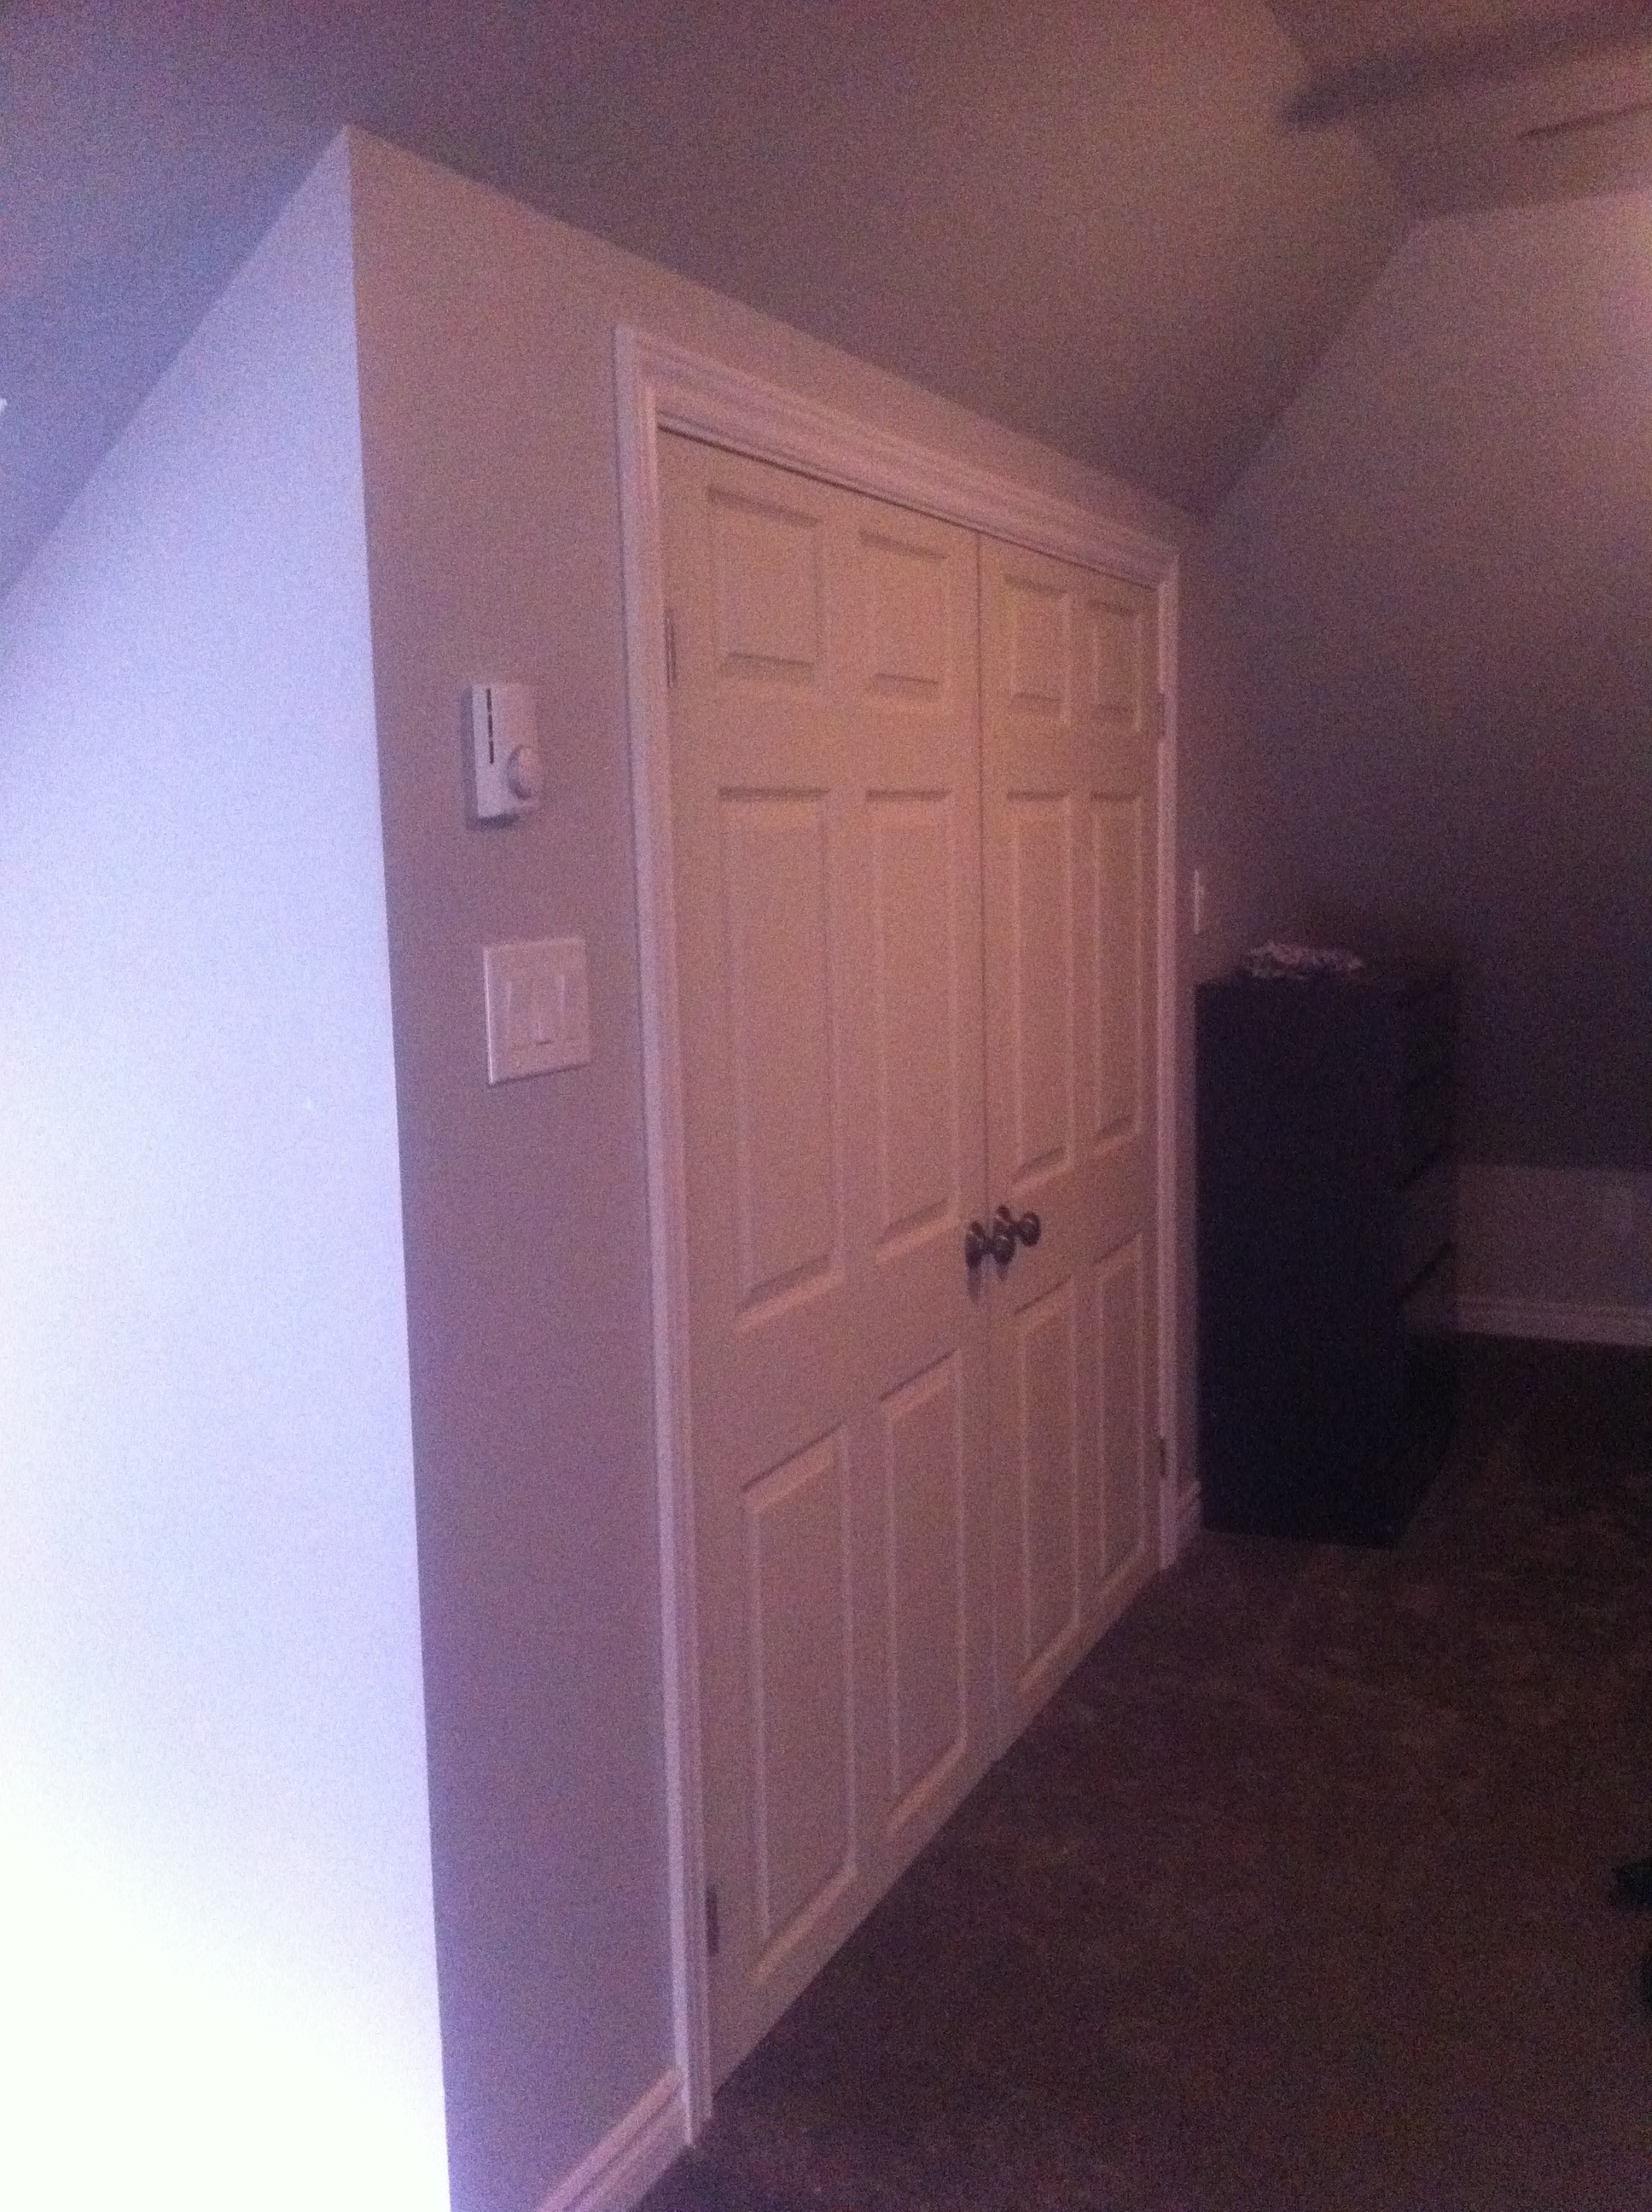
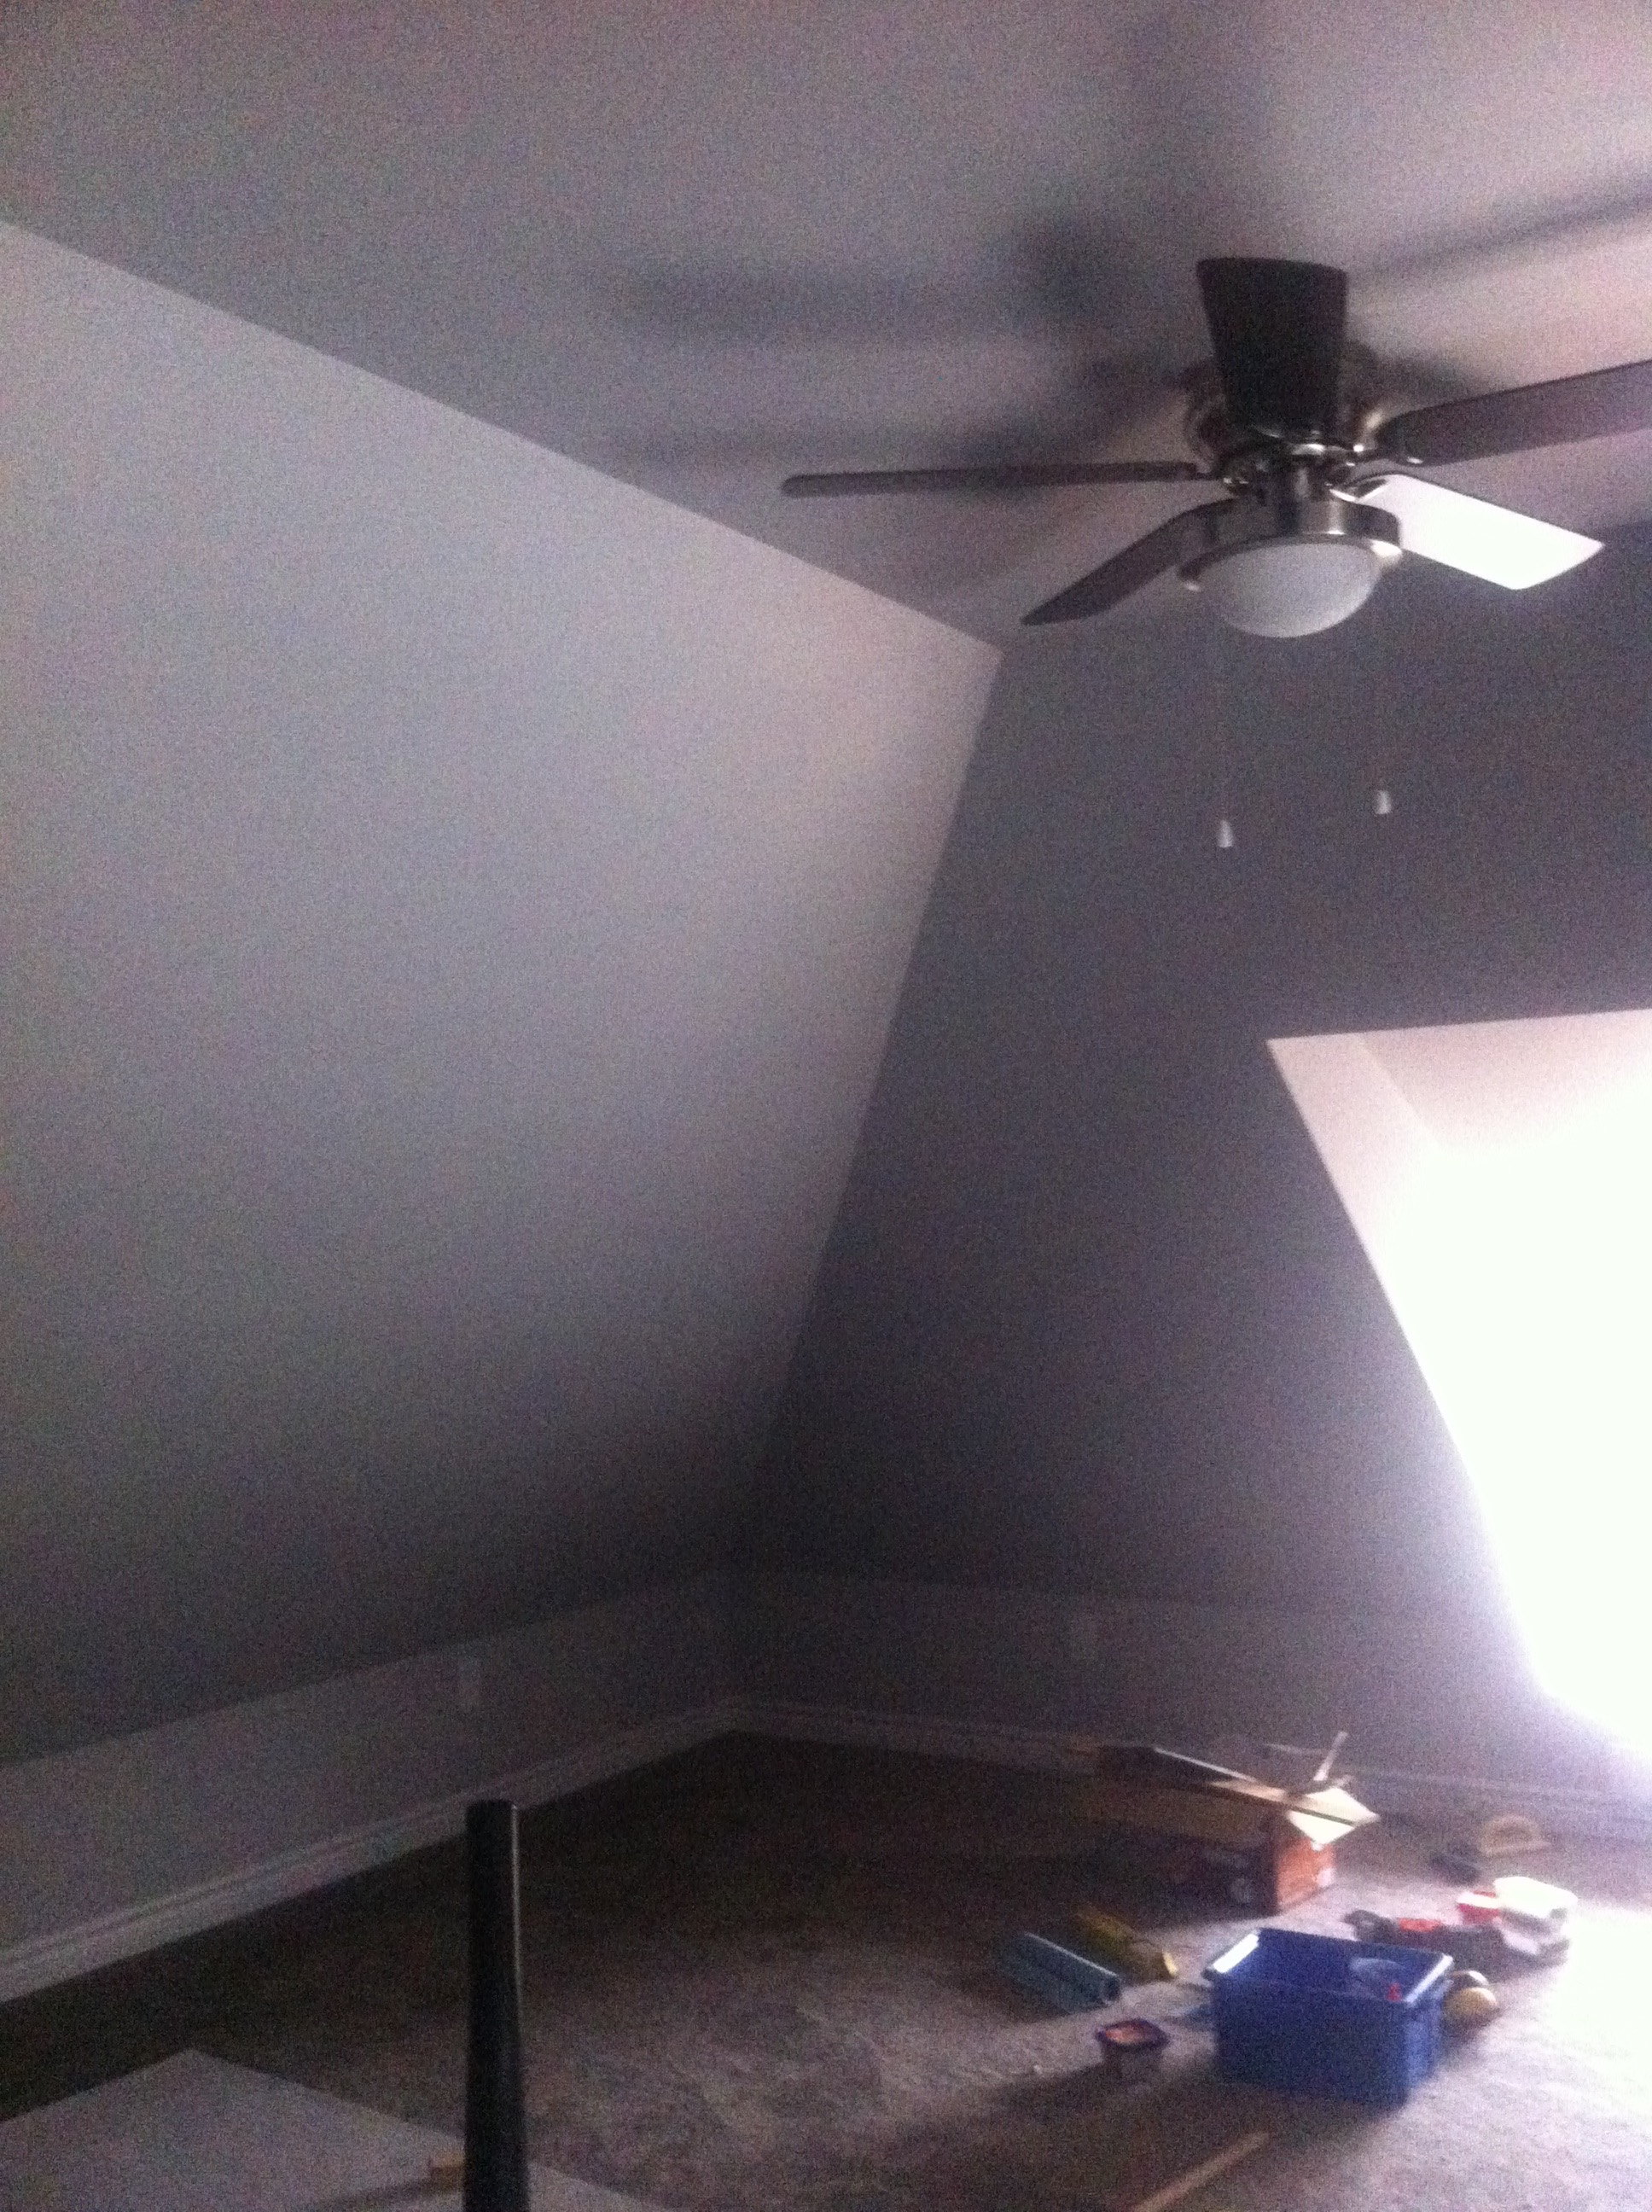
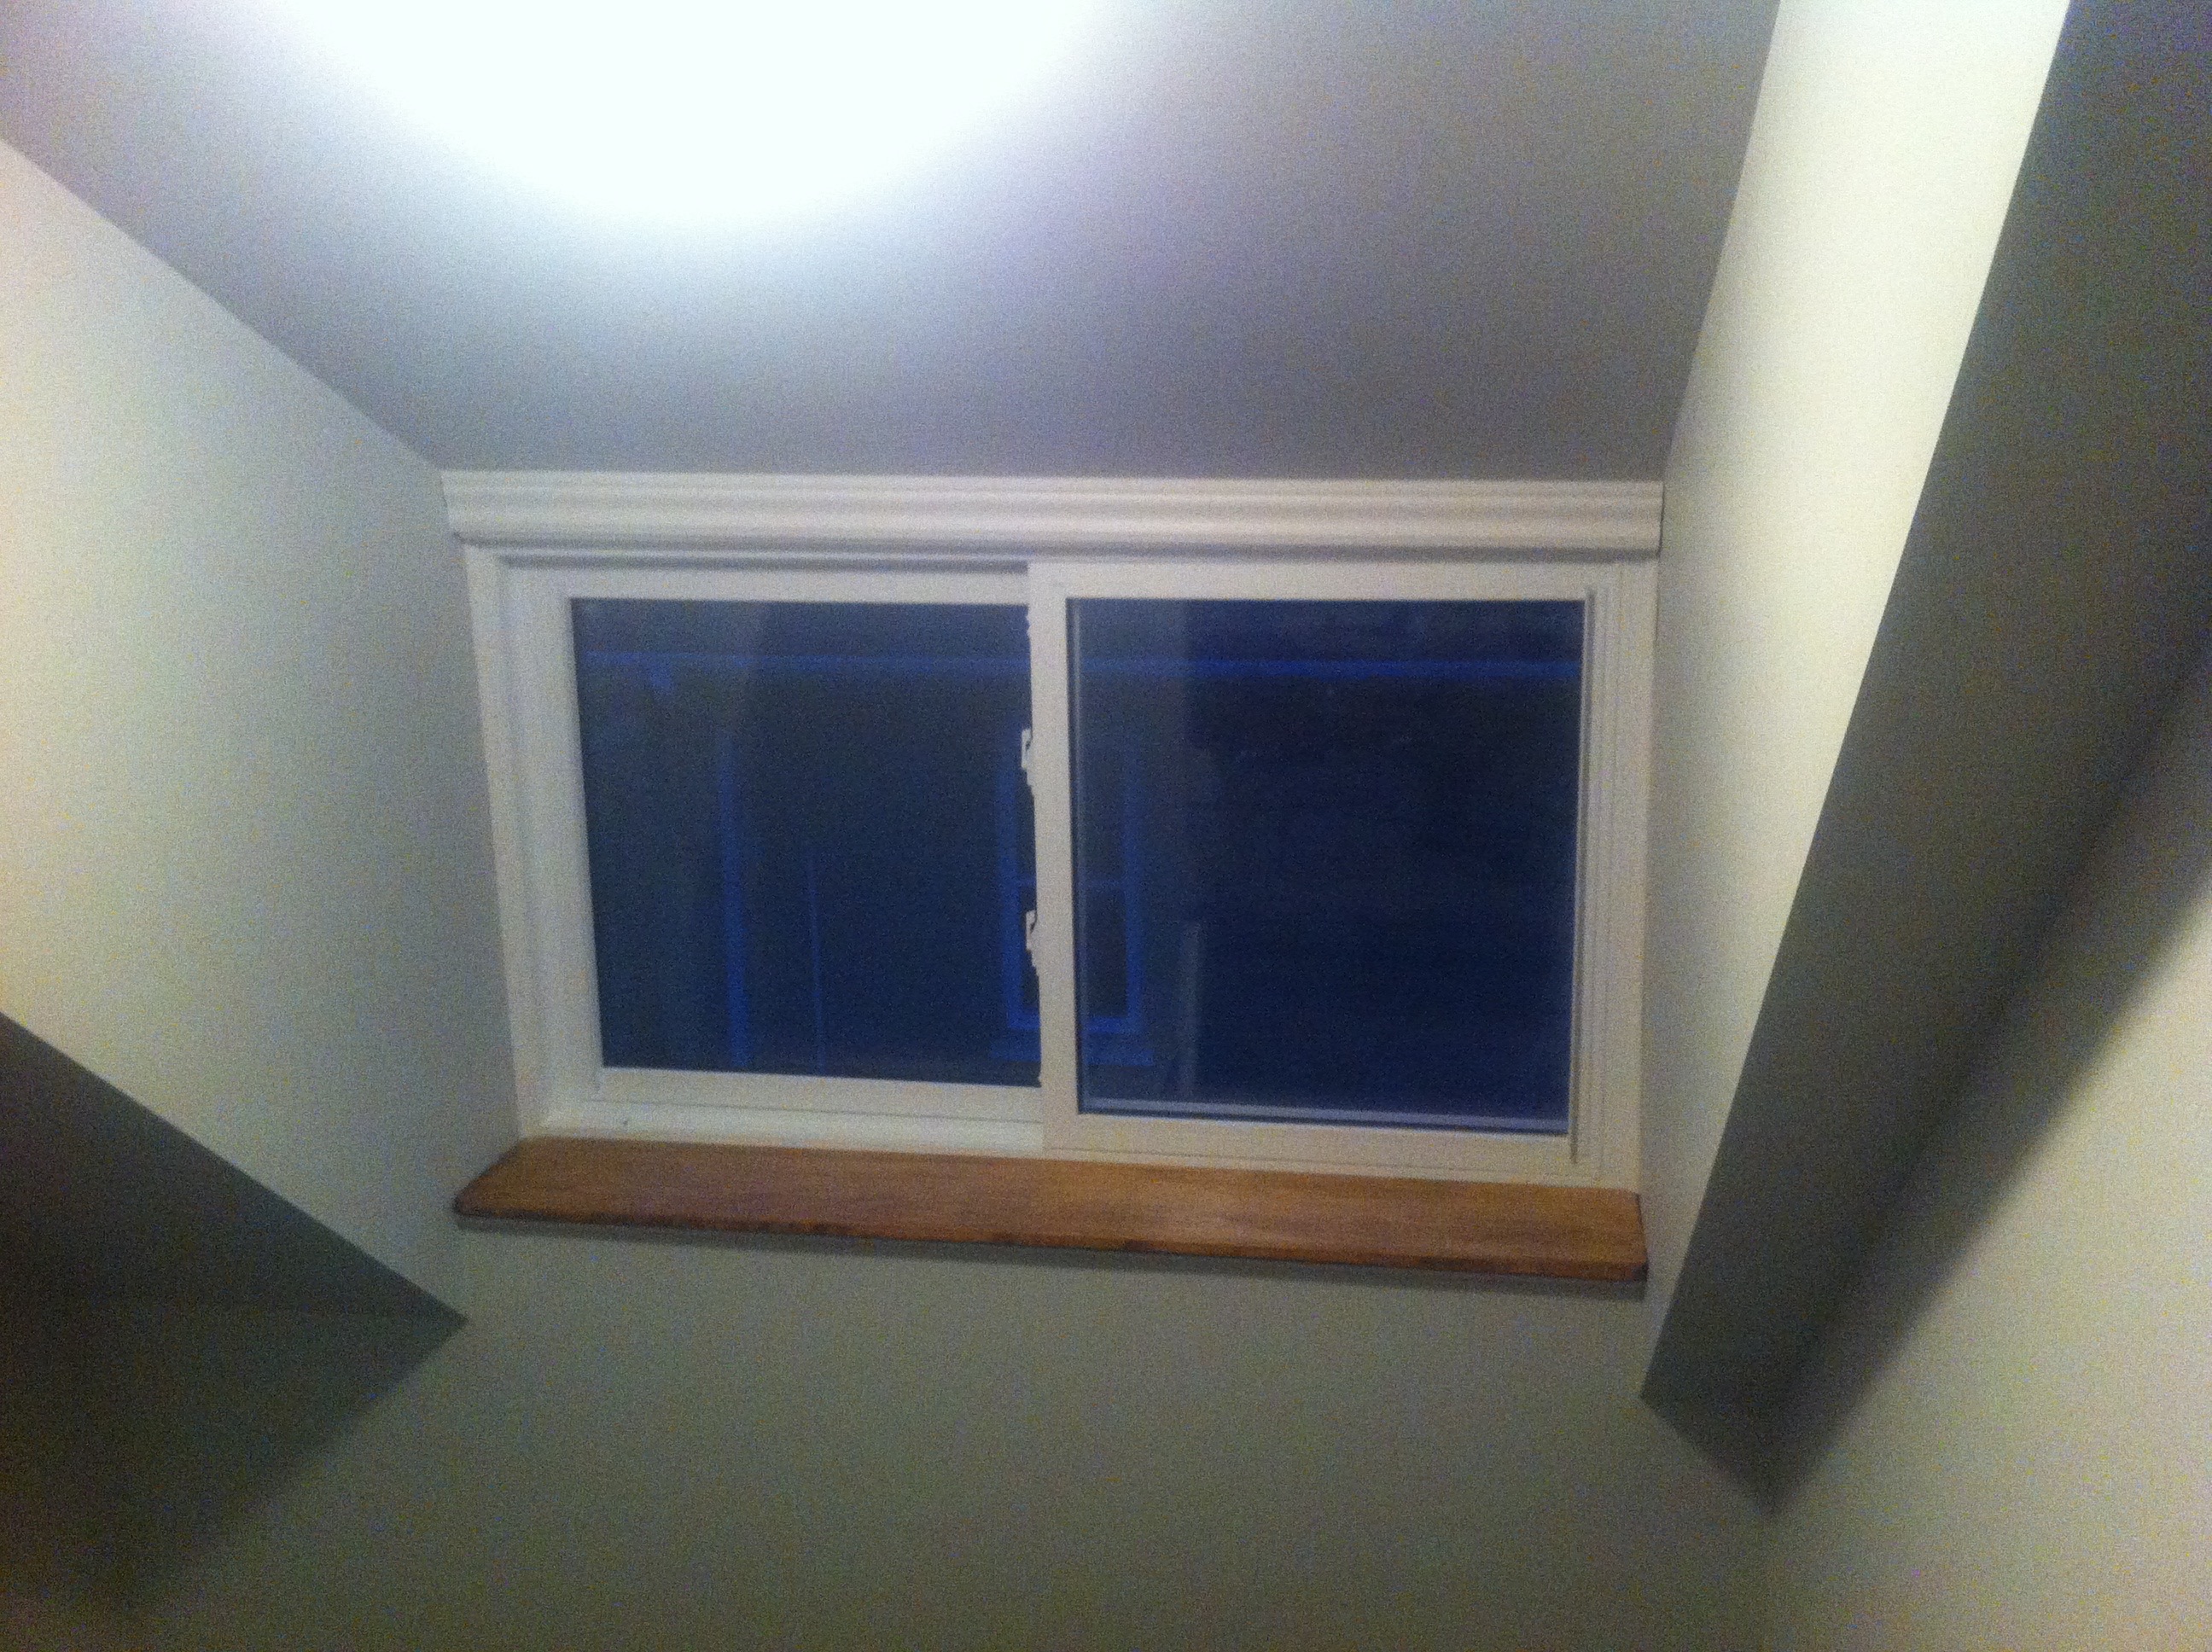
The finished article!
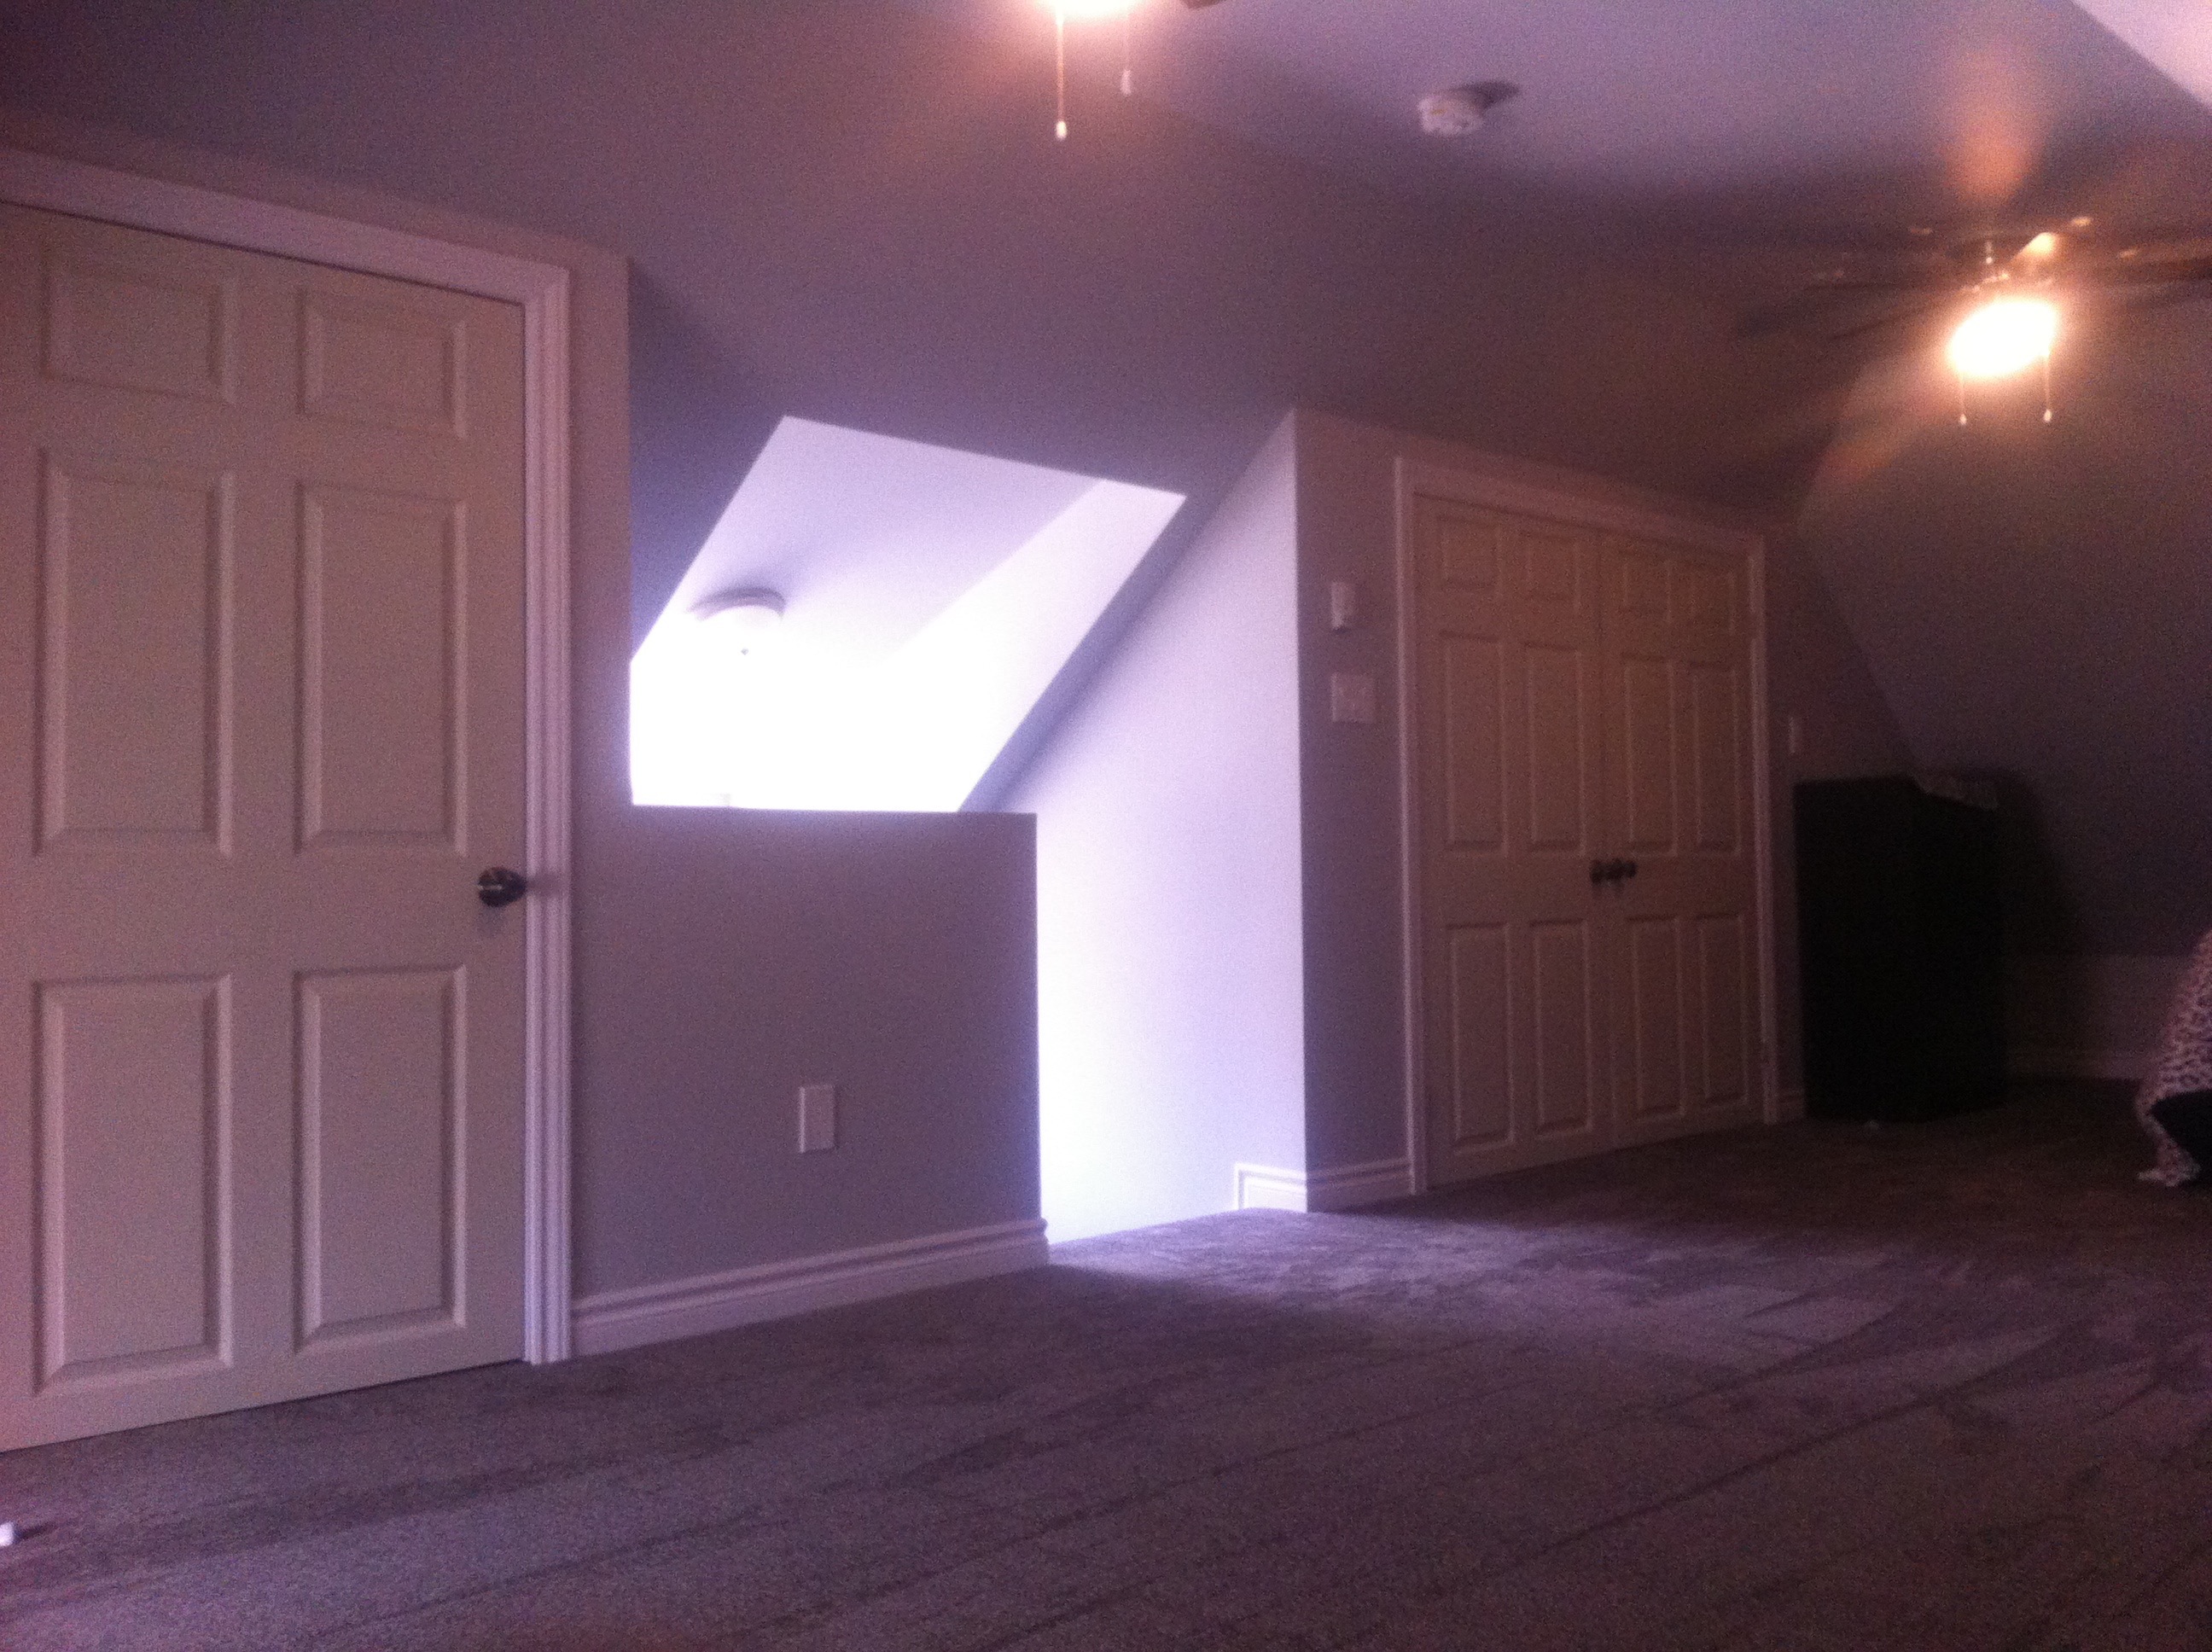
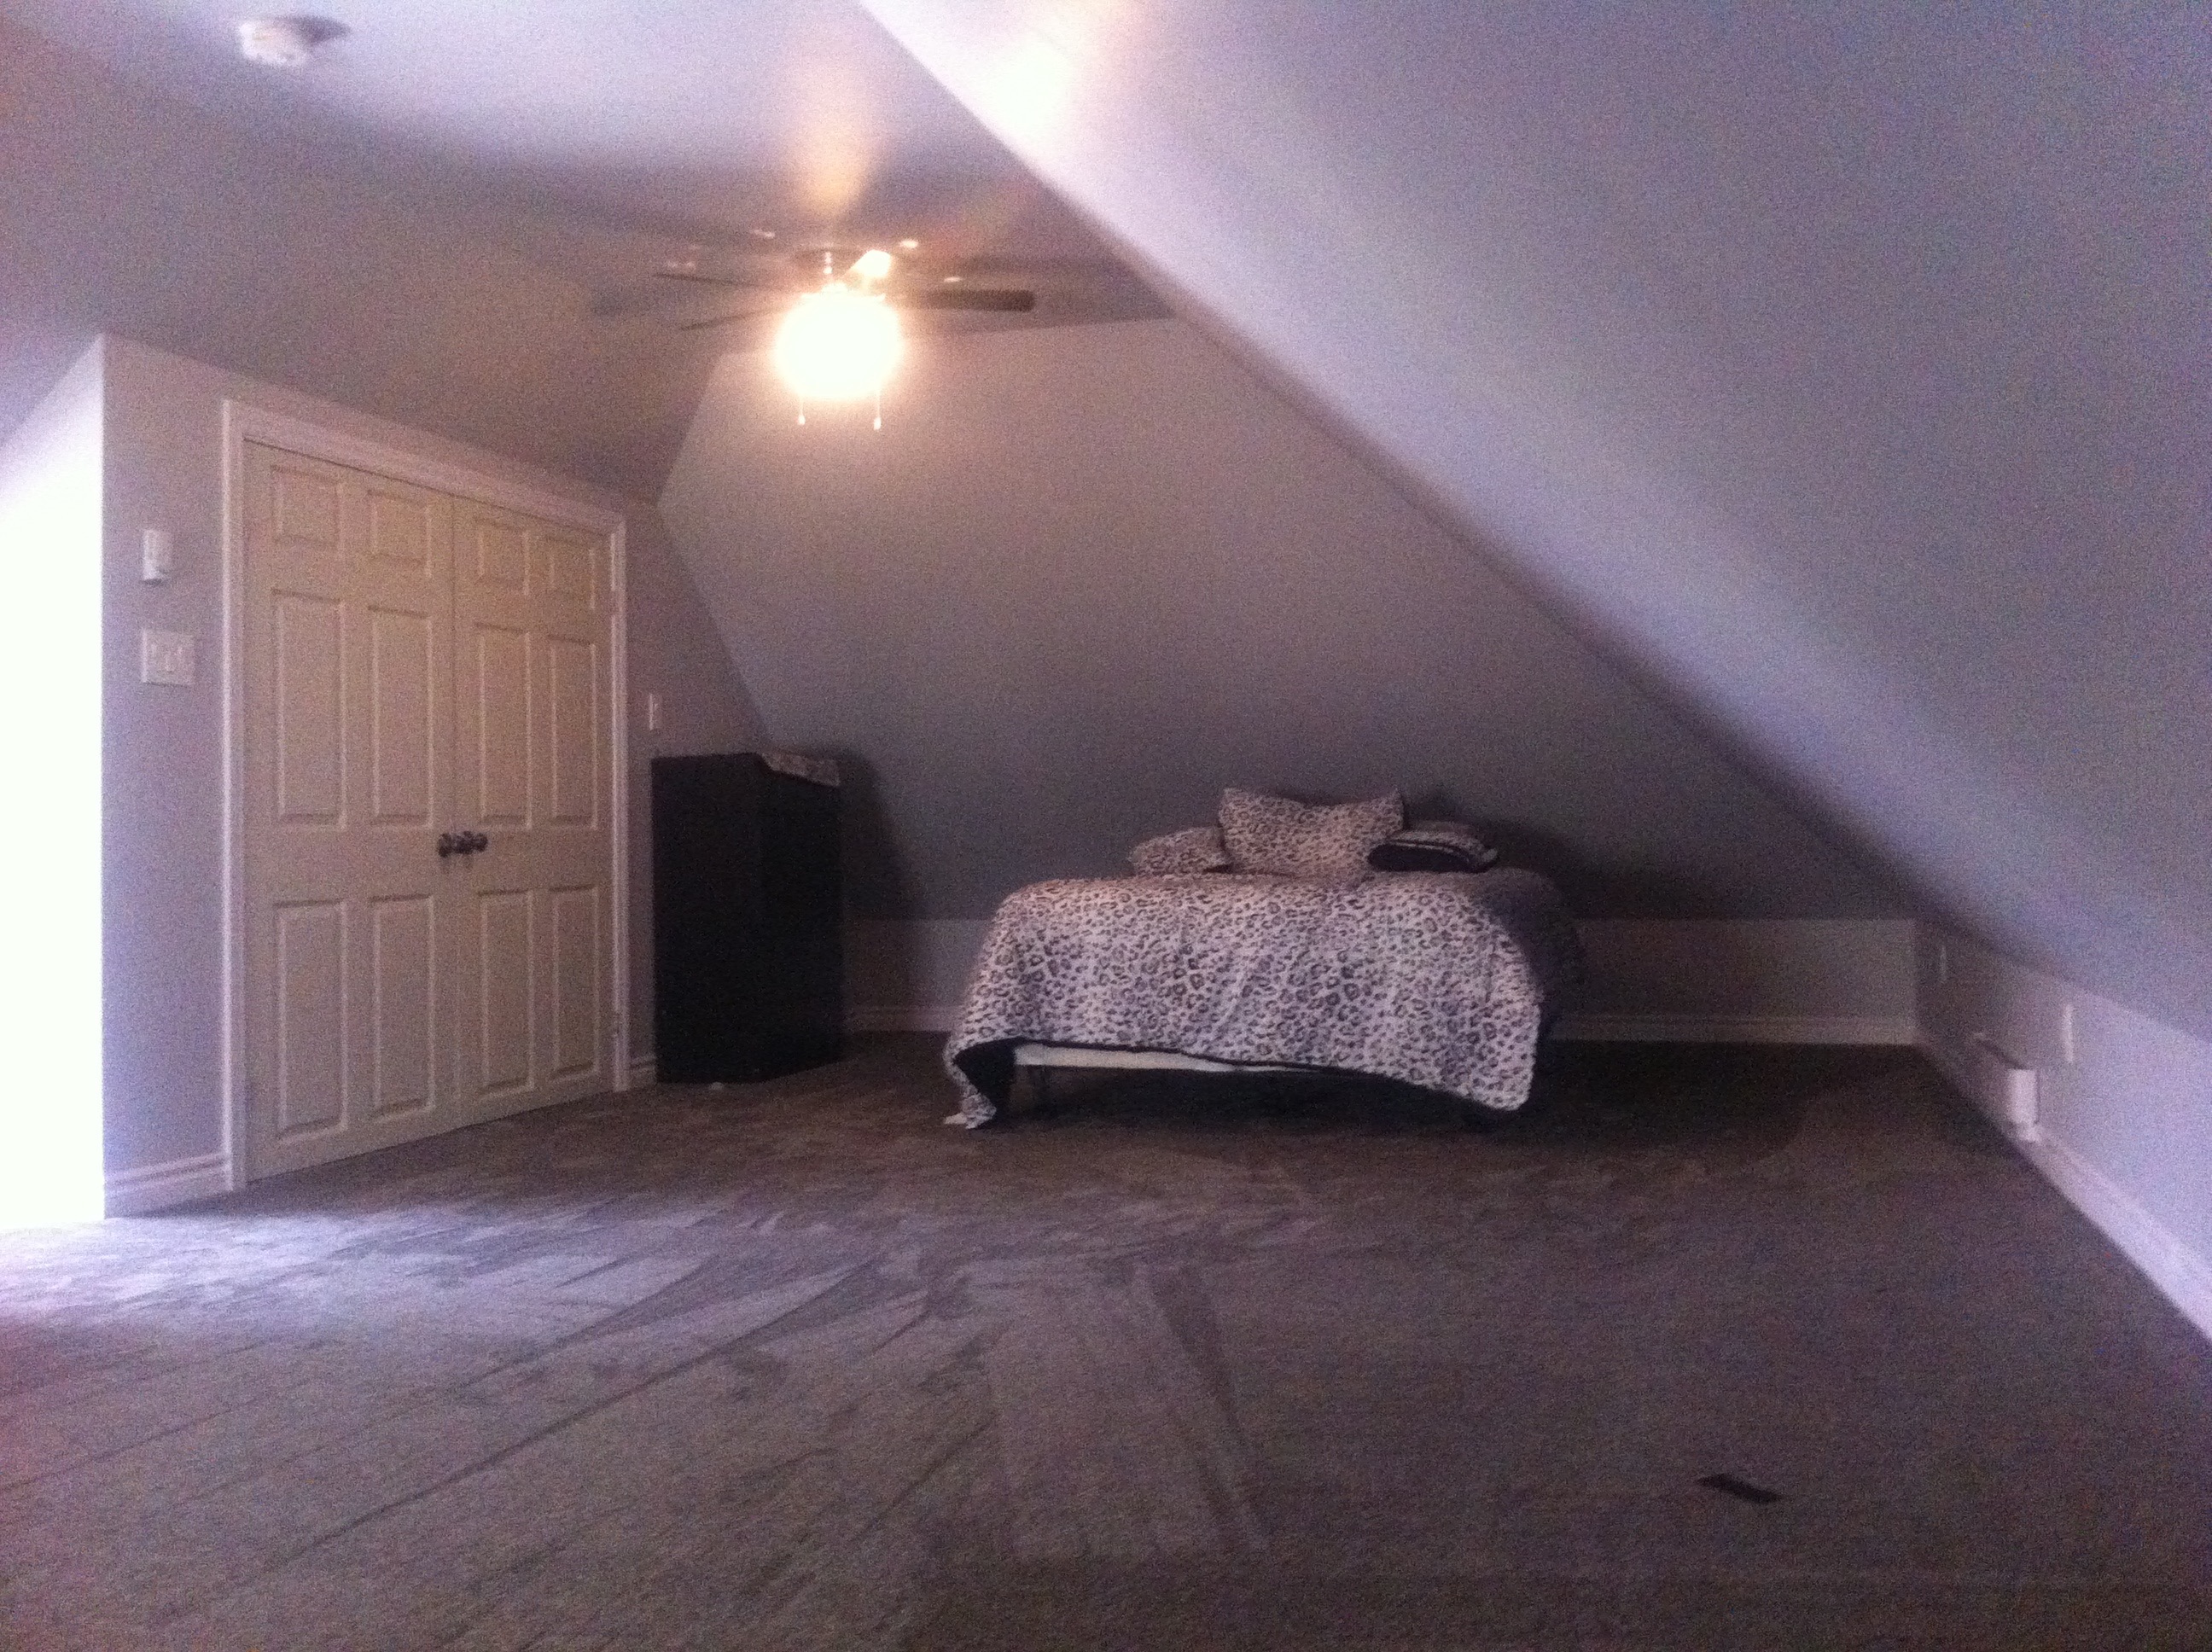
All in all, a nice job.