Laundry Tub
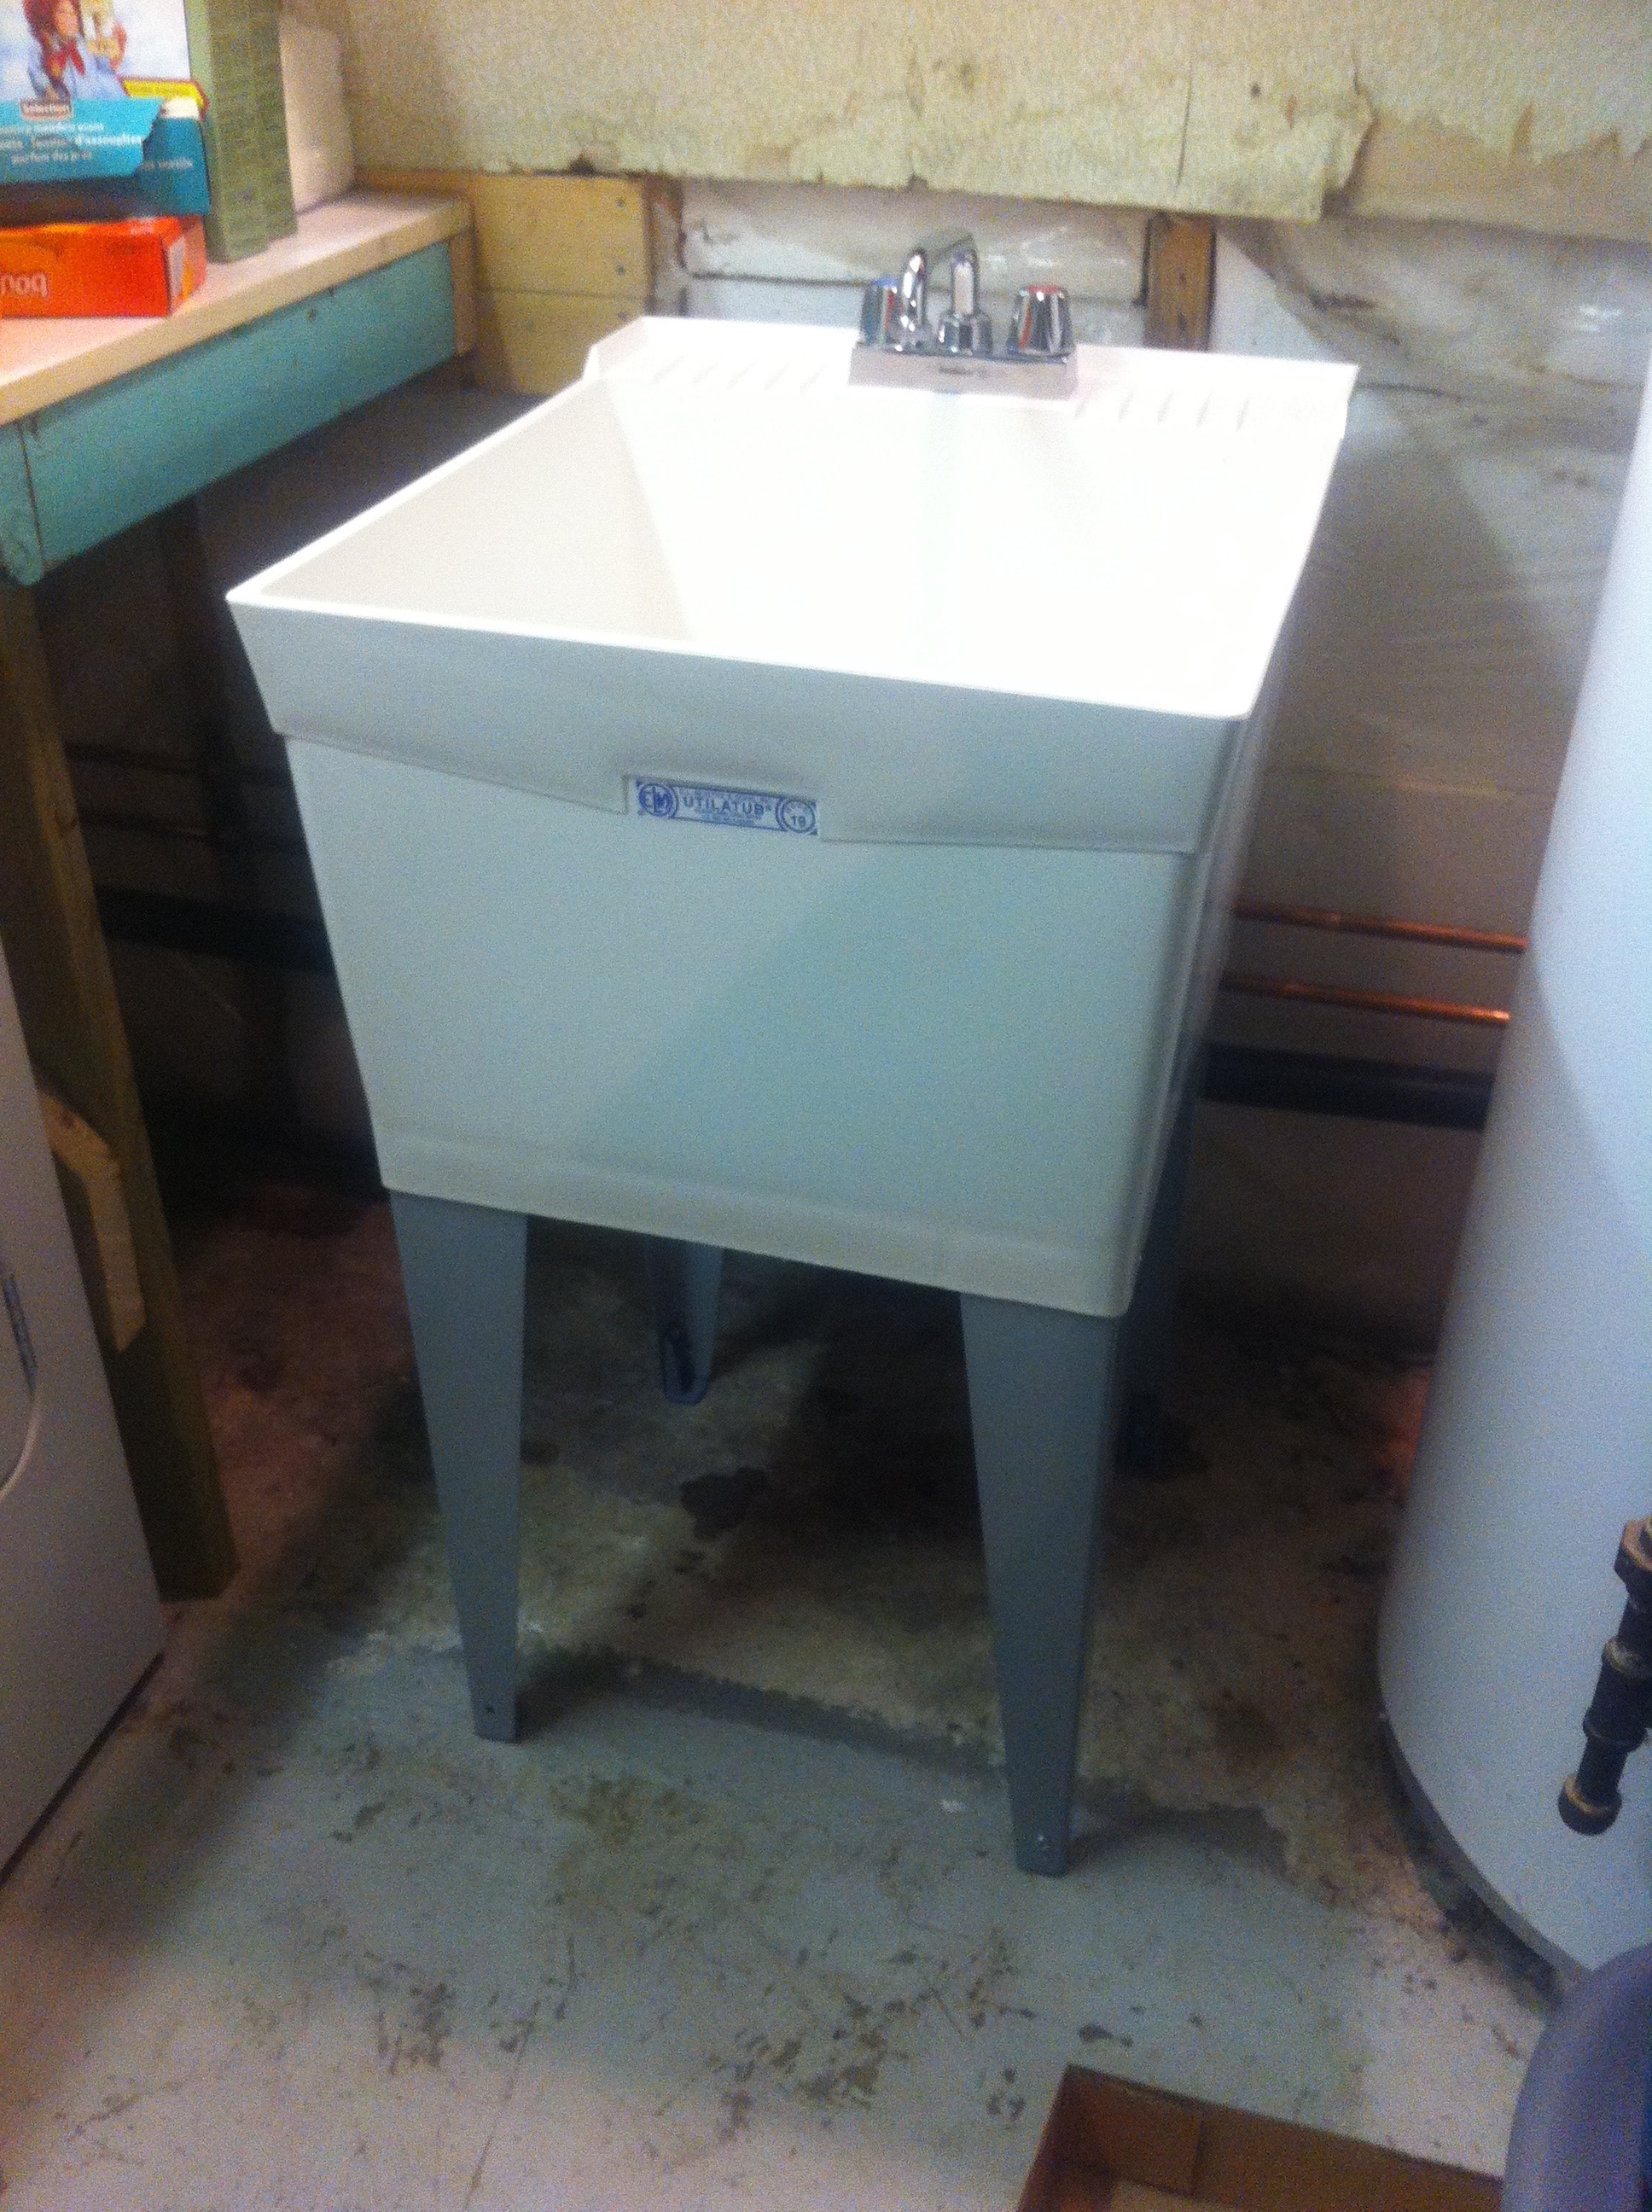
New house, new problems. Painting was high on the list, but there was something missing. Not paints, brushes, stirrers or anything else but where to clean them out. The kitchen sink? I think not. The bathroom sink? Too small. The laundry tub then … only there was no laundry tub.
A serious omission. How did that get passed our rigorous house inspection? Oh, that’s right, I was supposed to put one in.
There was a space between the dryer and the hot water heater that was a perfect spot for one already including the hot and cold lines plus a drainage pipe. Perfect.
Now I’m not much of plumber so since we had to get one in to do some tidy up work (removal of galvanized steel connectors) I asked them to put some hookups on the existing water lines in preparation.
With that out of the way it was just a matter of adding the waste connector.
Steps
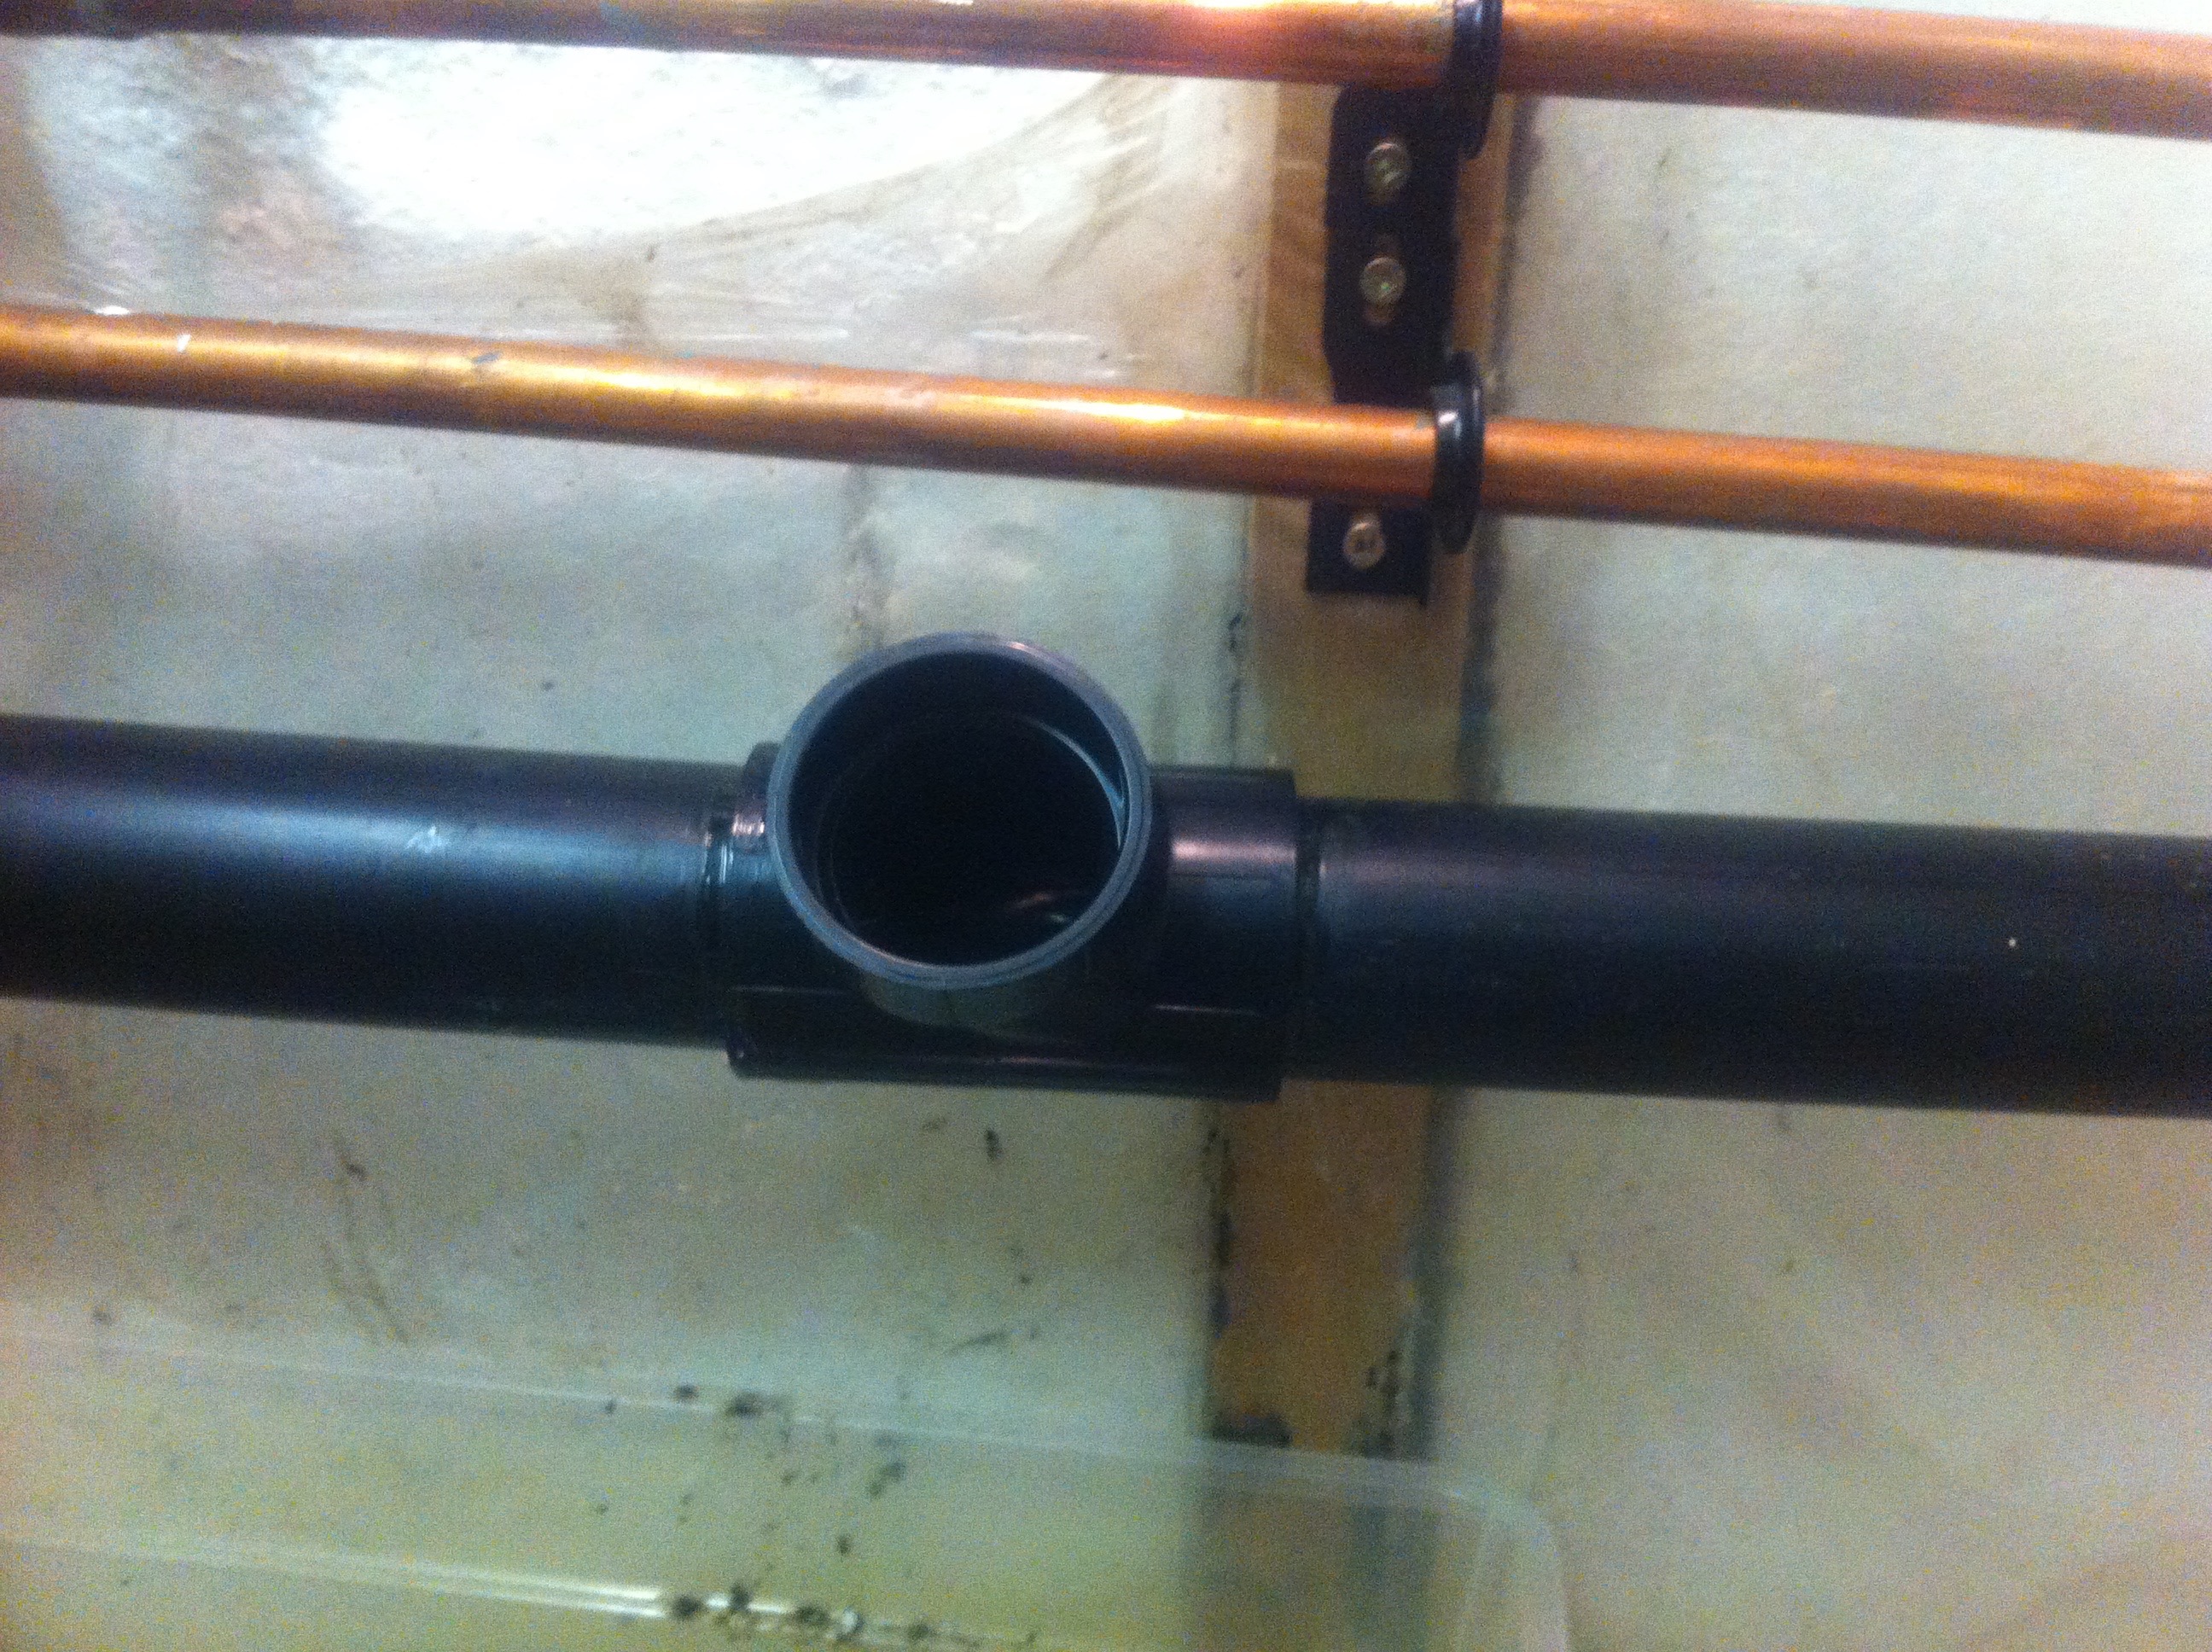
- Mark where the cut is to be made, it should be smaller than the width of the T connector piece by an inch or so.
- Make the cuts. I used a junior hacksaw.
- Dry fit the T connector
- Clean and add ABS glue
- Fit
The biggest issue was having very little play in the pipe to move it an extra inch to push the connector in. Some force was used and I was very grateful that no breakages where made down the rest of the pipe.
Here’s the connector at an inviting 45 degree angle.

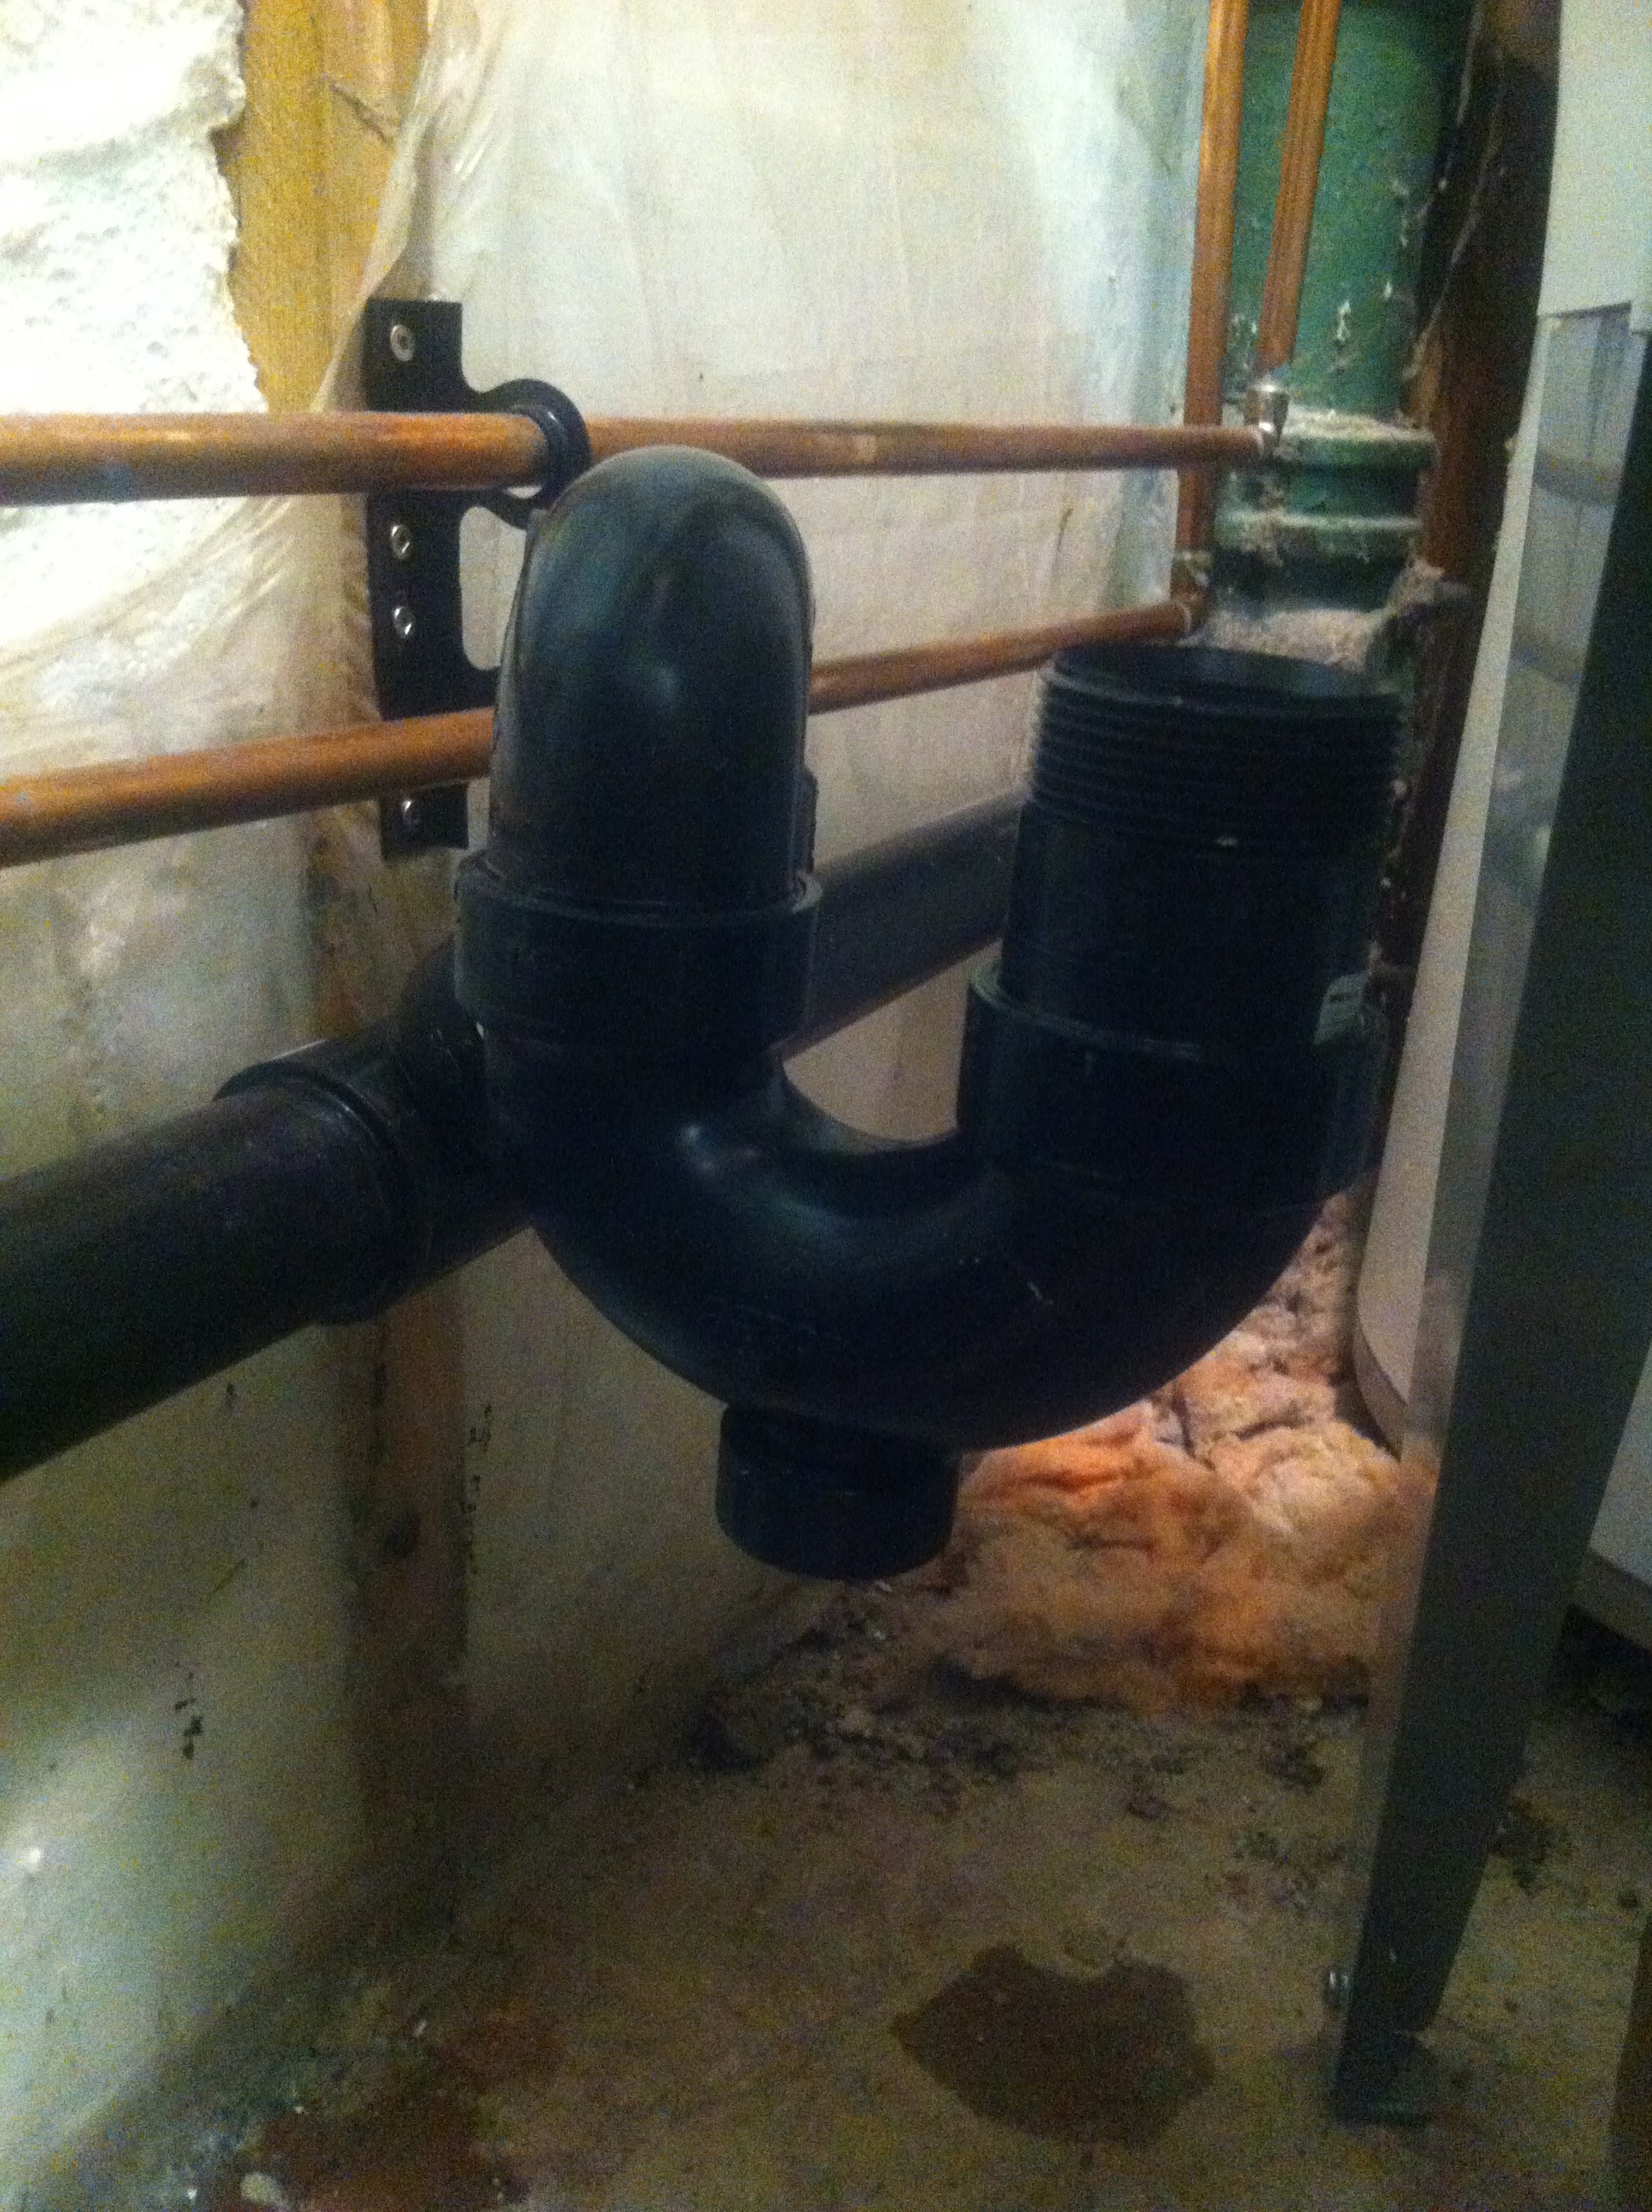
The tub was quite close to the waste pipe so there wasn’t a lot of room to work with. Here’s the final assembly of S trap and 45 degree connector.

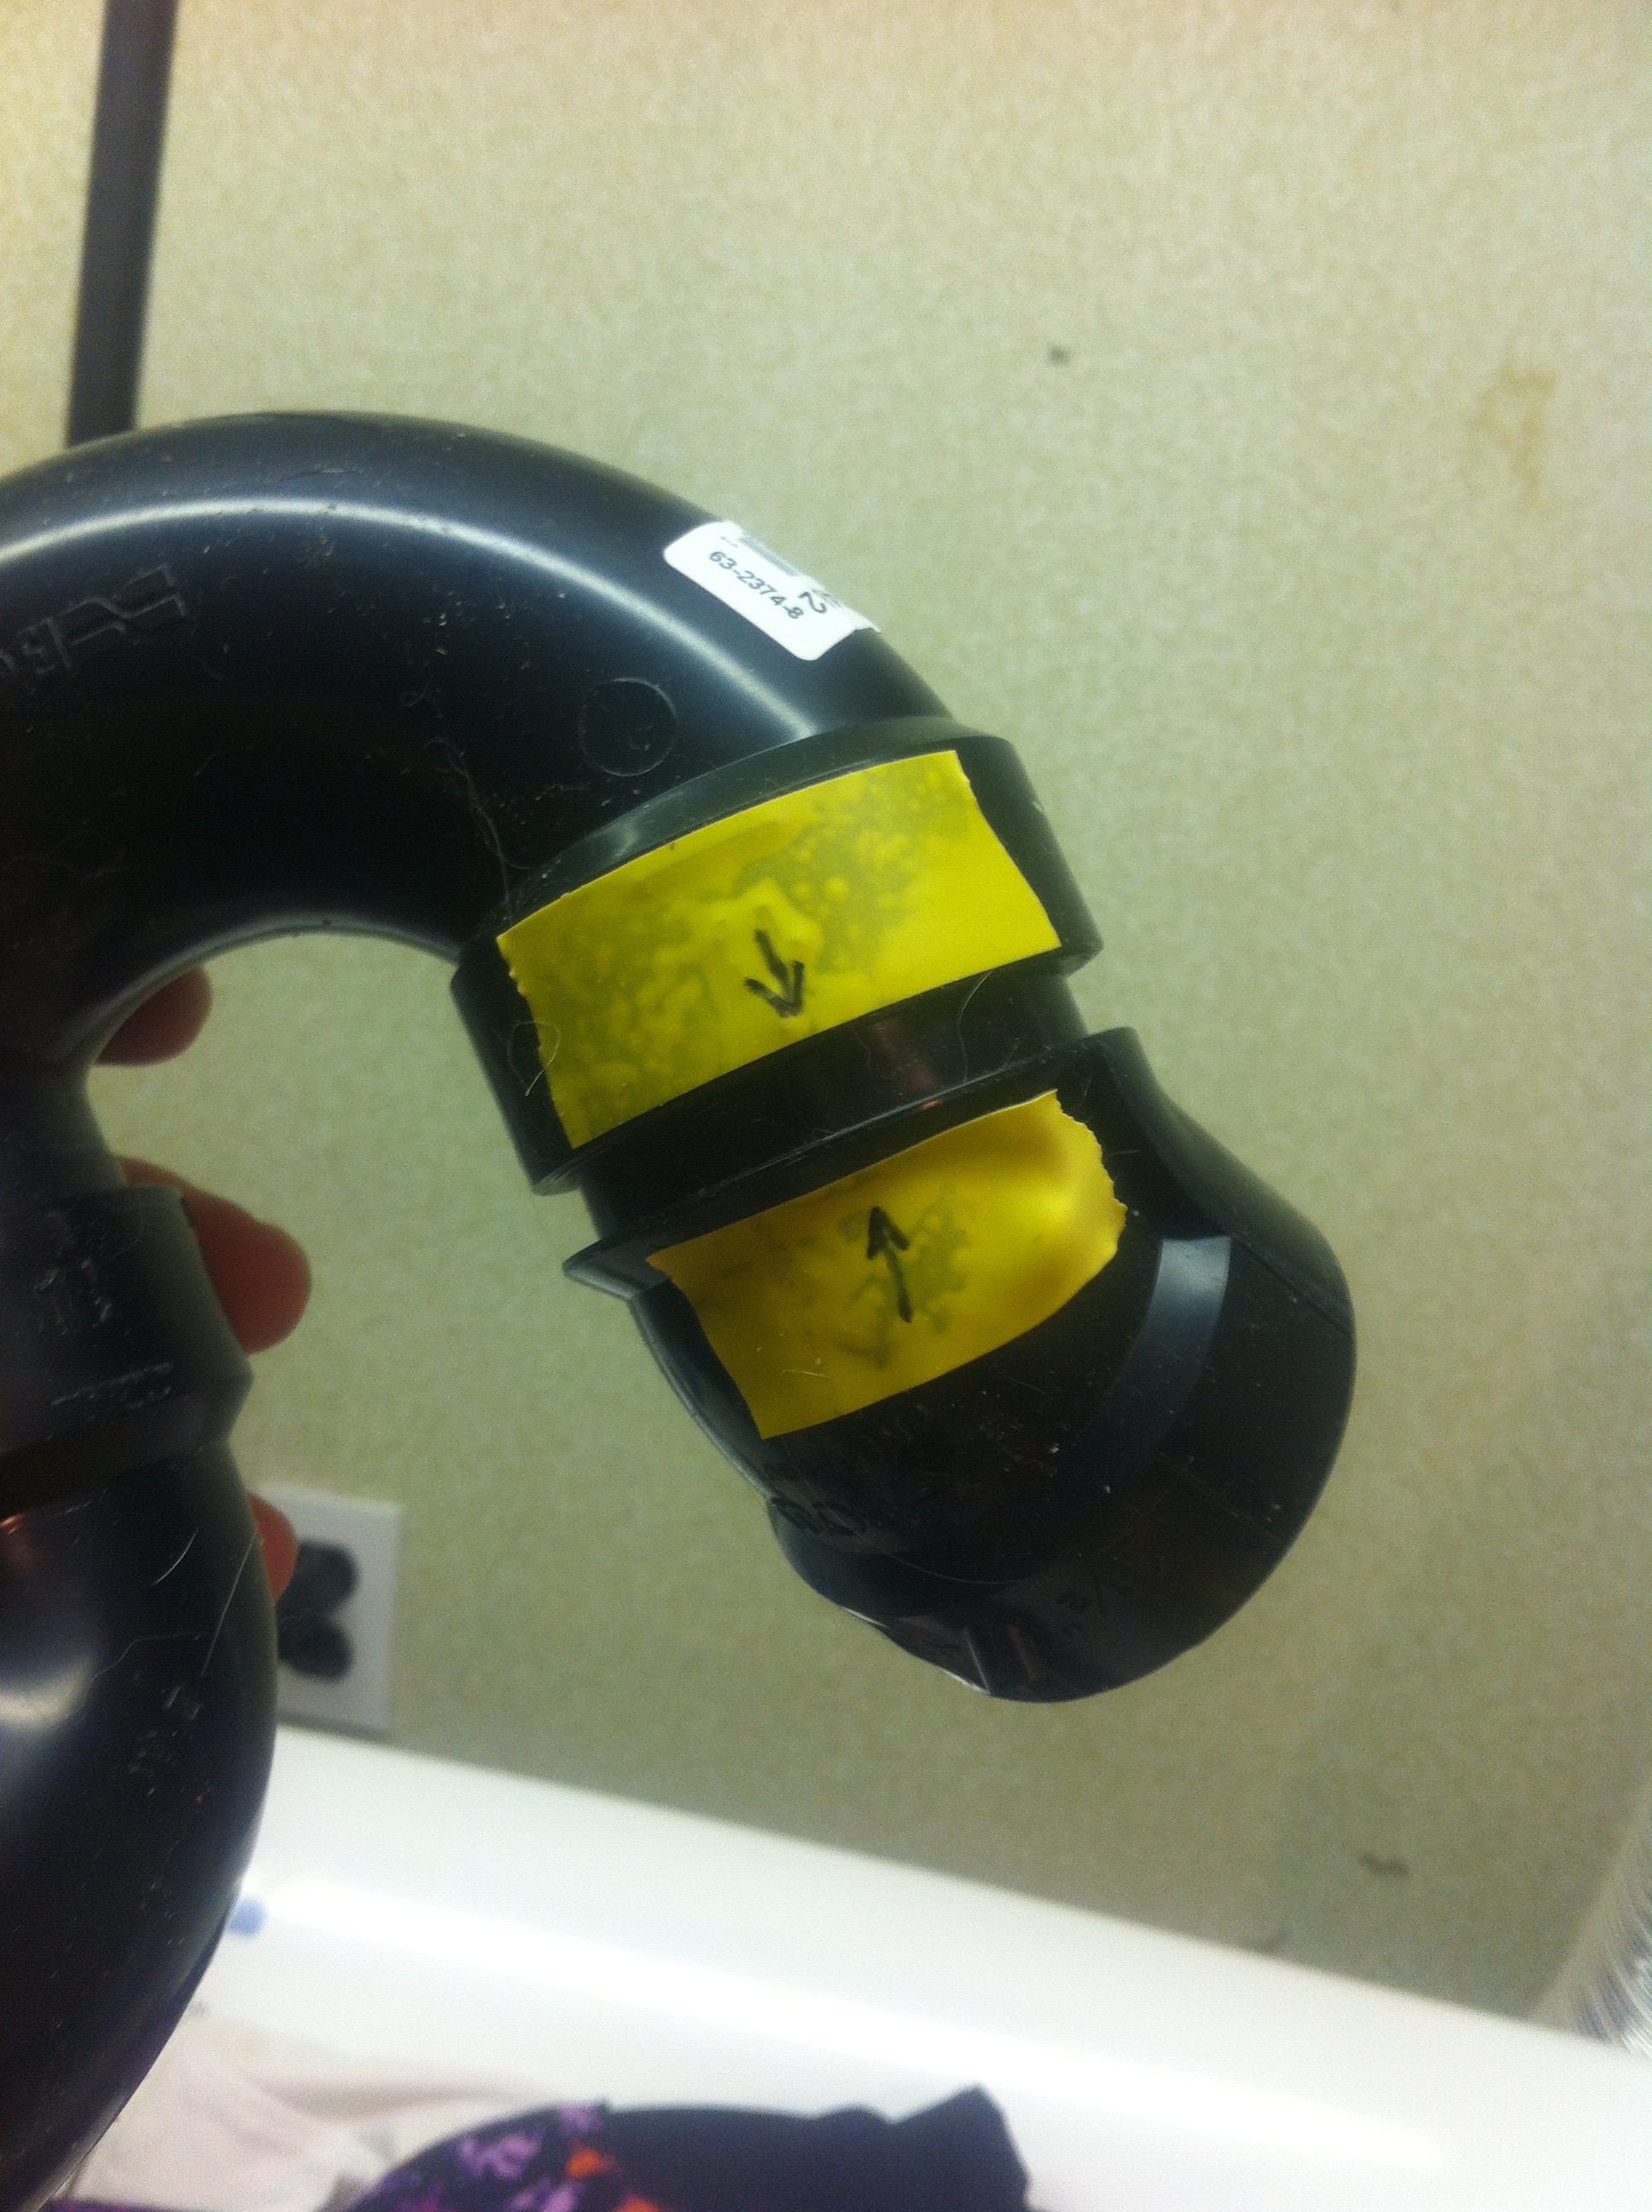
The pieces were dry fitted together and then glued. To ensure I put them back together correctly, I put bits of tape on the joins and marked them with arrows. Handy.

The rest was easy, just connecting the bottom of the tub and attaching the water lines.

Wahey. Now let the painting begin!