Kitchen Renovation
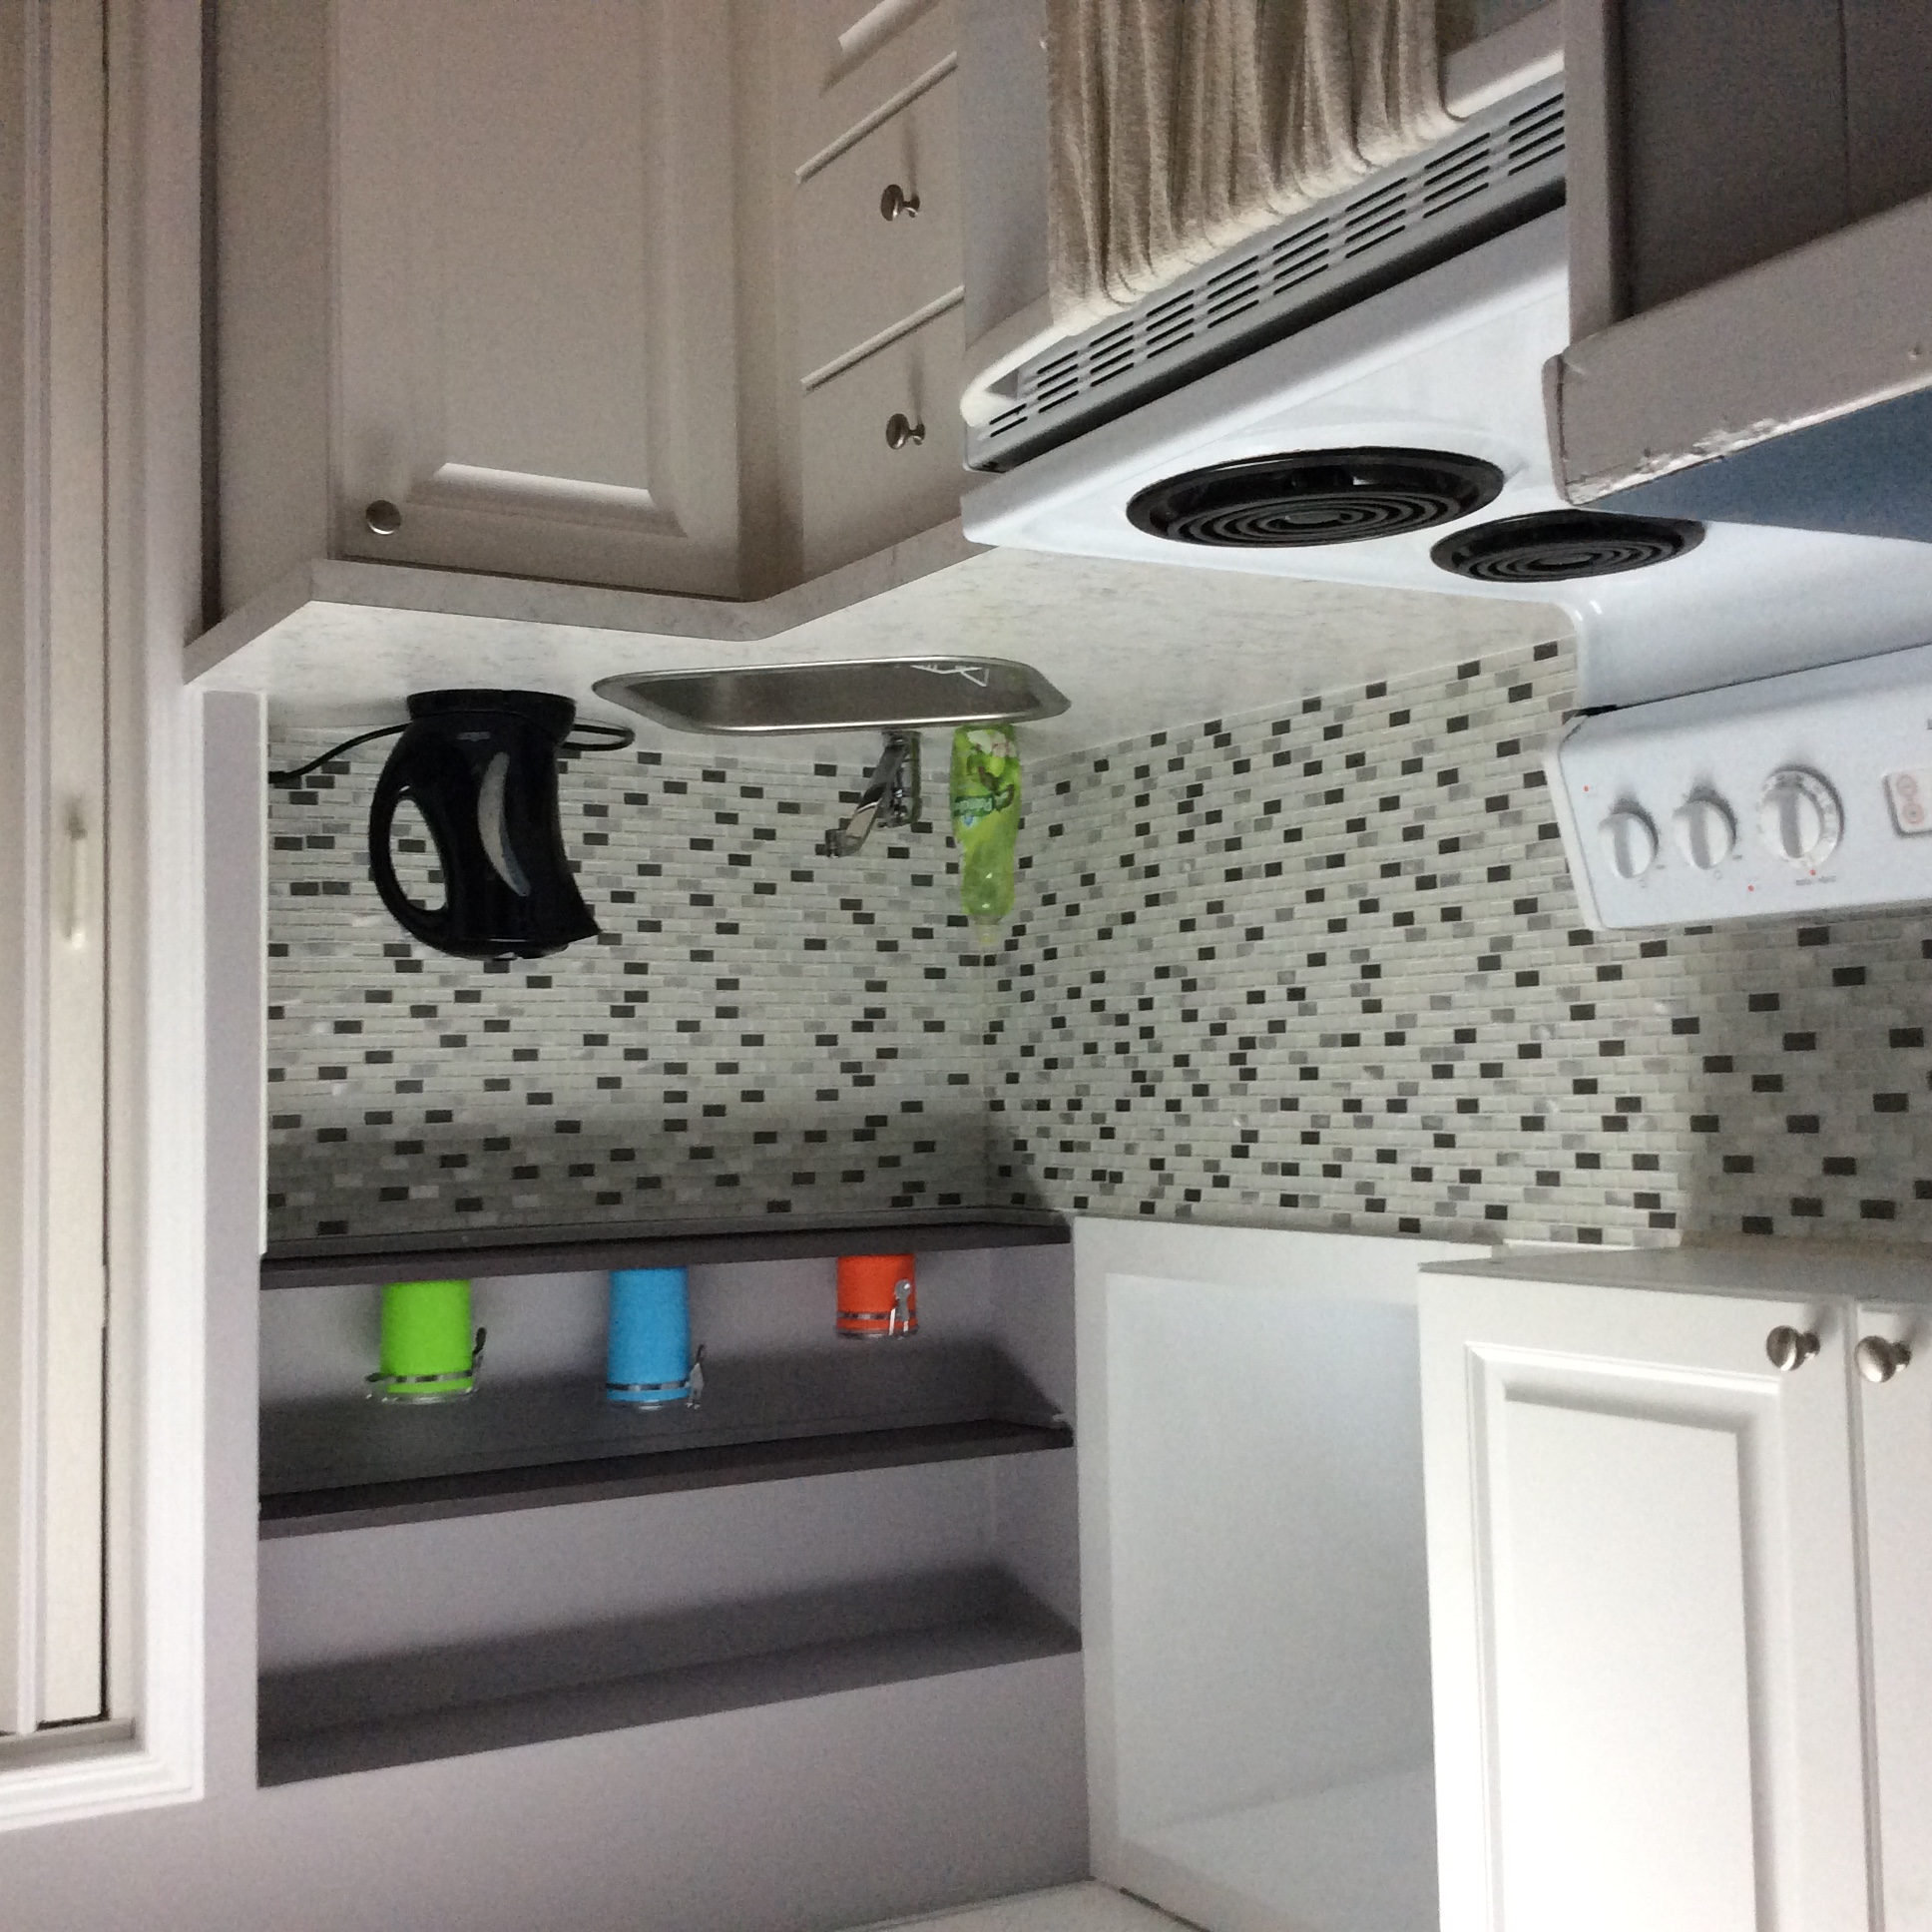
Bit of a long one, this. Should have been posting regular updates but got a bit a busy. Let’s start with the before and after pics.
After
Before

Top tip for all renovations - take a before pic so you can see whether all the effort was worth it. This one took about 6 months all told, as I mostly worked on it during weekends.
Why did we bother? Some of the features of the original where
- Counter top was painted melamine. Every time you wiped it clean the cloth turned blue. That can't be healthy.
- Lots of wasted space in the cupboards under the countertop caused by having the oven electrics embedded in it.
- The cupboard over the sink was not integrated well. There was an unfinished space of 6" to the left.
- No backsplash.
That last item was the reason we started in the first place, but then things got a bit out of hand…
Out with the Old
First thing to do was to take out the cupboard above the sink and see what kind of space we had to work with.
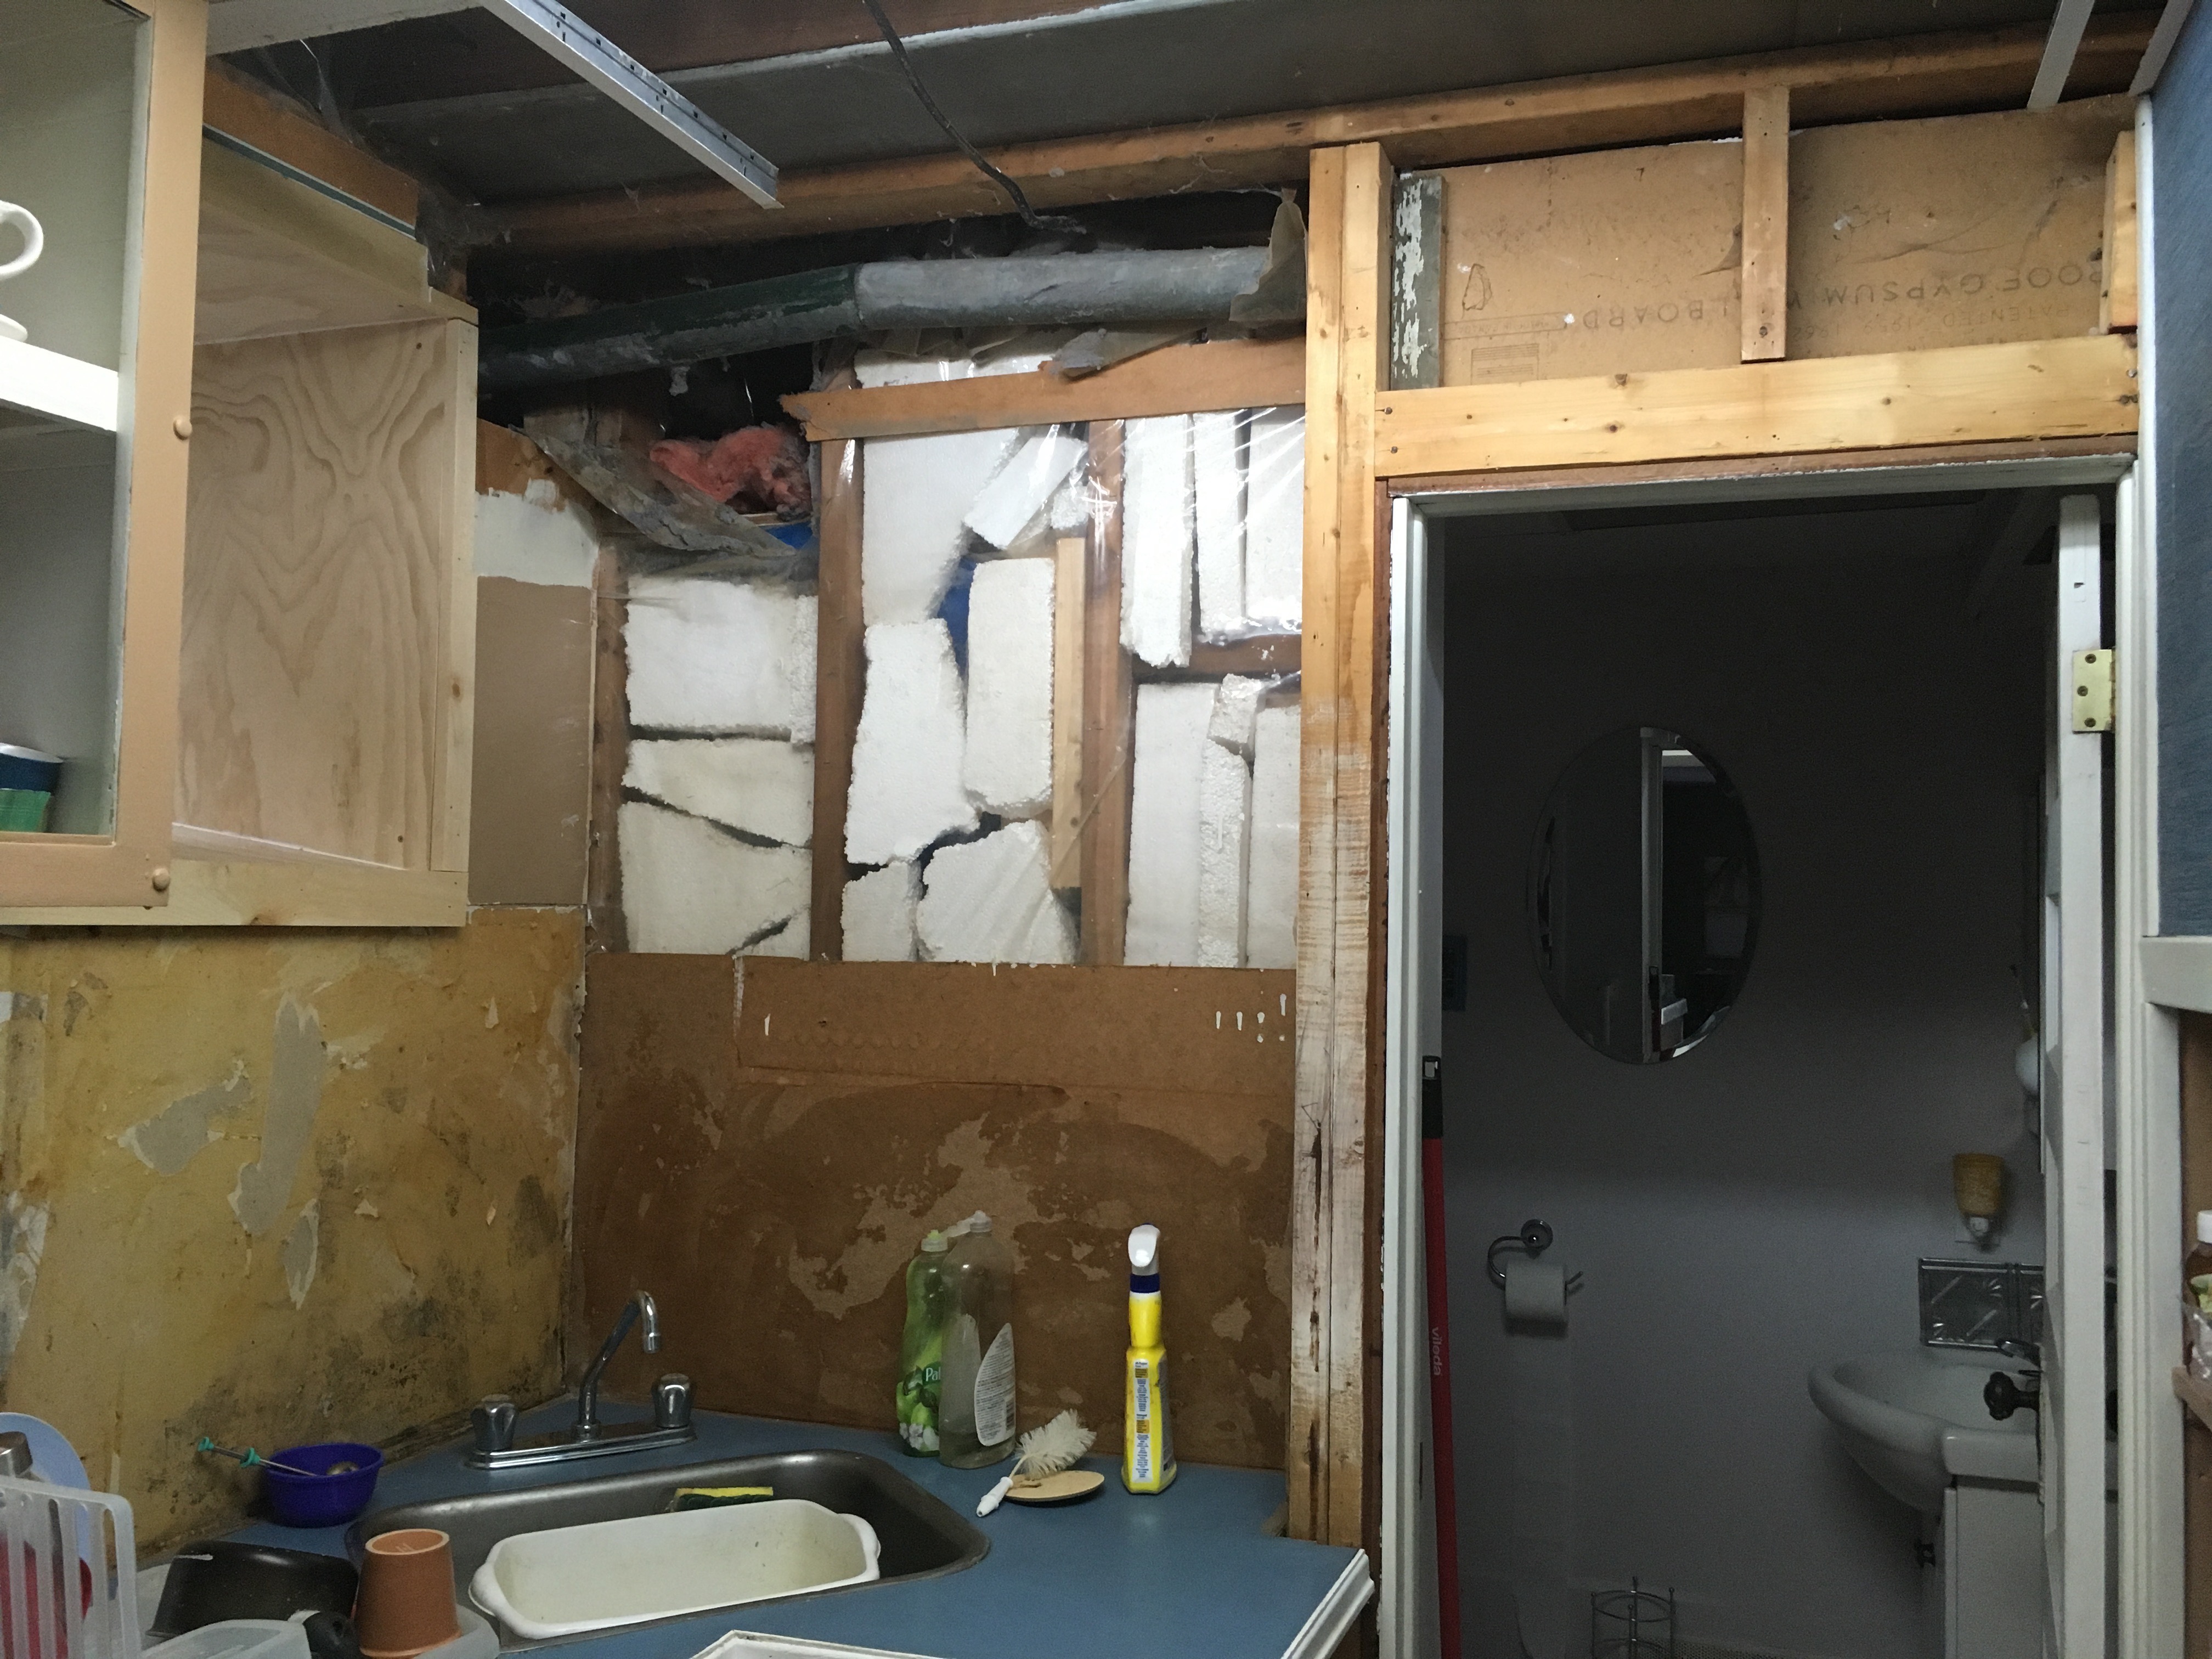
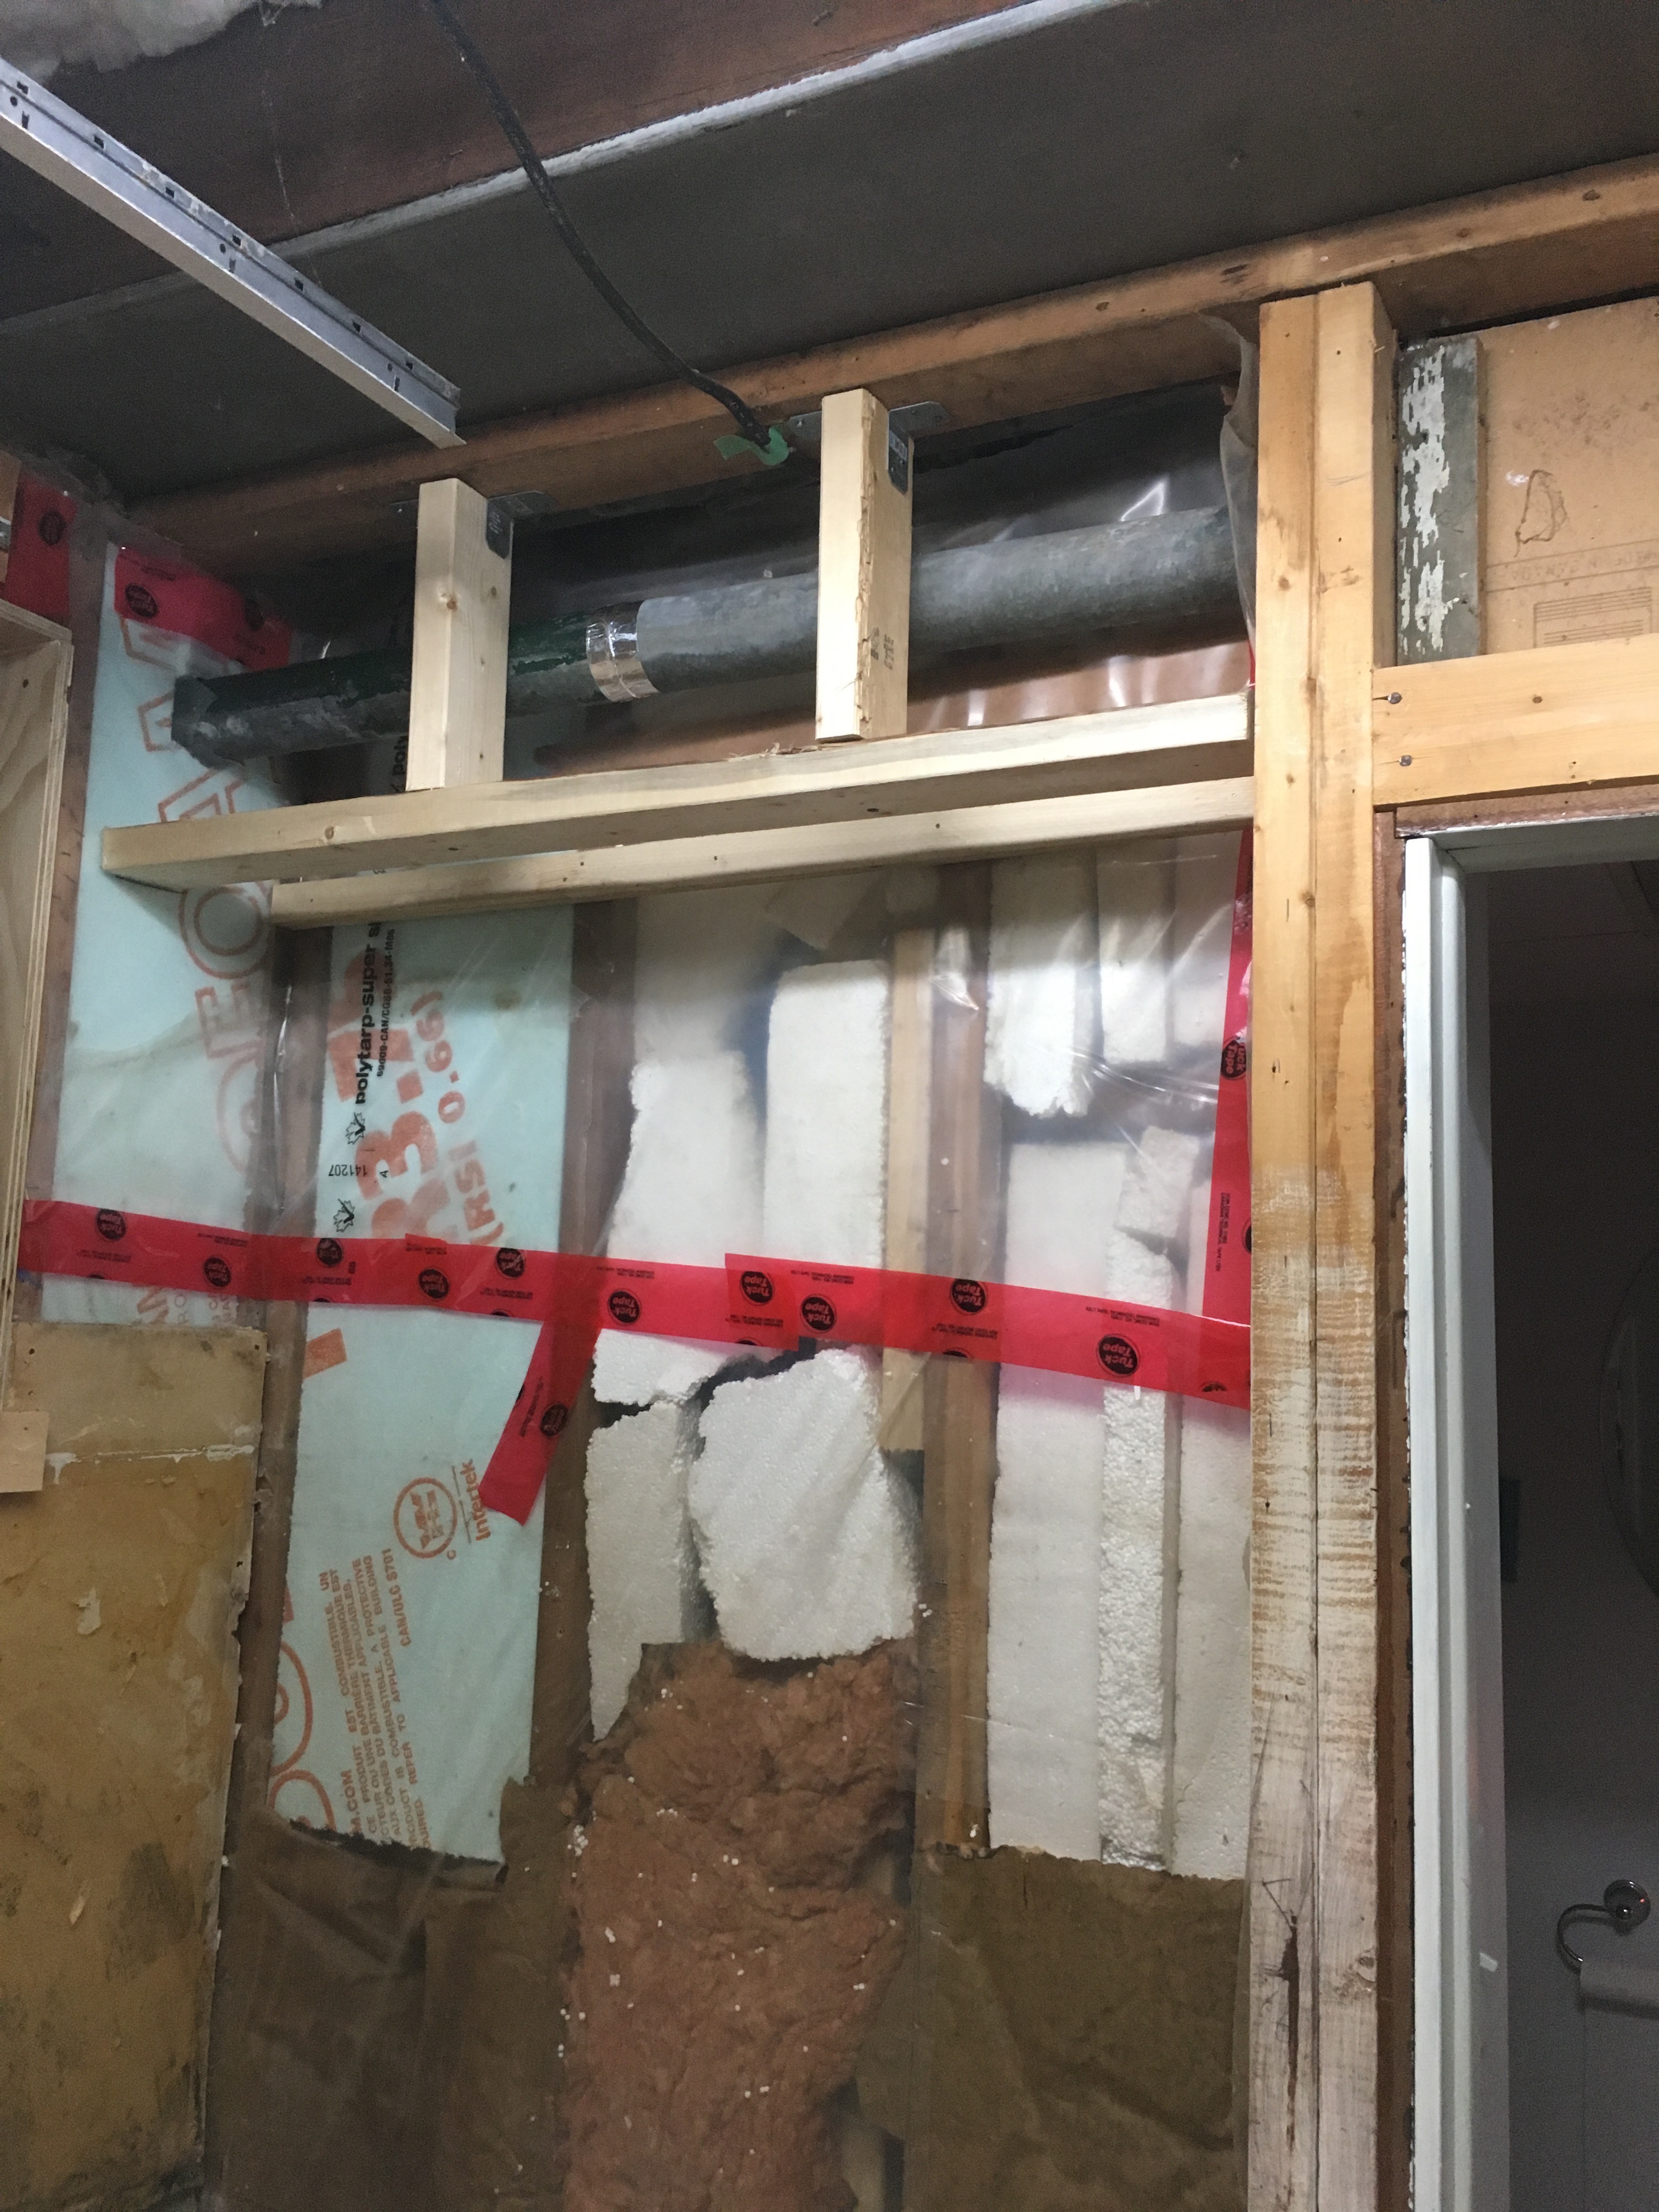
That was looking better already. We decided to cover the exposed pipes and go with shelves rather than a cupboard. First thing was to add in missing insulation and repair the damaged vapour barrier. I’m not quite sure why it was on an interior wall but since it was there it might as well not have holes in it. Next up was to the remove the counter top and existing unit. This bit took a while, so let’s just skip to the end state.
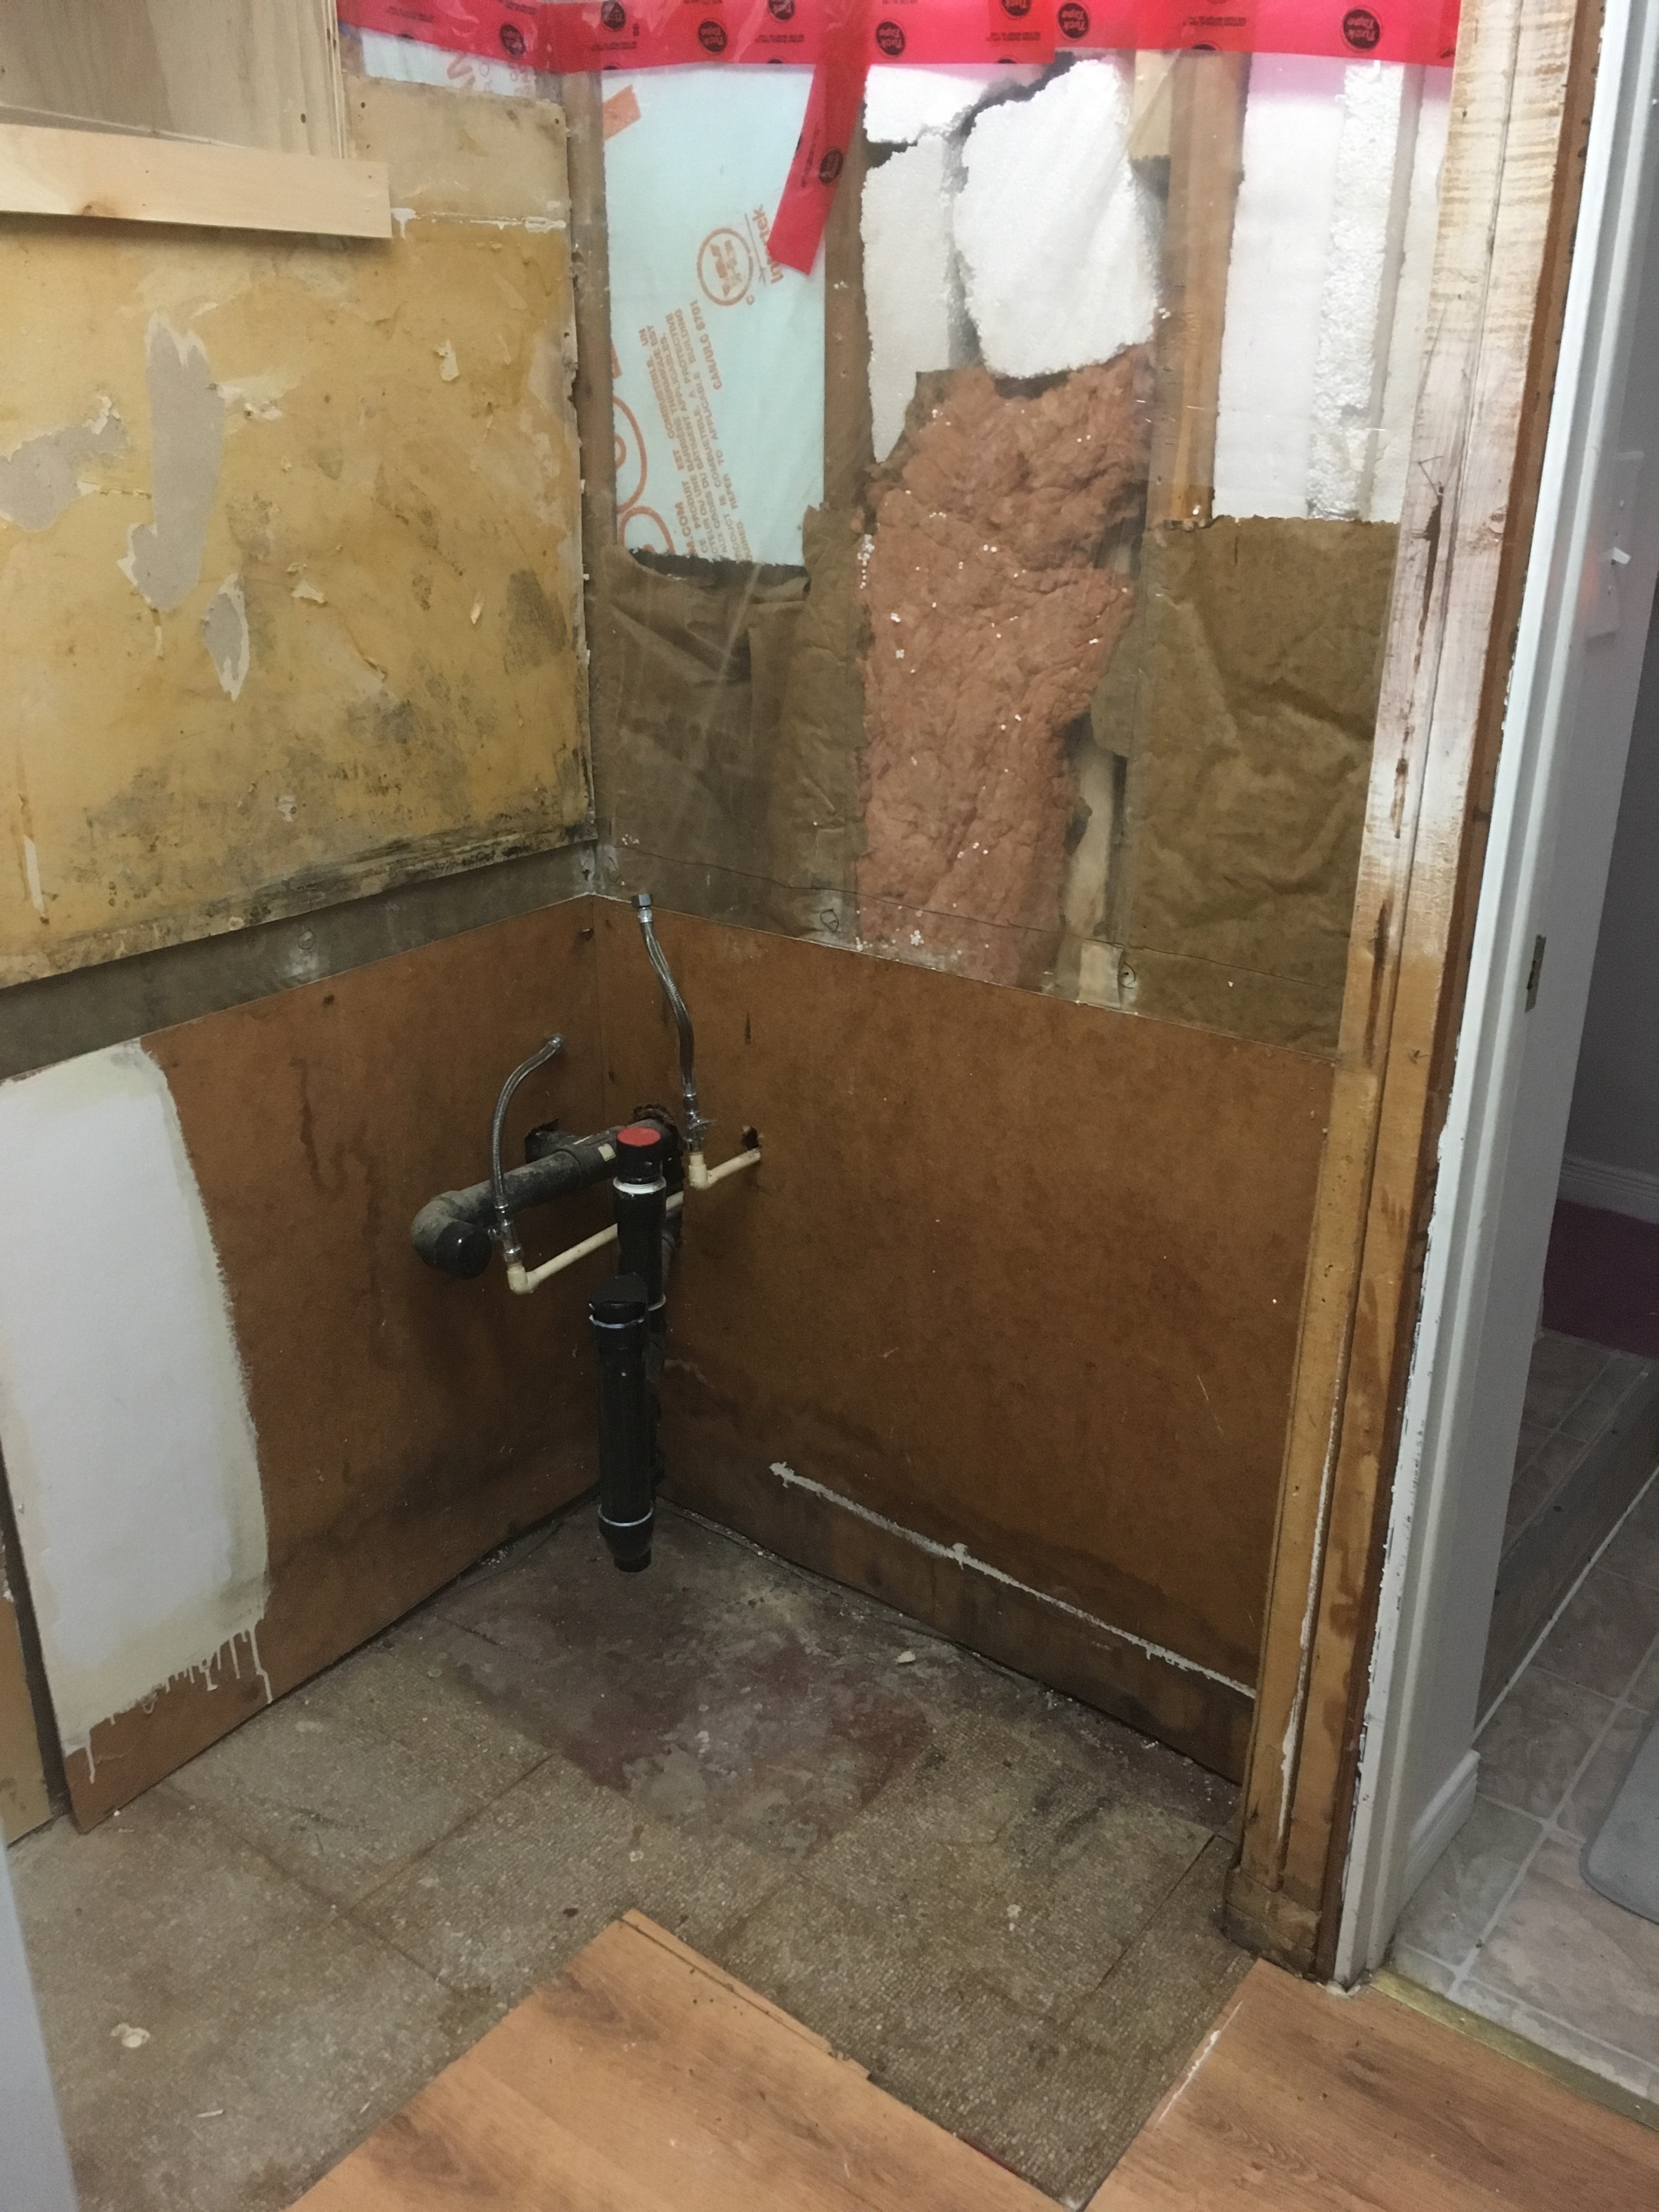

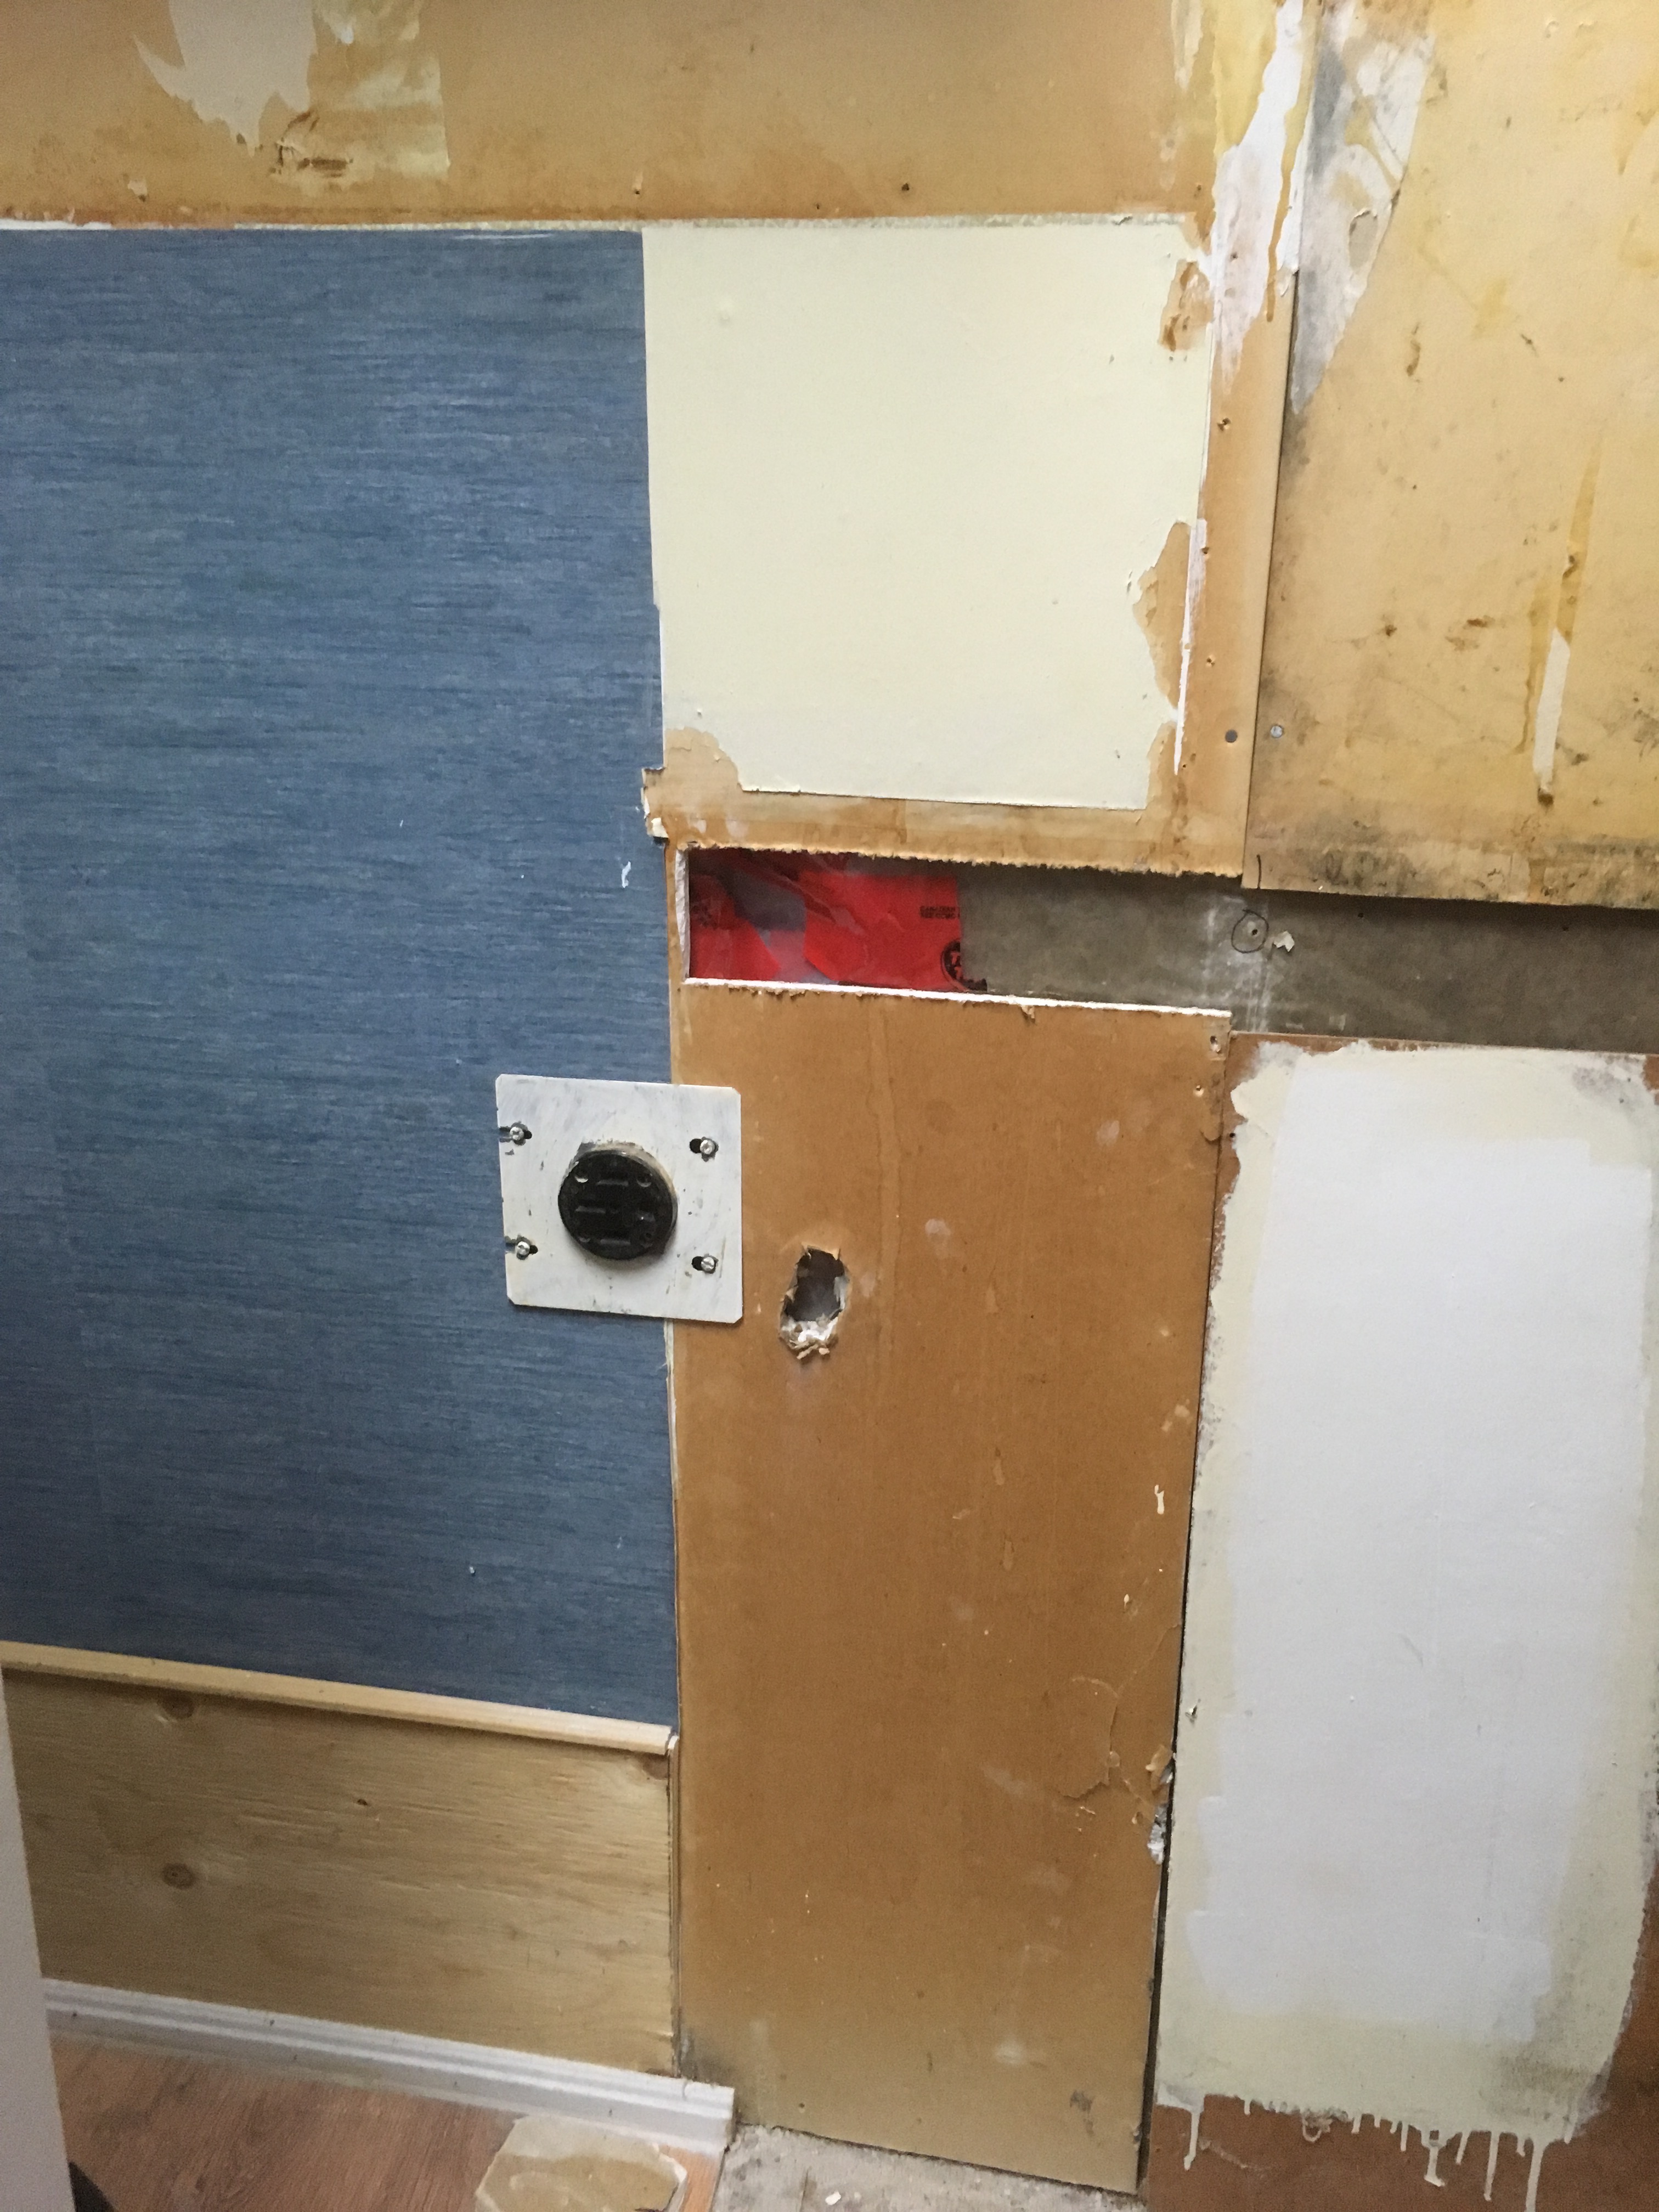
One of the interesting parts of this was seeing how the stove power was wired into the wall holding up the counter top.

That looked very weird to me, so I moved it into the wall. Luckily there was enough slack in the existing wire to do that without any major re-wiring, as that would have been beyond my skill set.
Adding some Structure
After the relative easy destruction it was time to start the much harder task of creation. Adding in a frame to hold the dry wall.
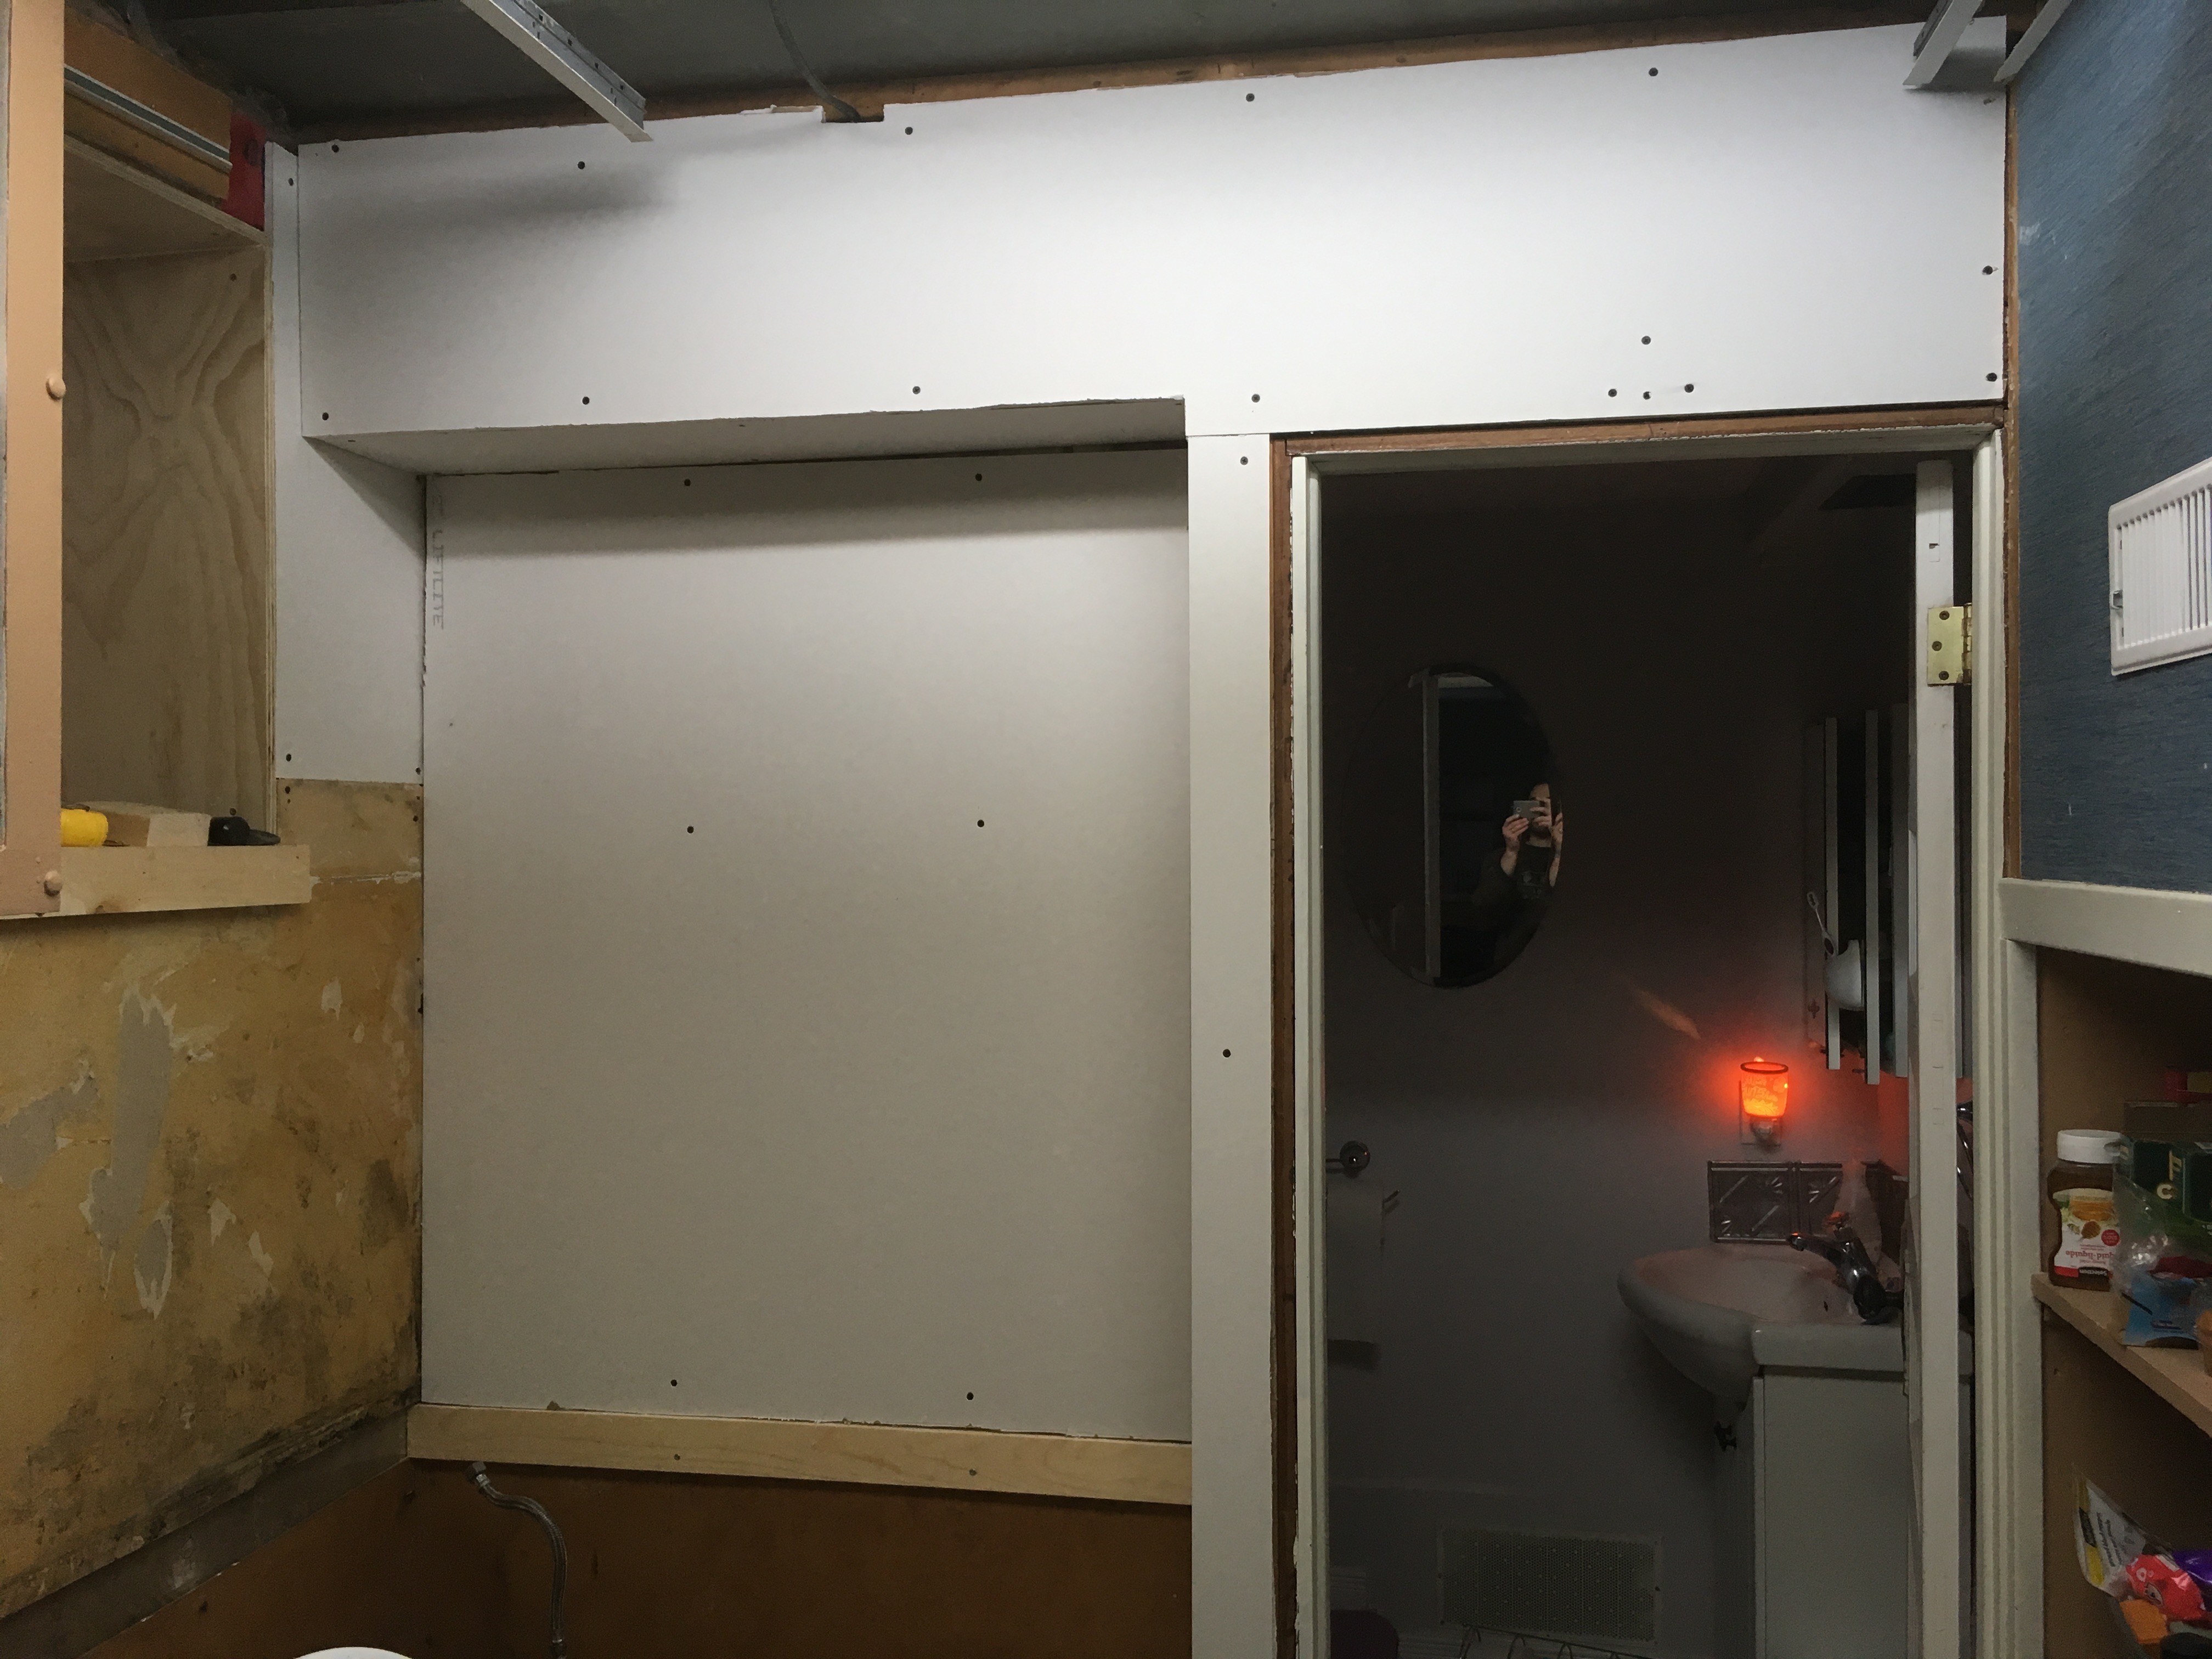
Then the drywall.
Cabinets
At this point we were still looking at buying a custom counter top and putting it on some custom cabinets. However, in an attempt to speed up the slow progress so far the Missus suggested we look at some off the shelf cabinets from Home Depot. I was easily convinced to buy rather than make so we ended up buying the following
- Cabinet with 3 drawers
- Cabinet with 1 shelf
- Wall cabinet with 2 shelves
In addition to this we ordered a small sink and tap from Ikea since they were the only company we could find who did a small sink that wasn’t a tiny bar sink.
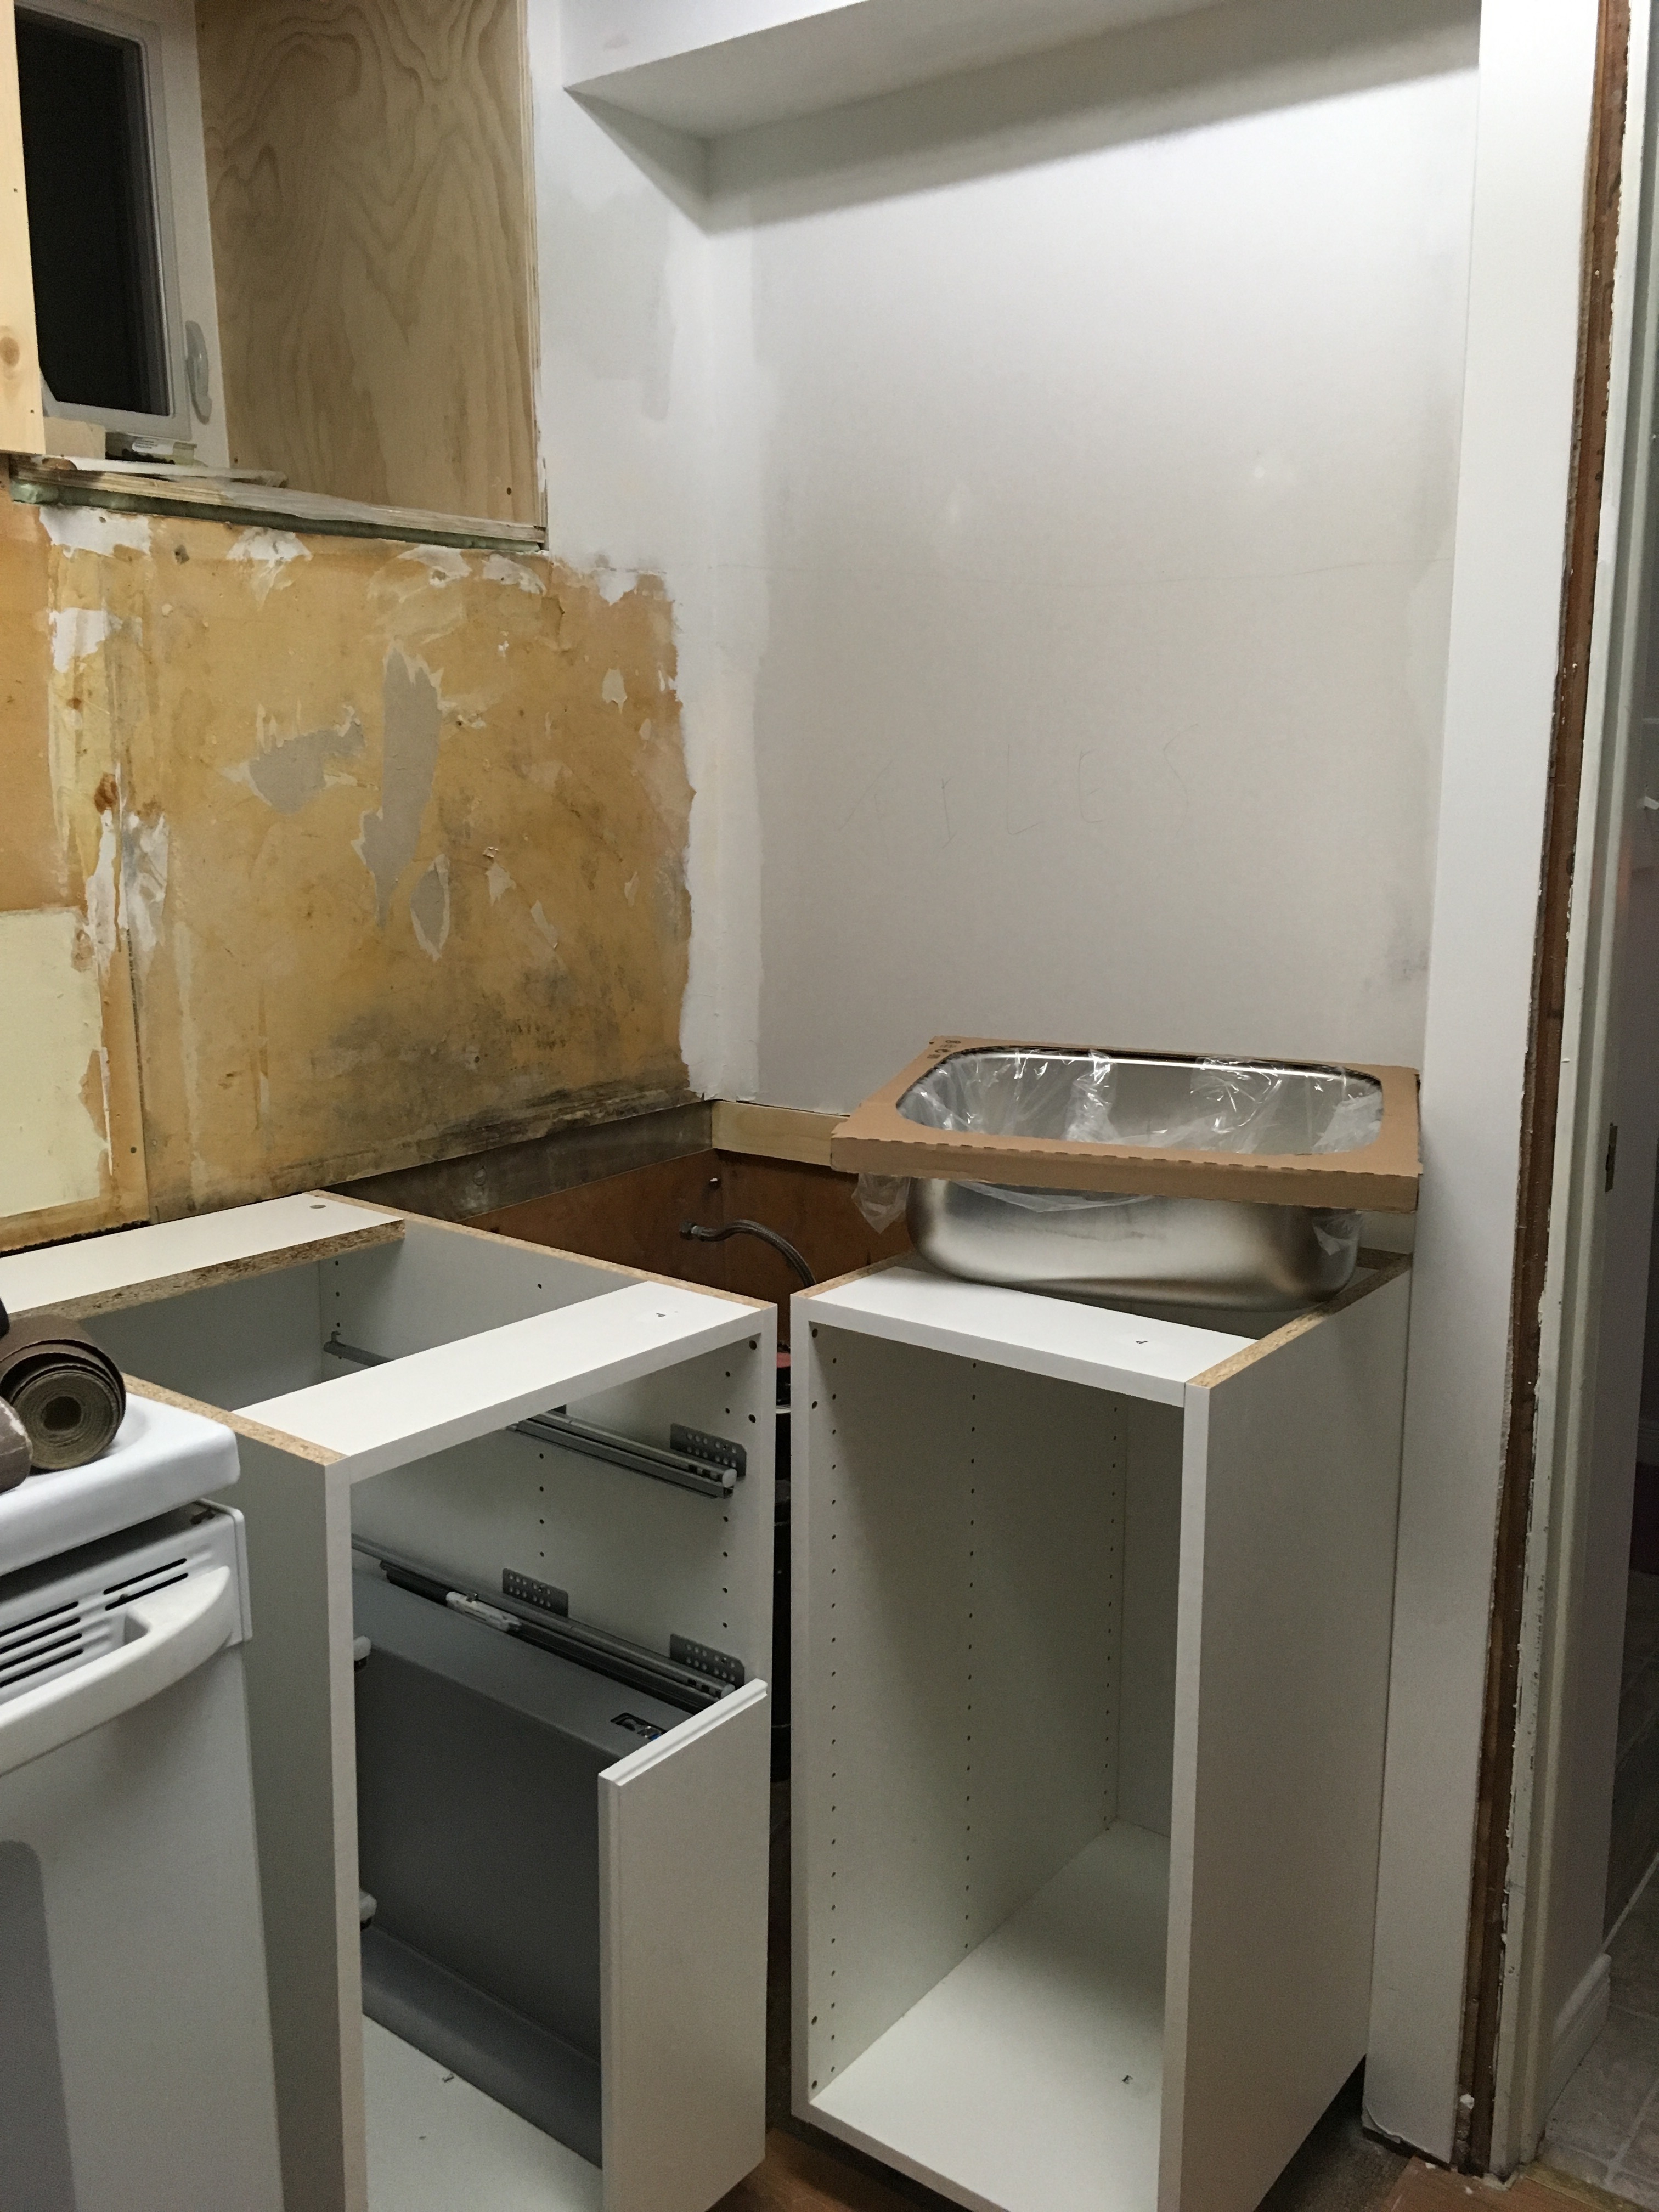
Here’s the initial fitting of the cabinets and the mudding of the dry wall.
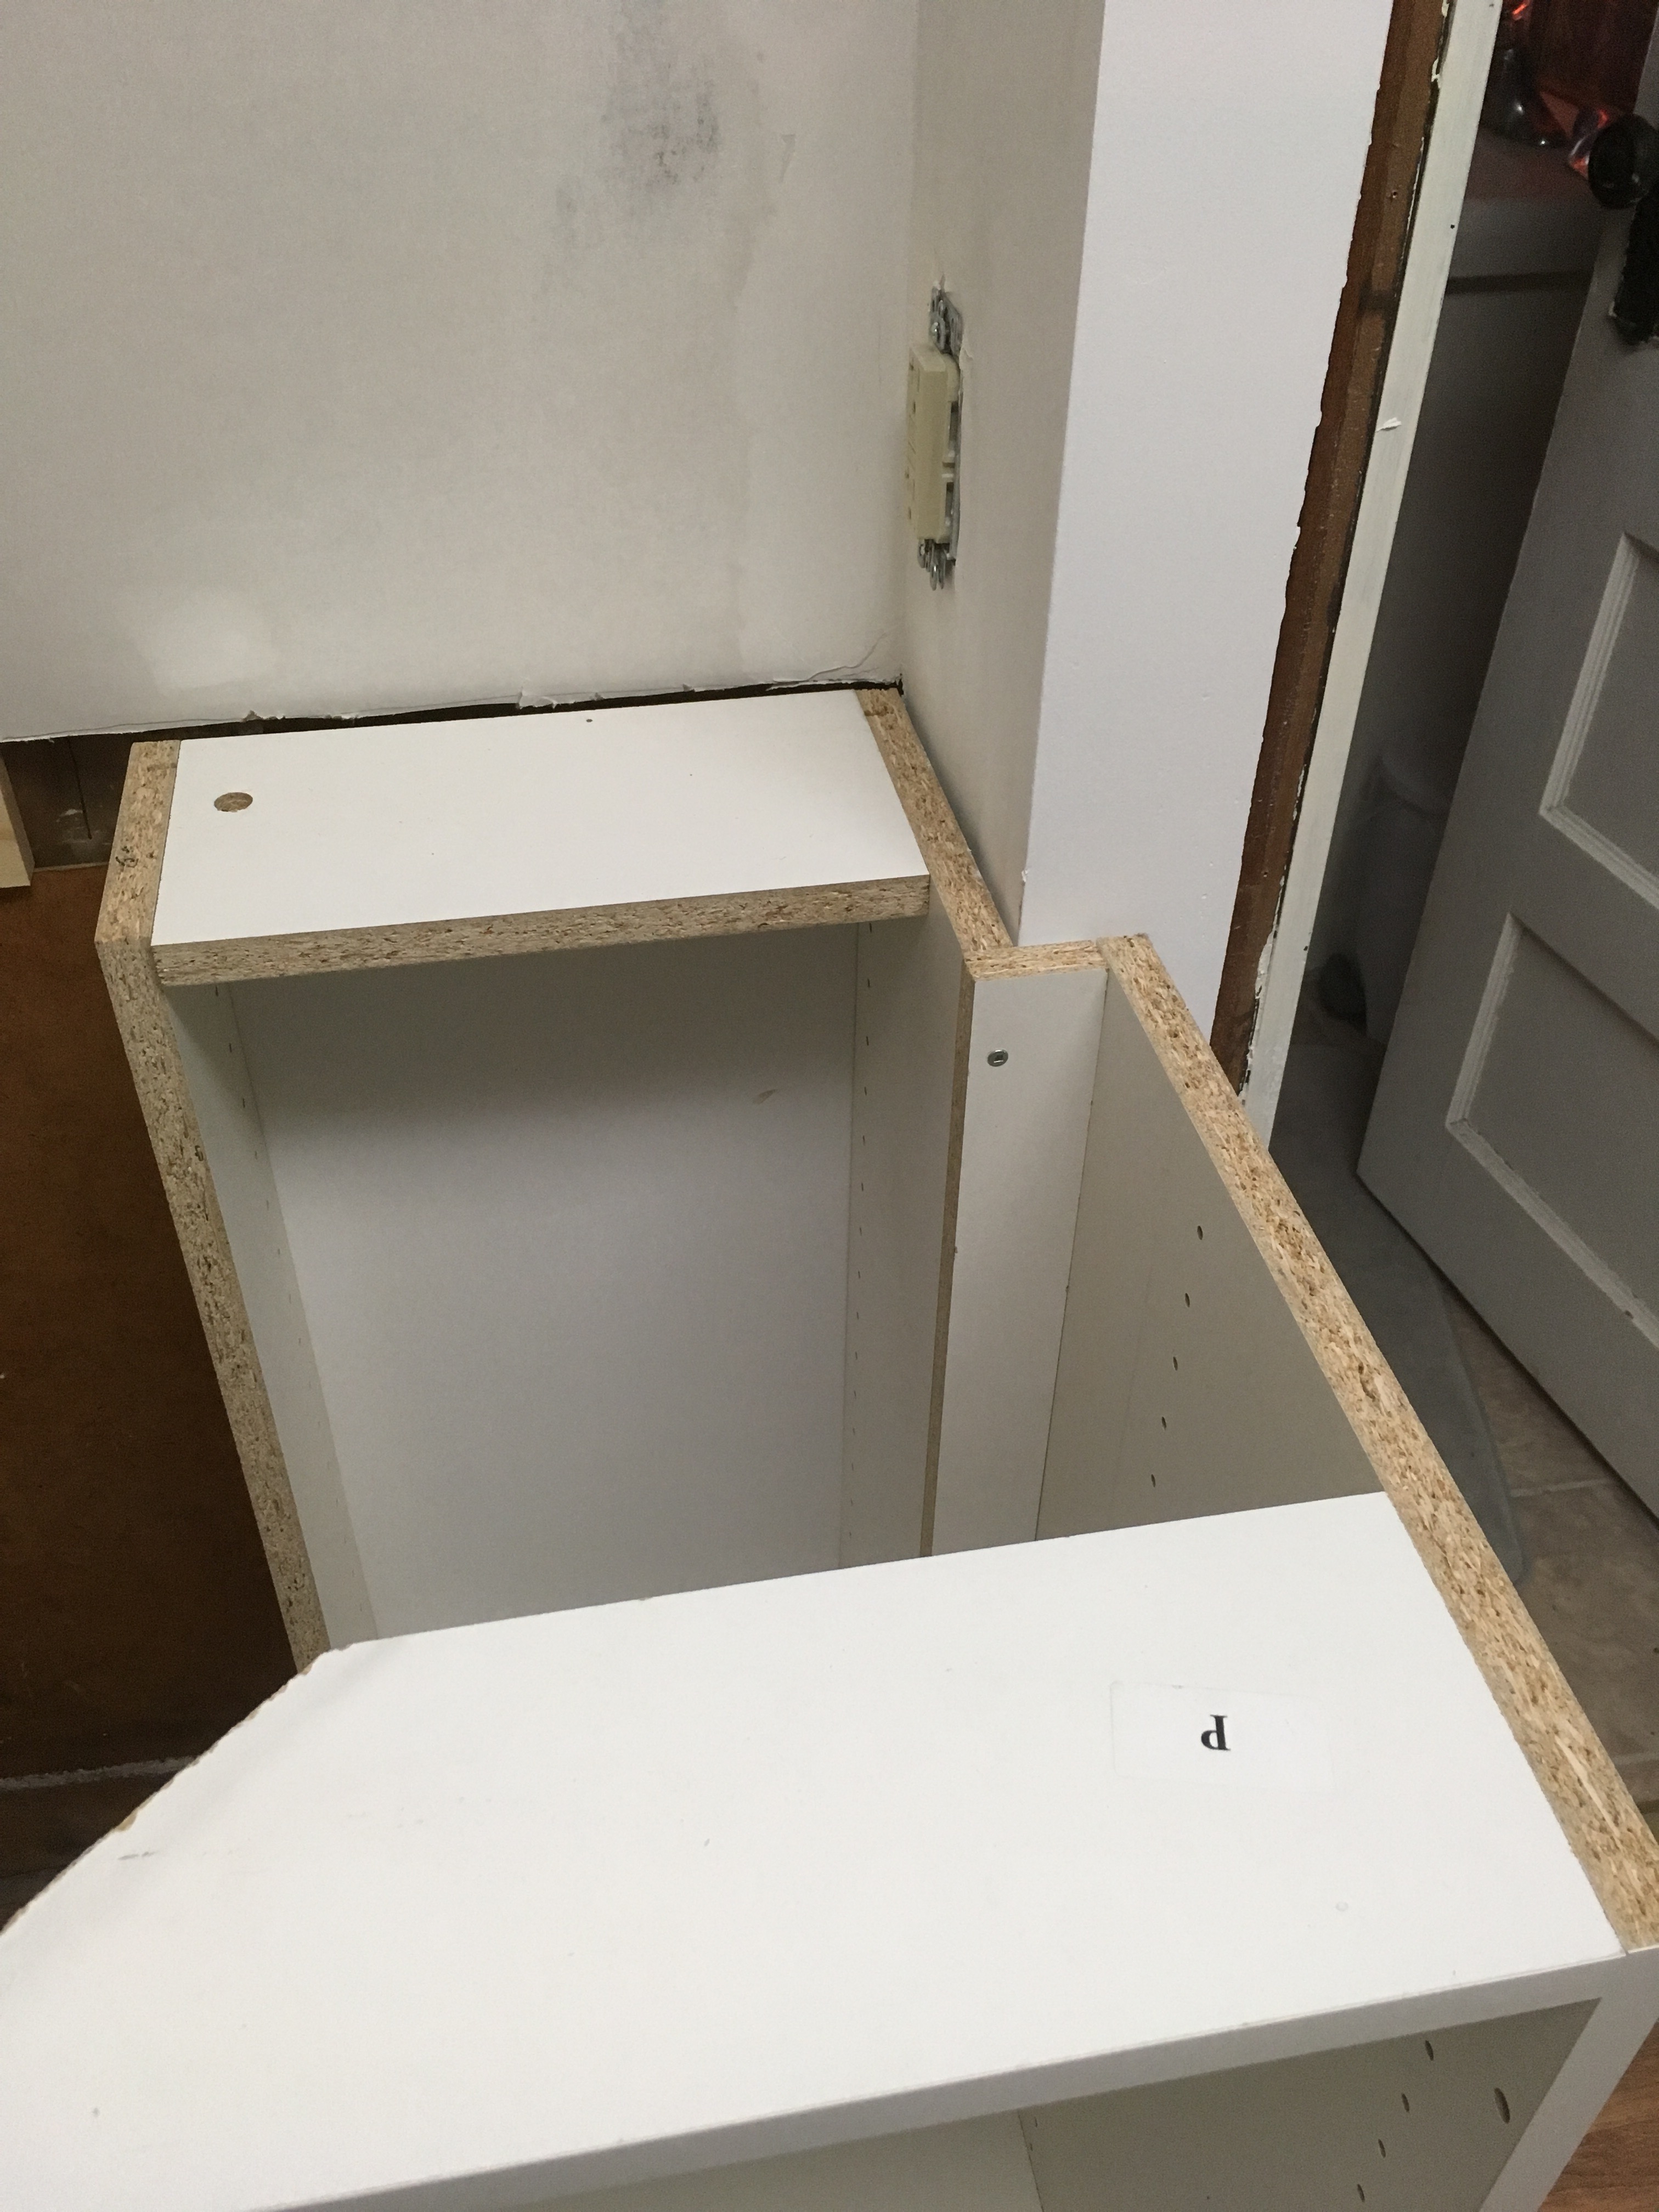
Of course, the problem with buying off the shelf is that it never quite fits. Always up for a challenge I modified one of the base cabinets so that one side was cut away to provide access to the plumbing under the sink and the other other was zig-zagged to fit the door frame.
Just to show this wasn’t a solo effort here is Missus painting everything as soon as it was ready.

This was the finished cabinets ready for the counter top.
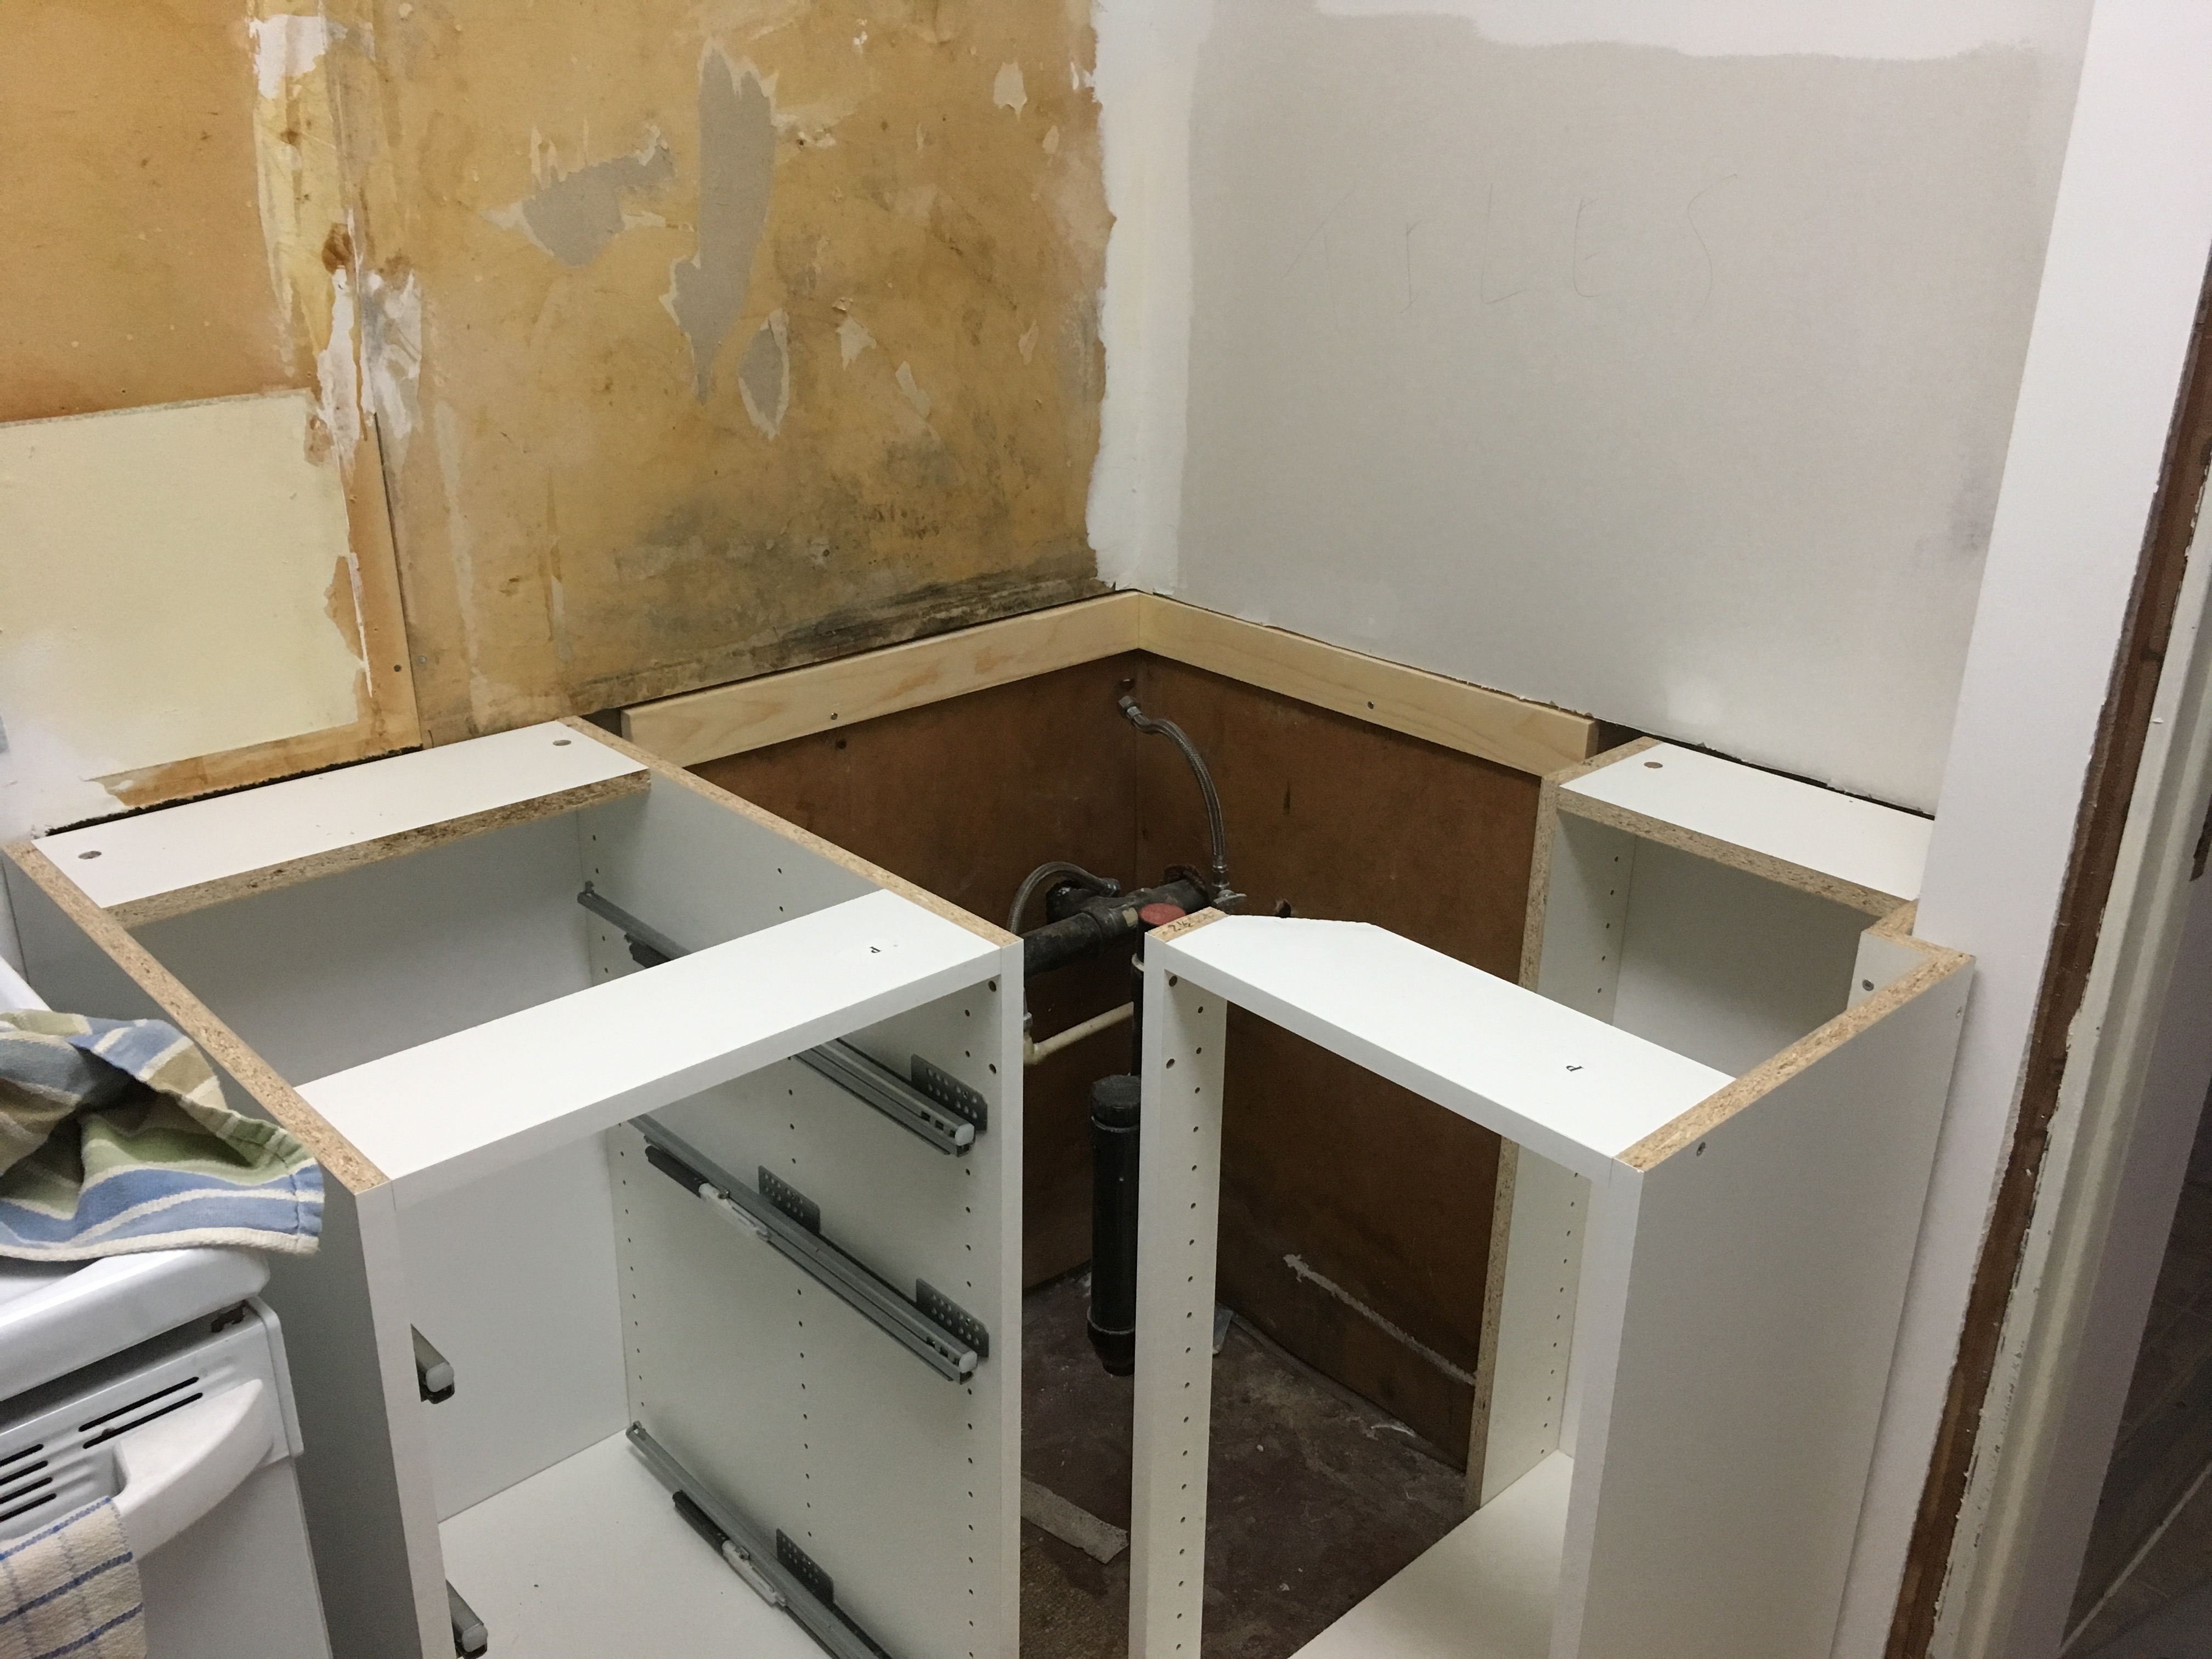
Better Access
Whilst waiting for the counter top to arrive the next task was the door. Originally the door opened into the bathroom next door, but since that was a very small space it never really worked well. Imagine opening a door towards you and having to step around the door as it opened because there was no room.
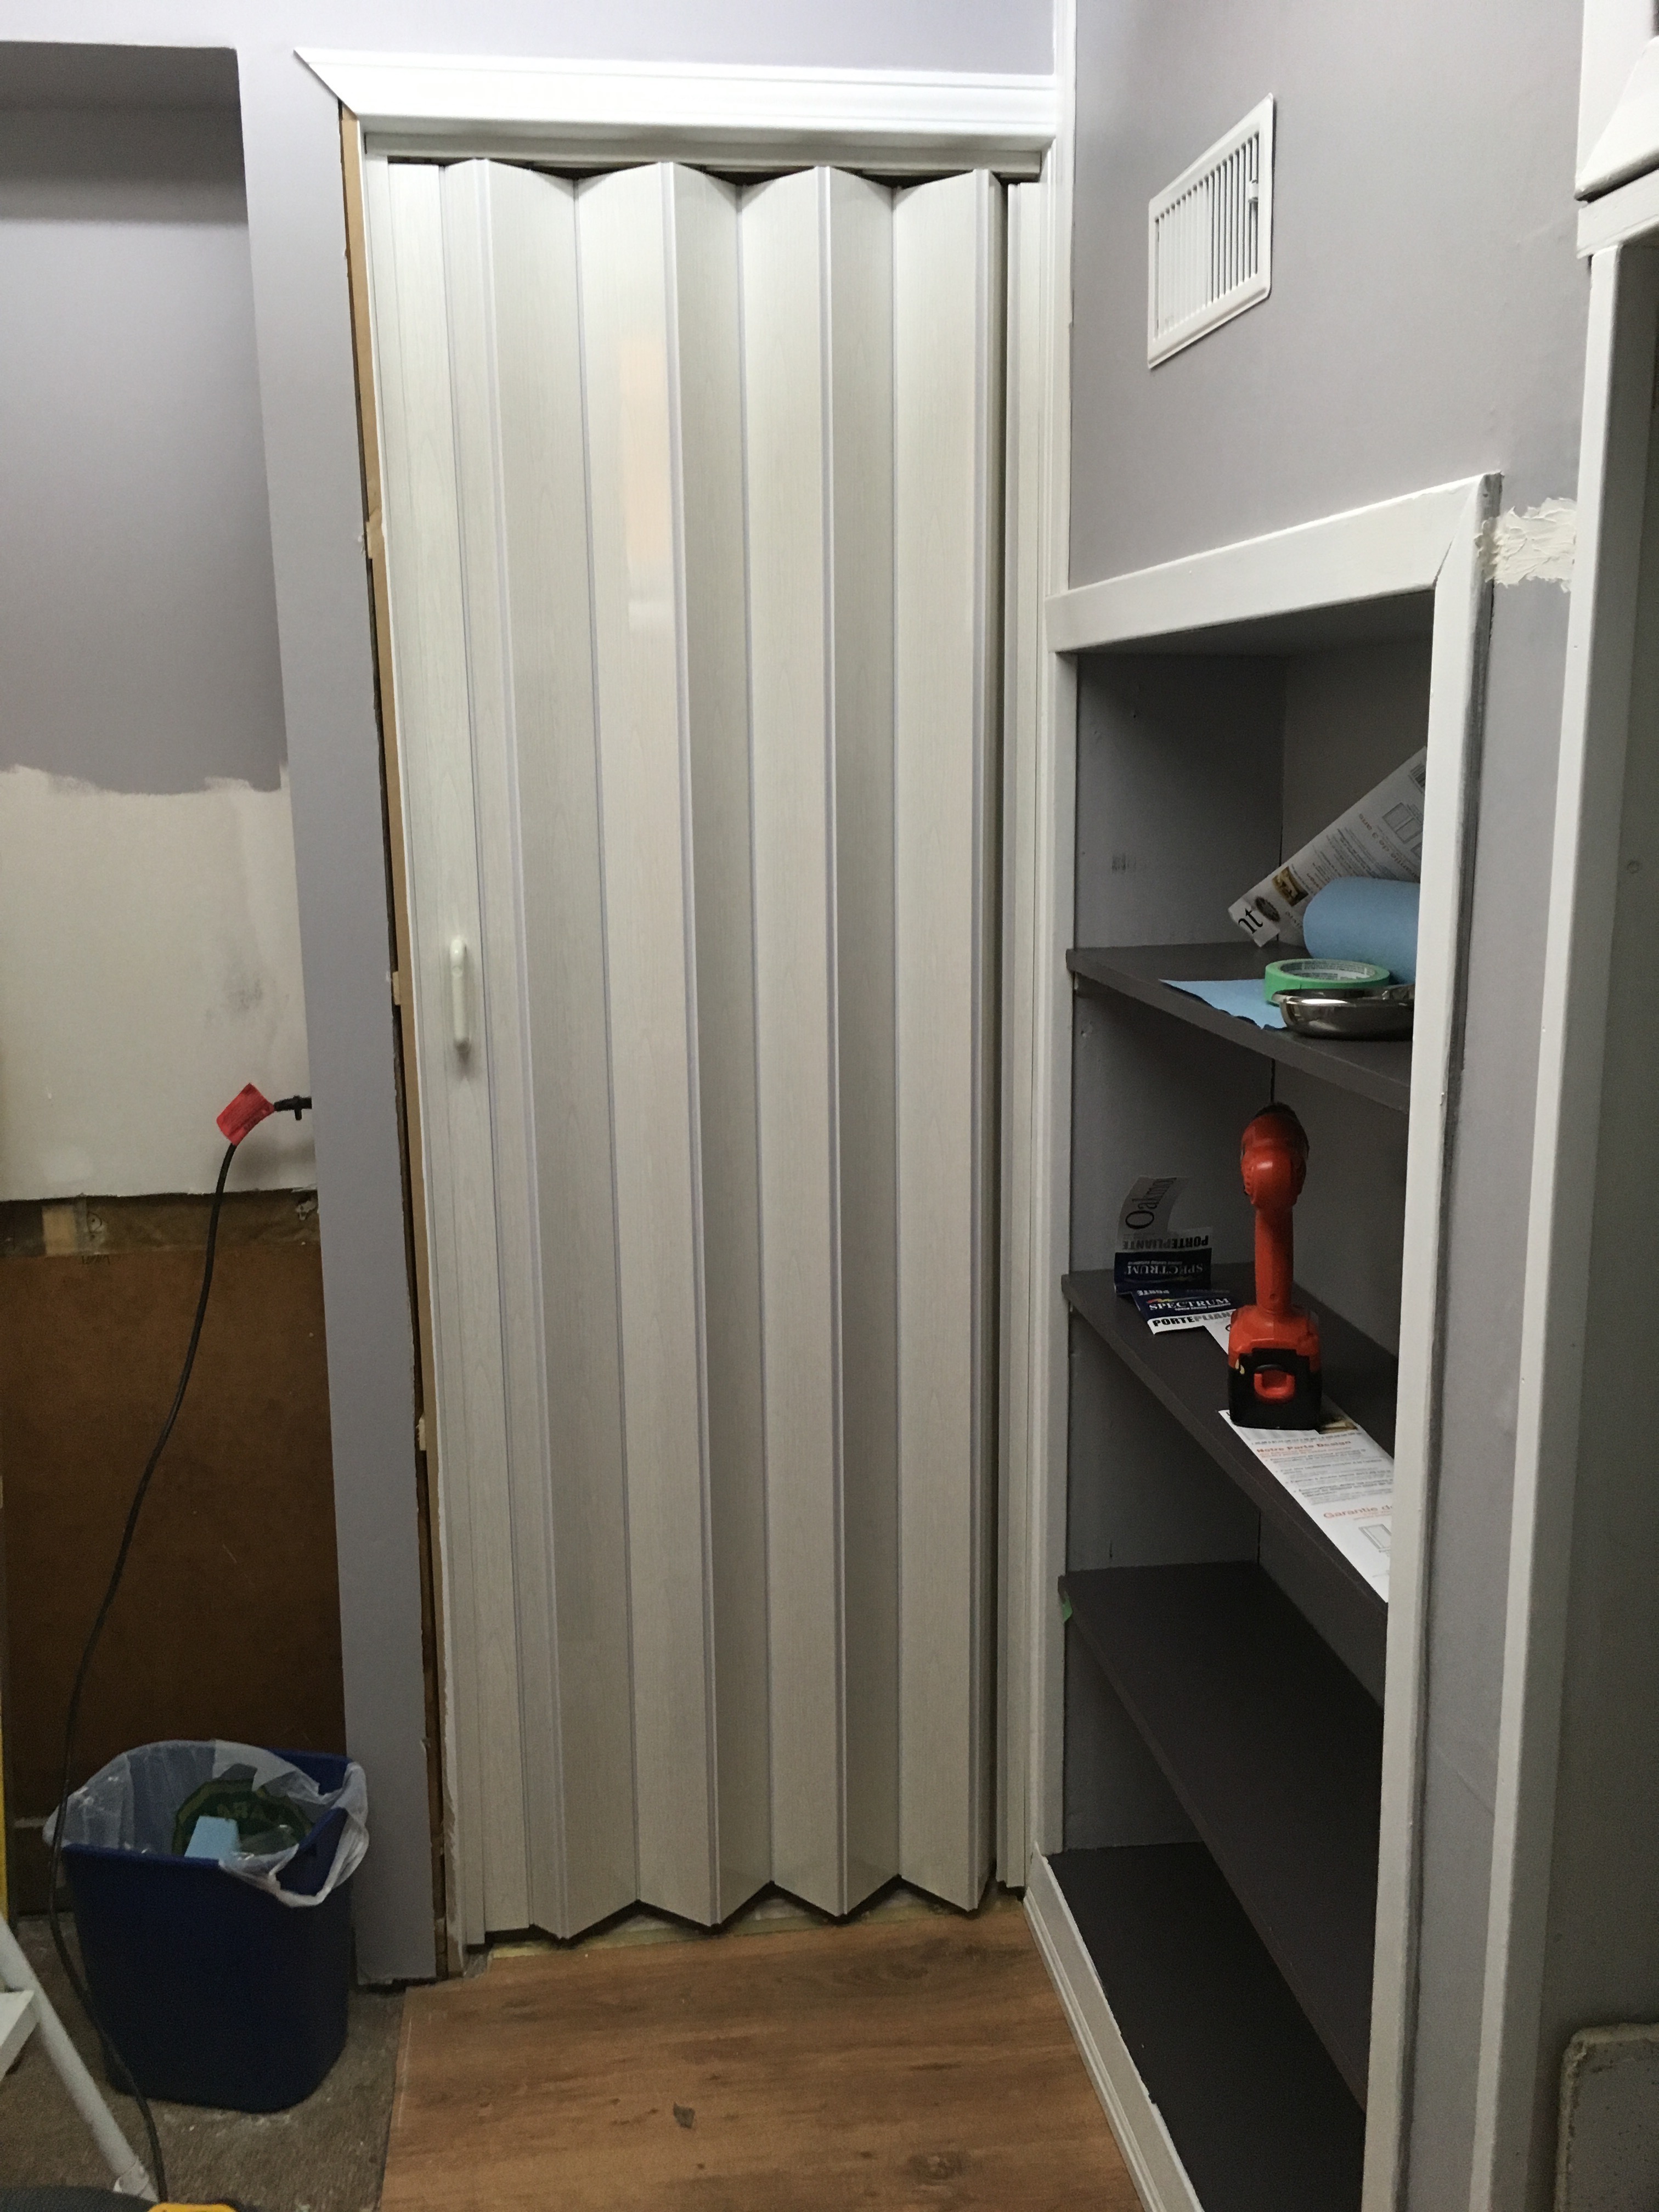
We thought that a sliding door would work better and ordered one from Colonial Elegance.
The original door was removed and the door frame replaced. This was a shame, as the original frame was hardwood and probably as old as the century house; but it also had lots of notches from the door hinges.
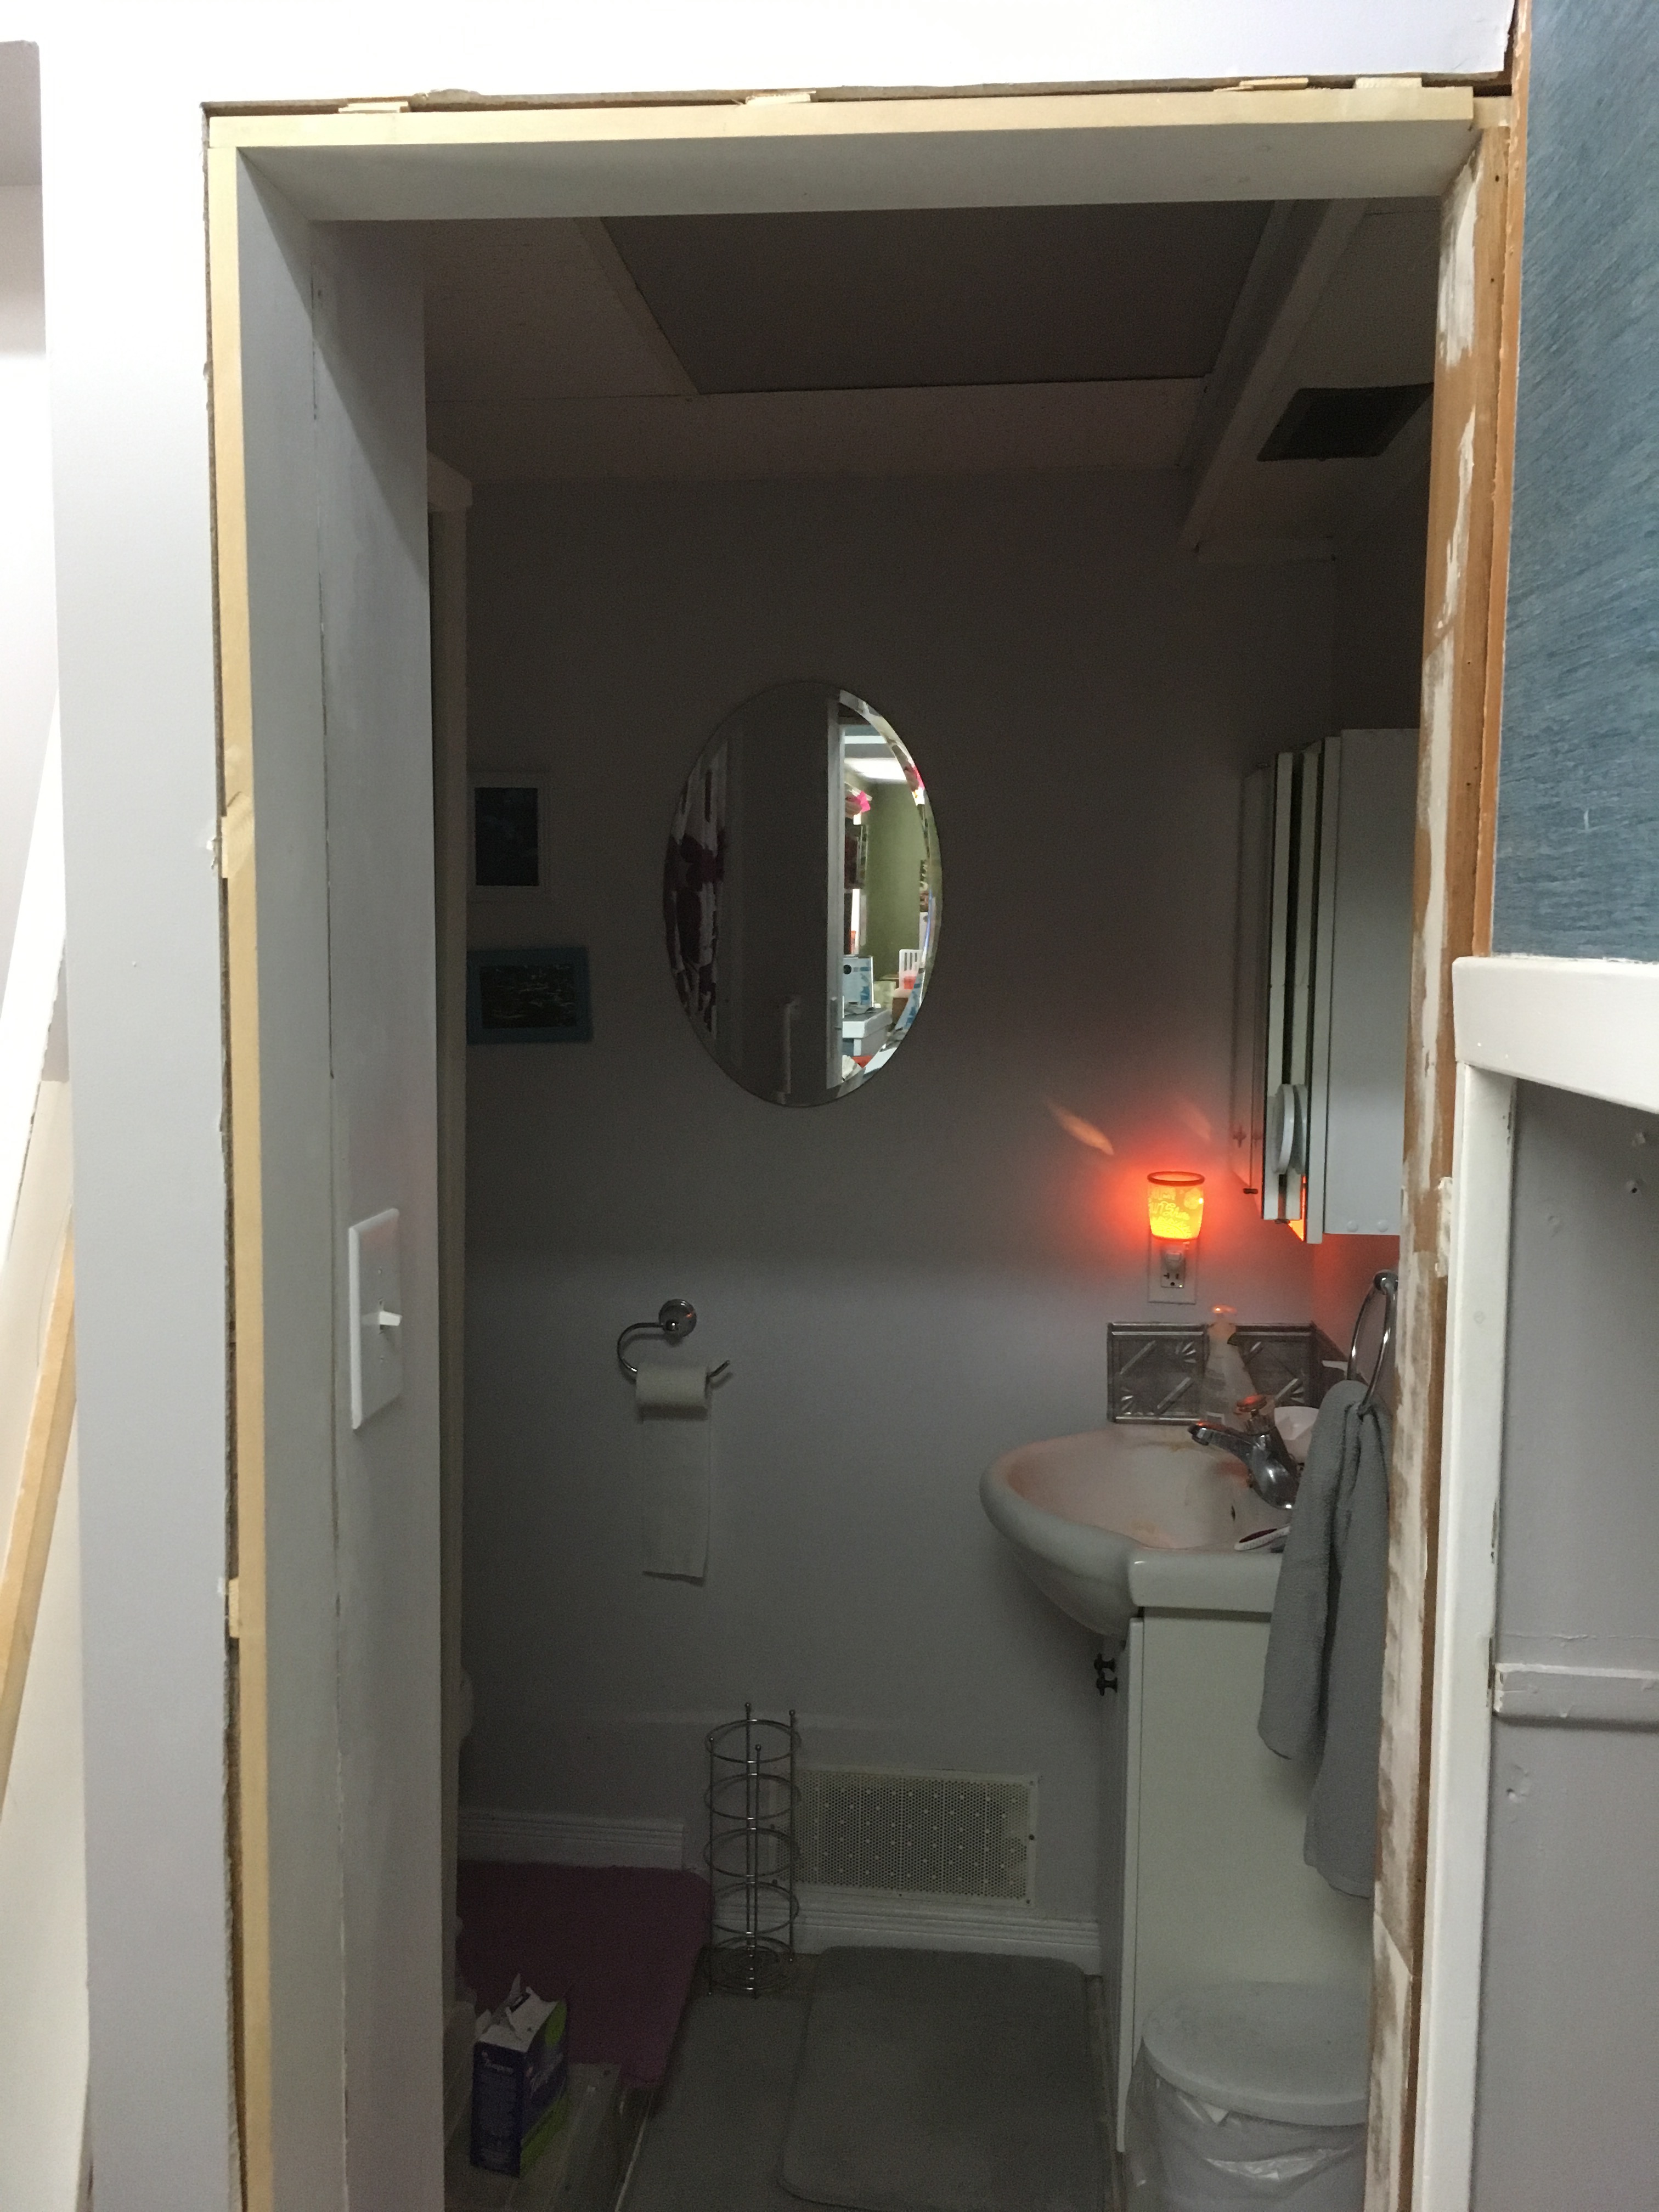
The actual installation of the sliding door was pretty easy, it just needed a bit of height adjustment.
Suspended Ceiling
After taking down the original wall cabinet there was a gap in the suspended ceiling. Since the rest of the ceiling tiles were a bit manky it was easier just to replace them all. The clear plastic one under the light cleaned up well so that one was kept.
There’s not a good shot of all the ceiling but this gives you the idea.
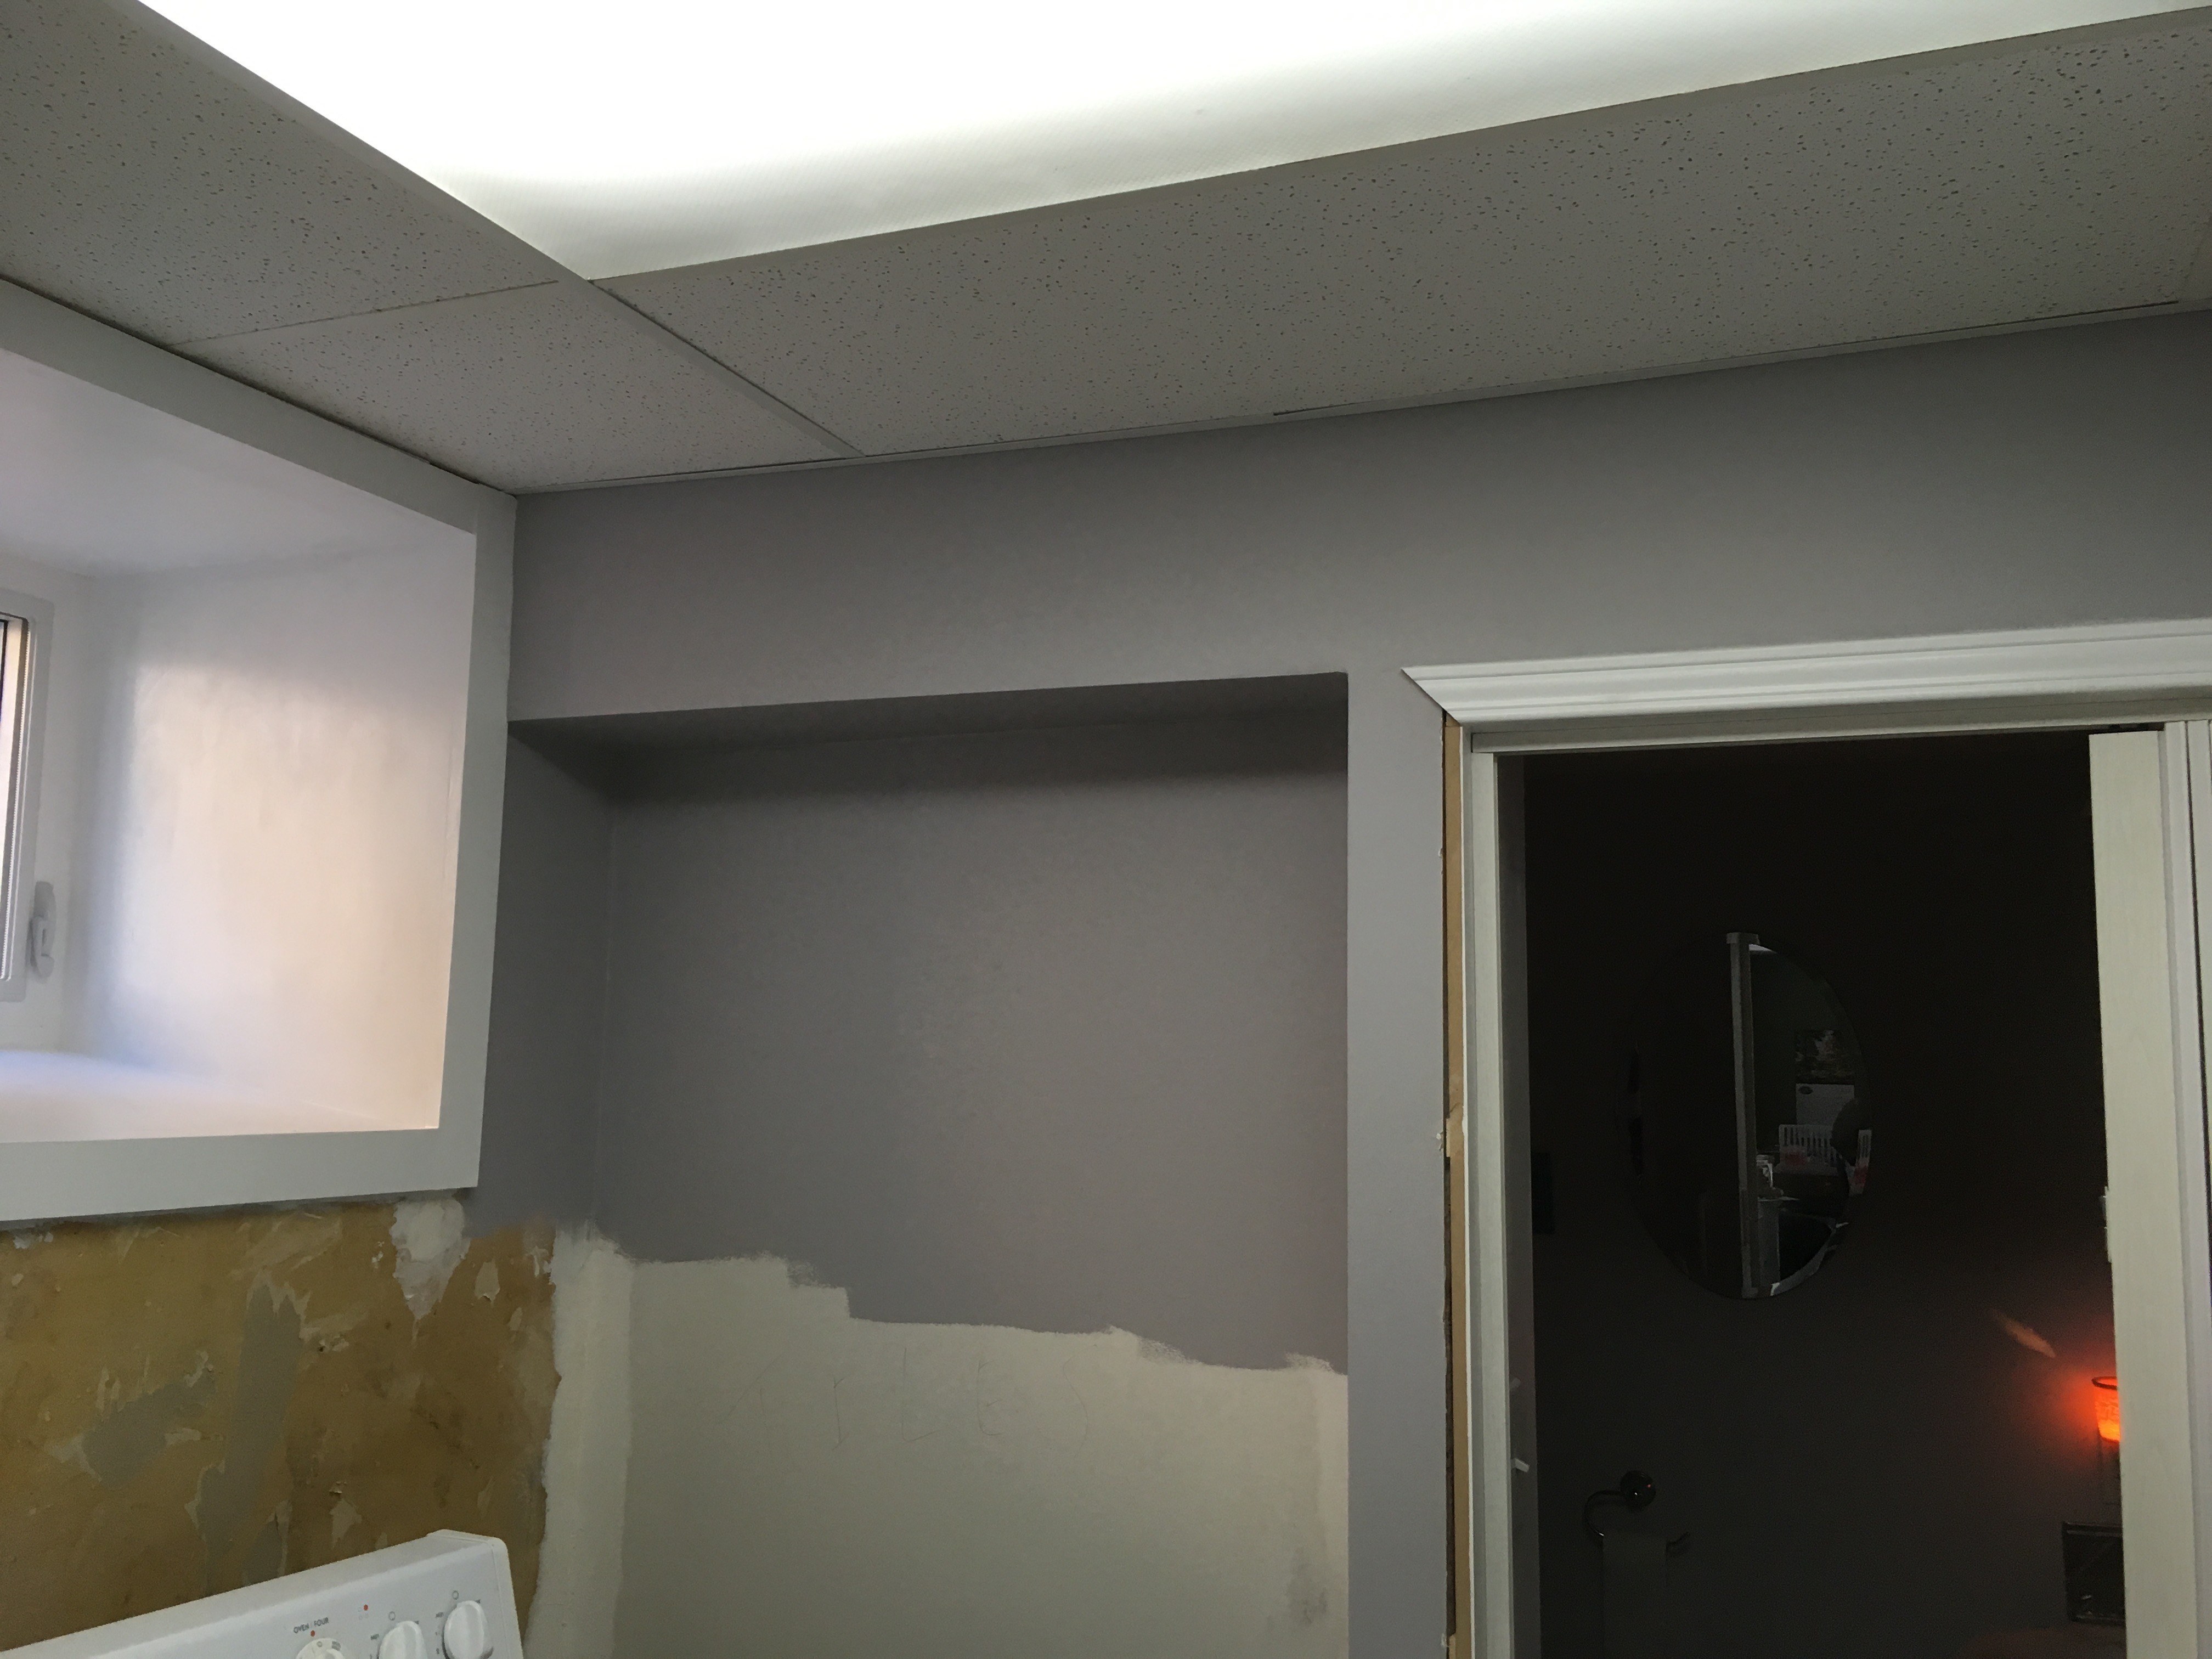
Countertop
Originally the idea was to buy two pieces of counter top cut at 45 degrees and glue them together. However after talking to Cutting Edge Countertops they suggested a custom L shaped piece which turned out great.
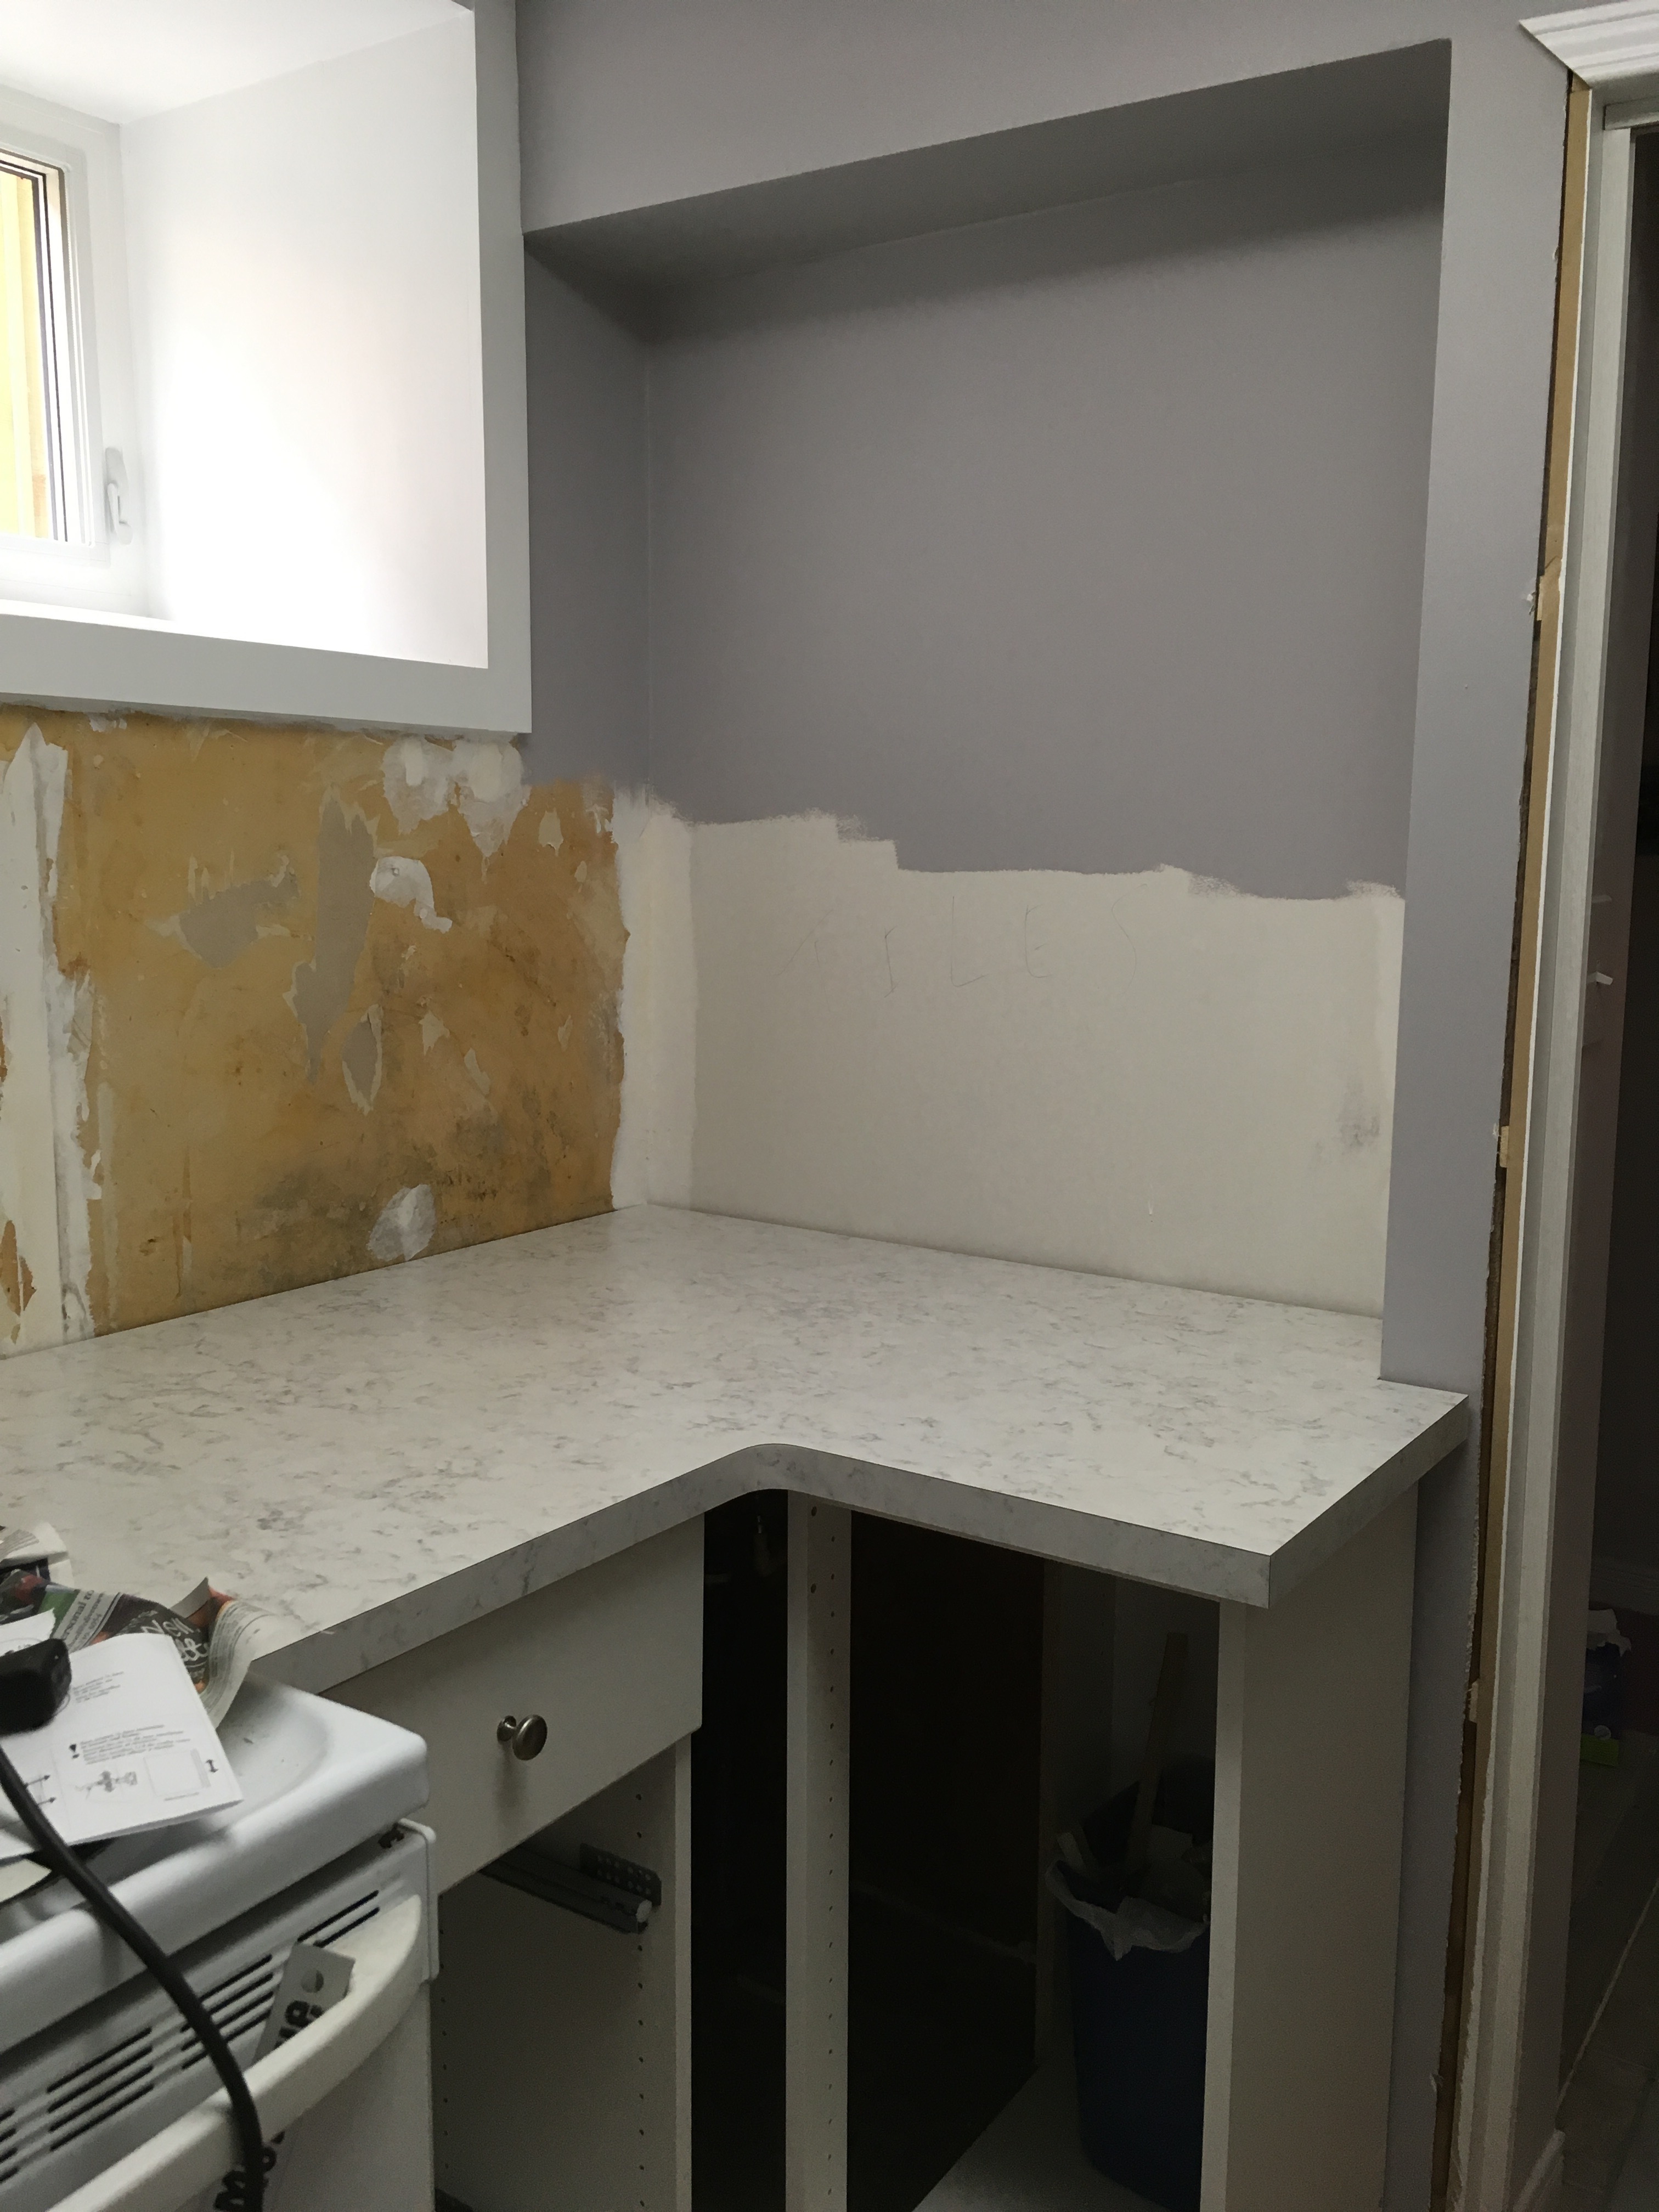
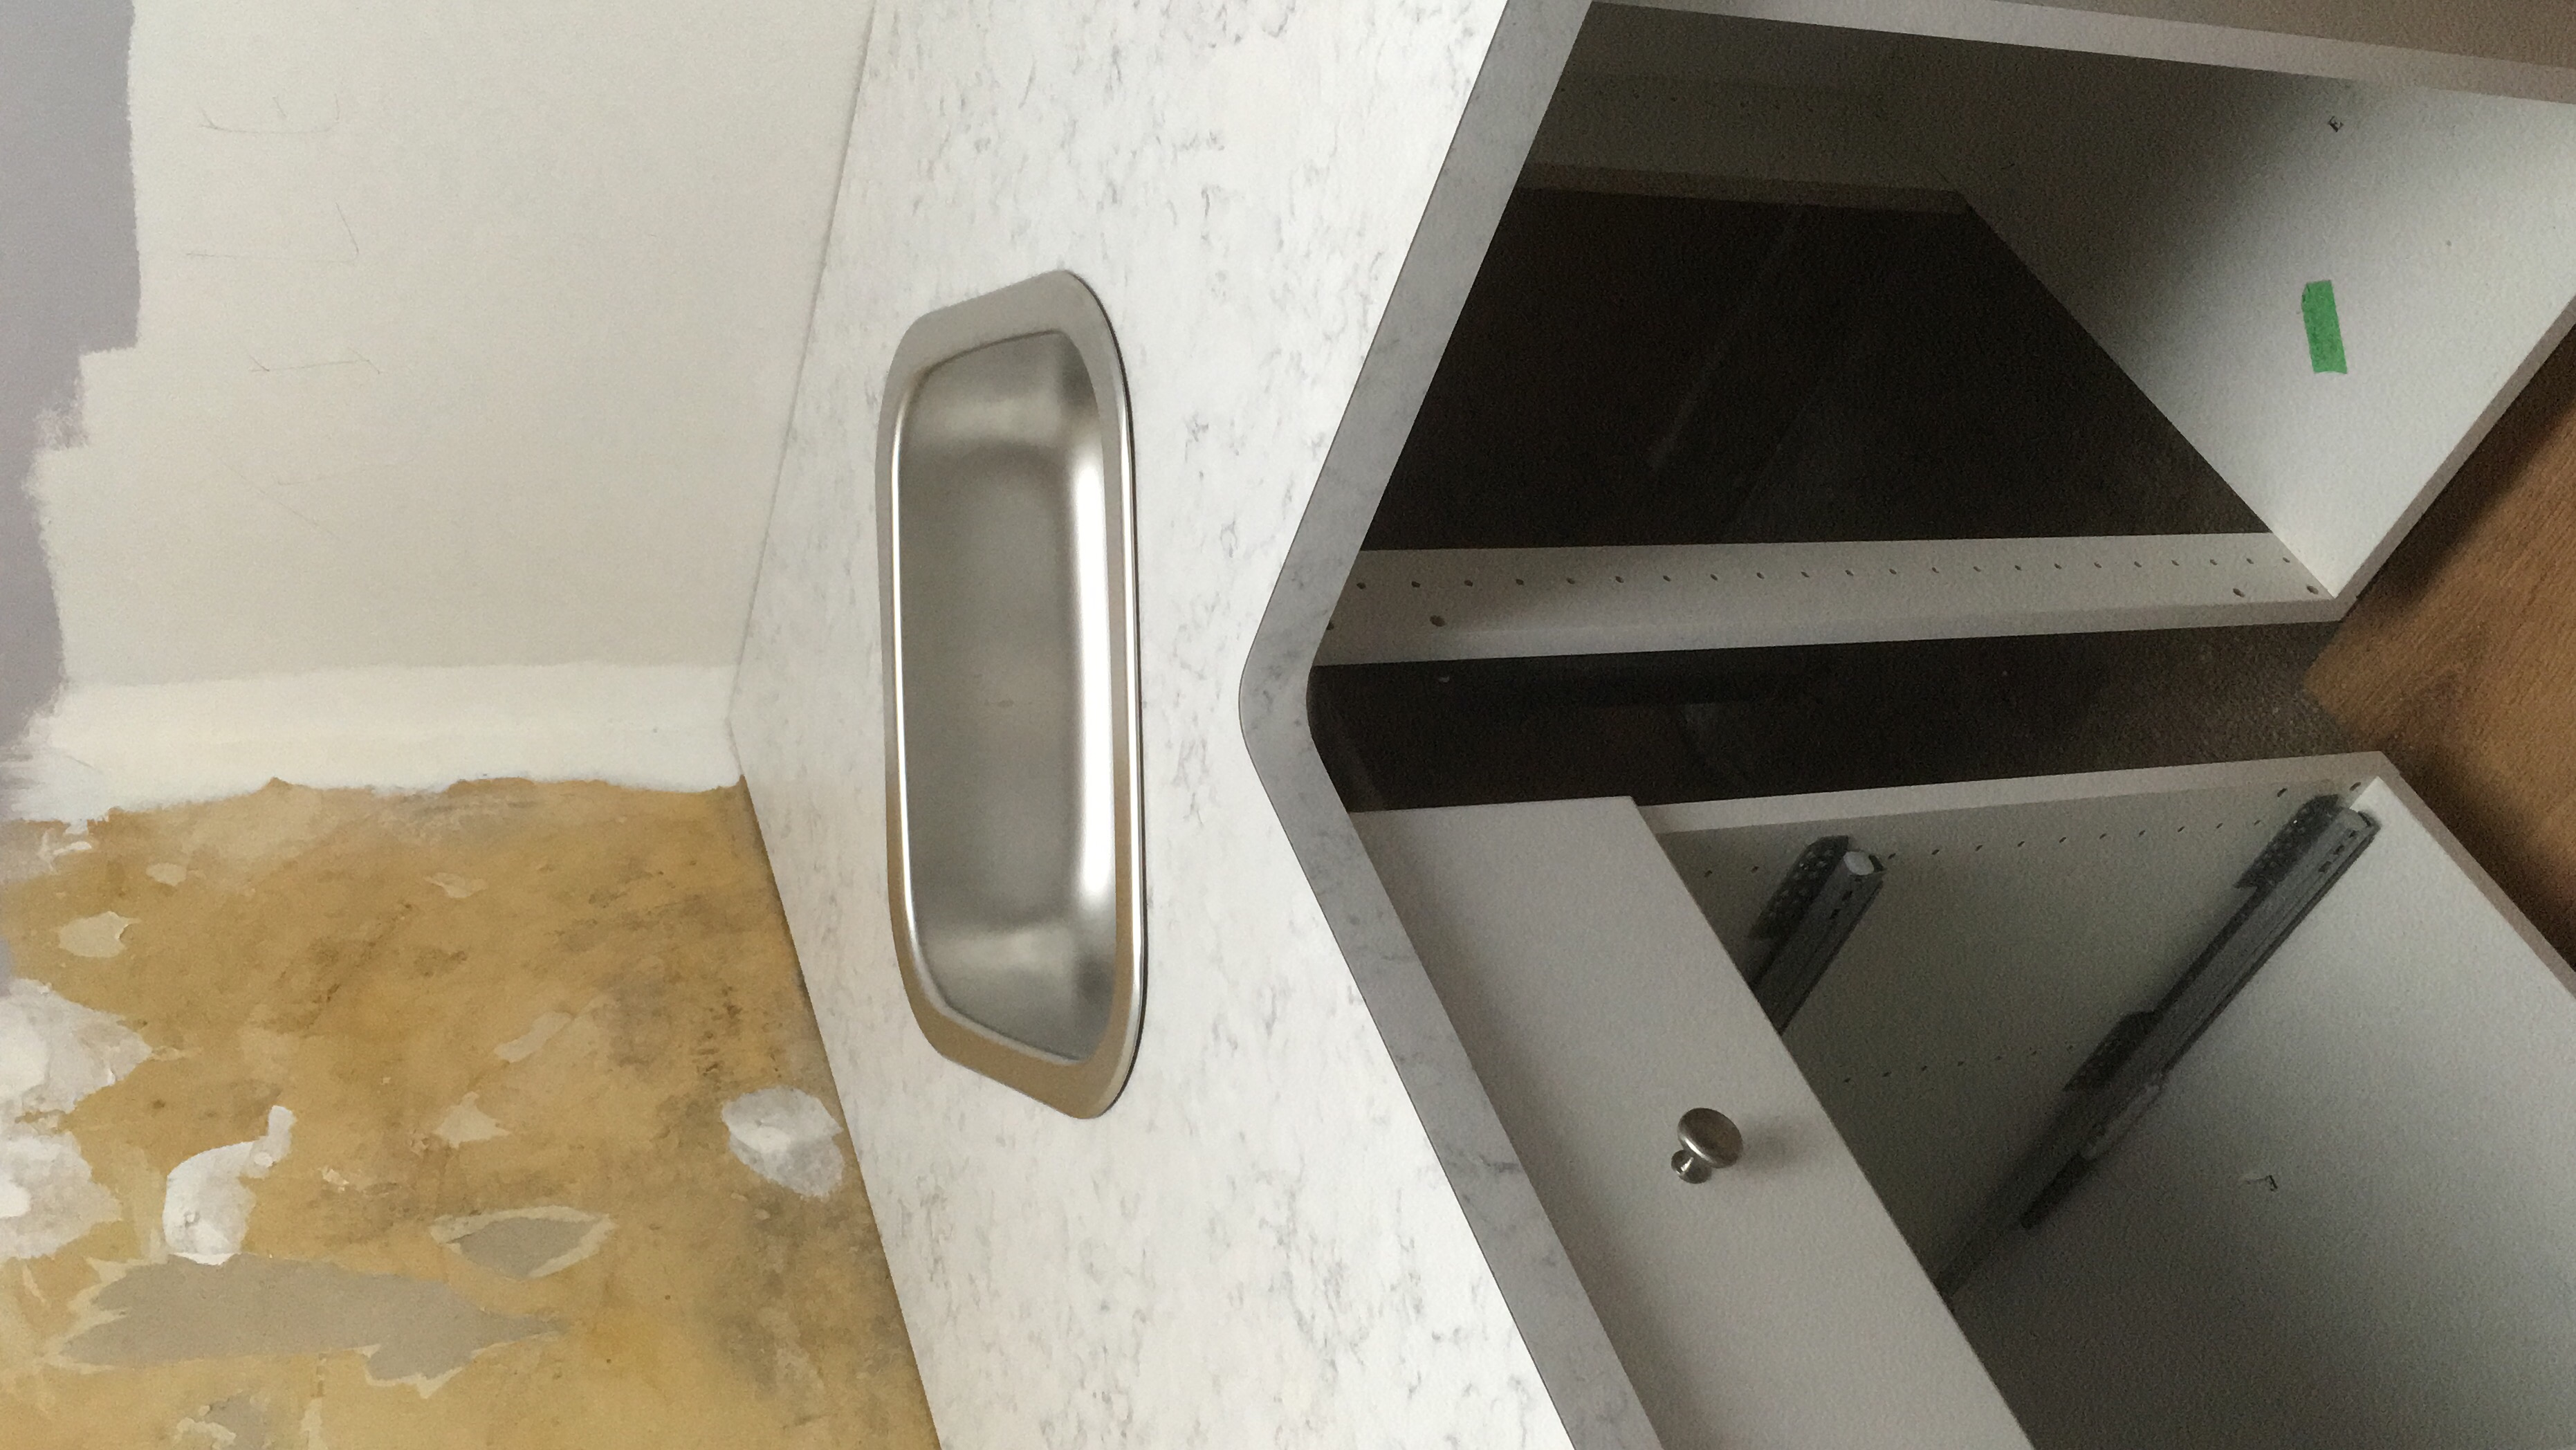
It was a bit nerve wracking cutting the hole for the sink but luckily it turned out well.
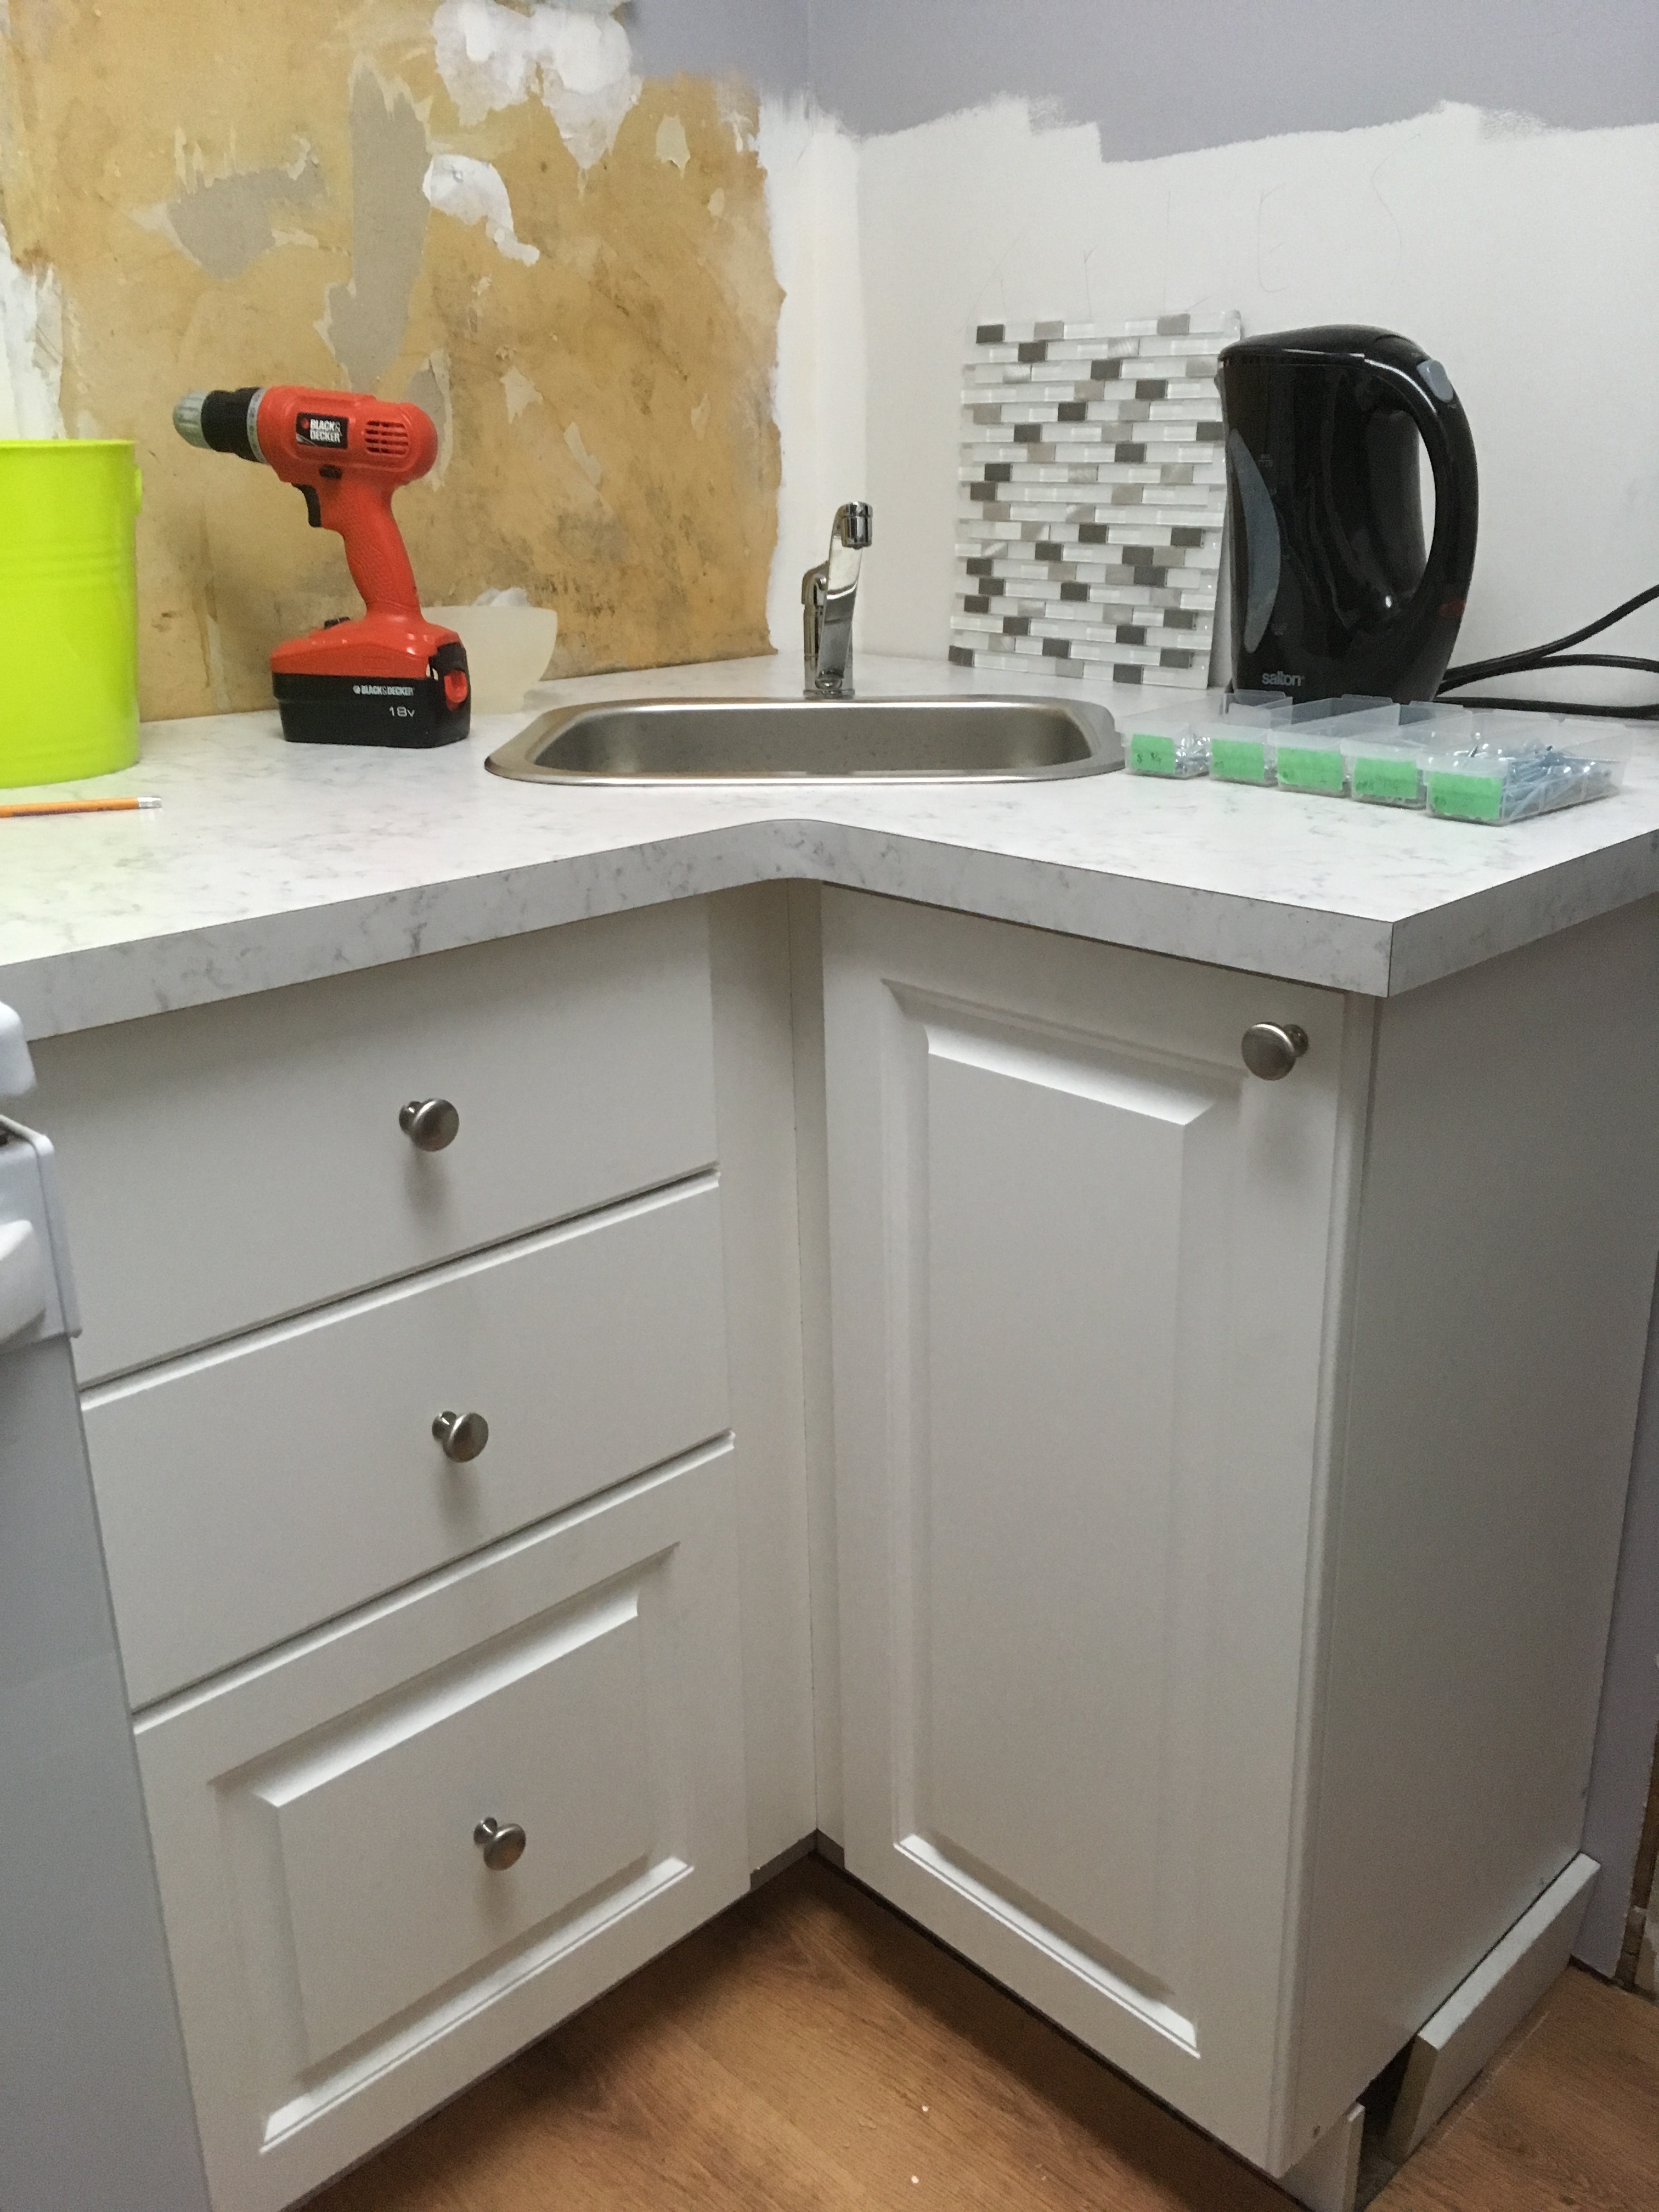
After that it was just a matter of re-using the original fixtures to plumb in the sink and taps and then fit the doors to the cabinets.
Backsplash
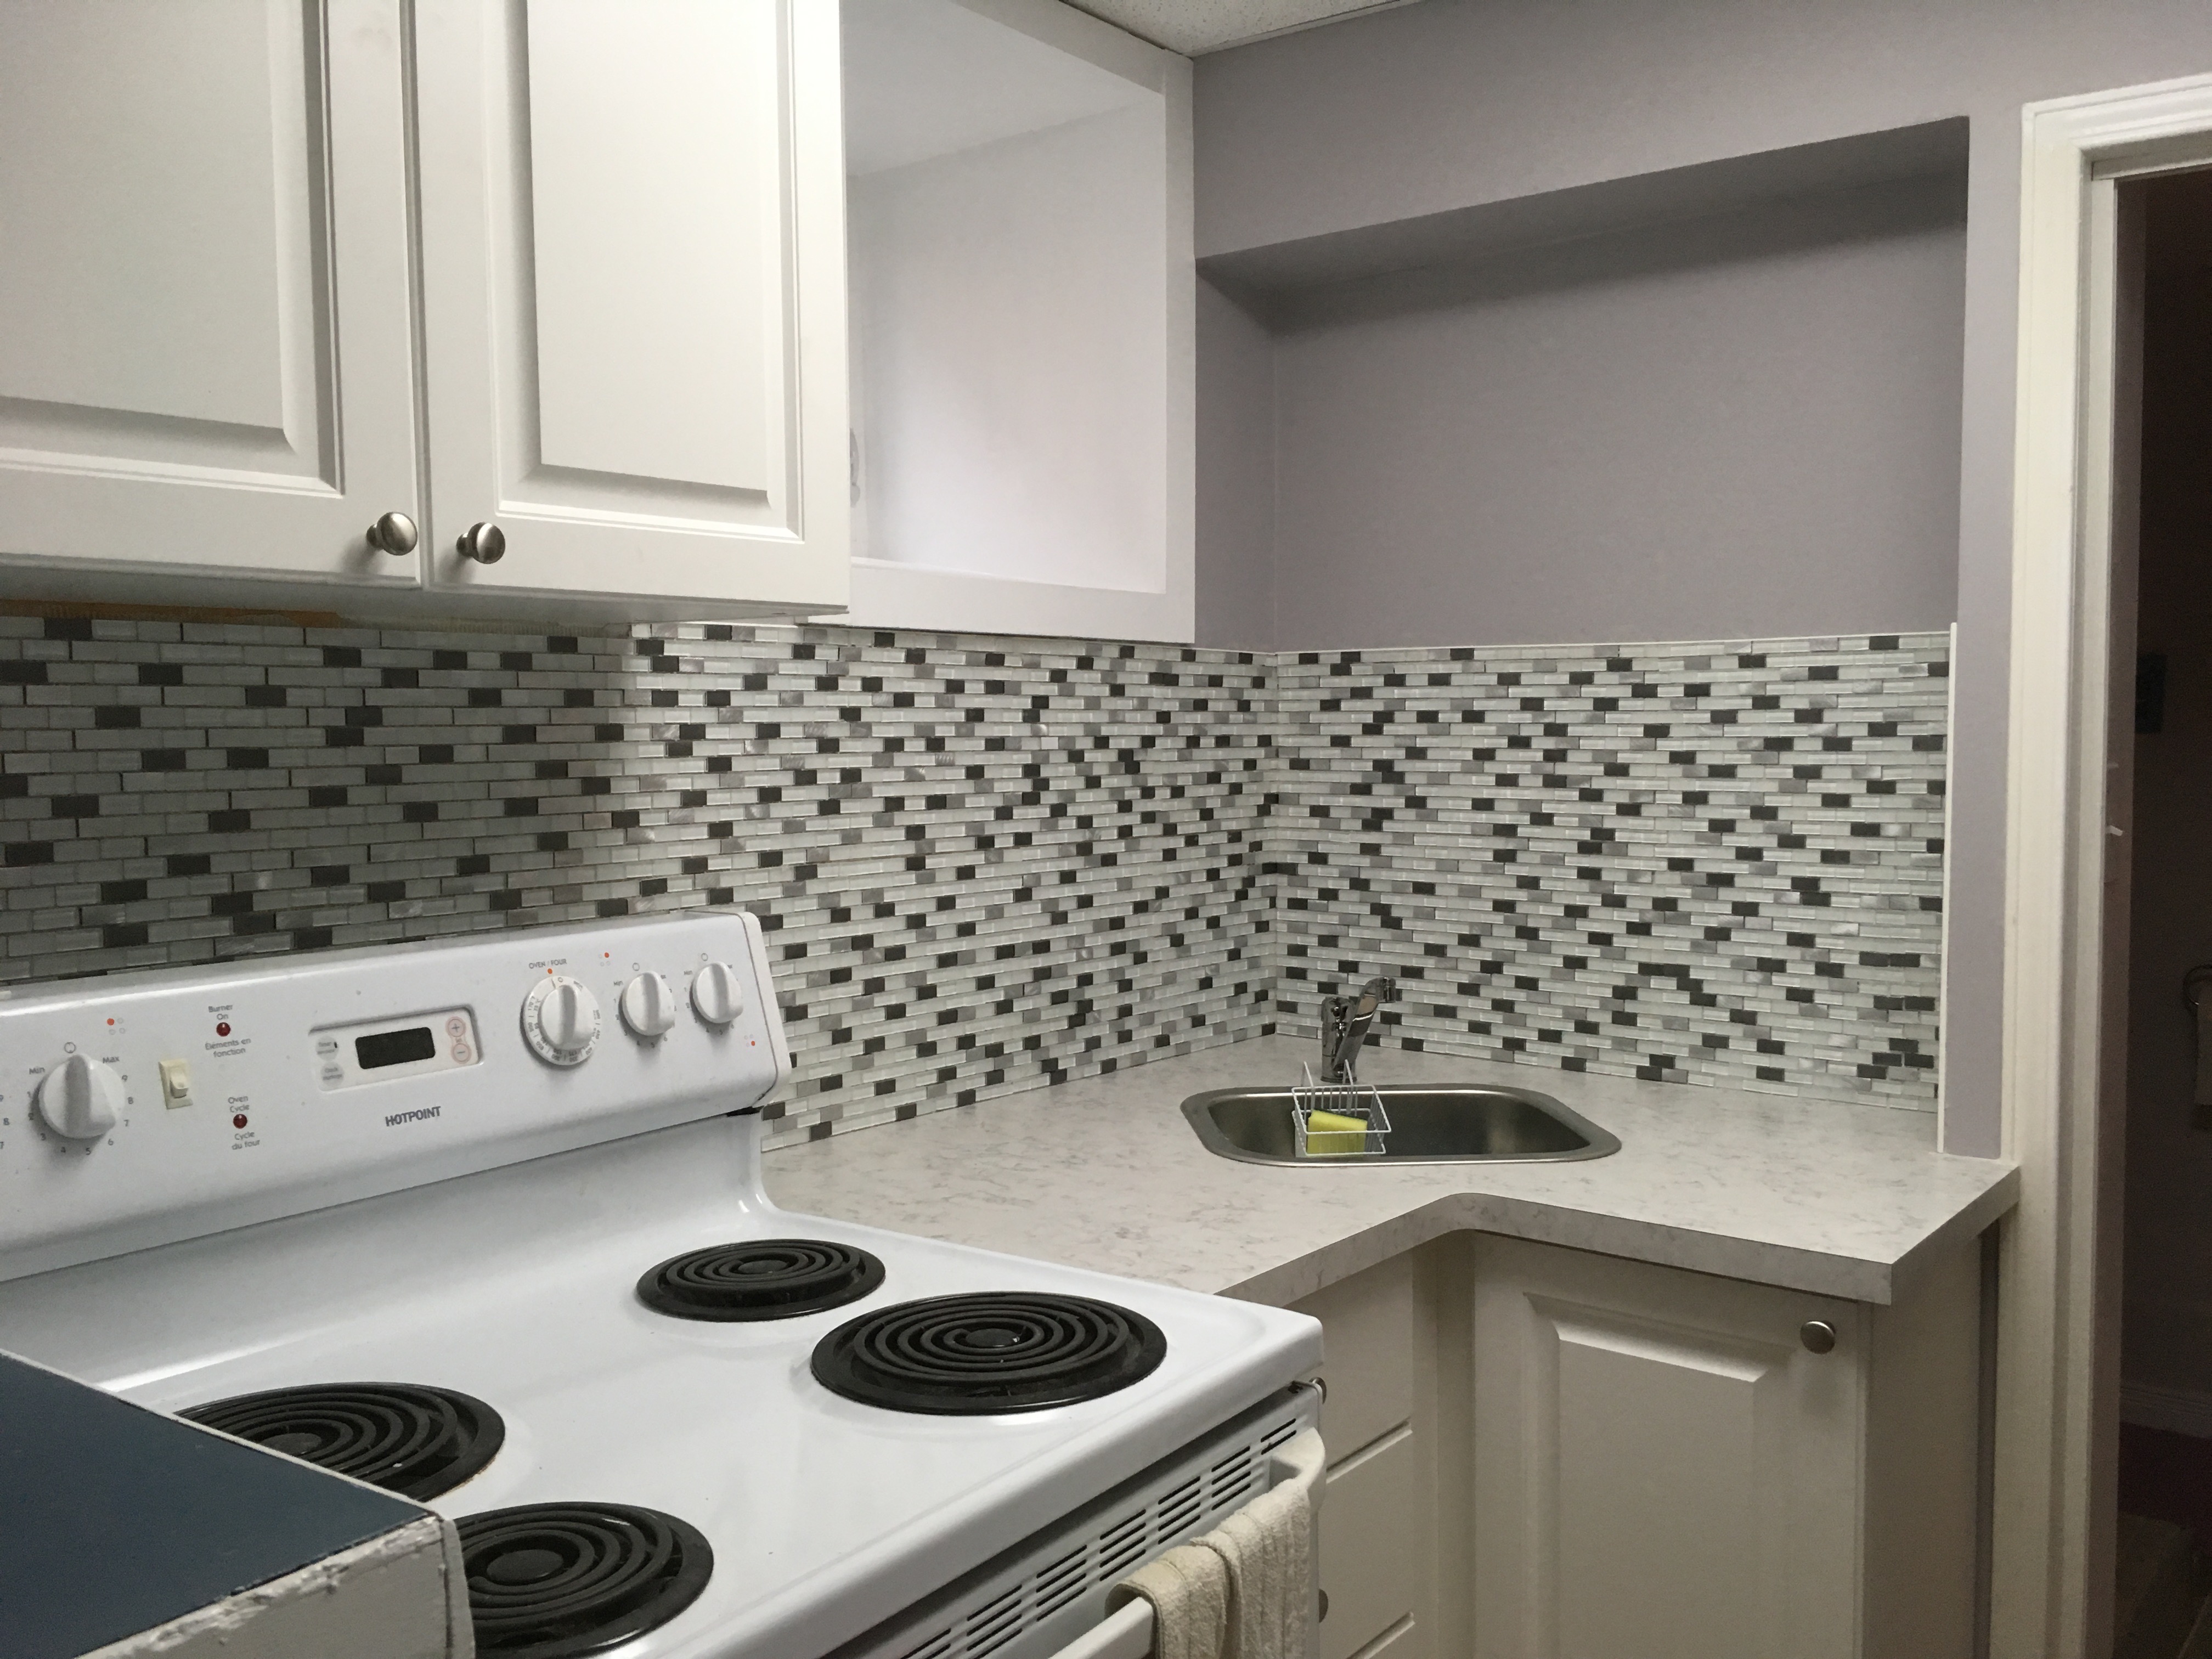
This one was interesting, it turns out that the little tiles are a real pain to deal with. Difficult to cut and difficult to grout. But, eventually:
Finishing Touches
All the little things, the trim round the door, the kick plates under the cabinets, caulking the edges and a few shelves.
