Basement Workbench
It’s time to revamp the basement. Of course I didn’t take any photos of how it used to look, or the (very) old work desk in the corner. So for now look at the repainted walls, new baseboard, fresh floor paint and a brand spanking new work desk.
One of my favourite expressions is ‘when you have a hammer, everything looks like a nail’. My wood working skills haven’t got past 2x4s and sheets so, of course, that’s what I turn to when building a bench.
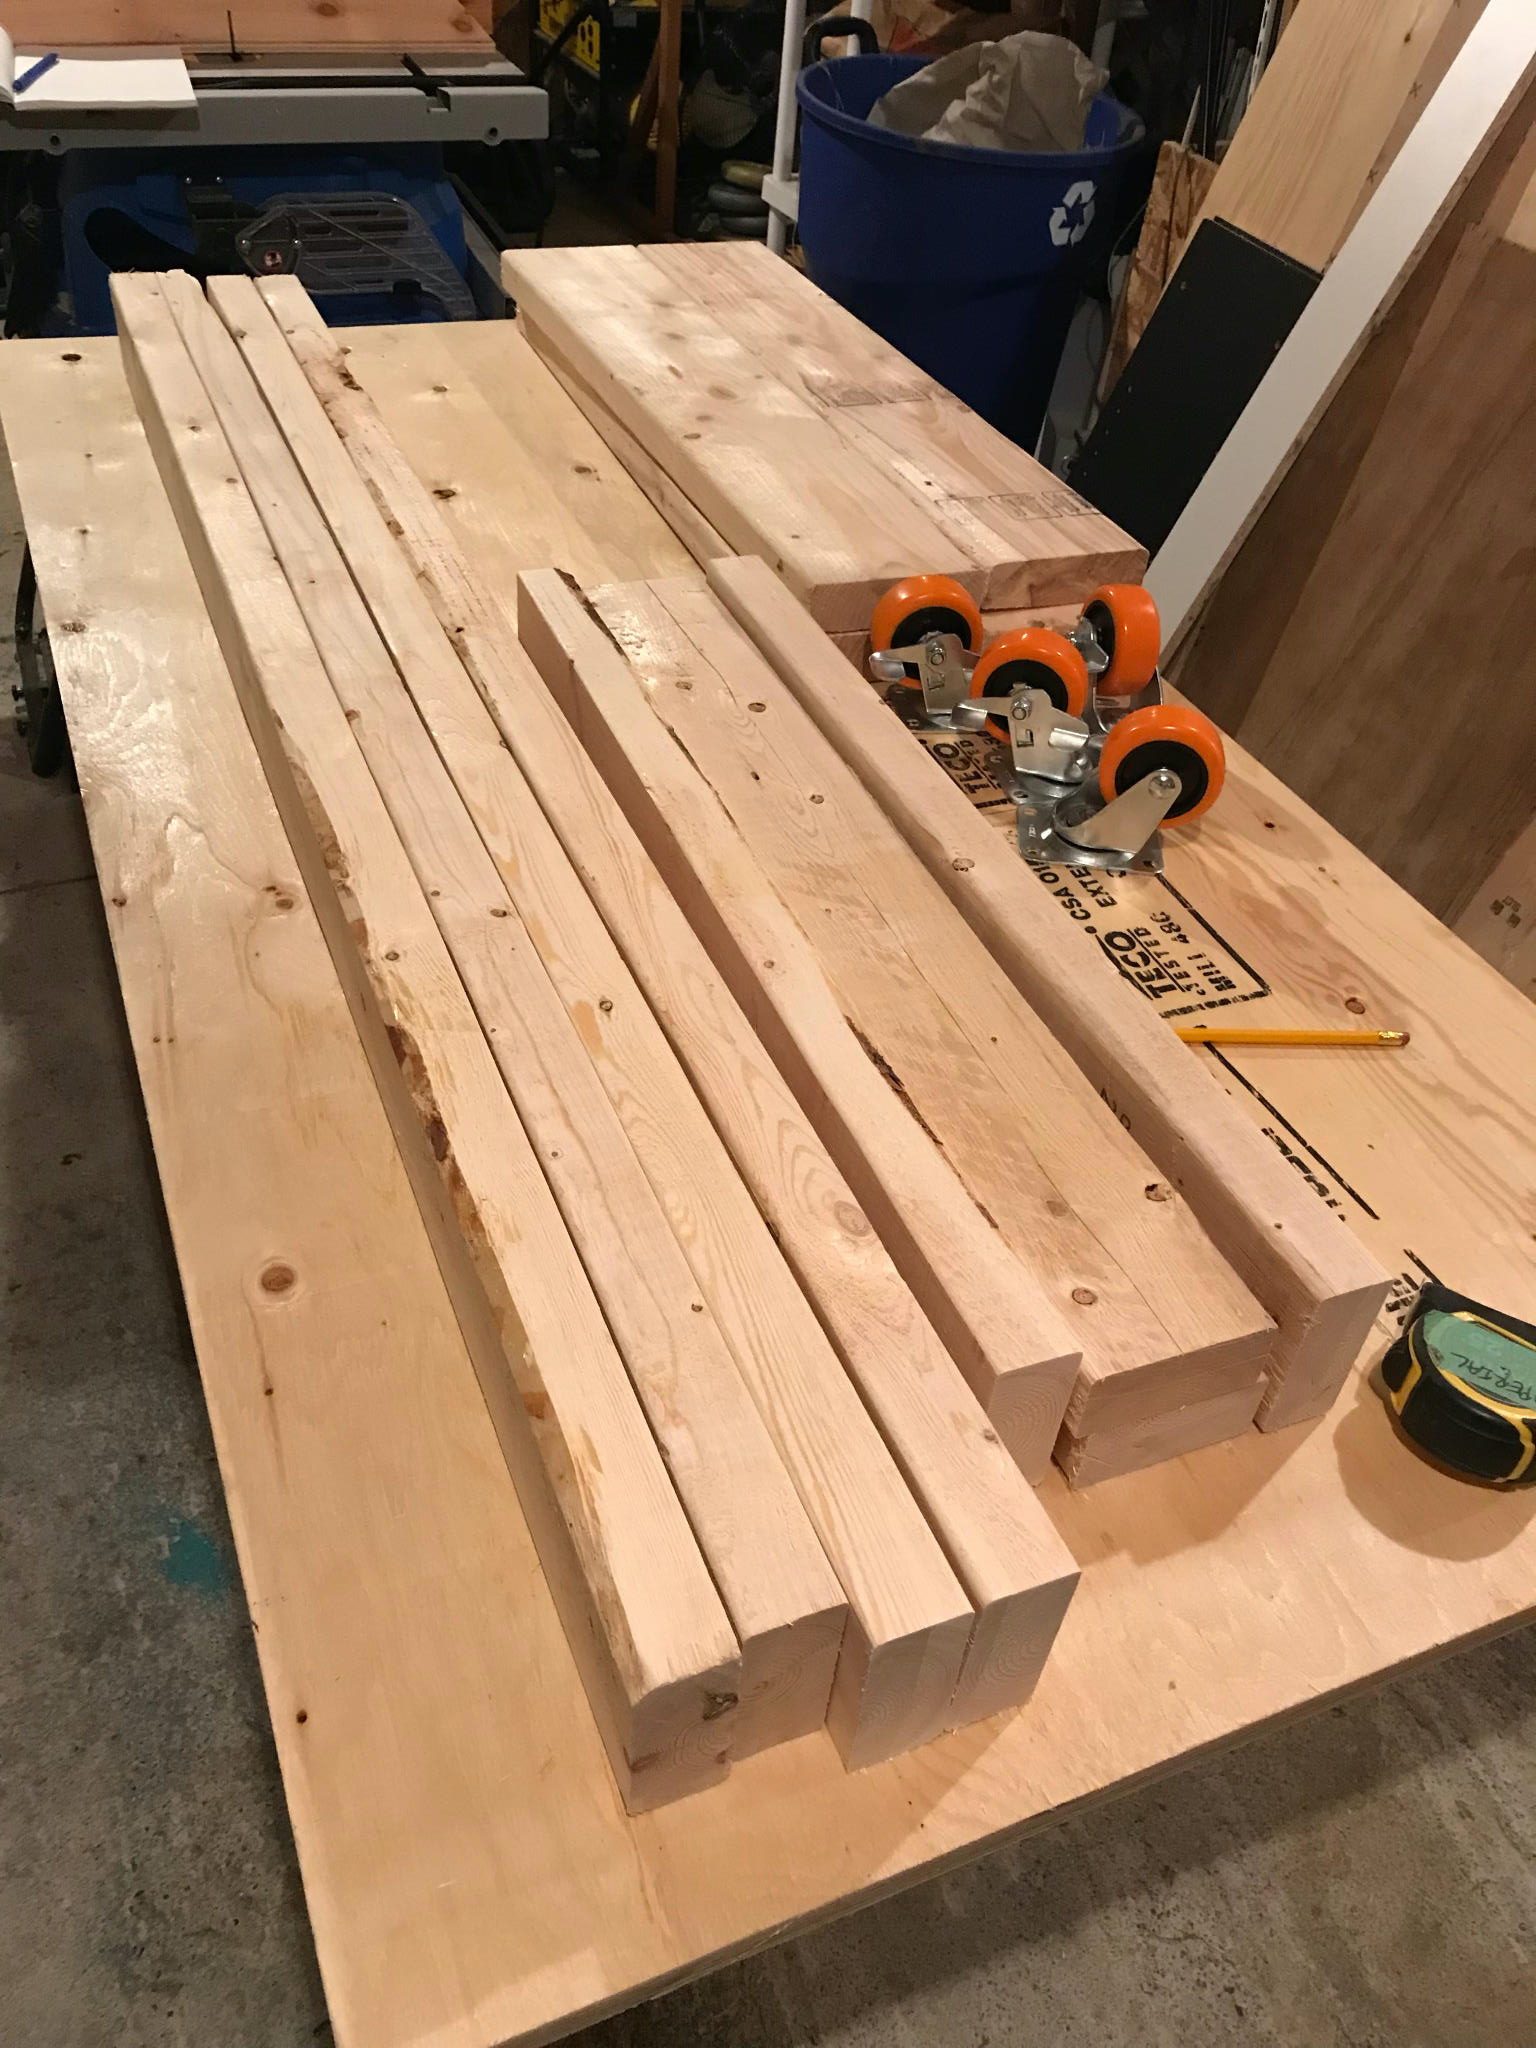
Ah, I do like a trip to Home Depot. In this case it had to be a specific big box hardware store as they have a rather large saw in store that will dice and slice a 4’x8’ into smaller sections. Since we only have a small hatchback that’s essential. For this project I went with 3/4 plywood for the top (nice and solid), some 2x6 for the corners, a smattering of 2x4s to keep it all together, and a bit of luxury, some castors.
The first job was to take the rough plywood and give it a good sand. It got the powered sander, two grits and then a hand sand. no pictures, so you just have to imagine a lovely smooth top.
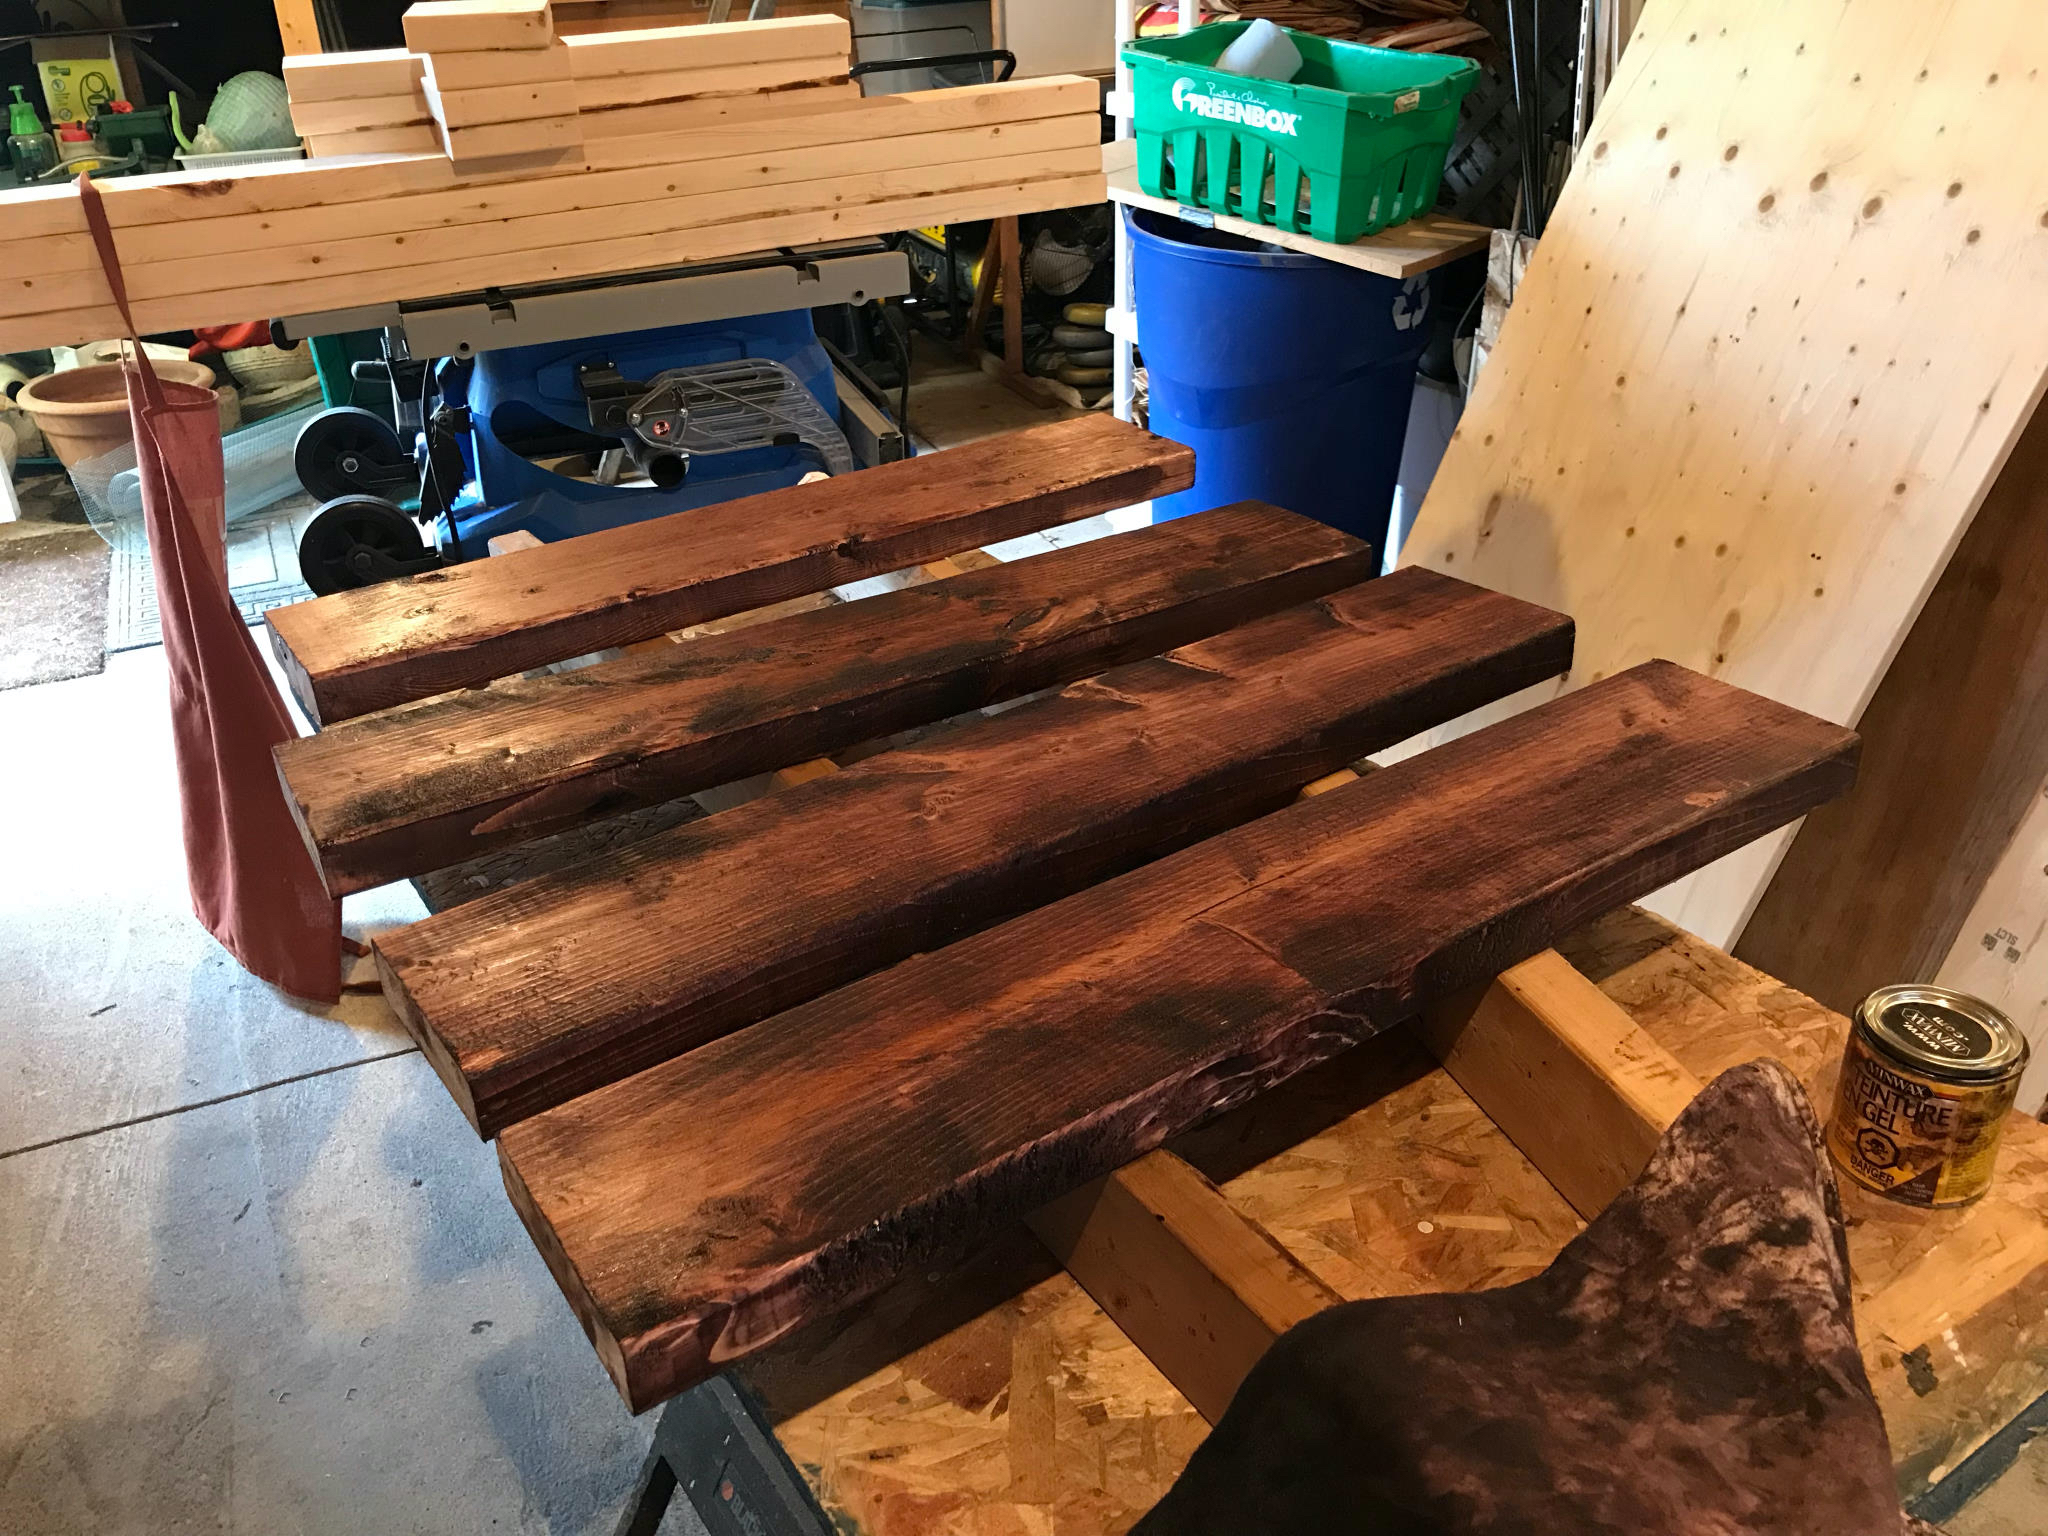
For reasons, I have decided that all workbenches I make should have the corners in a different colour from the rest. So first up was the cut the uprights and give them a stain. I have a collection of old stains and thought Brazilian Walnut would do the job.

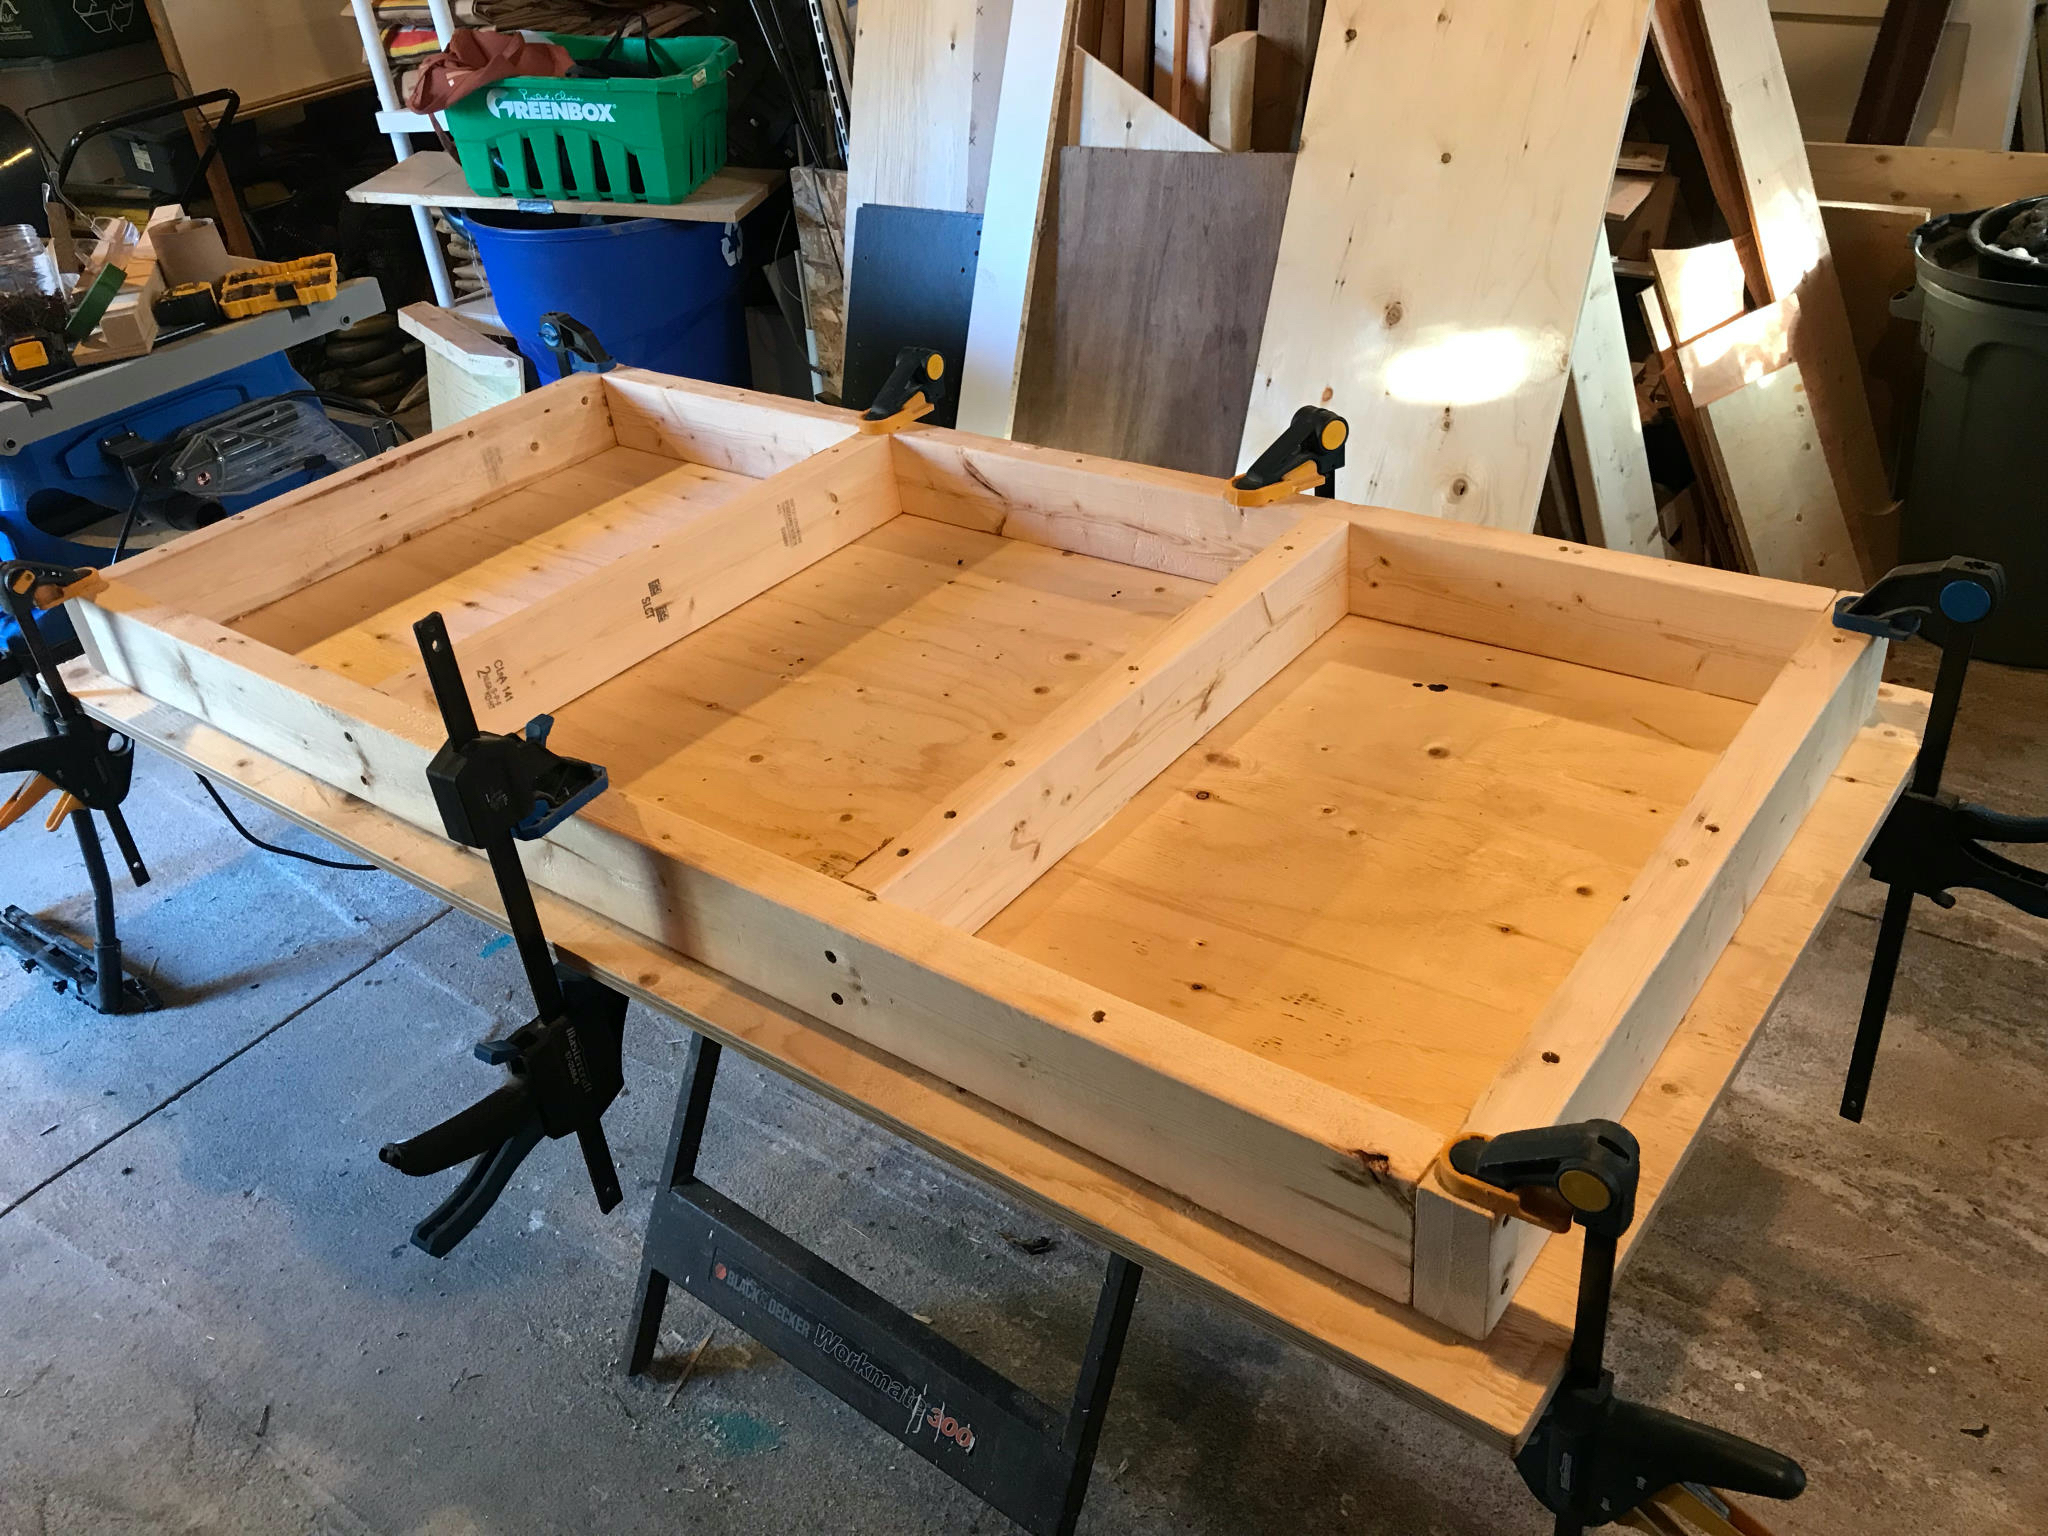
The two shelves are made of 2x4s with some supports.
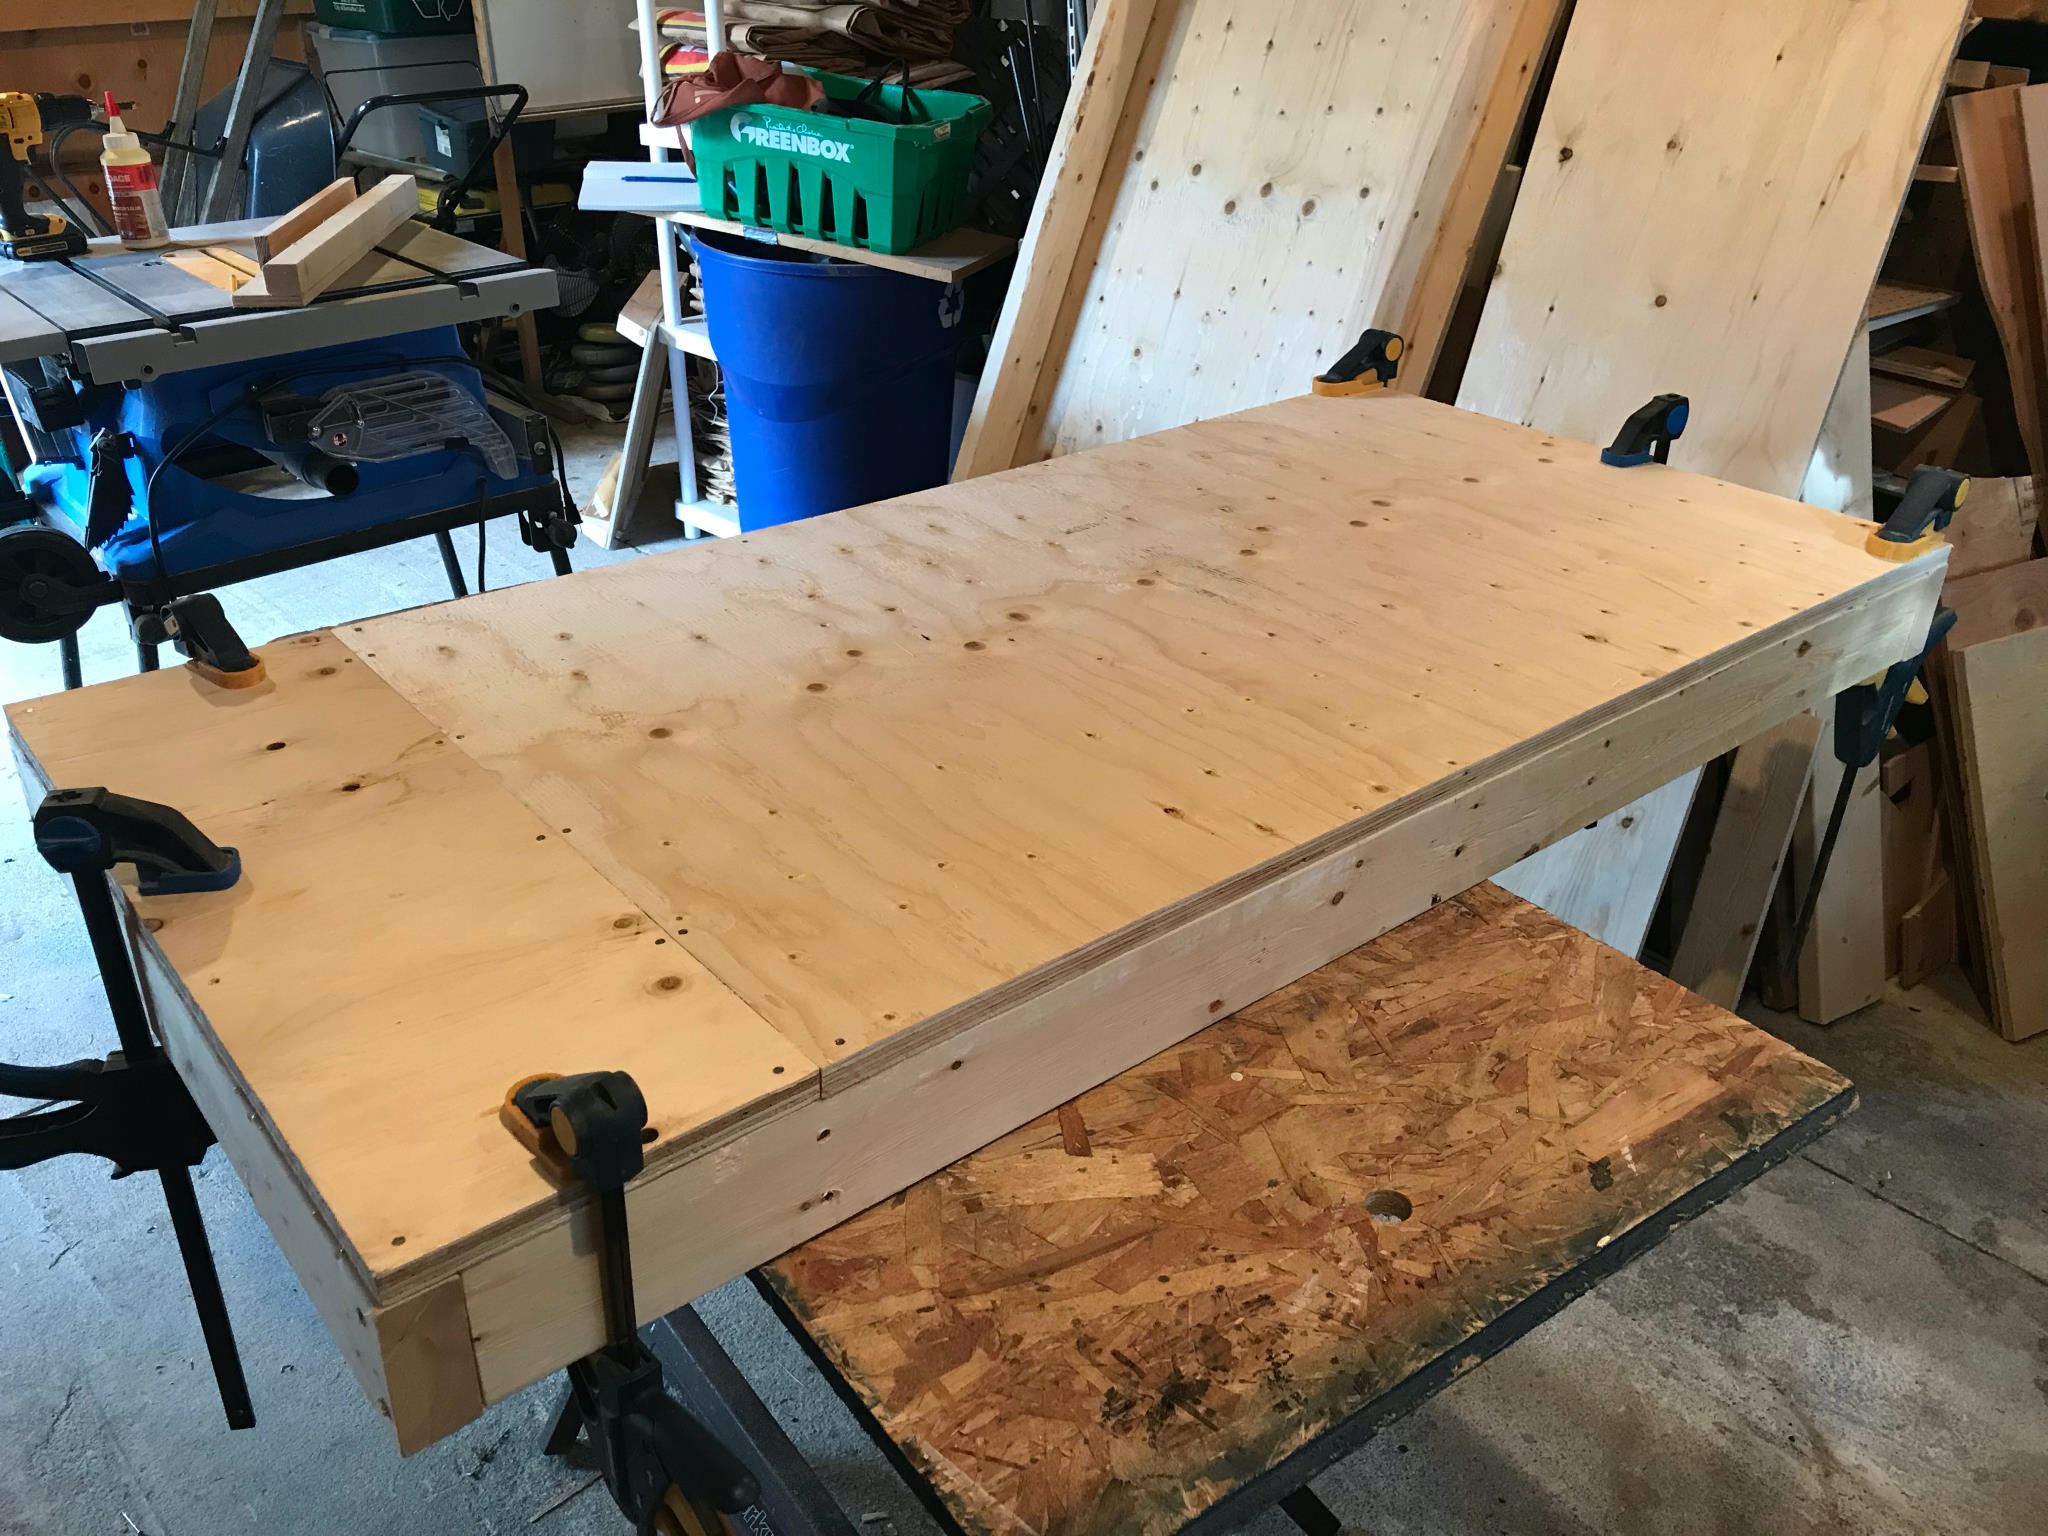
The bottom shelf has two offcuts from the plywood sheet screwed down. The top shelf is the one on display, so I glued that so there would be no screws or nail holes.
With the top done, the uprights stained and the bottom shelf finished then its just assembly time.
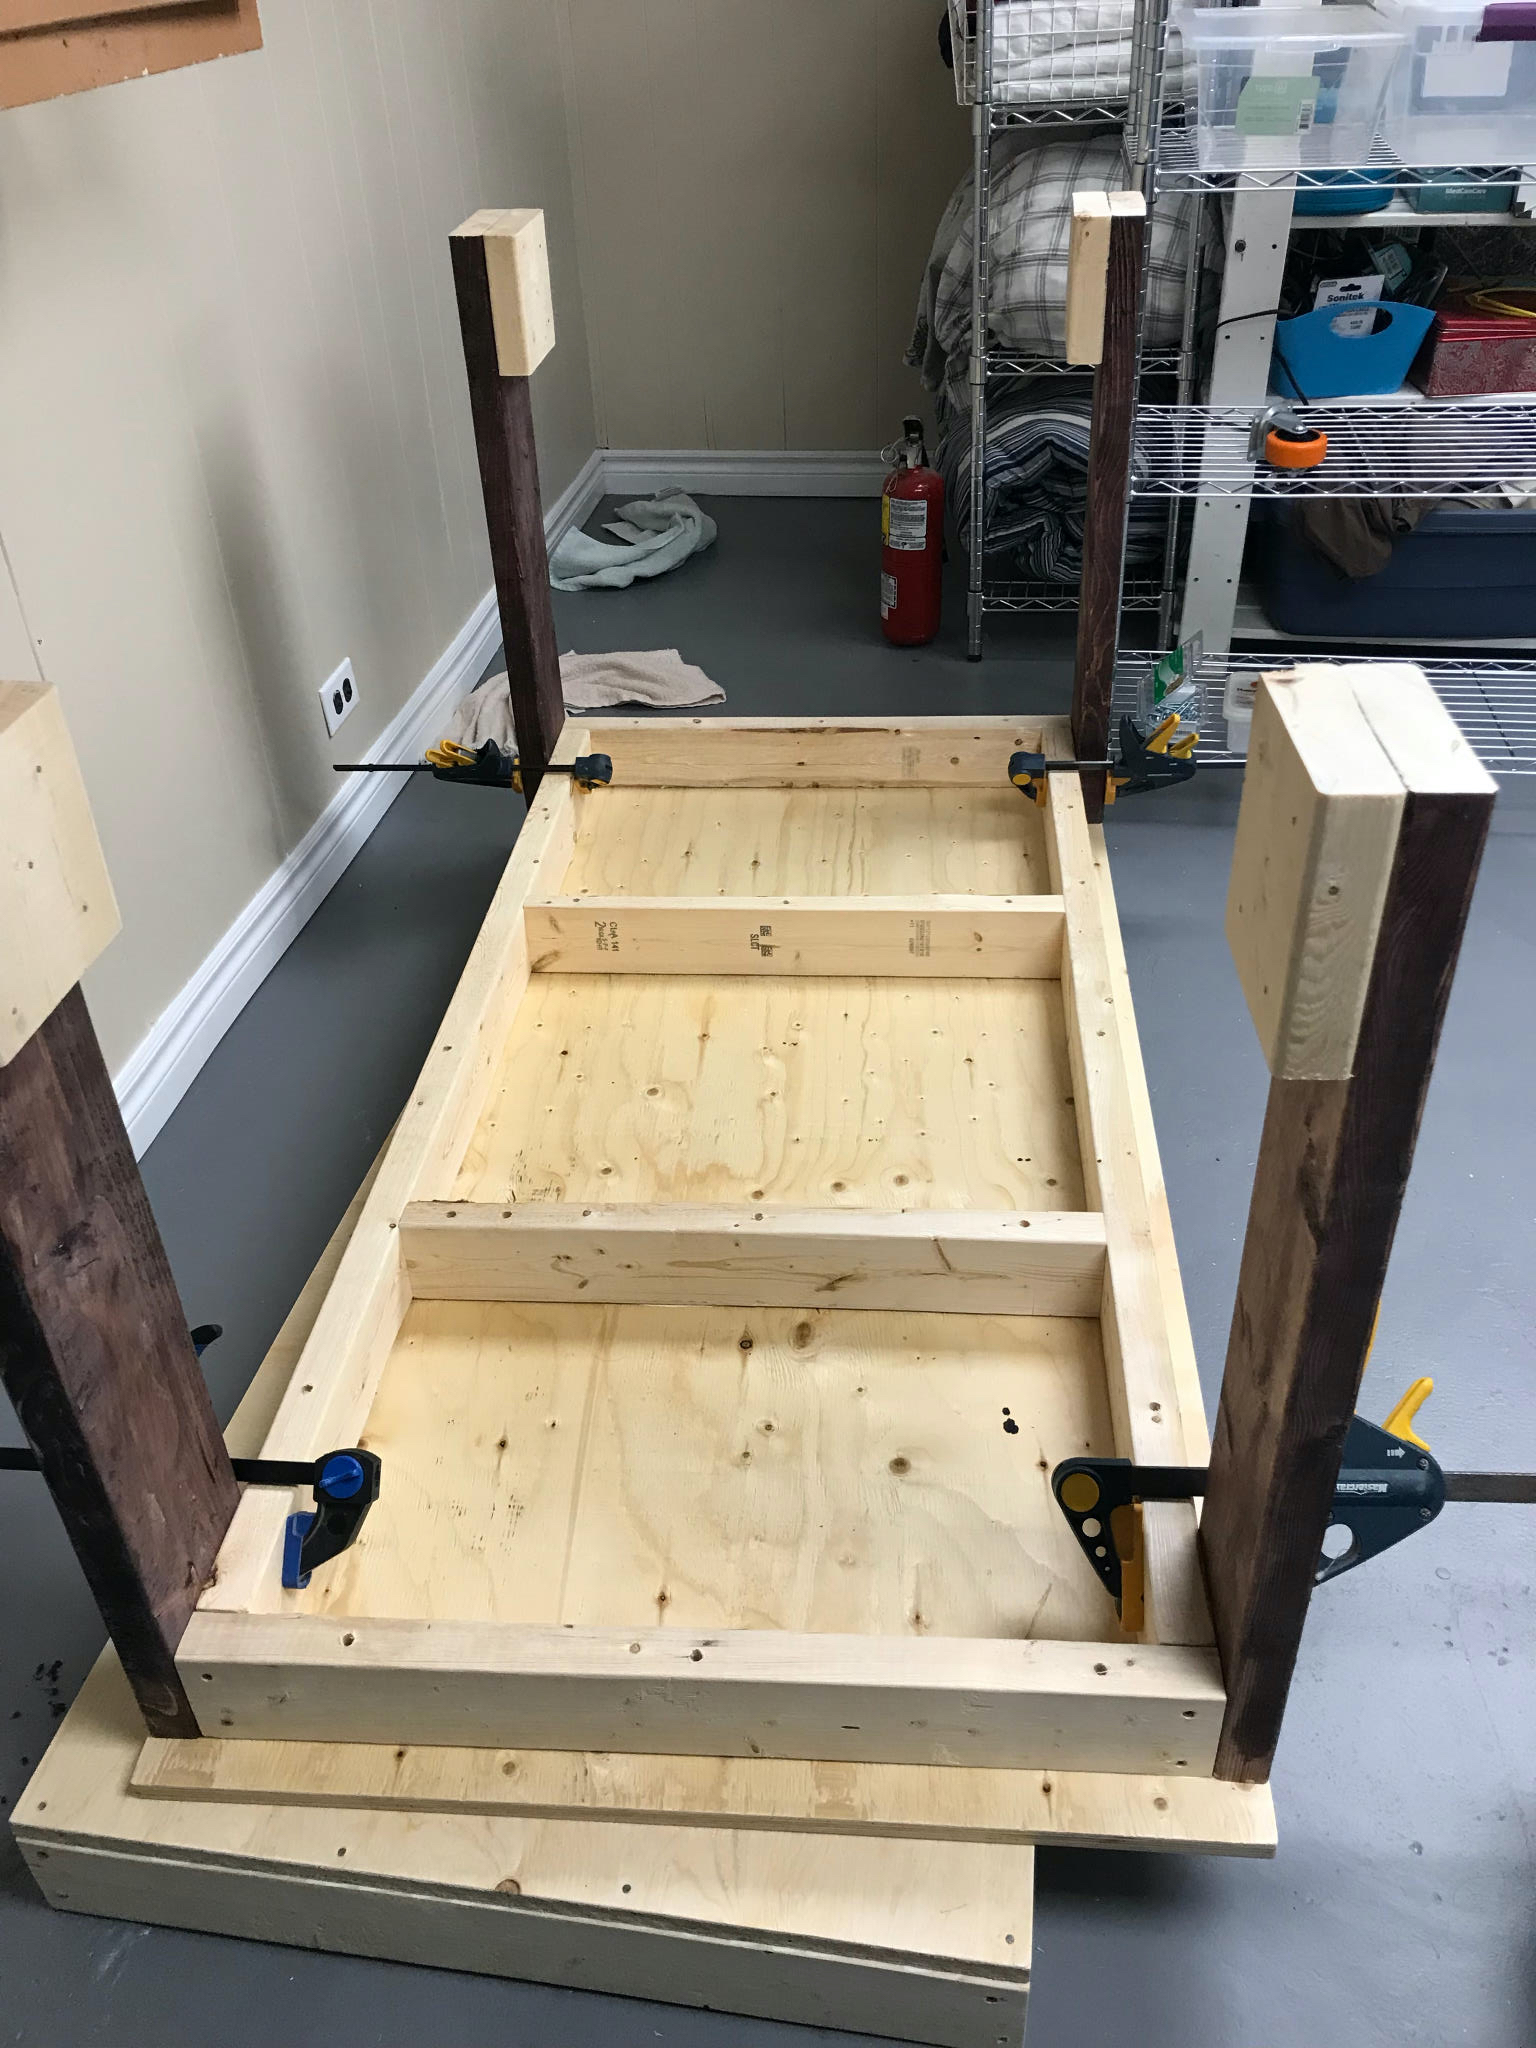
I was a bit concerned about getting a fully assembled bench through the doors and down the stairs so thought it best to assemble in the basement. The original plan was to put the uprights in the corners. Only I also wanted the screws going in on the inside so they wouldn’t show on the outside, and that just didn’t leave enough space. So now there’s a small overhang on the edges.
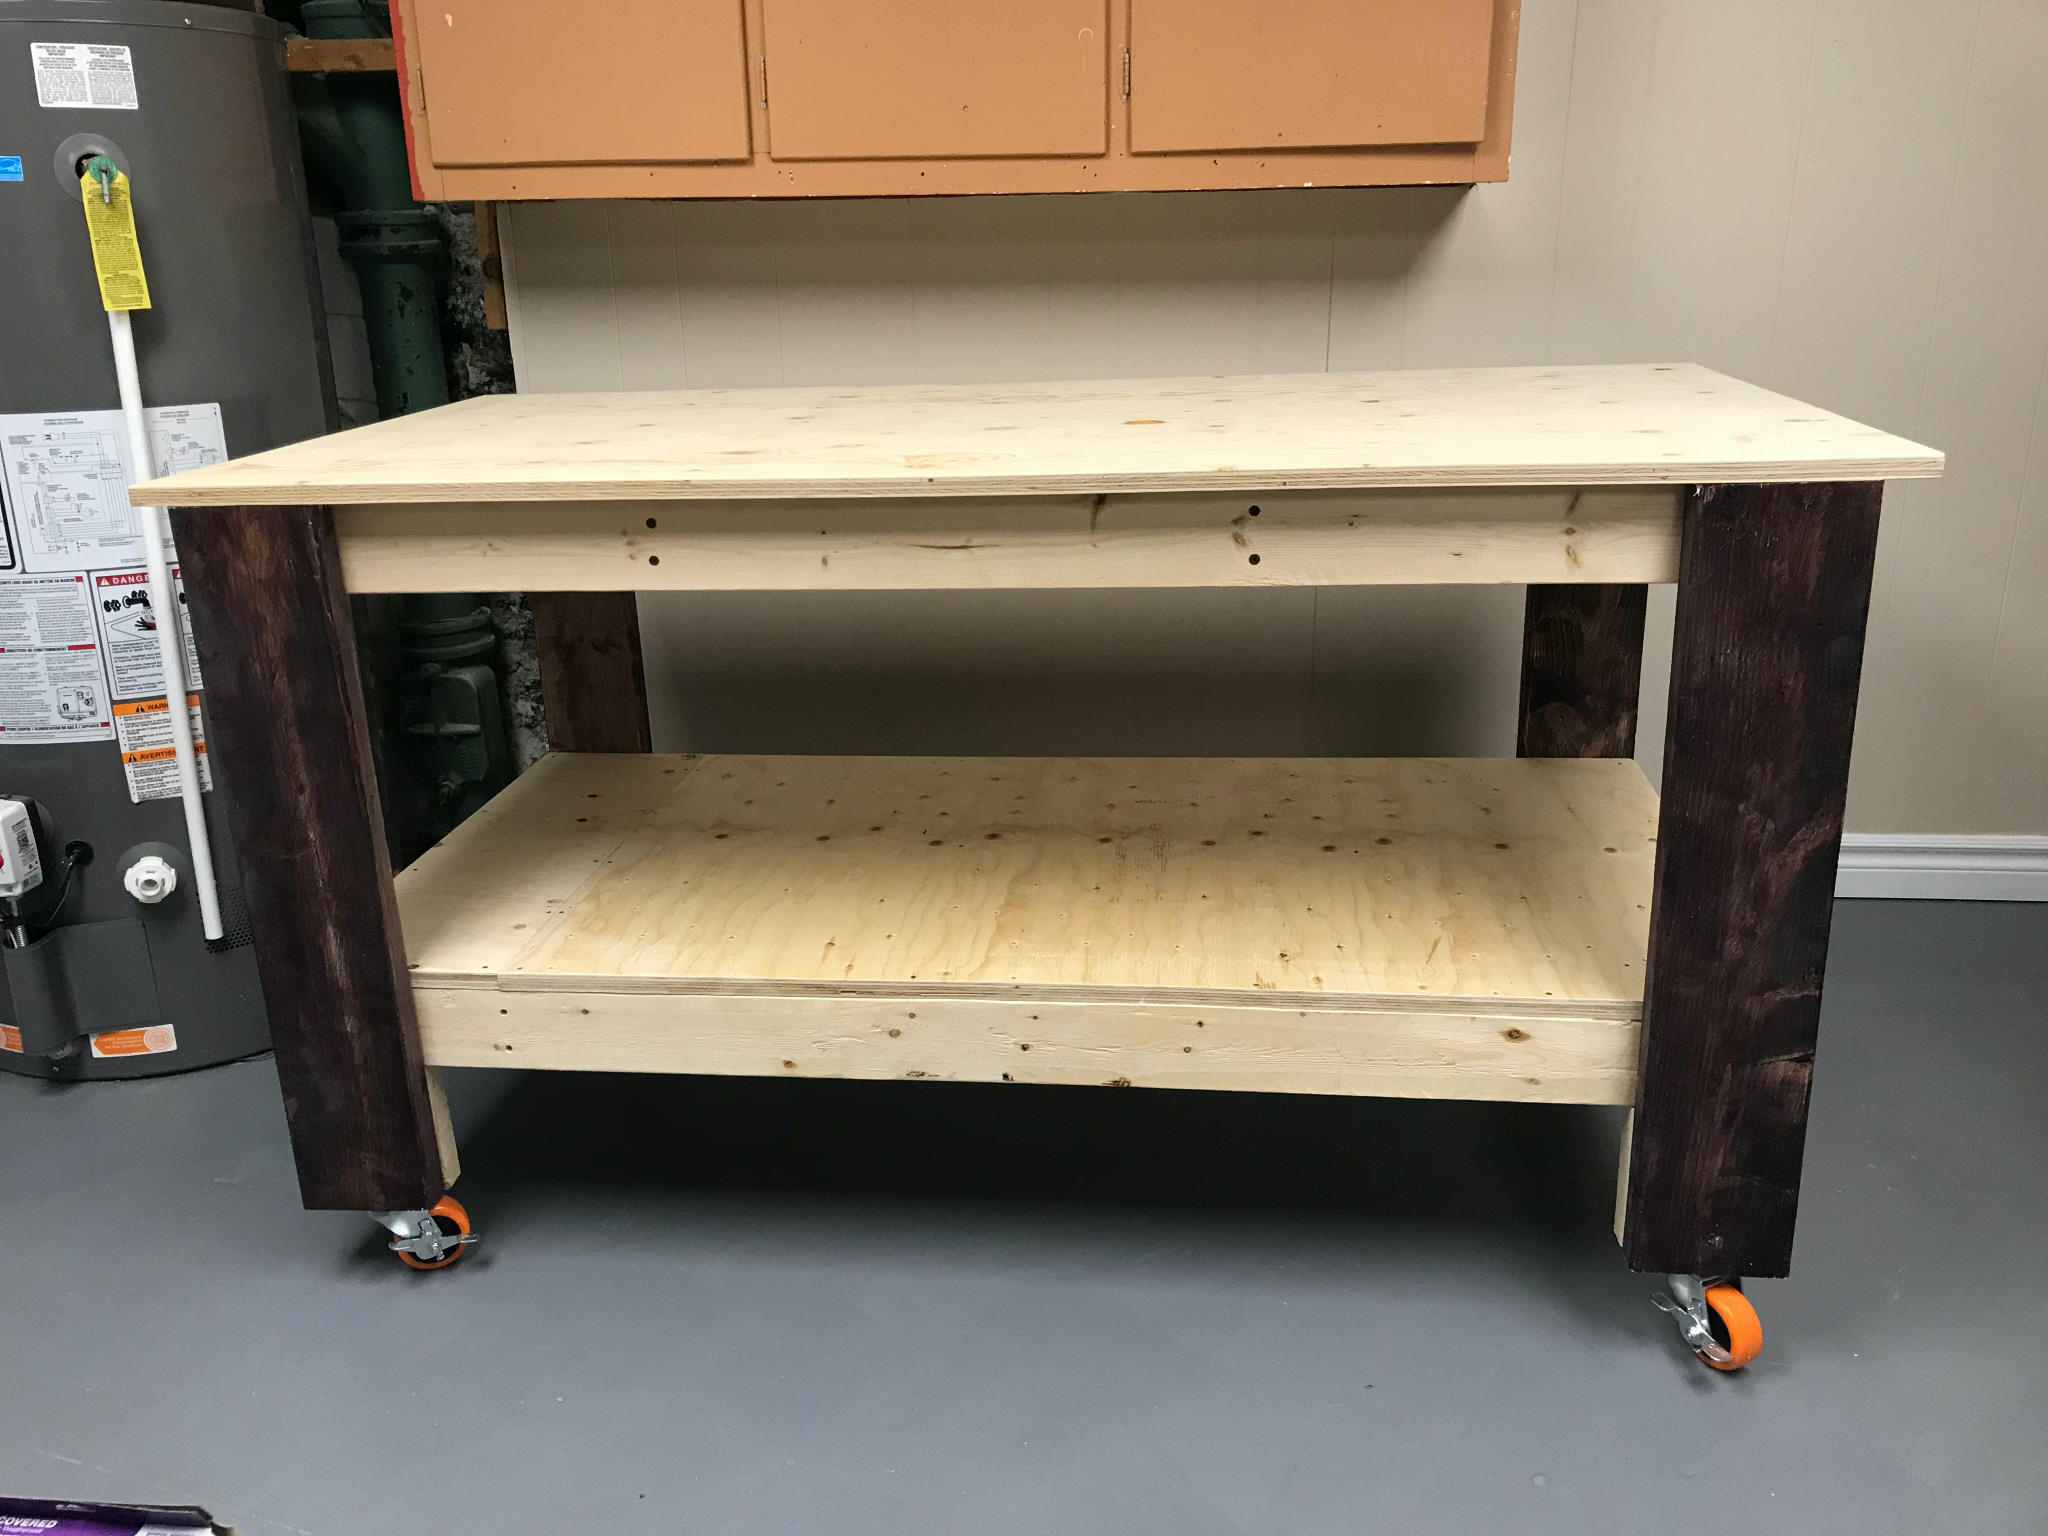
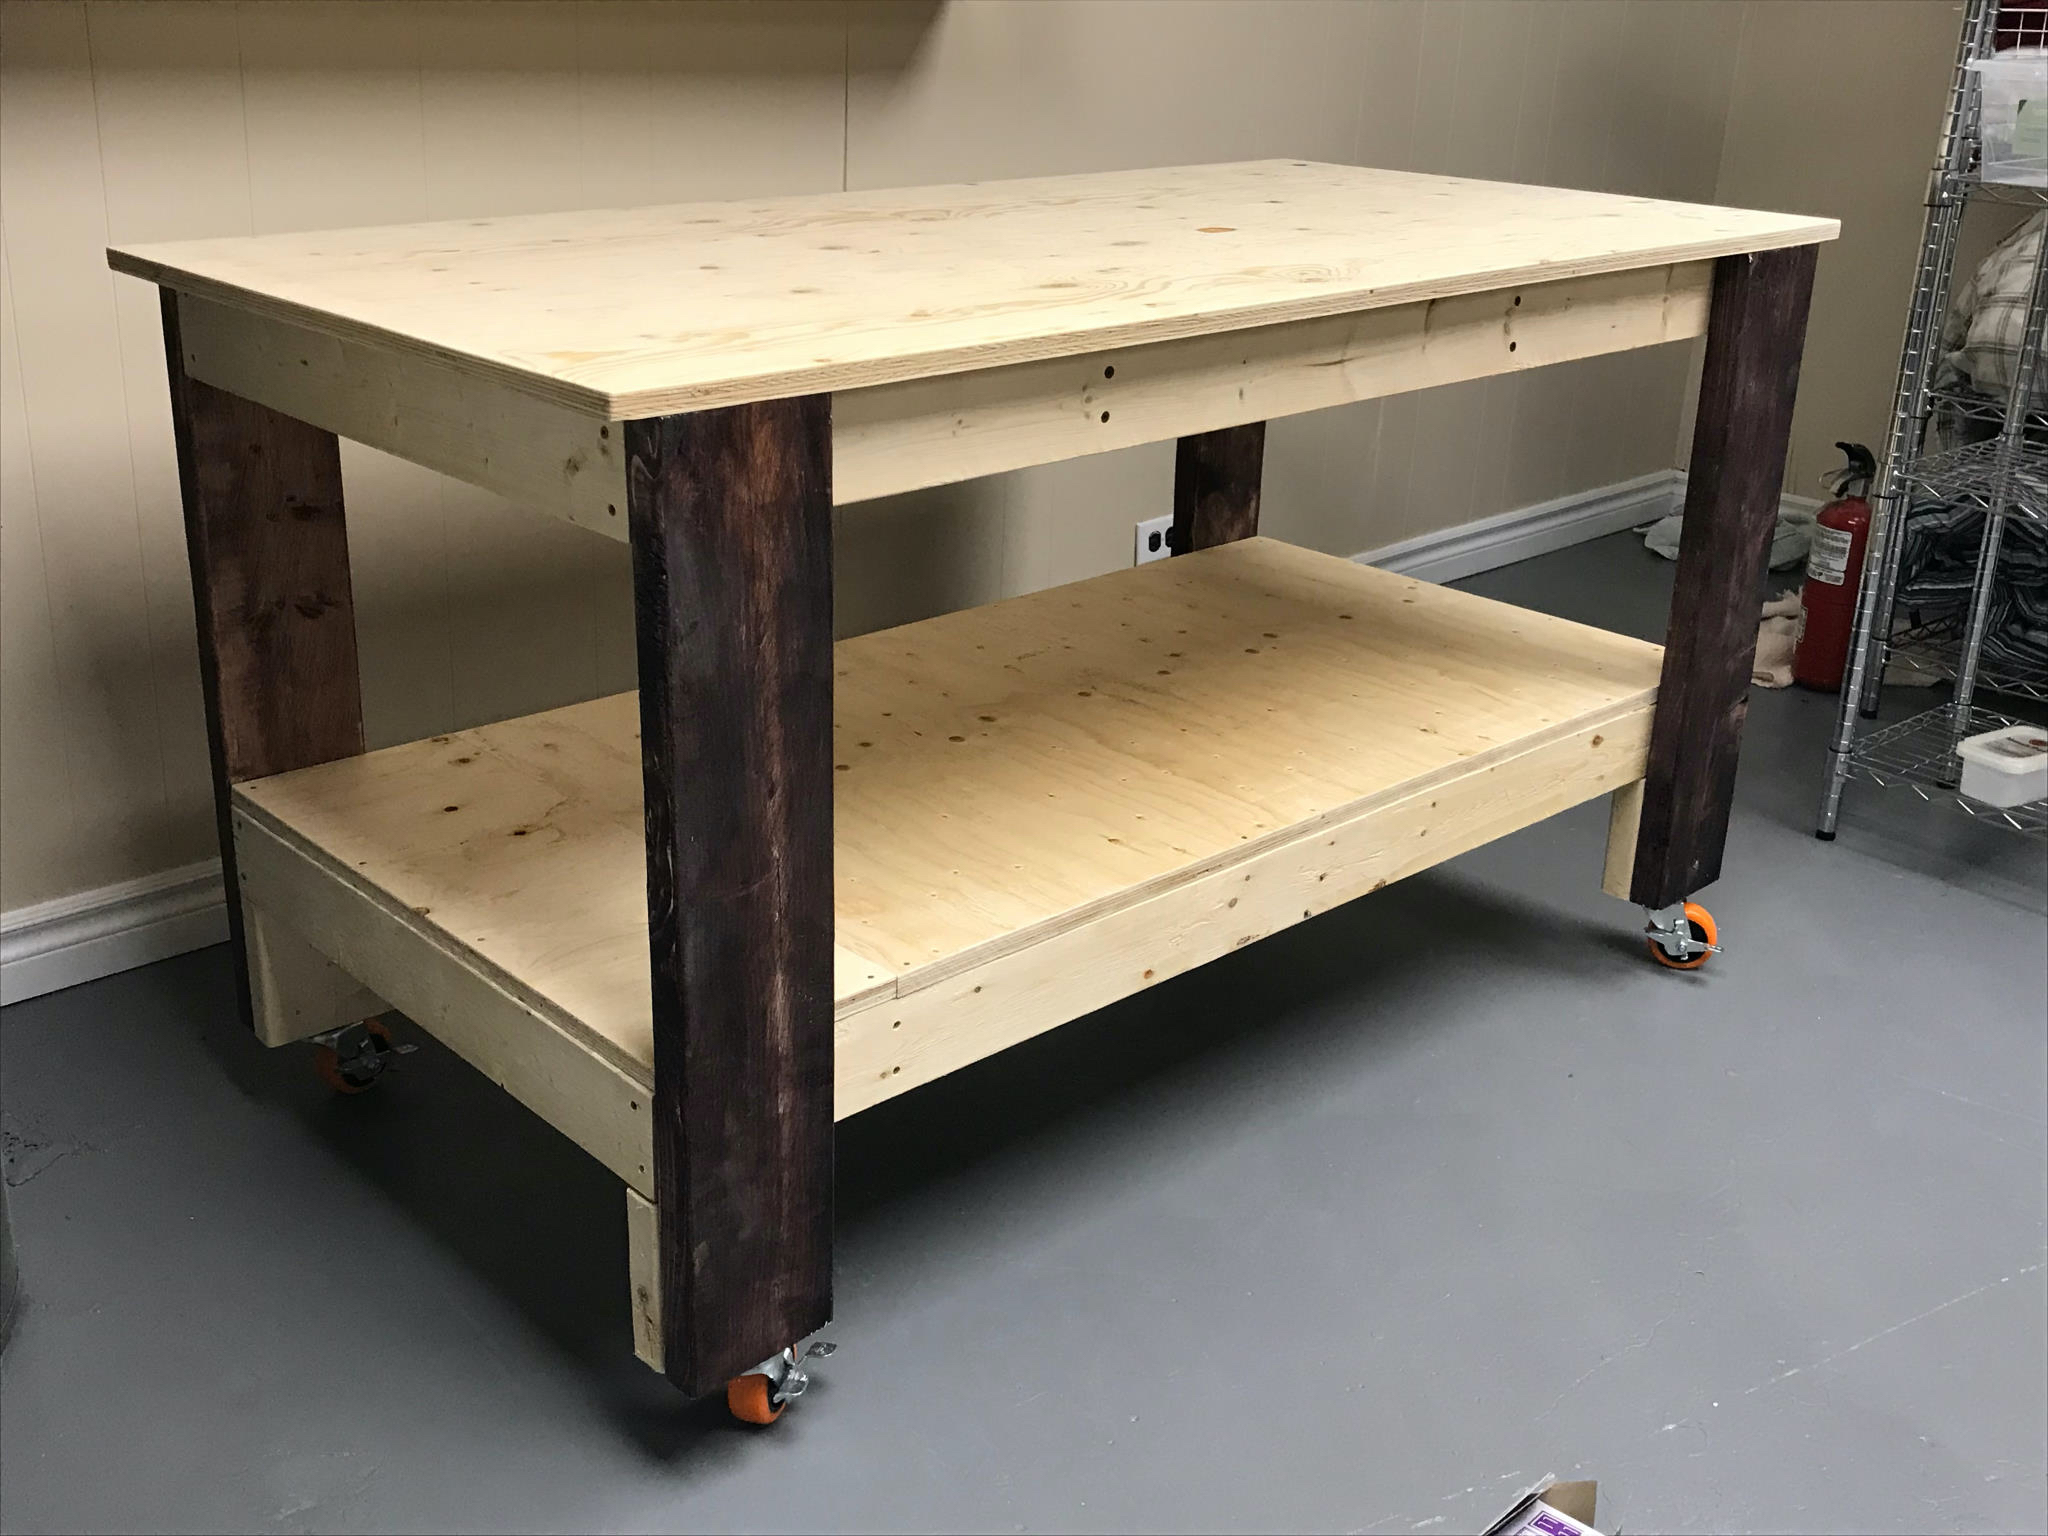
The castors went on, then it was flipped and the bottom shelf added. I also put a few coats of varnish on the top. The final bench shows a small improvement in quality over my last one, as there are no screws/nails showing on the top or the upright.
And it spins round and round beautifully.