Stair Gallery
We converted the attic stairs in to a gallery.
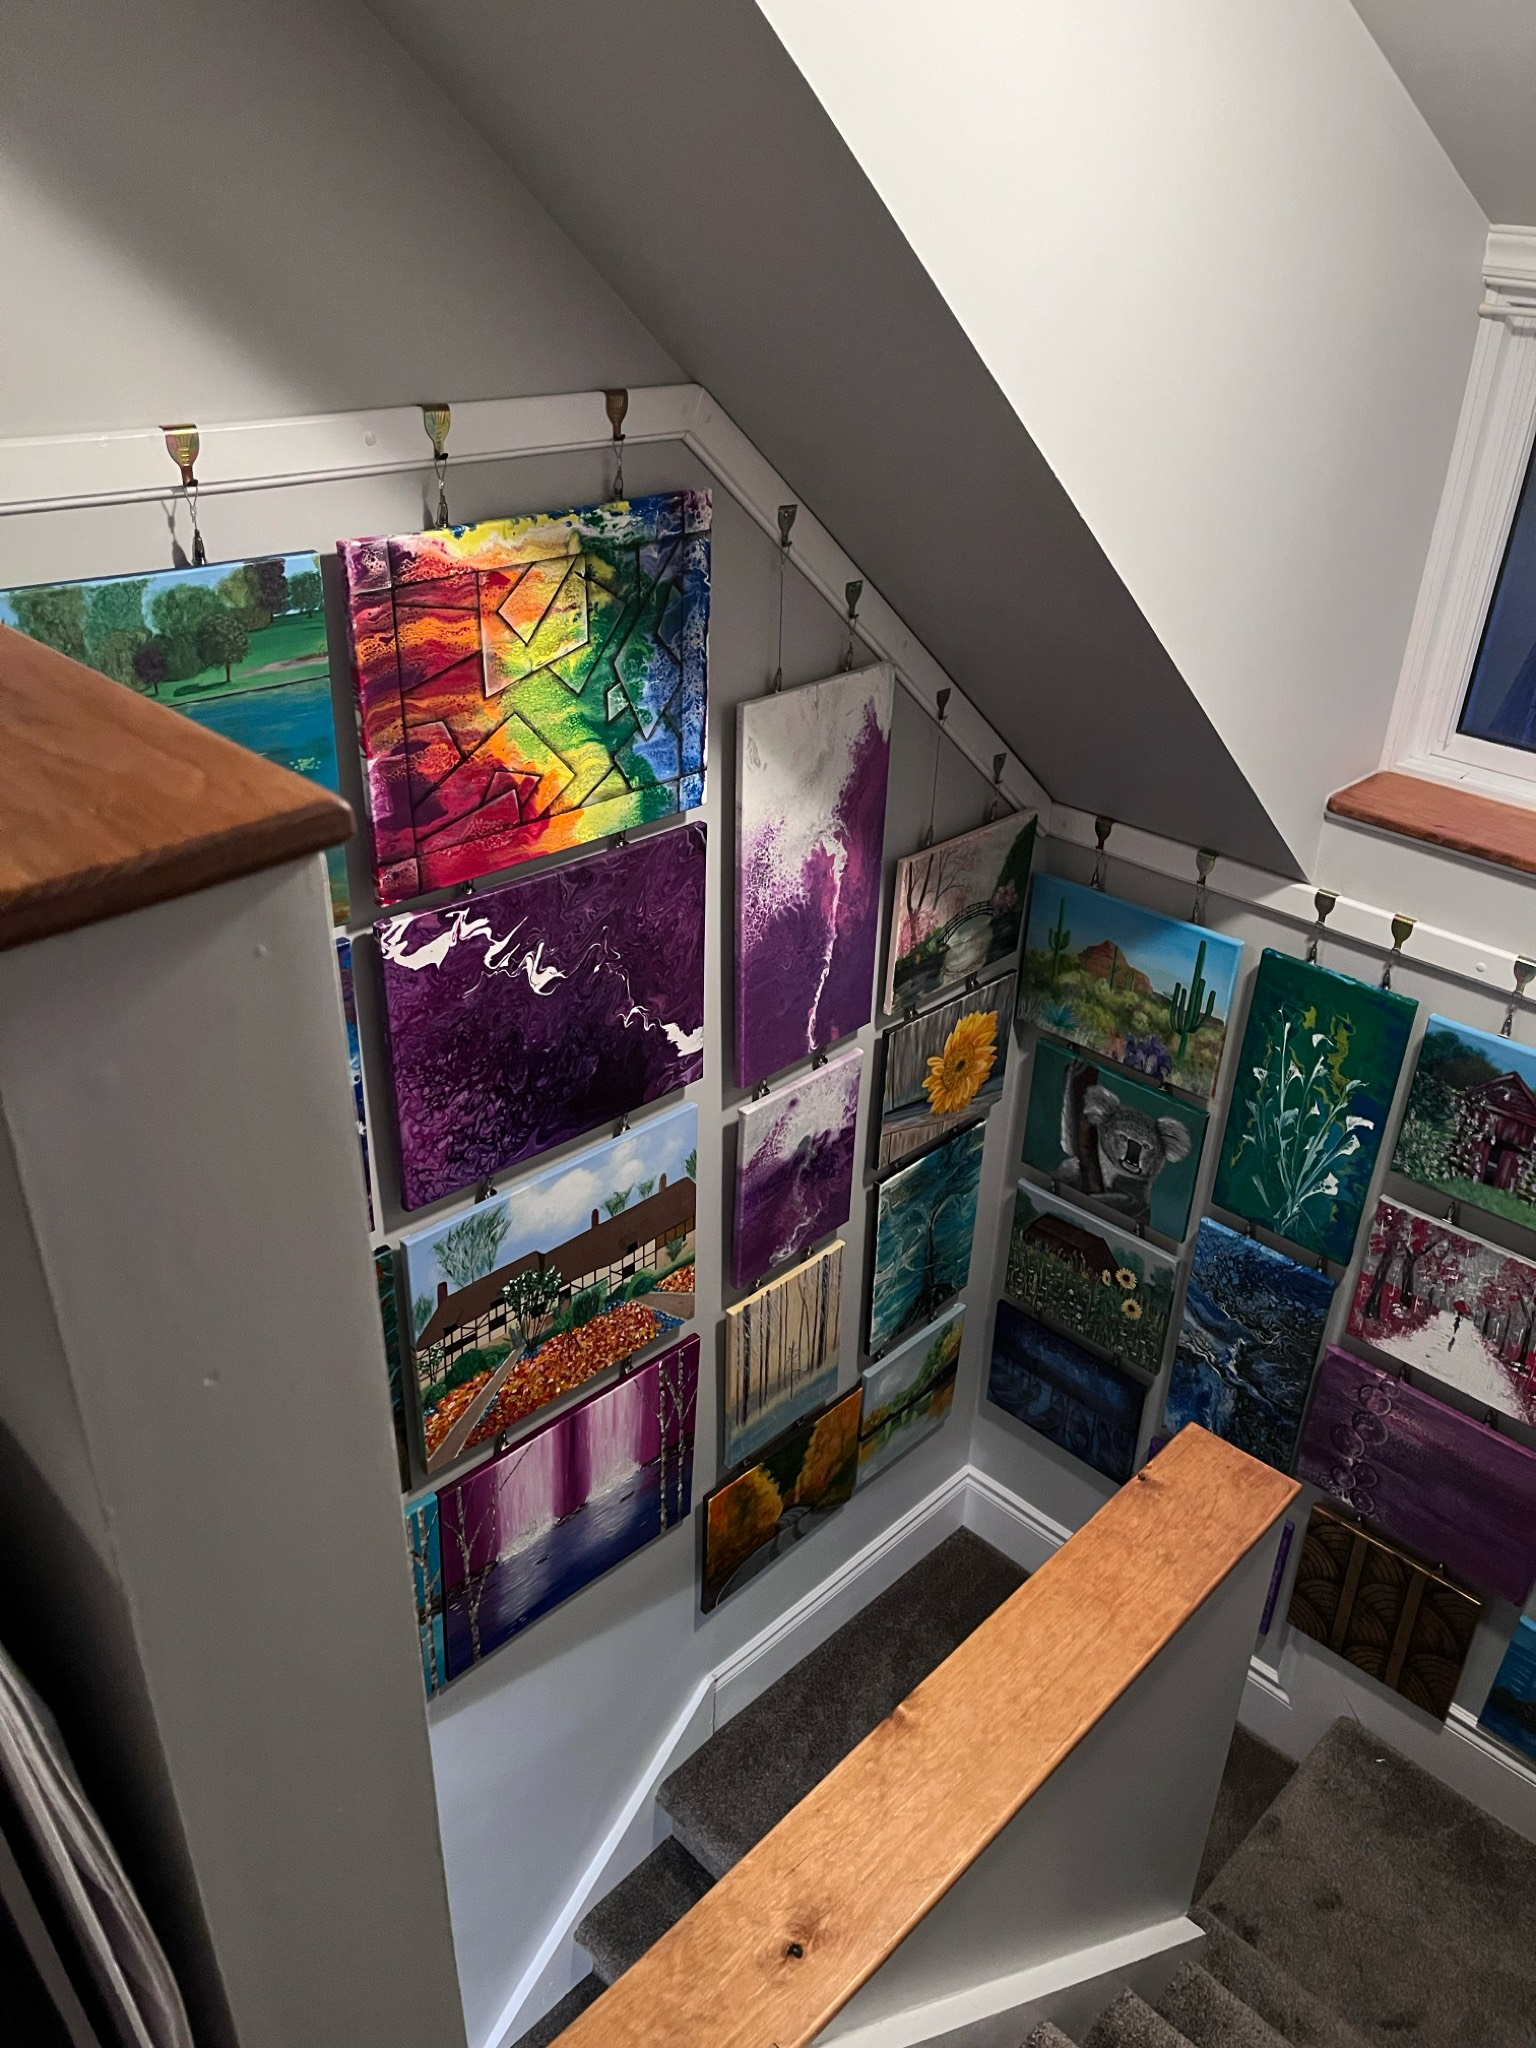
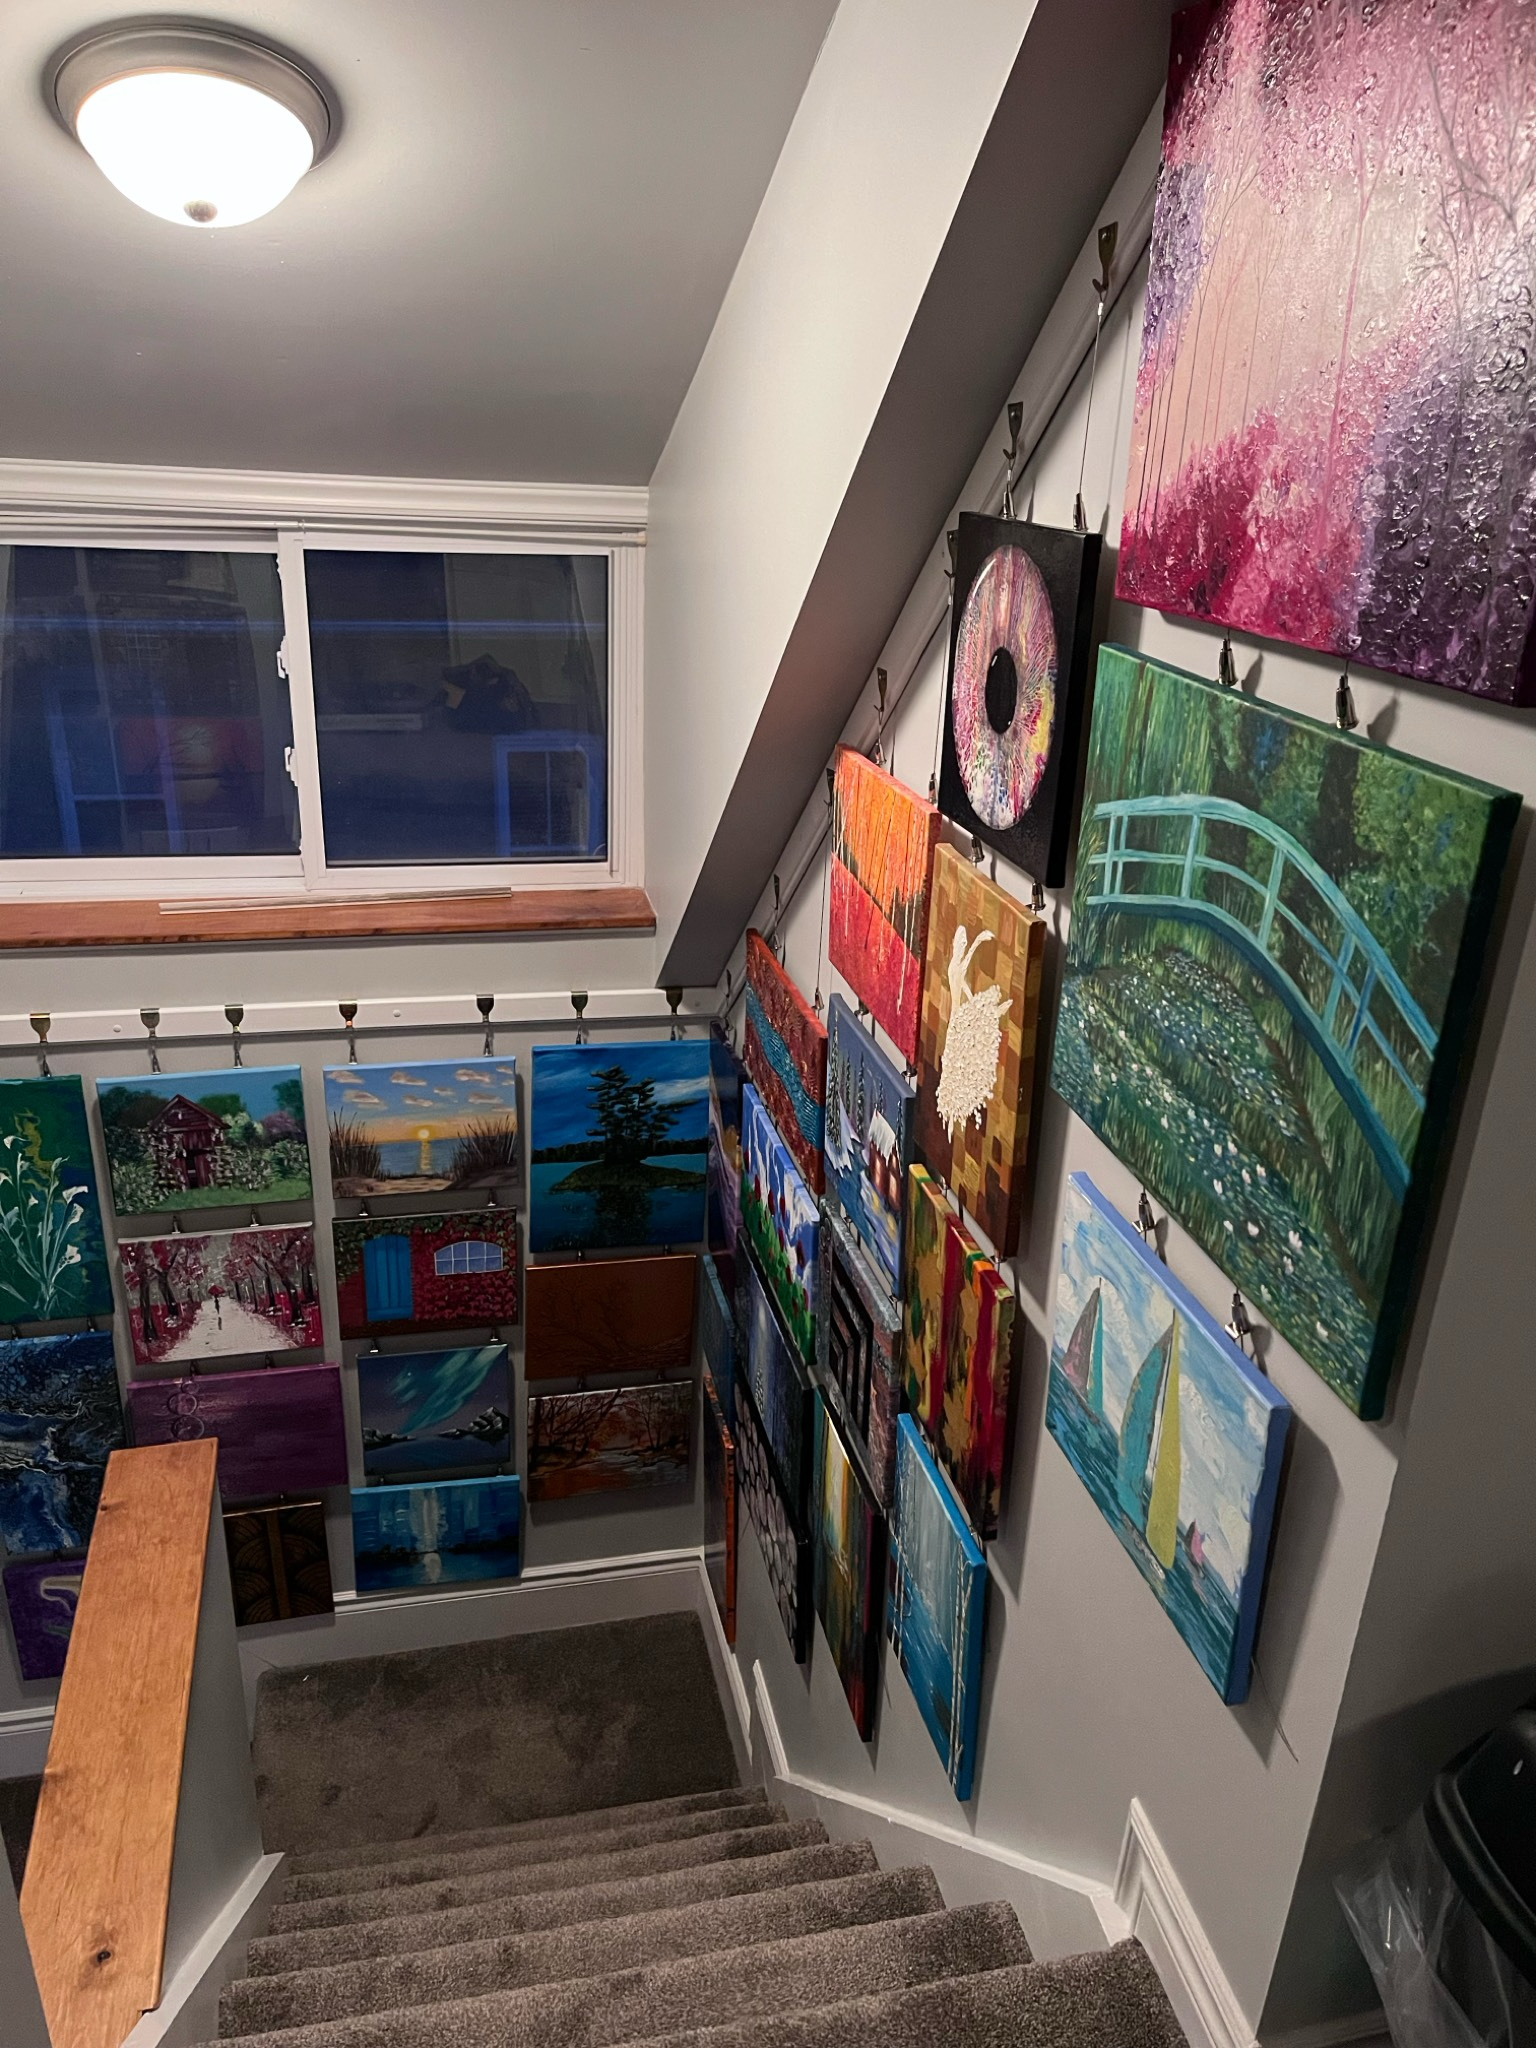
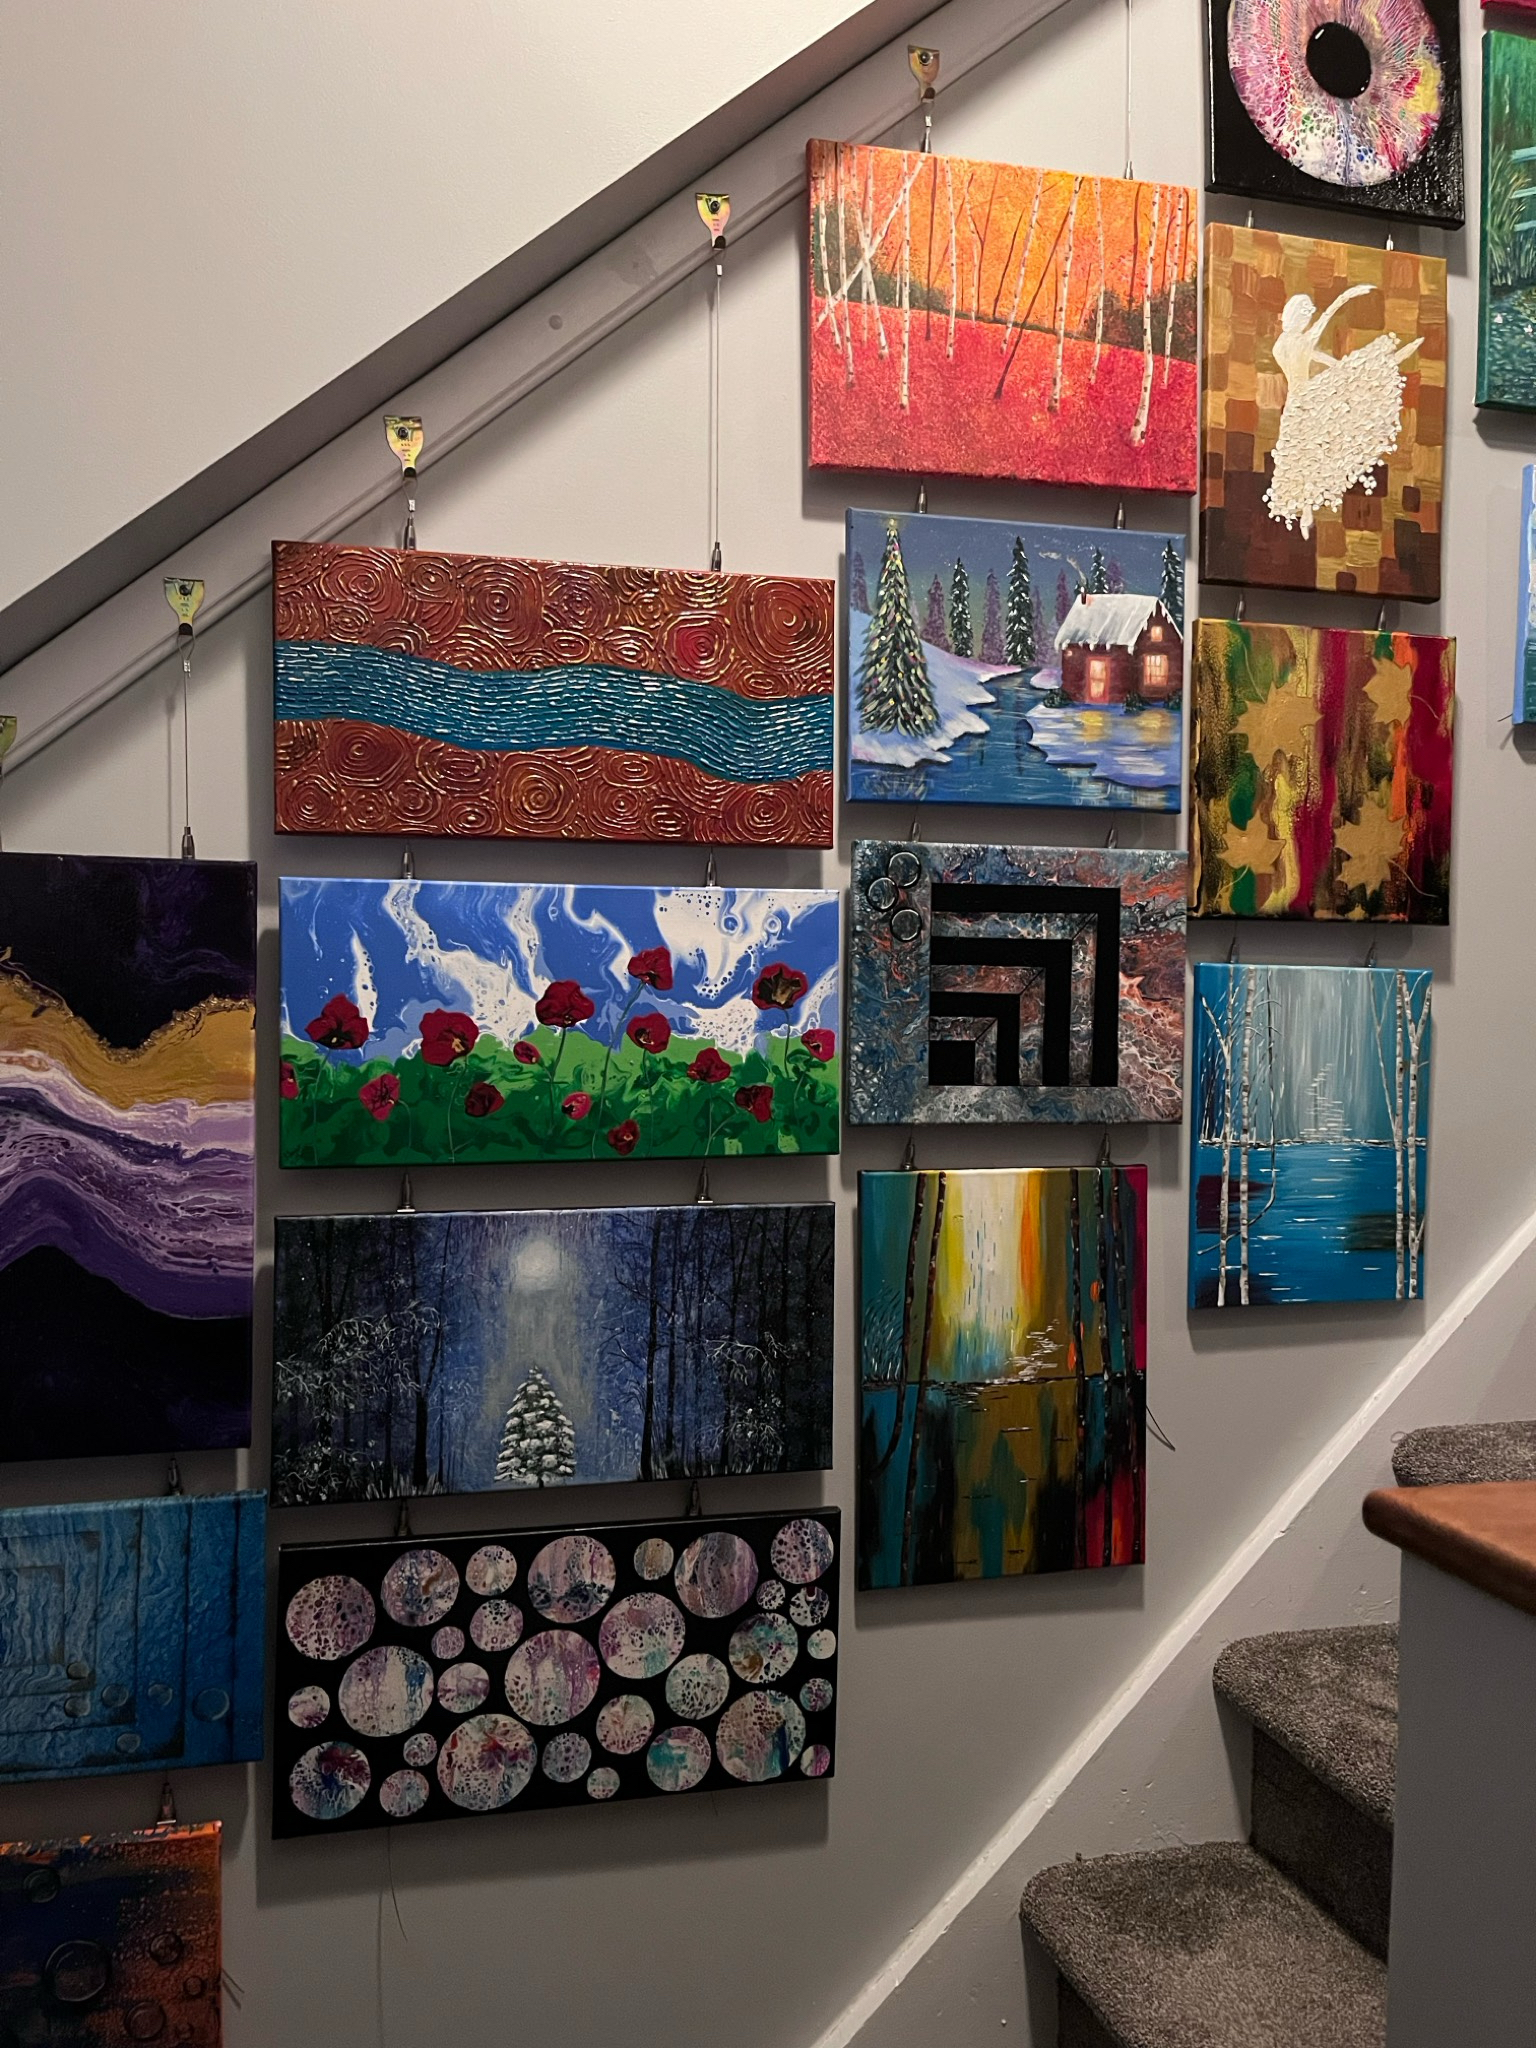
The effect is quite striking, there’s more walls not shown here. And every one of the pictures was done by Suzanne, so that’s pretty awesome.
We had put pictures up directly to the walls, but it was a pain to put each one up individually. It also left a lot of clean up, as you can see from pictures when took all the picture hooks out.
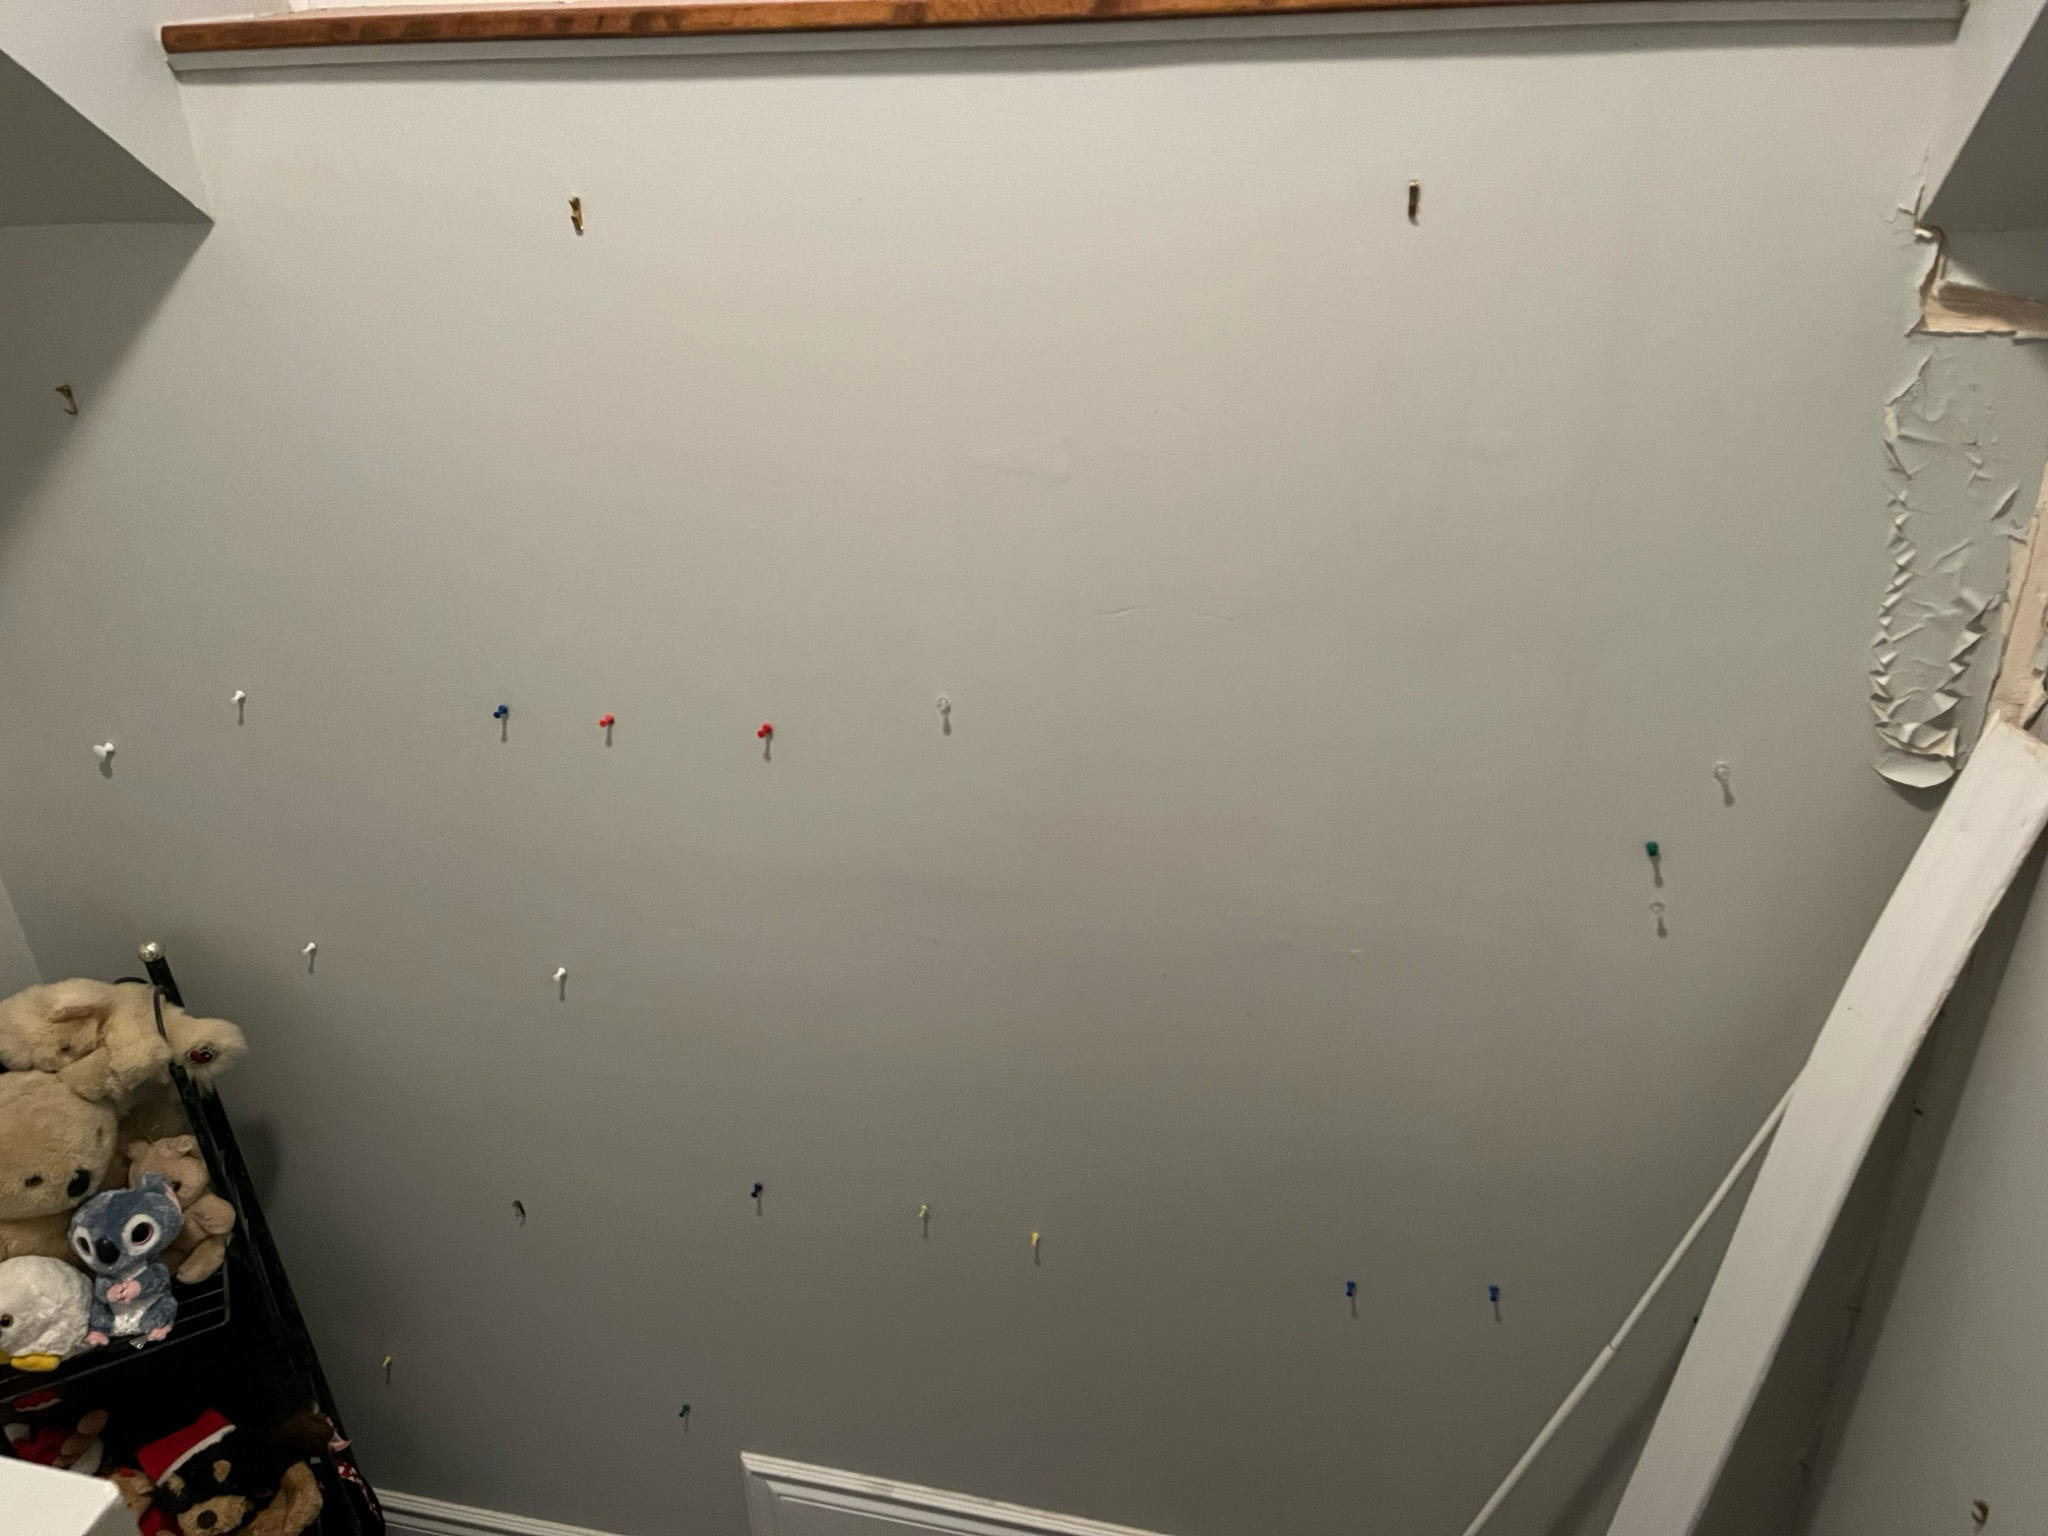
There was also some water damage from a leaking window, which is why we took all the pictures down in the first place. After we (finally) found a roofer to fix the leak, then replaced the damaged wallboard the question was what to do next. We wanted the pictures back, but not all the hooks.
After some looking around we realized that a gallery hanging system could be worth it. That would give us the freedom to move pictures around without picture hooks. I would have liked to get a professional system, but the prices were just too high. But of course, Amazon and China were happy to oblige with cheap picture hooks, picture wire, and S-hooks. Due to the amount of hooks we put up, it still wasn’t cheap, maybe around $200 Cad in total, but still way cheaper than the gallery grade equivalent.
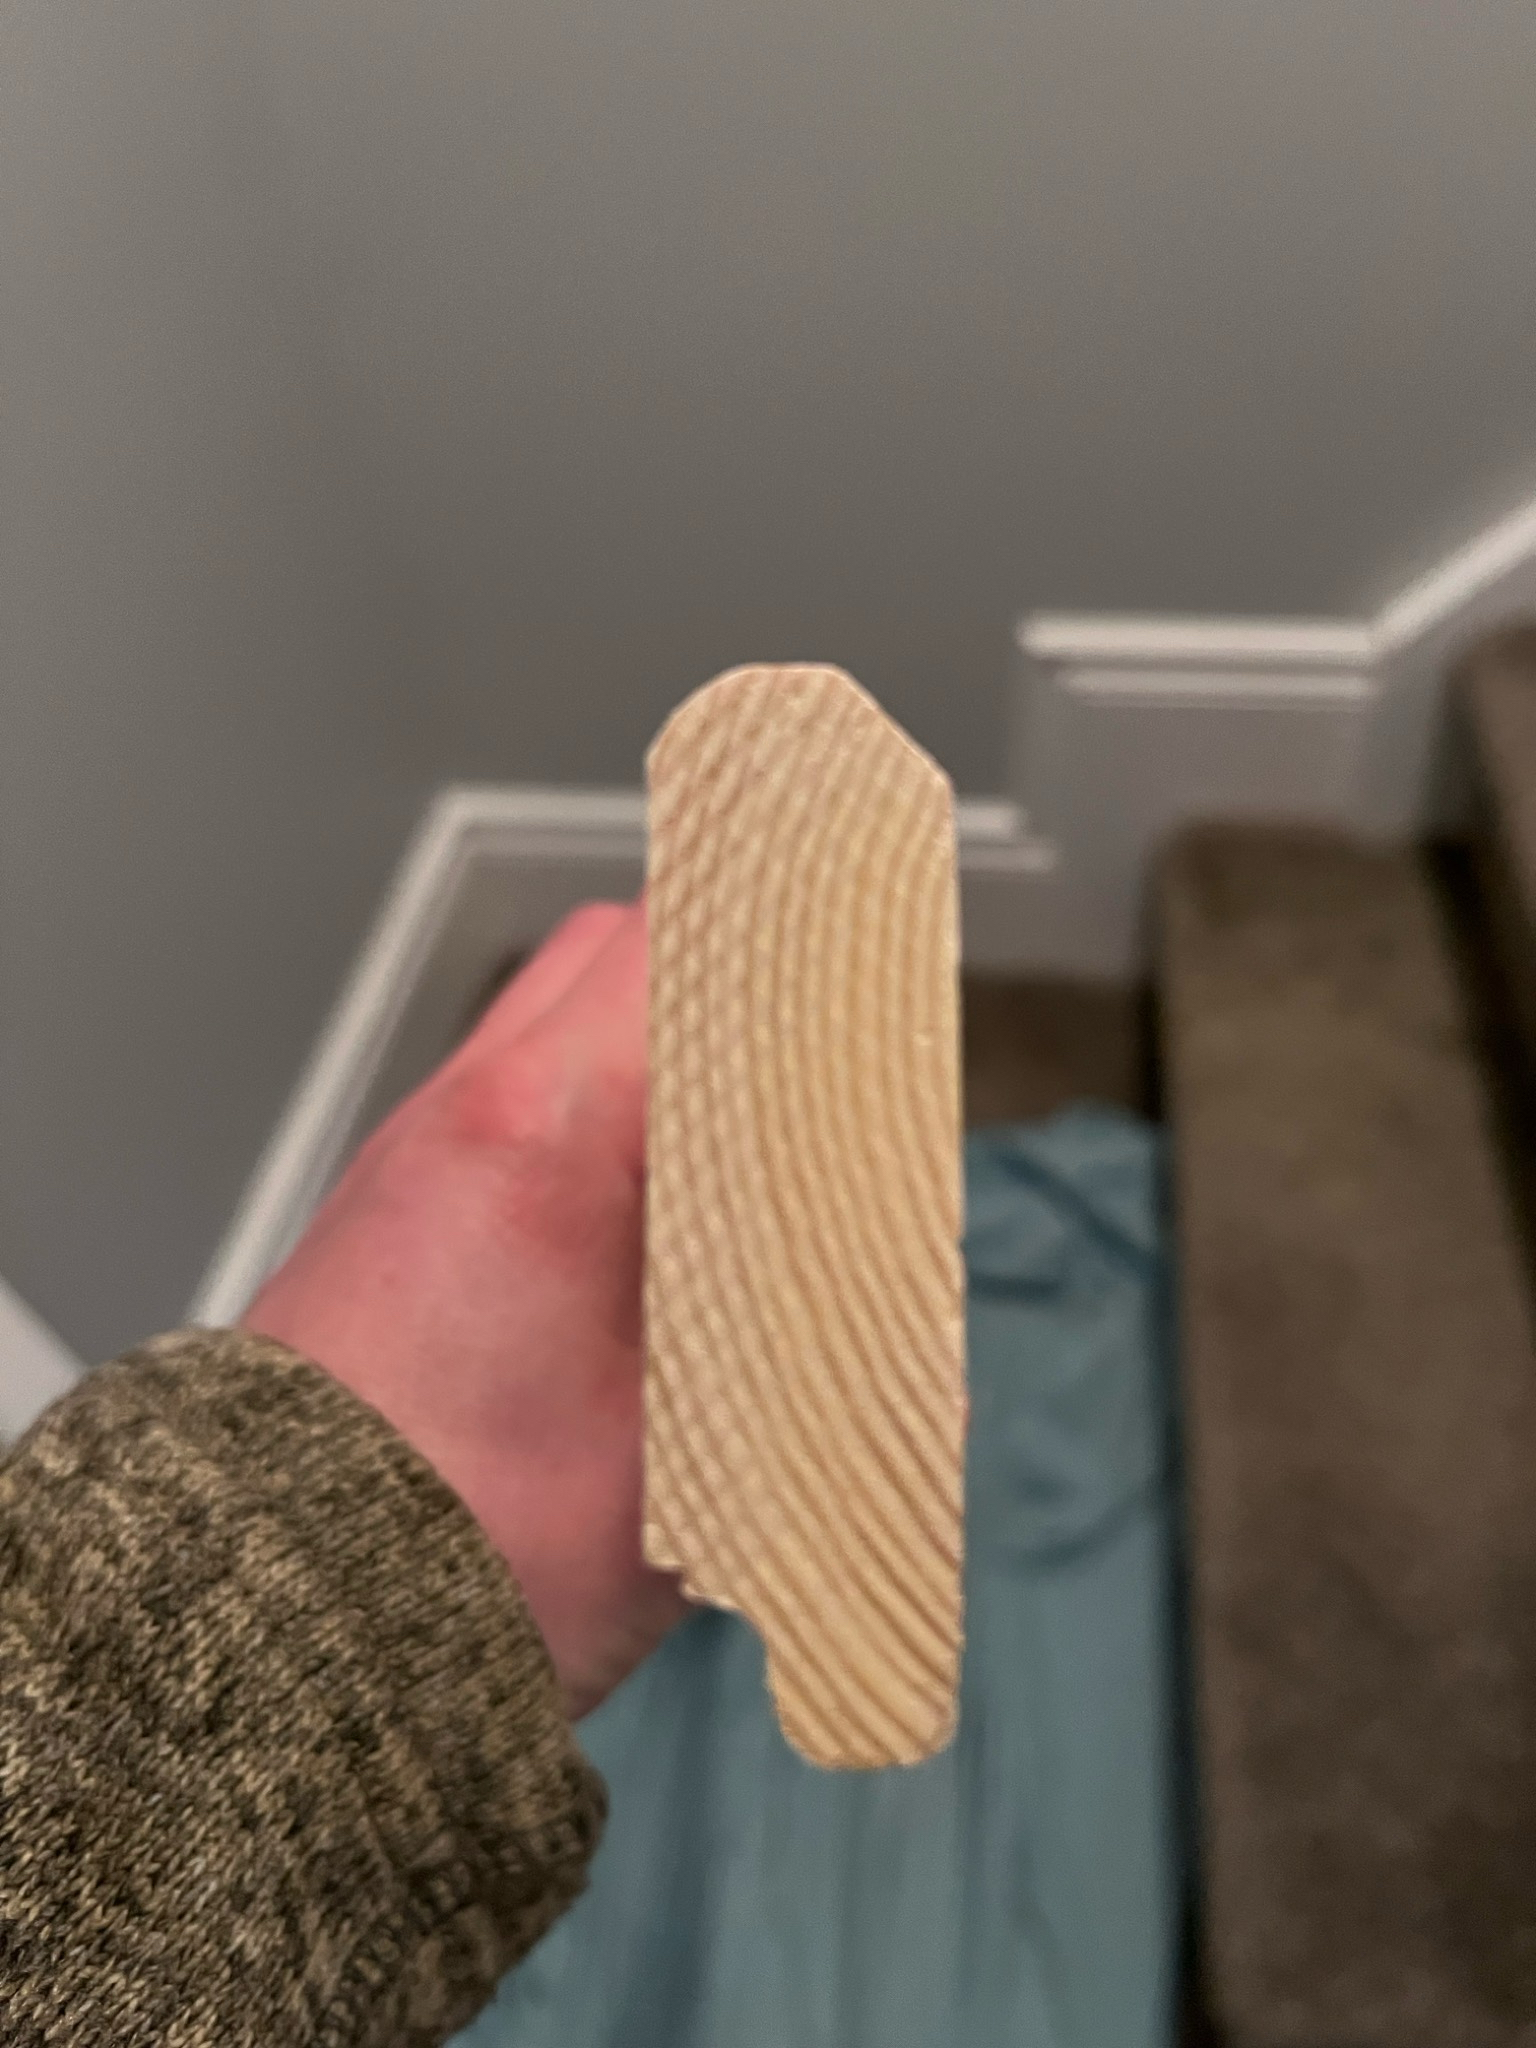
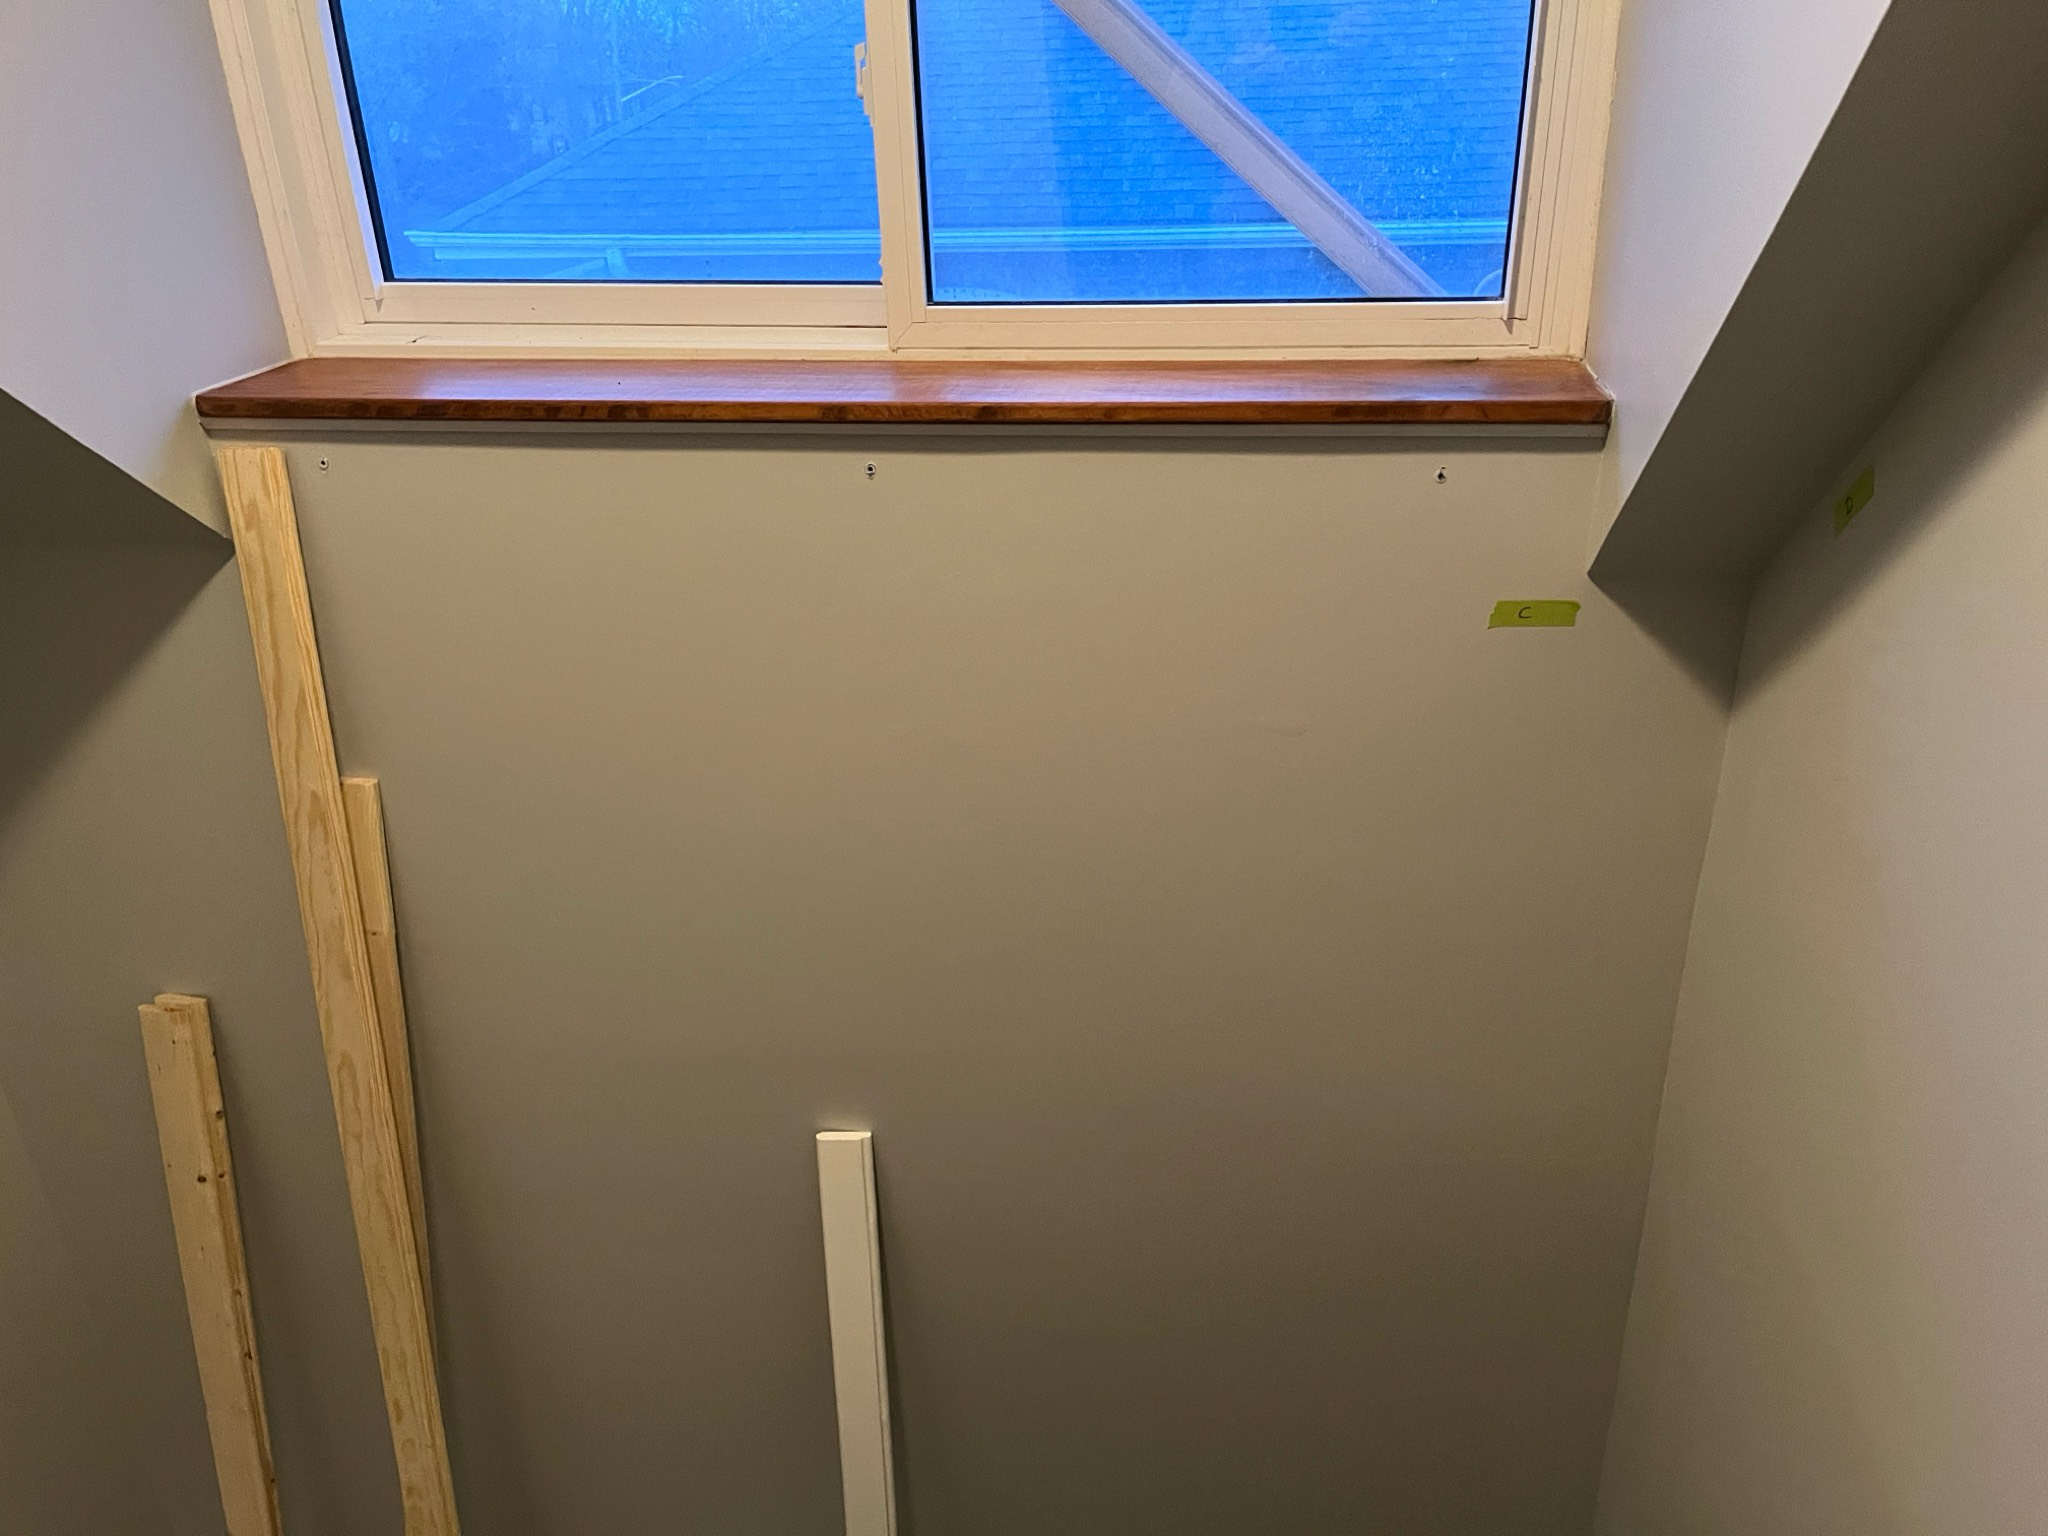
We did save some money by making the picture rails from (really) cheap 1x3” lumber. I used a router to make a profile for holding the hooks. I tried to make the bottom part a little fancy, but lets say my routing skills were not entirely up to the job.
Here you can see some of the rails getting ready to put up. Actually you can see I didn’t get enough of the cheap stuff to the left, and had to get some spruce pine to finish (on the right). I used green masking tap to label each wall and rail so I wouldn’t get them mixed them up.
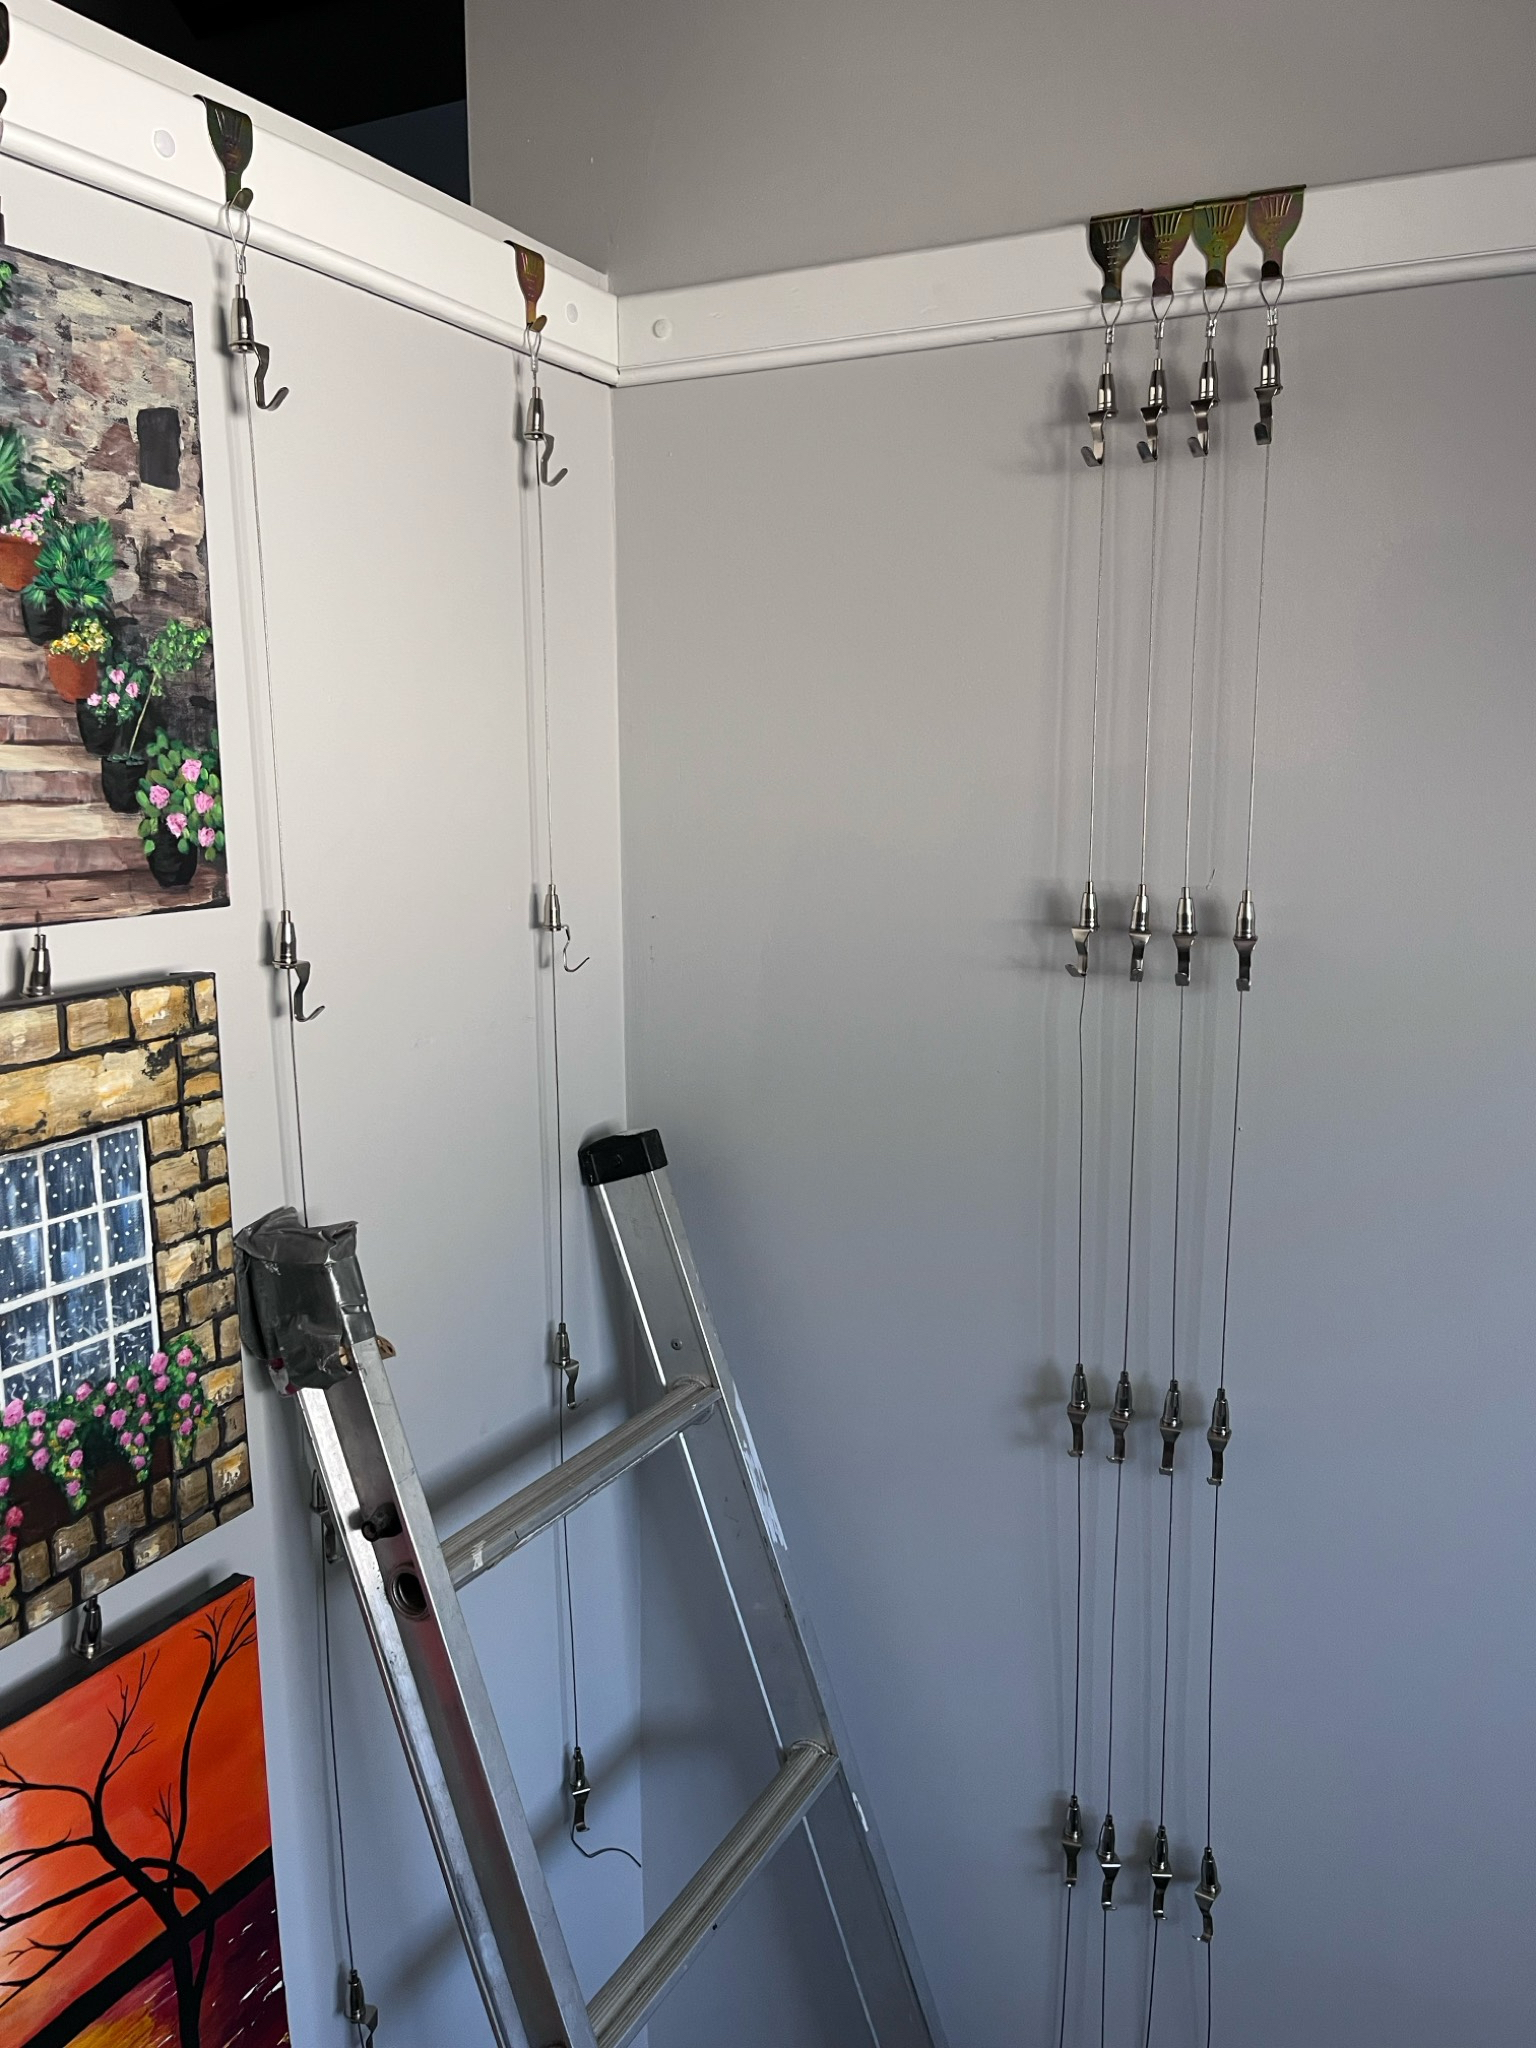
The rails were primed and painted, and then the picture wire was attached to the S hooks and cut to length. Here you can see an early test fitting.

The hooks on the wire are really interesting. They have a gripper system where they can pushed up the wire easily, but they can’t be pushed down without pushing in the bottom first. Theoretically it means they can be repositioned at will.
Here’s one of the longer walls with the hooks being lined up before pictures were added.
Hanging the pictures was not quite as easy as we hoped. Each picture needs two wires, and the hooks have to be lined up horizontally or else the picture hangs crooked. And adjusting the hooks on the wires is not difficult if there are no pictures on the wire - but when there are pictures it was too easy to knock off the pictures whilst adjusting.
In the end though, we were very pleased with the result and managed to squeeze more pictures on the wall than we thought.