Window Frame Restoration

We recentally had some old windows replaced with practical modern double glazing. Not only should this improve our winter fuel bills but it also means we can open the windows. But thanks to small a misunderstanding with the installers it was also an unexpected chance at some restoration. I had agreed with them to leave the inside of the window “unfished”, meaning I would put on the casing and paint it. Only they understood “unfinished” to mean no casing and no jambs.
Let’s have a quick review of the windows in our 1920s house. We have some original windows with gorgeous ornate frames (casings), that still look good even wearing 100 years of paint.

But we have some 1970s windows that are a little less ornate. This is a picture of the windows we had replaced as it was when we were looking to move in.

This is the same window after it was replaced and I had added the jambs.

Now the question was, what kind of casing should we add to match the period style windows? There were two main styles in the house. Both styles had wide casings, but some had a very slanted top piece and some were more squared. The stair window pictured above was an example of the slanted, and here is a close up of the other style. Generally speaking, the downstairs doors had the squared style, and all the windows and the upstairs doors had the slanted style.

Our local hardware stores didnt’t have anything like it in stock, so my options were to either find some second hand or make my own. The problem with the restoration shops is that even if you find a piece of matching casing it’s unlikely they have enough of it to complete the project.
To make my own I needed a router bit to match the profile of the casing. I was unable to find a router piece that matched the slanted style so it was an easy decision to match the squared style. I should say I was unable to find a router piece within my budget. If I had really looked for professional style router bits I’m sure I would have found a match.
The side casings were cut from pine and rounded on each side.

The top casing was a smaller piece rounded on both sides, matched with two separate pieces on top to give the required profile. You can also see the nail holes before they were filled in.

That left the bottom piece, which I think is called the apron. I did not want to remove the existing apron as I am very much am amateur at this and I don’t have the skill set to replace it. Instead, I created a bull nose piece, very similar to a stair tread. to go on the front and cover up the gap from the sill to the existing apron. Smaller pieces of wood were ‘stuffed’ in the gaps that were left over.

Then it was just the usual work of filling in the holes and sanding with multiple grits; then two coats of primer and finally a semi-gloss.
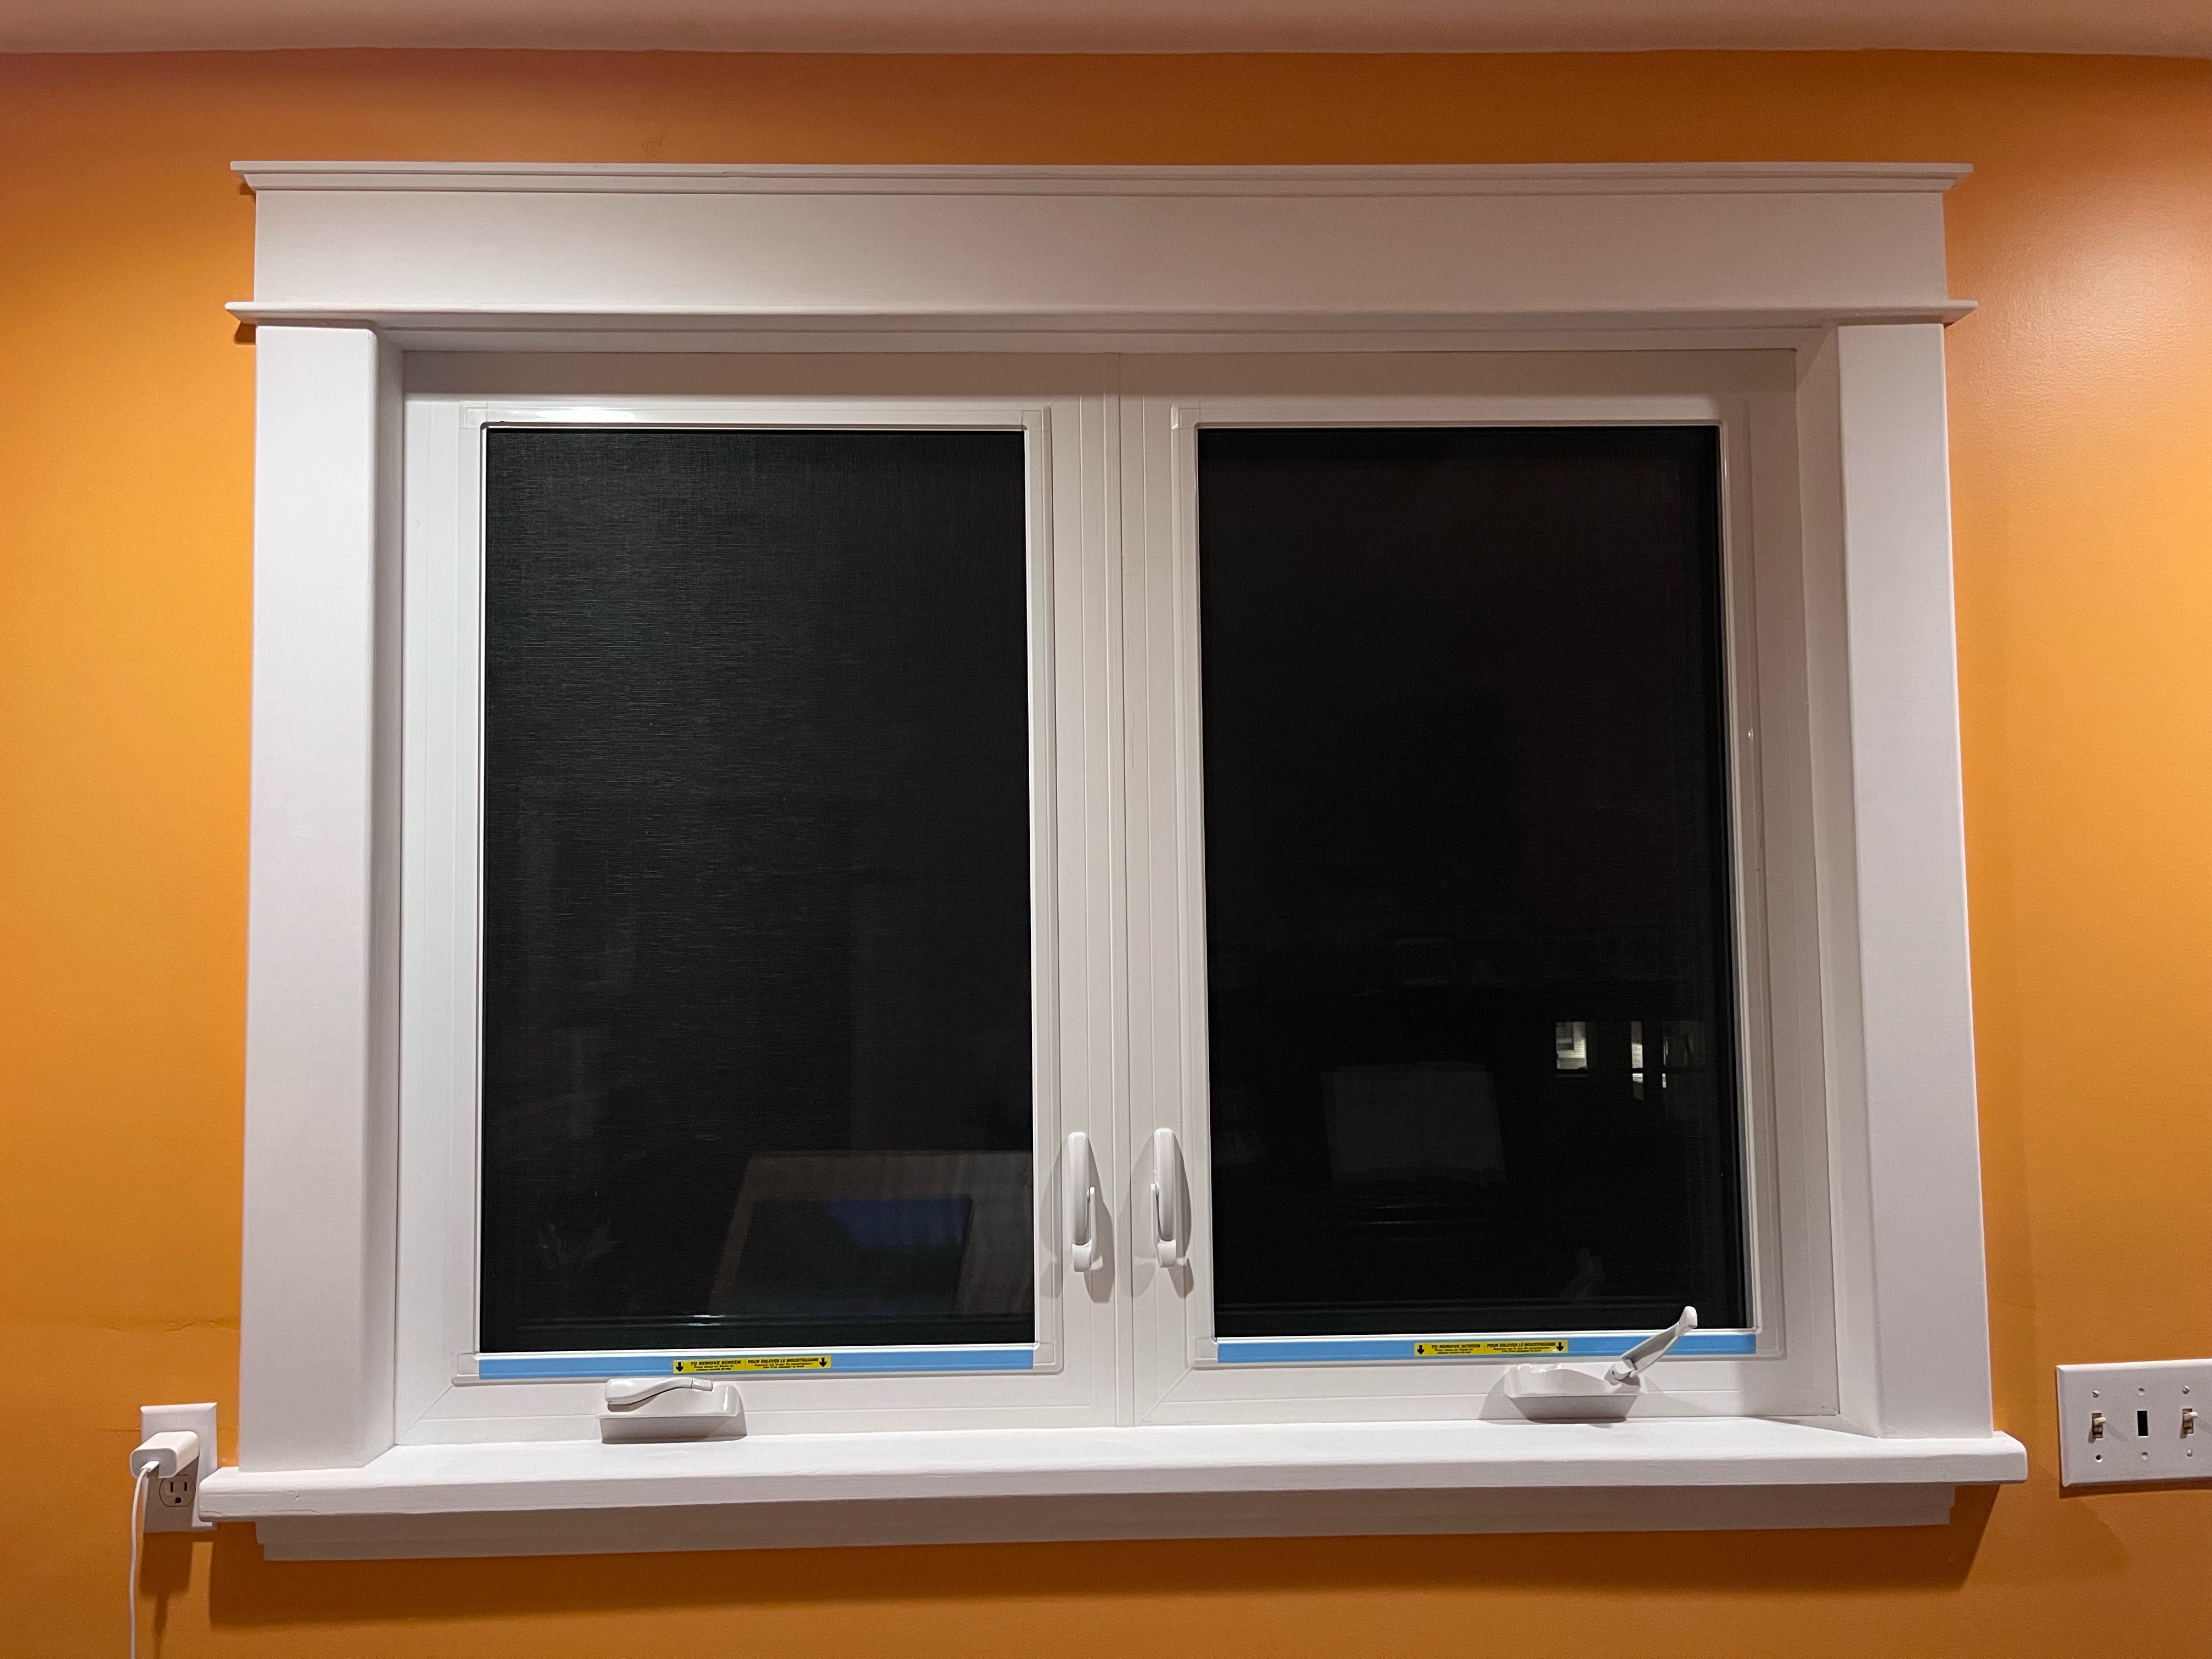
I was quite keen to paint it the same dark colour as the existing windows - but my better half made a very persuavive argument for (boring) white.
Overall, I am very happy with how this one turned out. Along the way I improved my skills with working with the router and I think I’m going to try to restore some of the other trim work in the house.