Pelmets & Sewing Machines
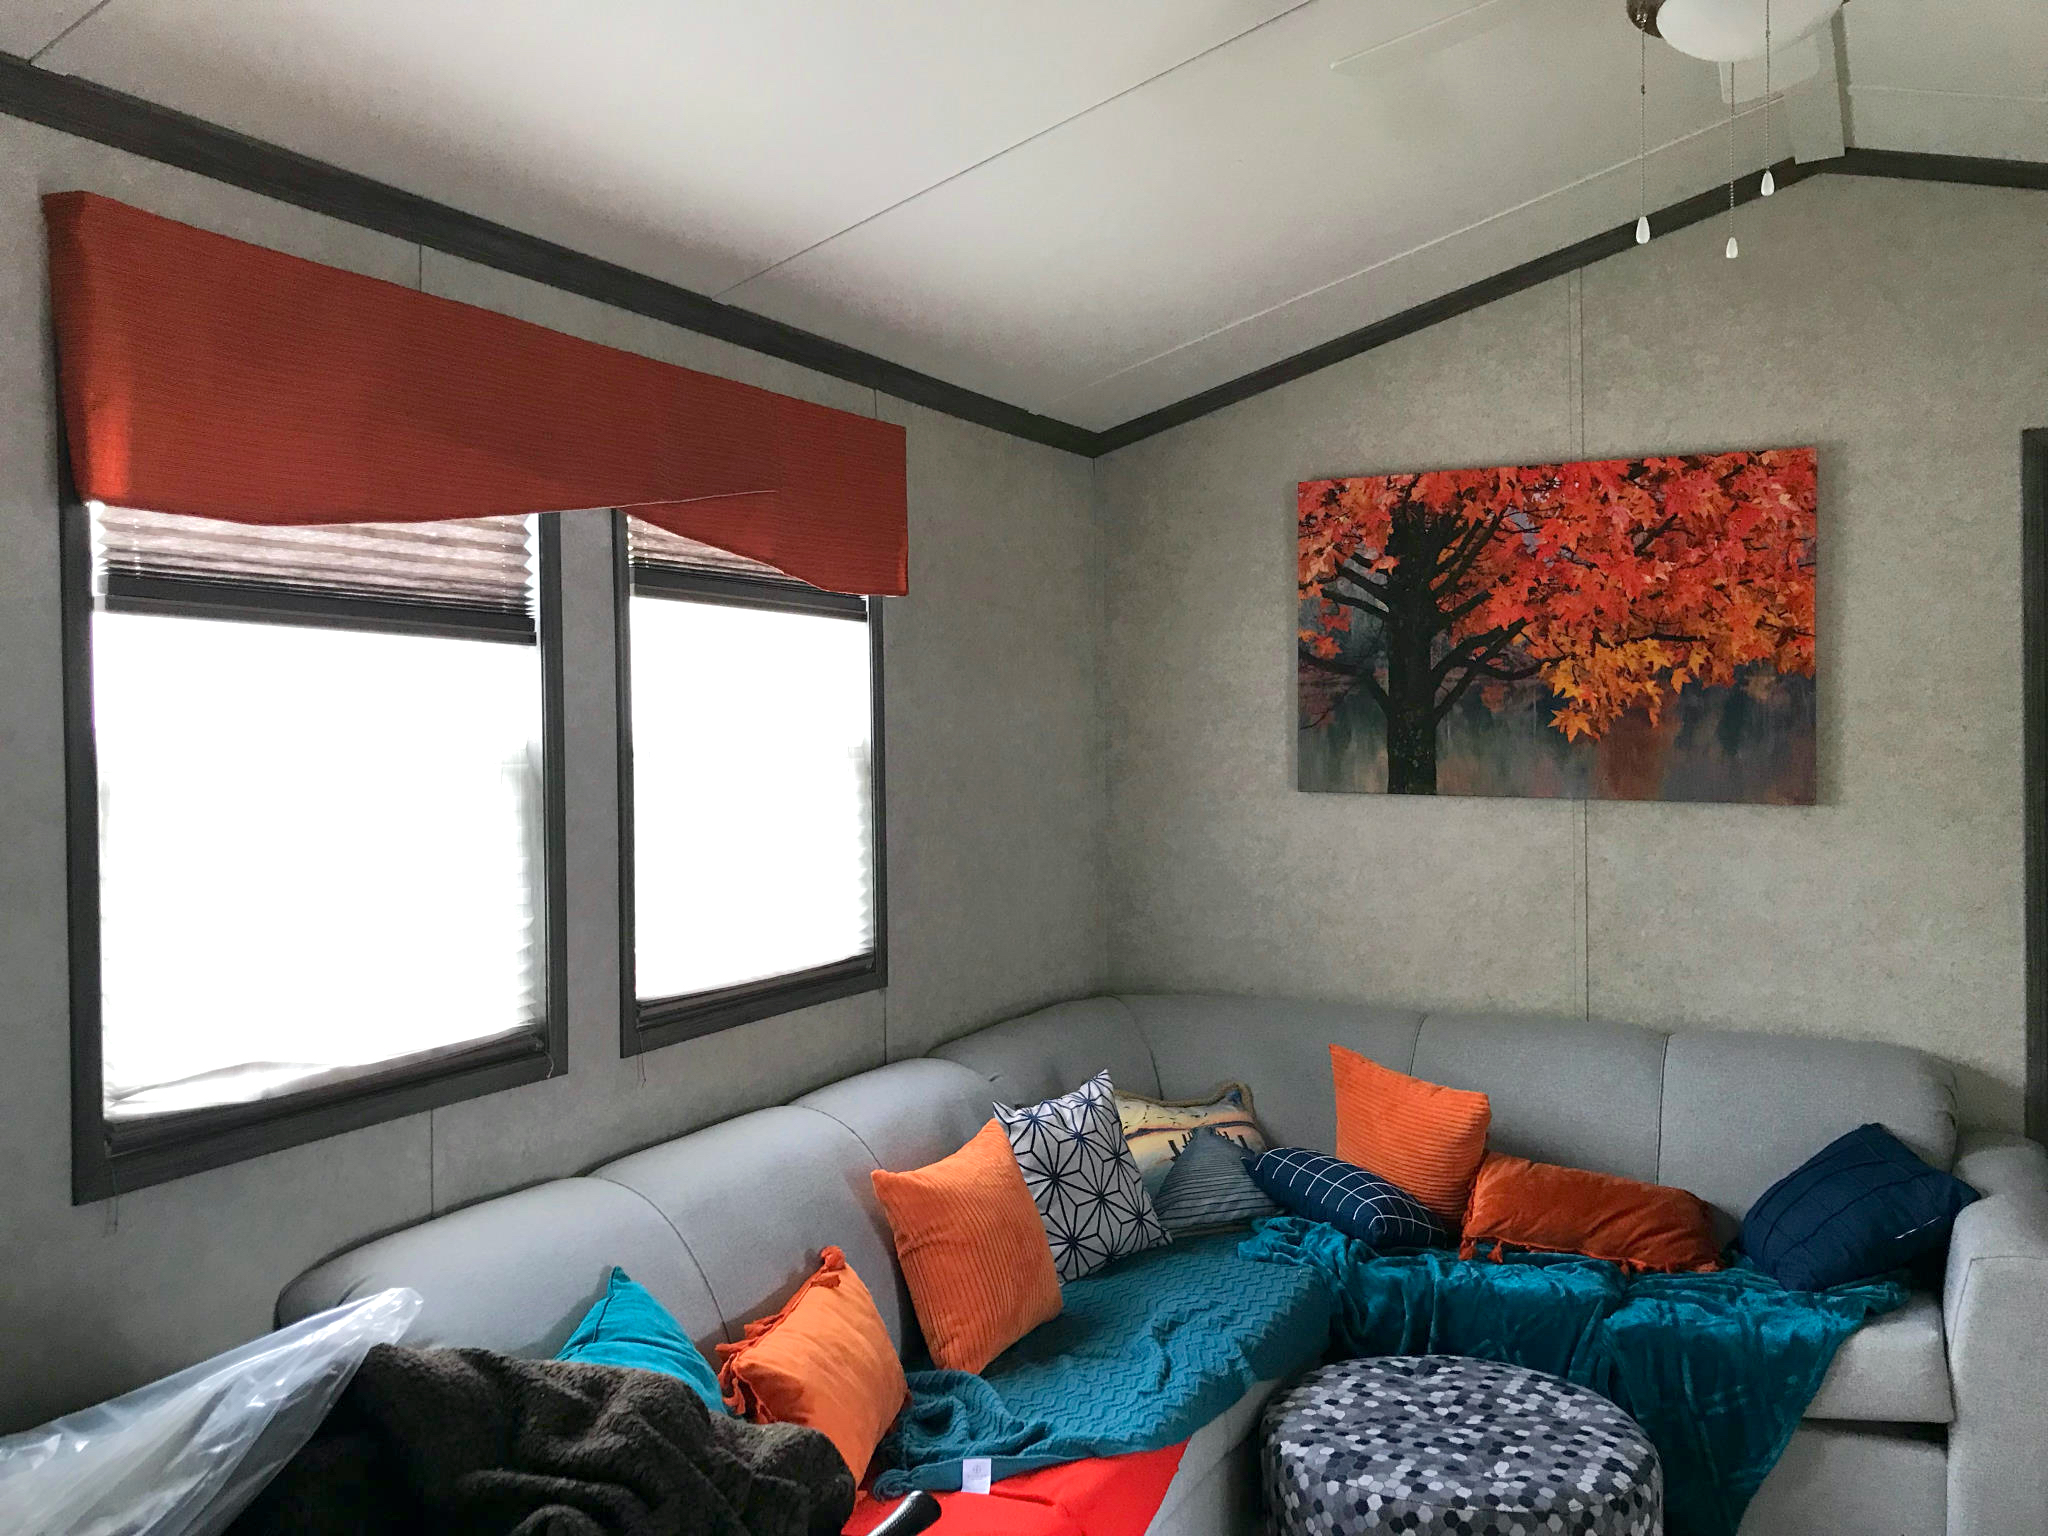
Our trailer came with window blinds and some pelmets (the things above curtains) that were designed to fit in with the bland colour scheme. We (well, me) wanted to introduce some colour and one thing to do was to replace the pelmets. I could buy some, but the mother in law has a sewing machine and I’ve always fancied giving it a go. I got some basic lessons and this is what we ended up with.
I’m not going to be making a wedding suit any time soon, but for the trailer its fine.
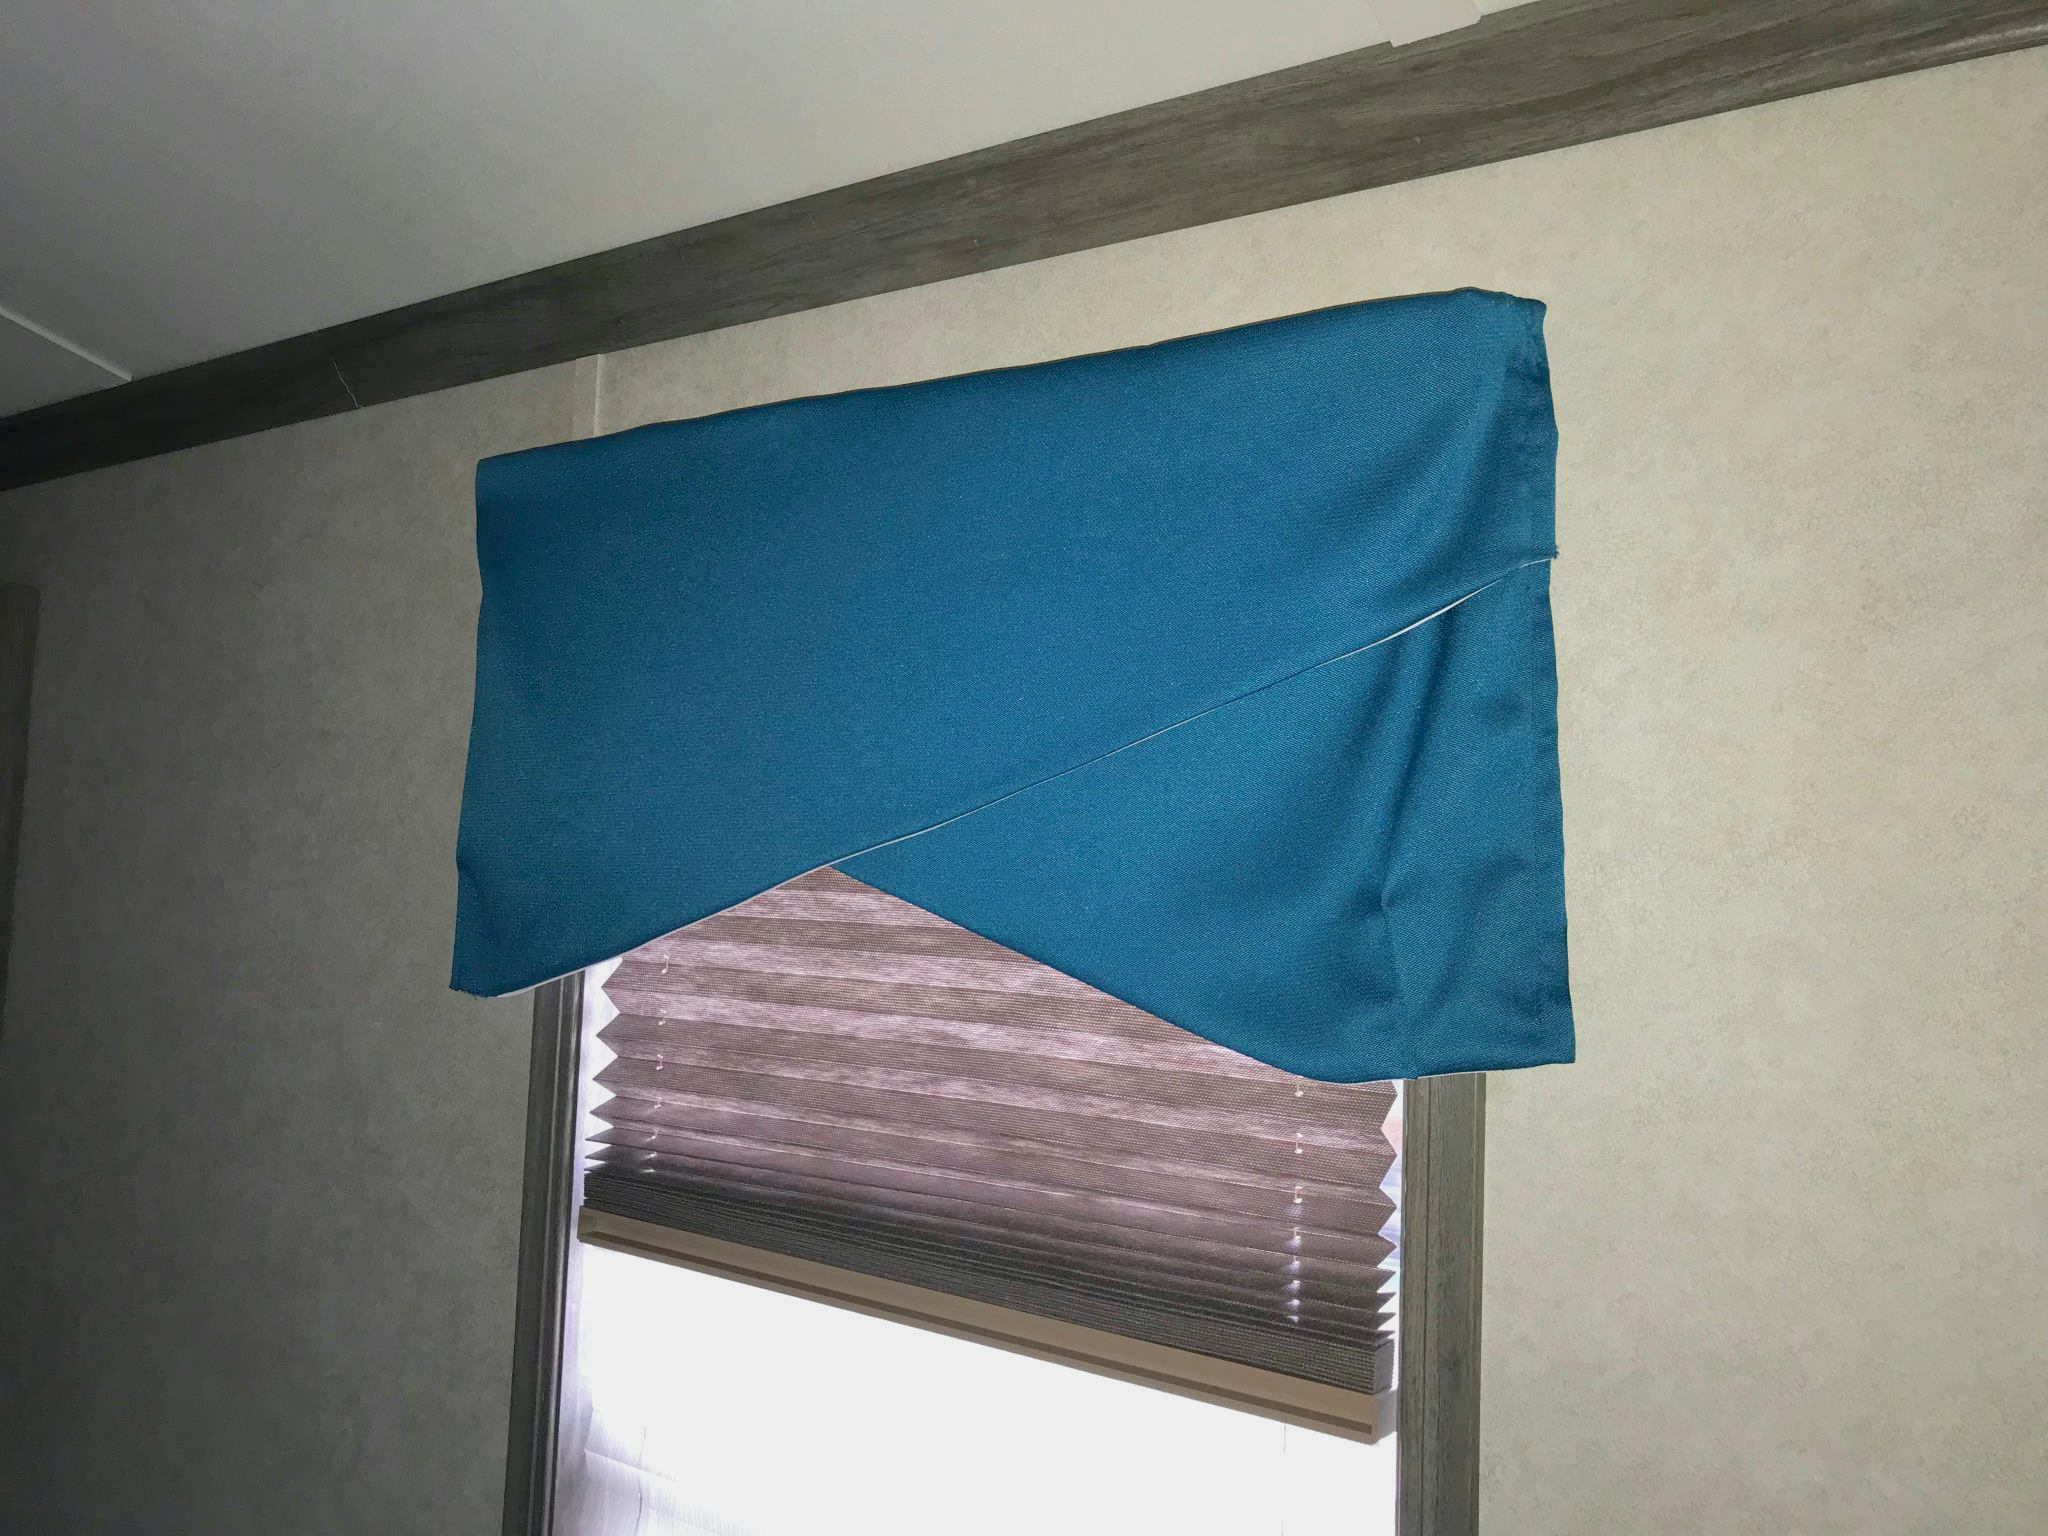
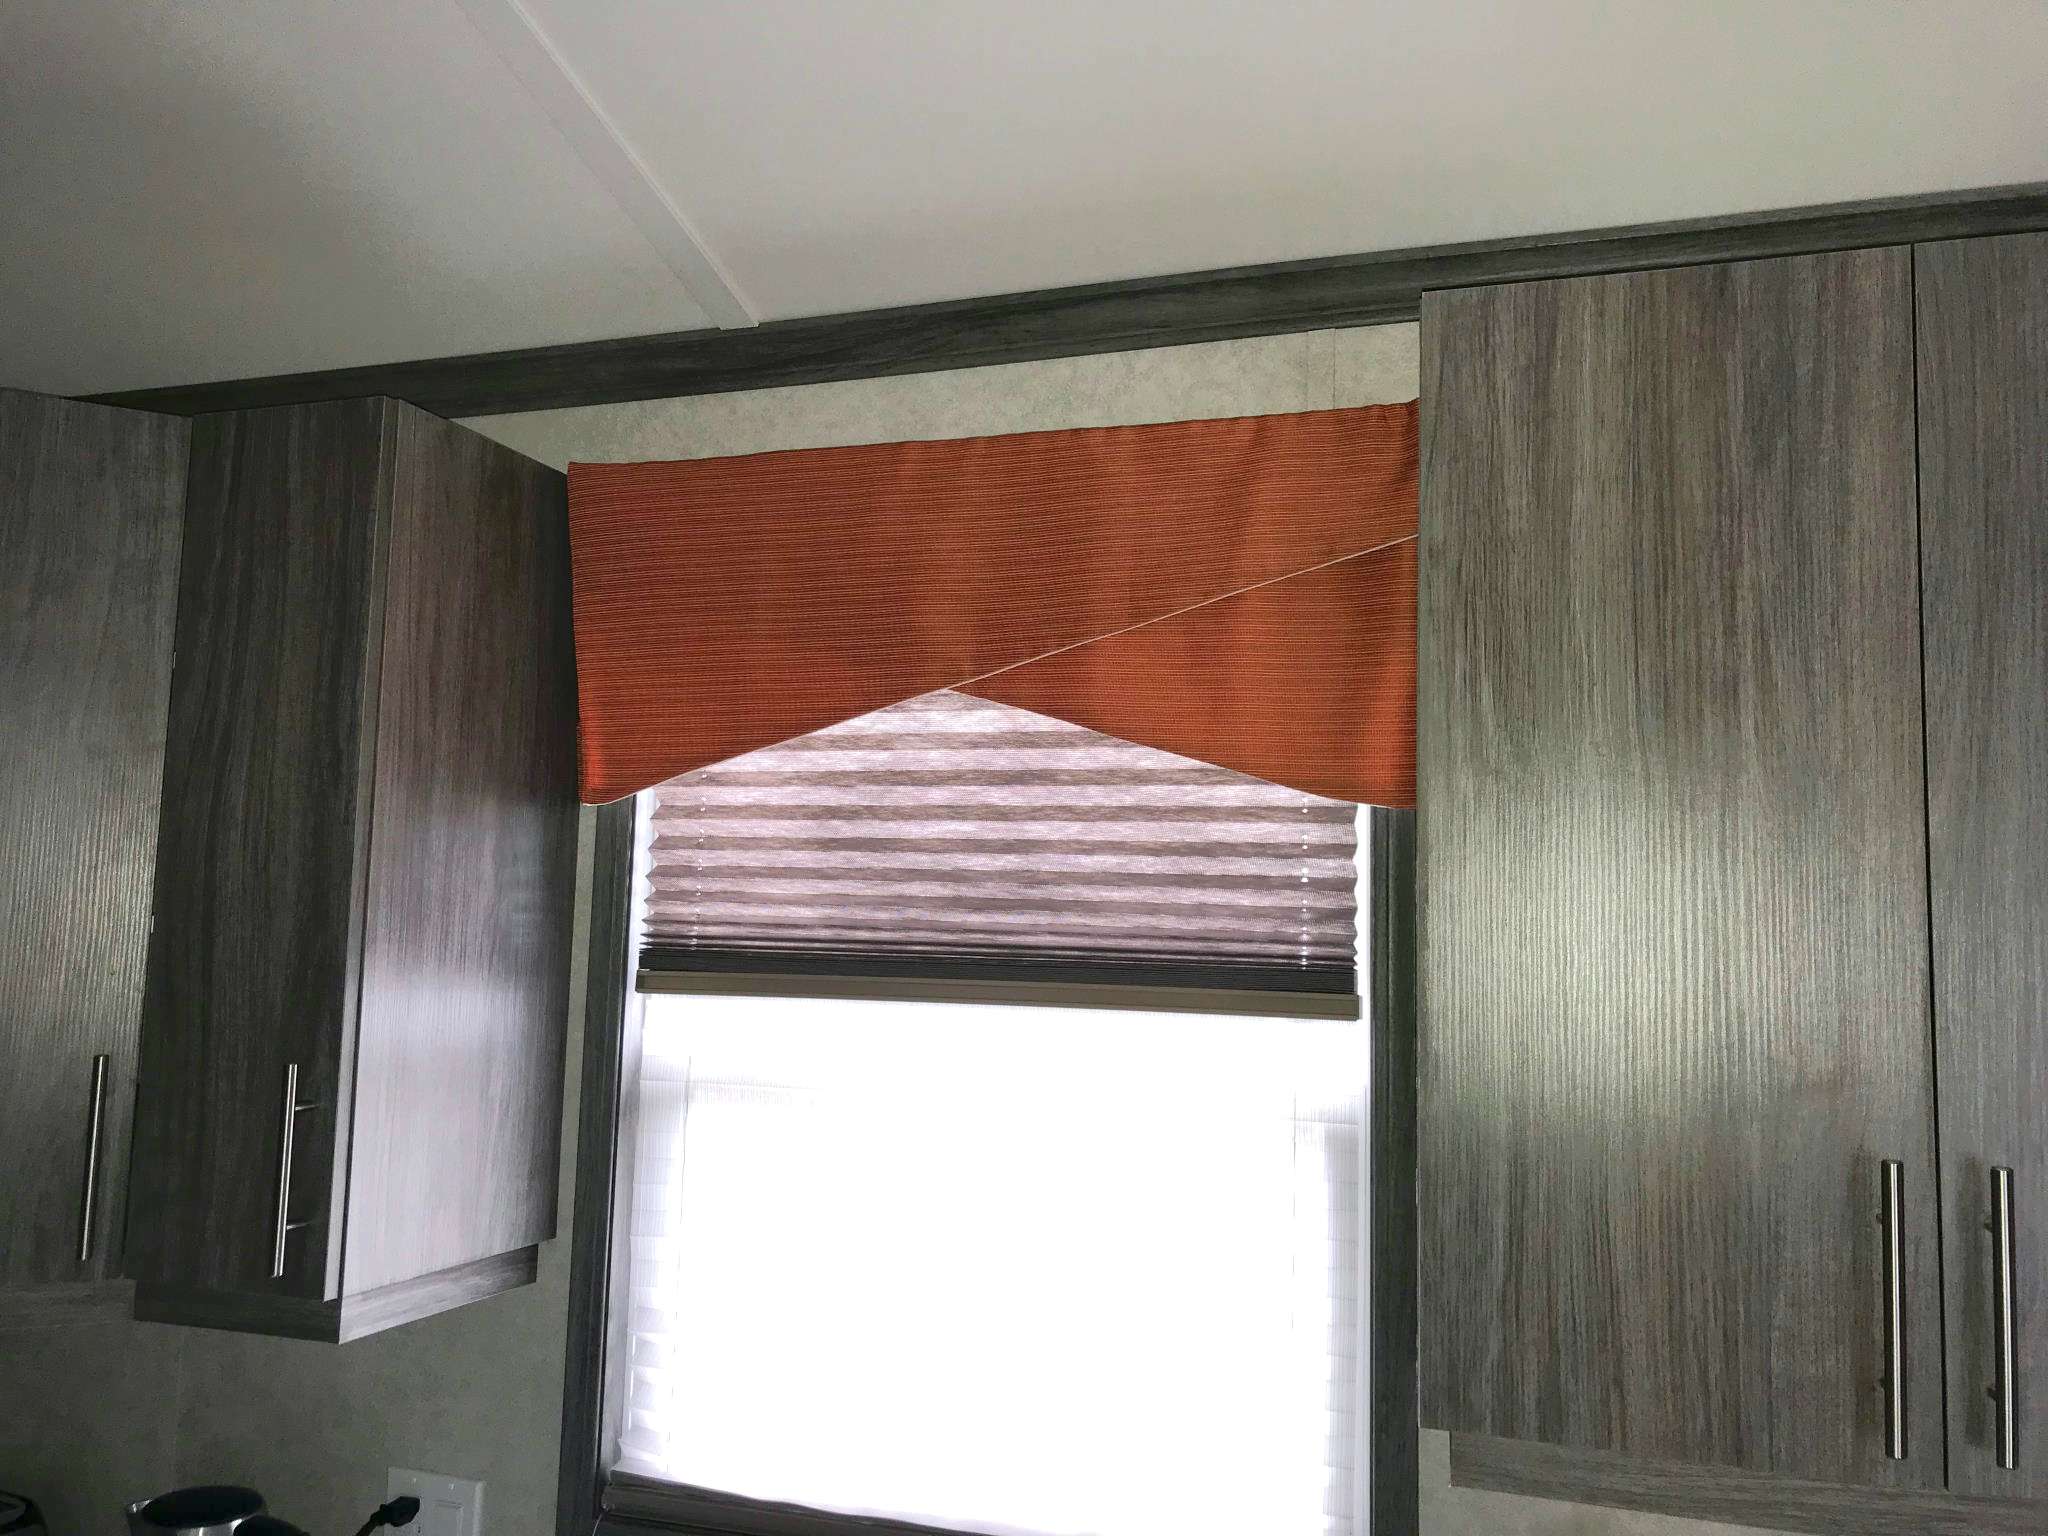
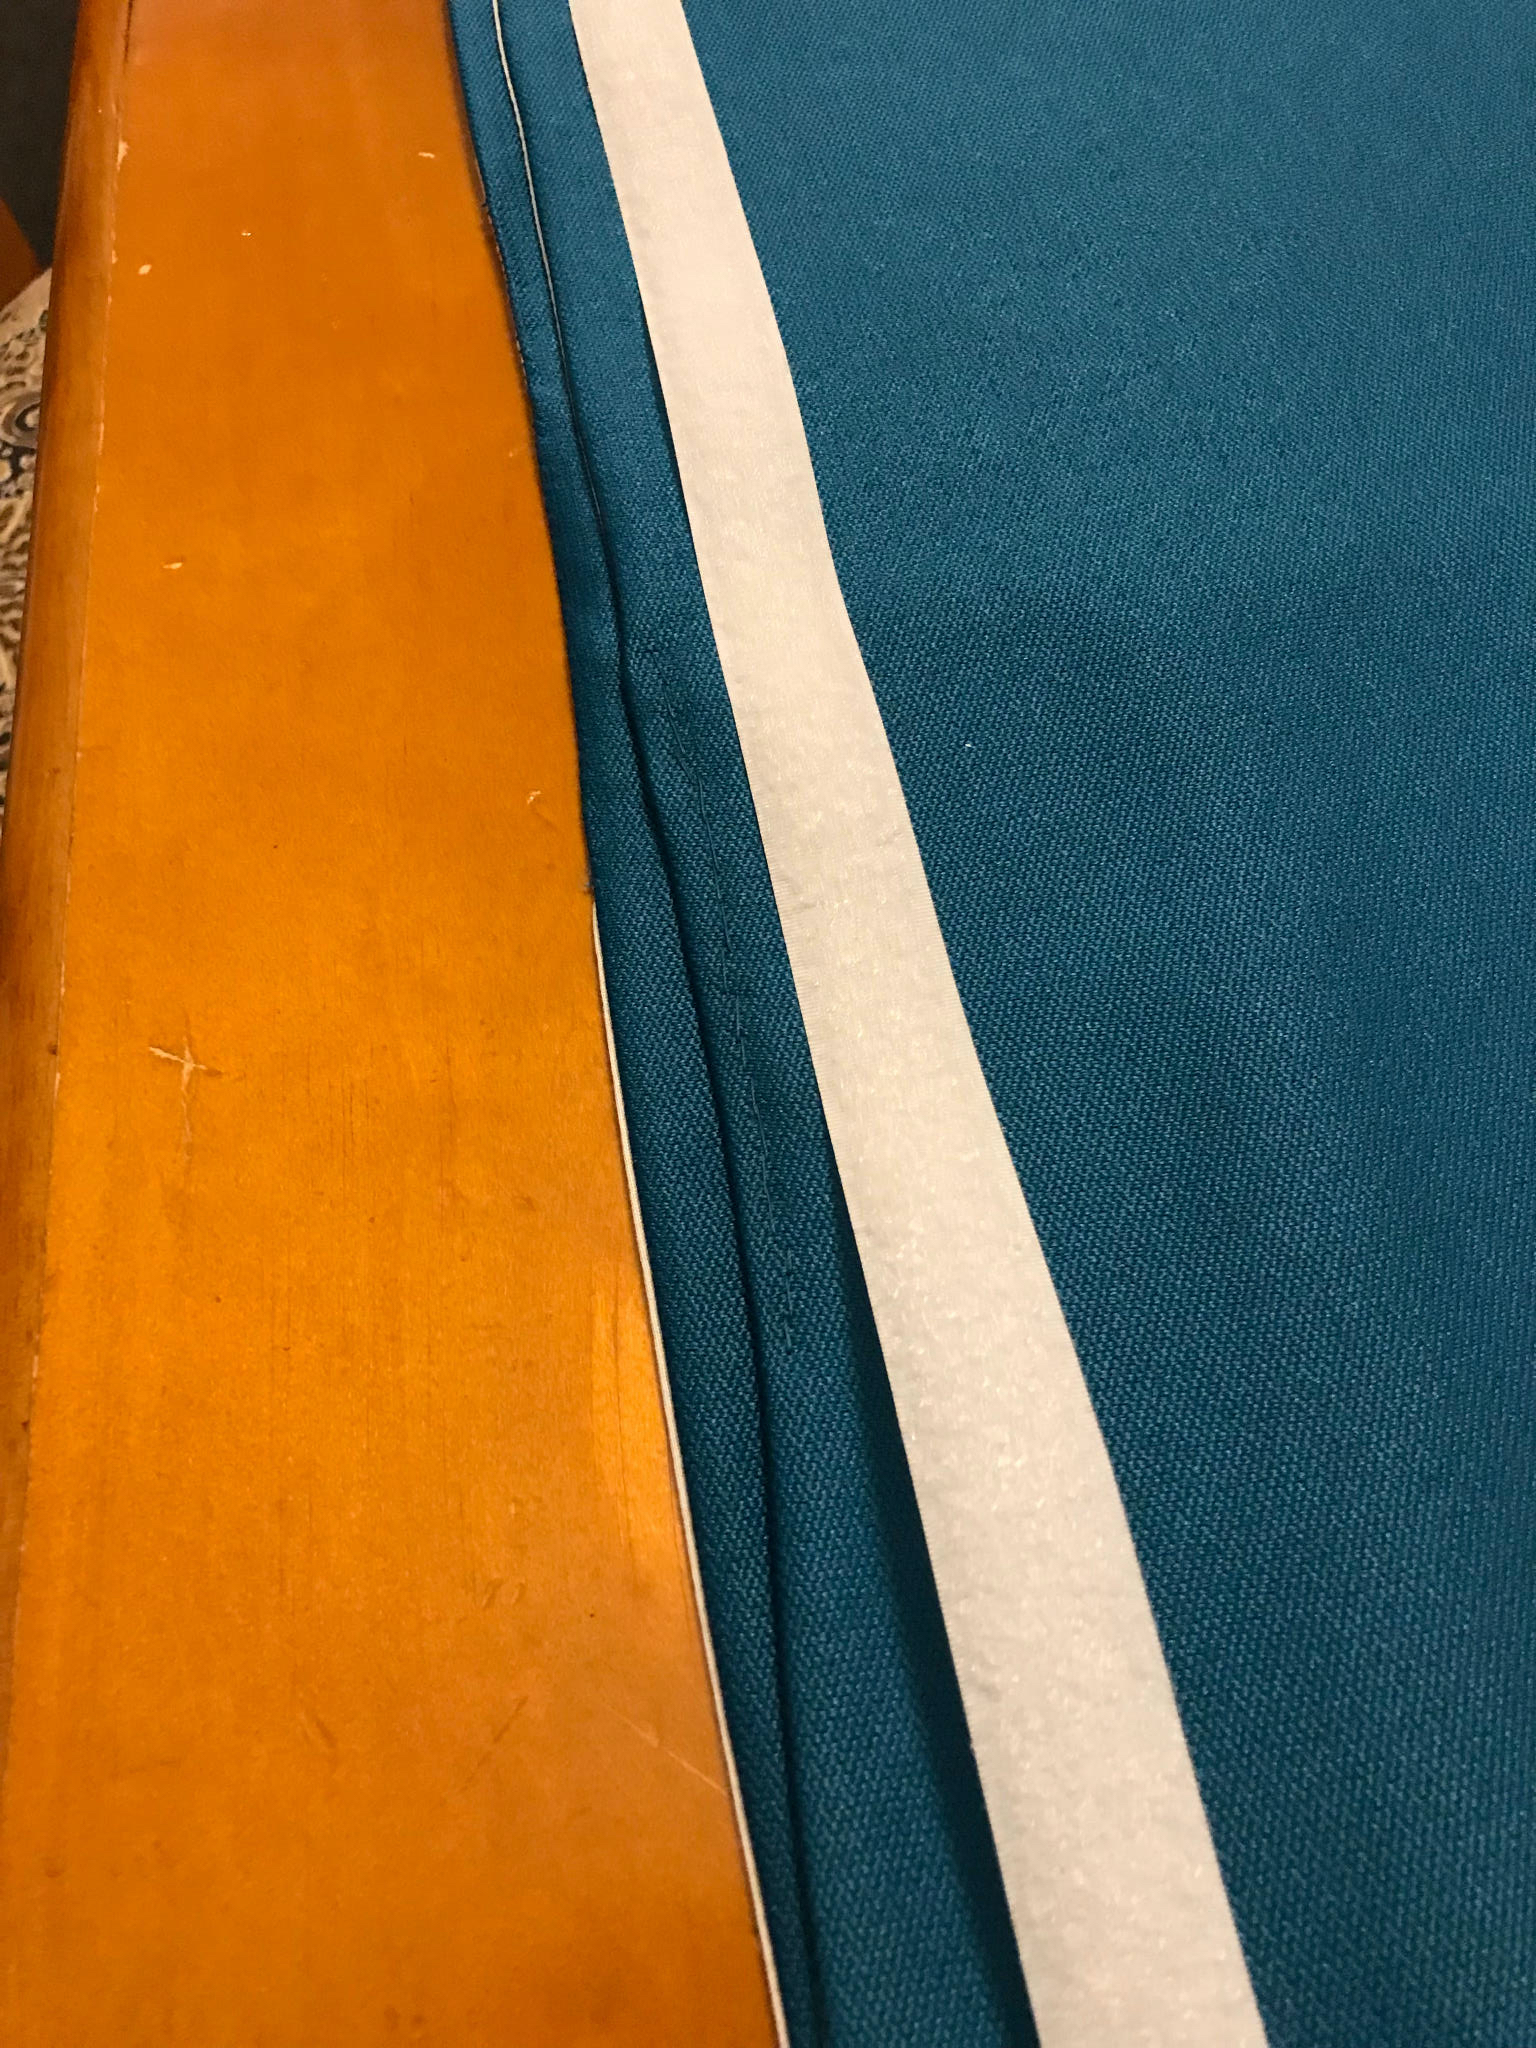
Since we had the existing pelmets, we could see how they were made. Each pelmet was made of two triangles, each triangle was the material with white cotton backing. They are held on with velcro. One trip to the store later and we had orange material for the main trailer, blue material for the kitchen and bedroom areas, white cotton and a lot of velcro.
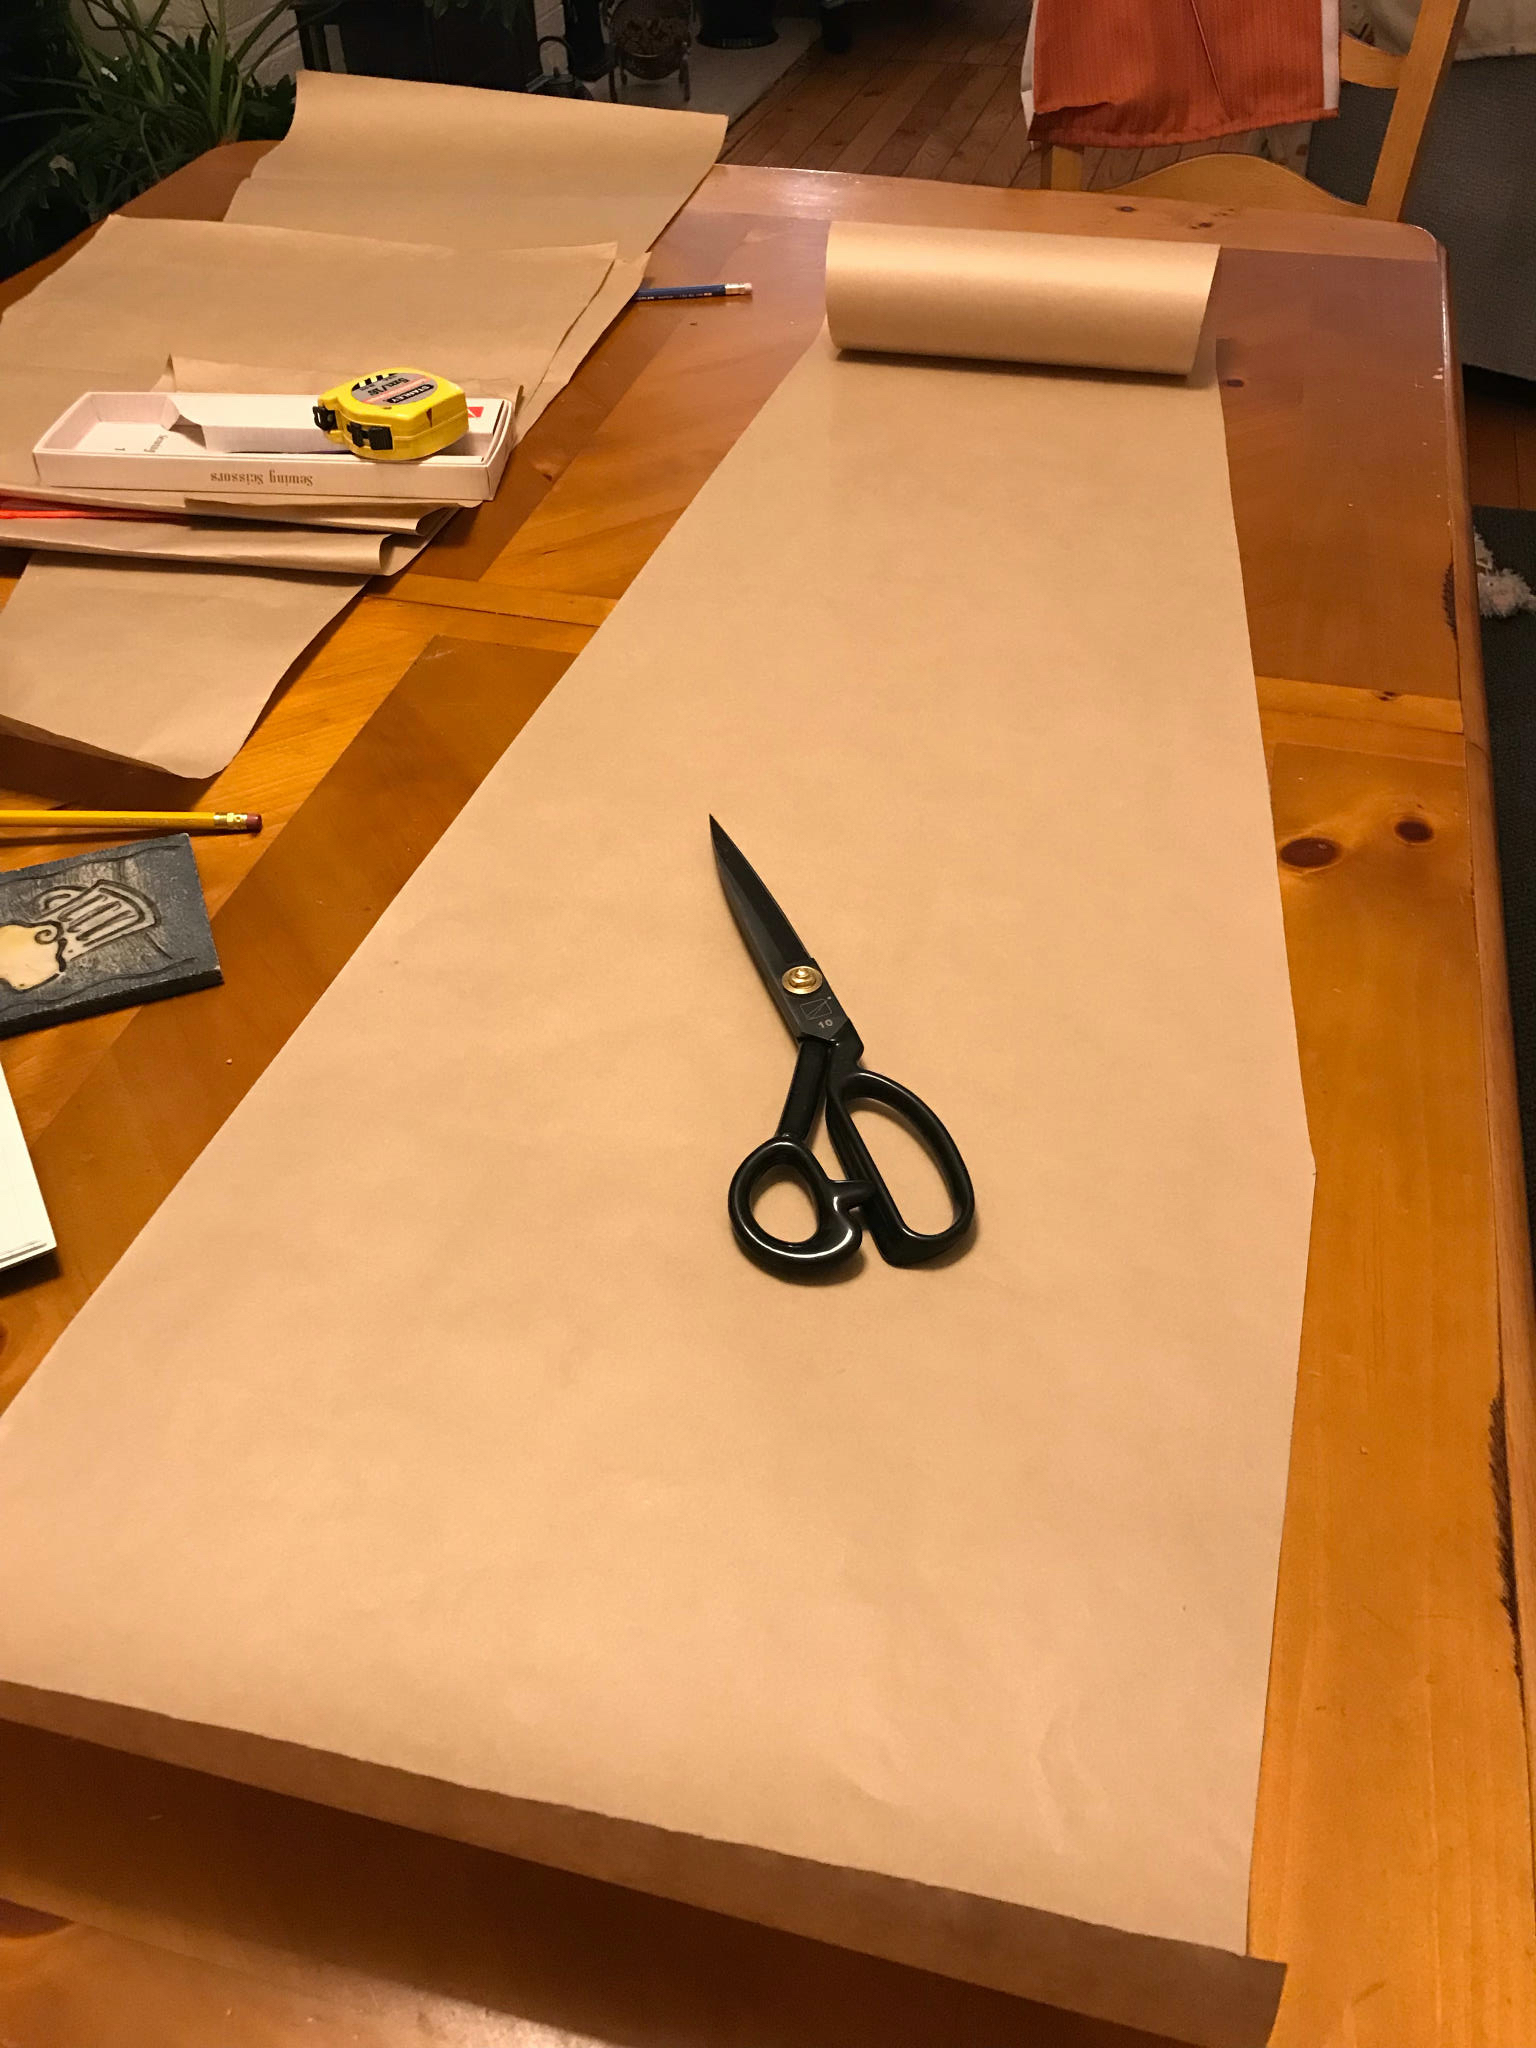
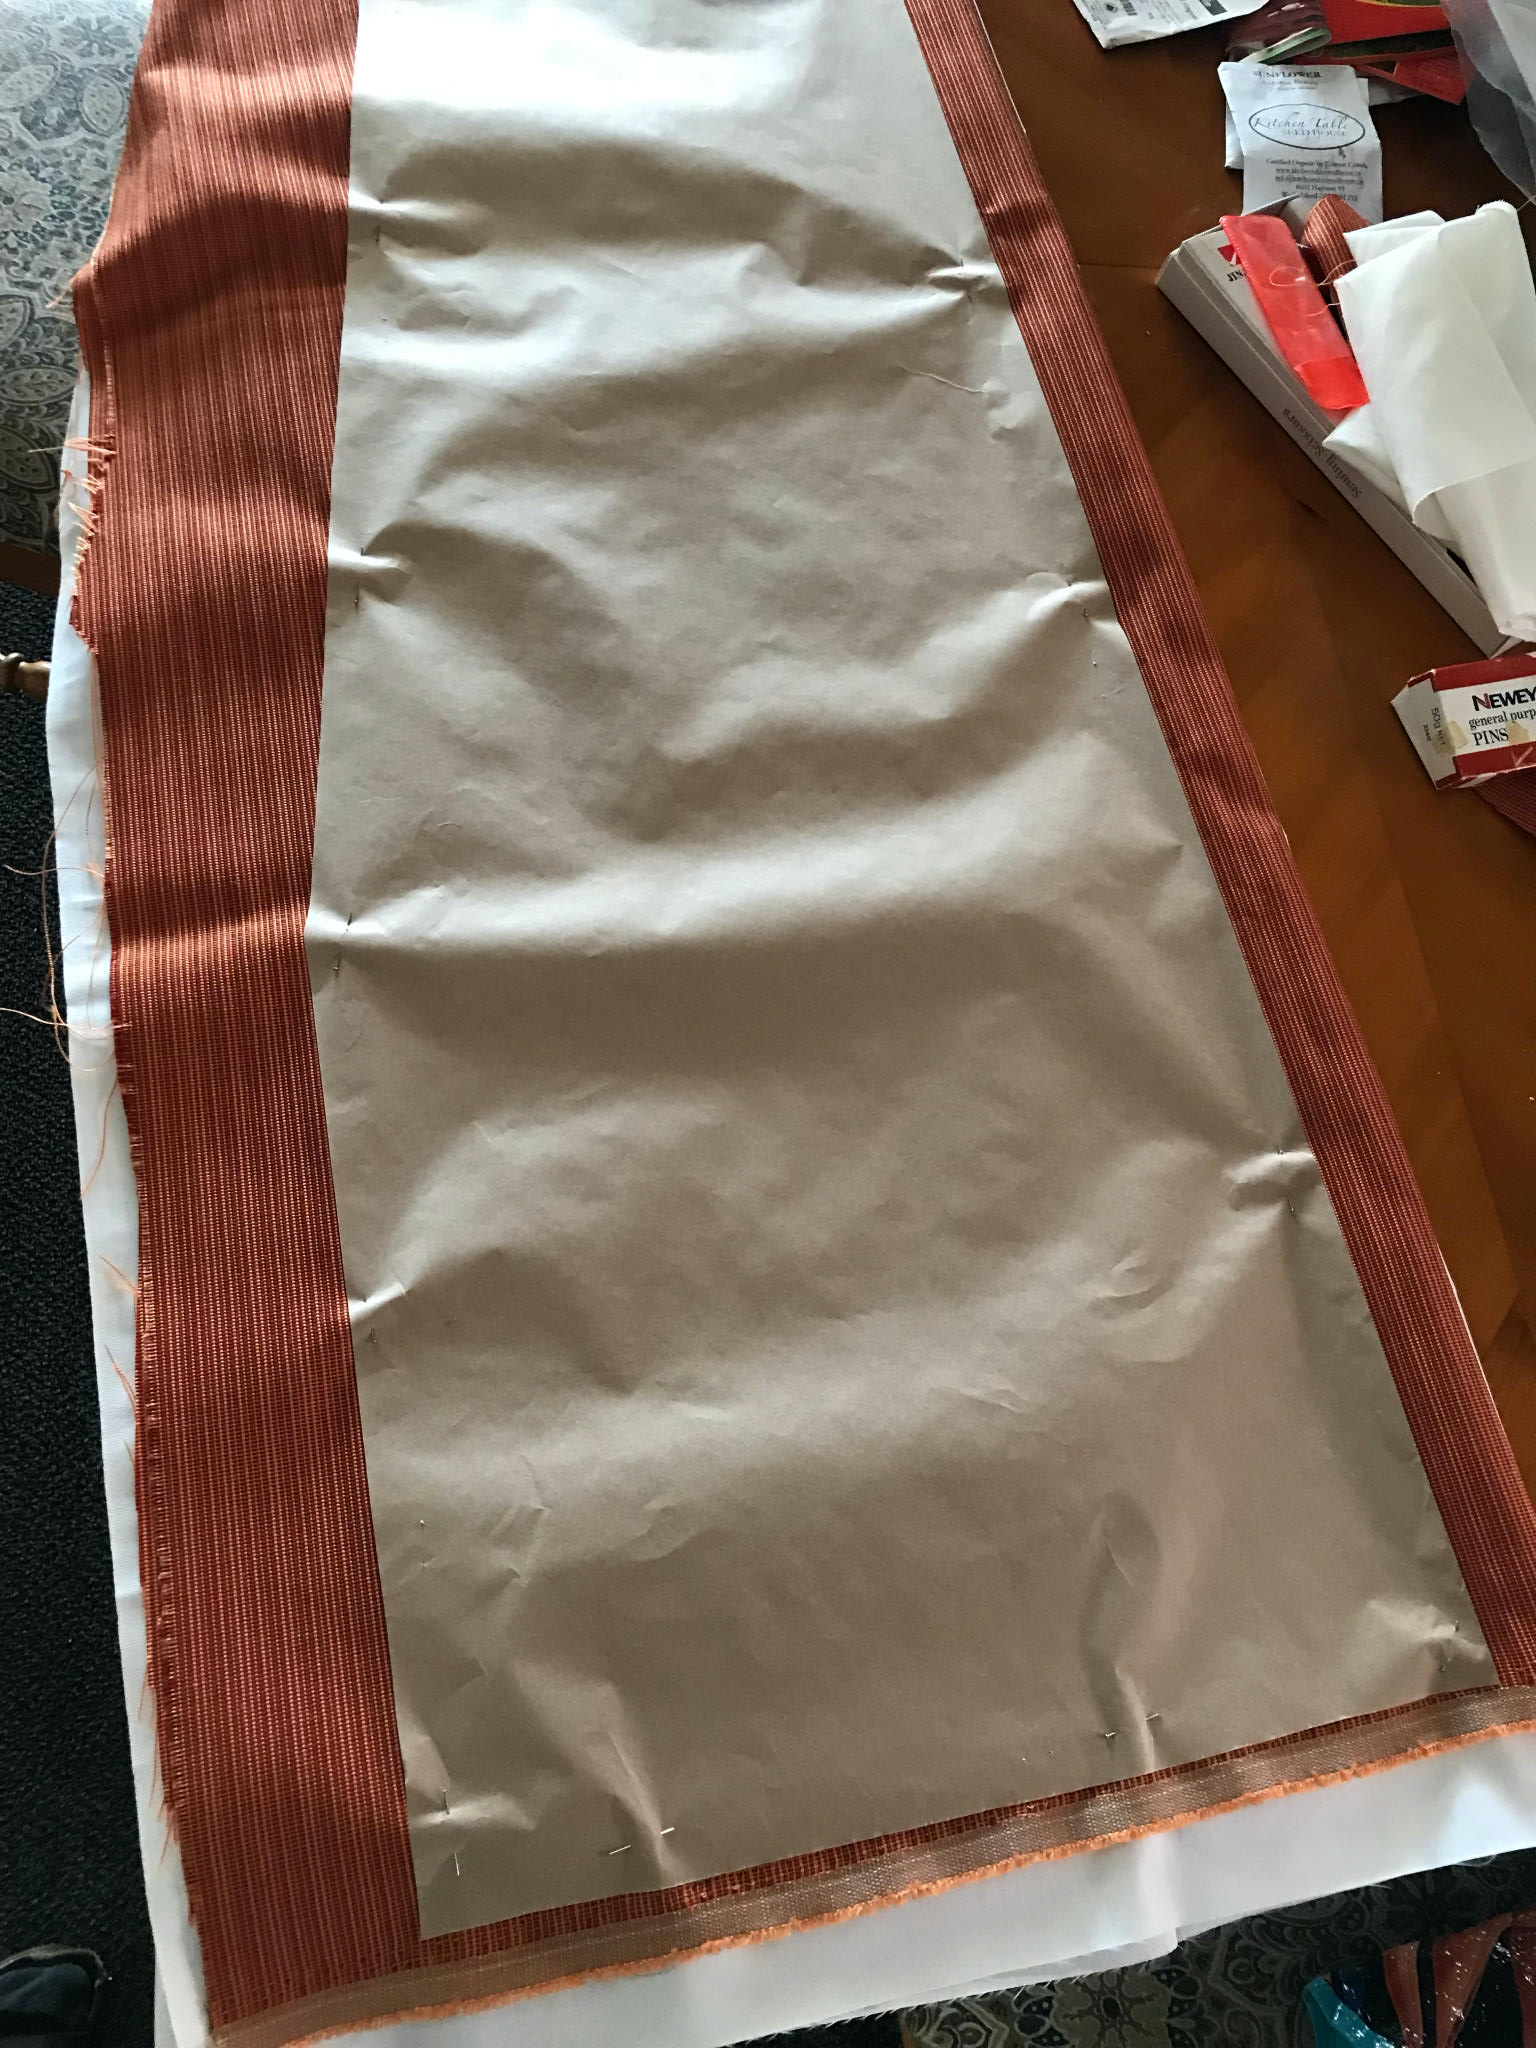
First step is to use some brown paper to cut the template. Since I was copying an existing pelmet I used the existing dimensions, and an extra 1.5”. BTW, those fabric scissors are wonderful tools.
Eventually there is a bunch of templates. The idea is to sew some backing (very thin white material onto the actual material. The pelmet is made of two pieces, so we fold the material, fold the backing and pin the template to it. Then we cut out all 4 layers at once.
Once they are cut out, then it’s sewing time. Which took a while, lot’s to learn. Thank goodness for the manual that comes with the sewing machine.
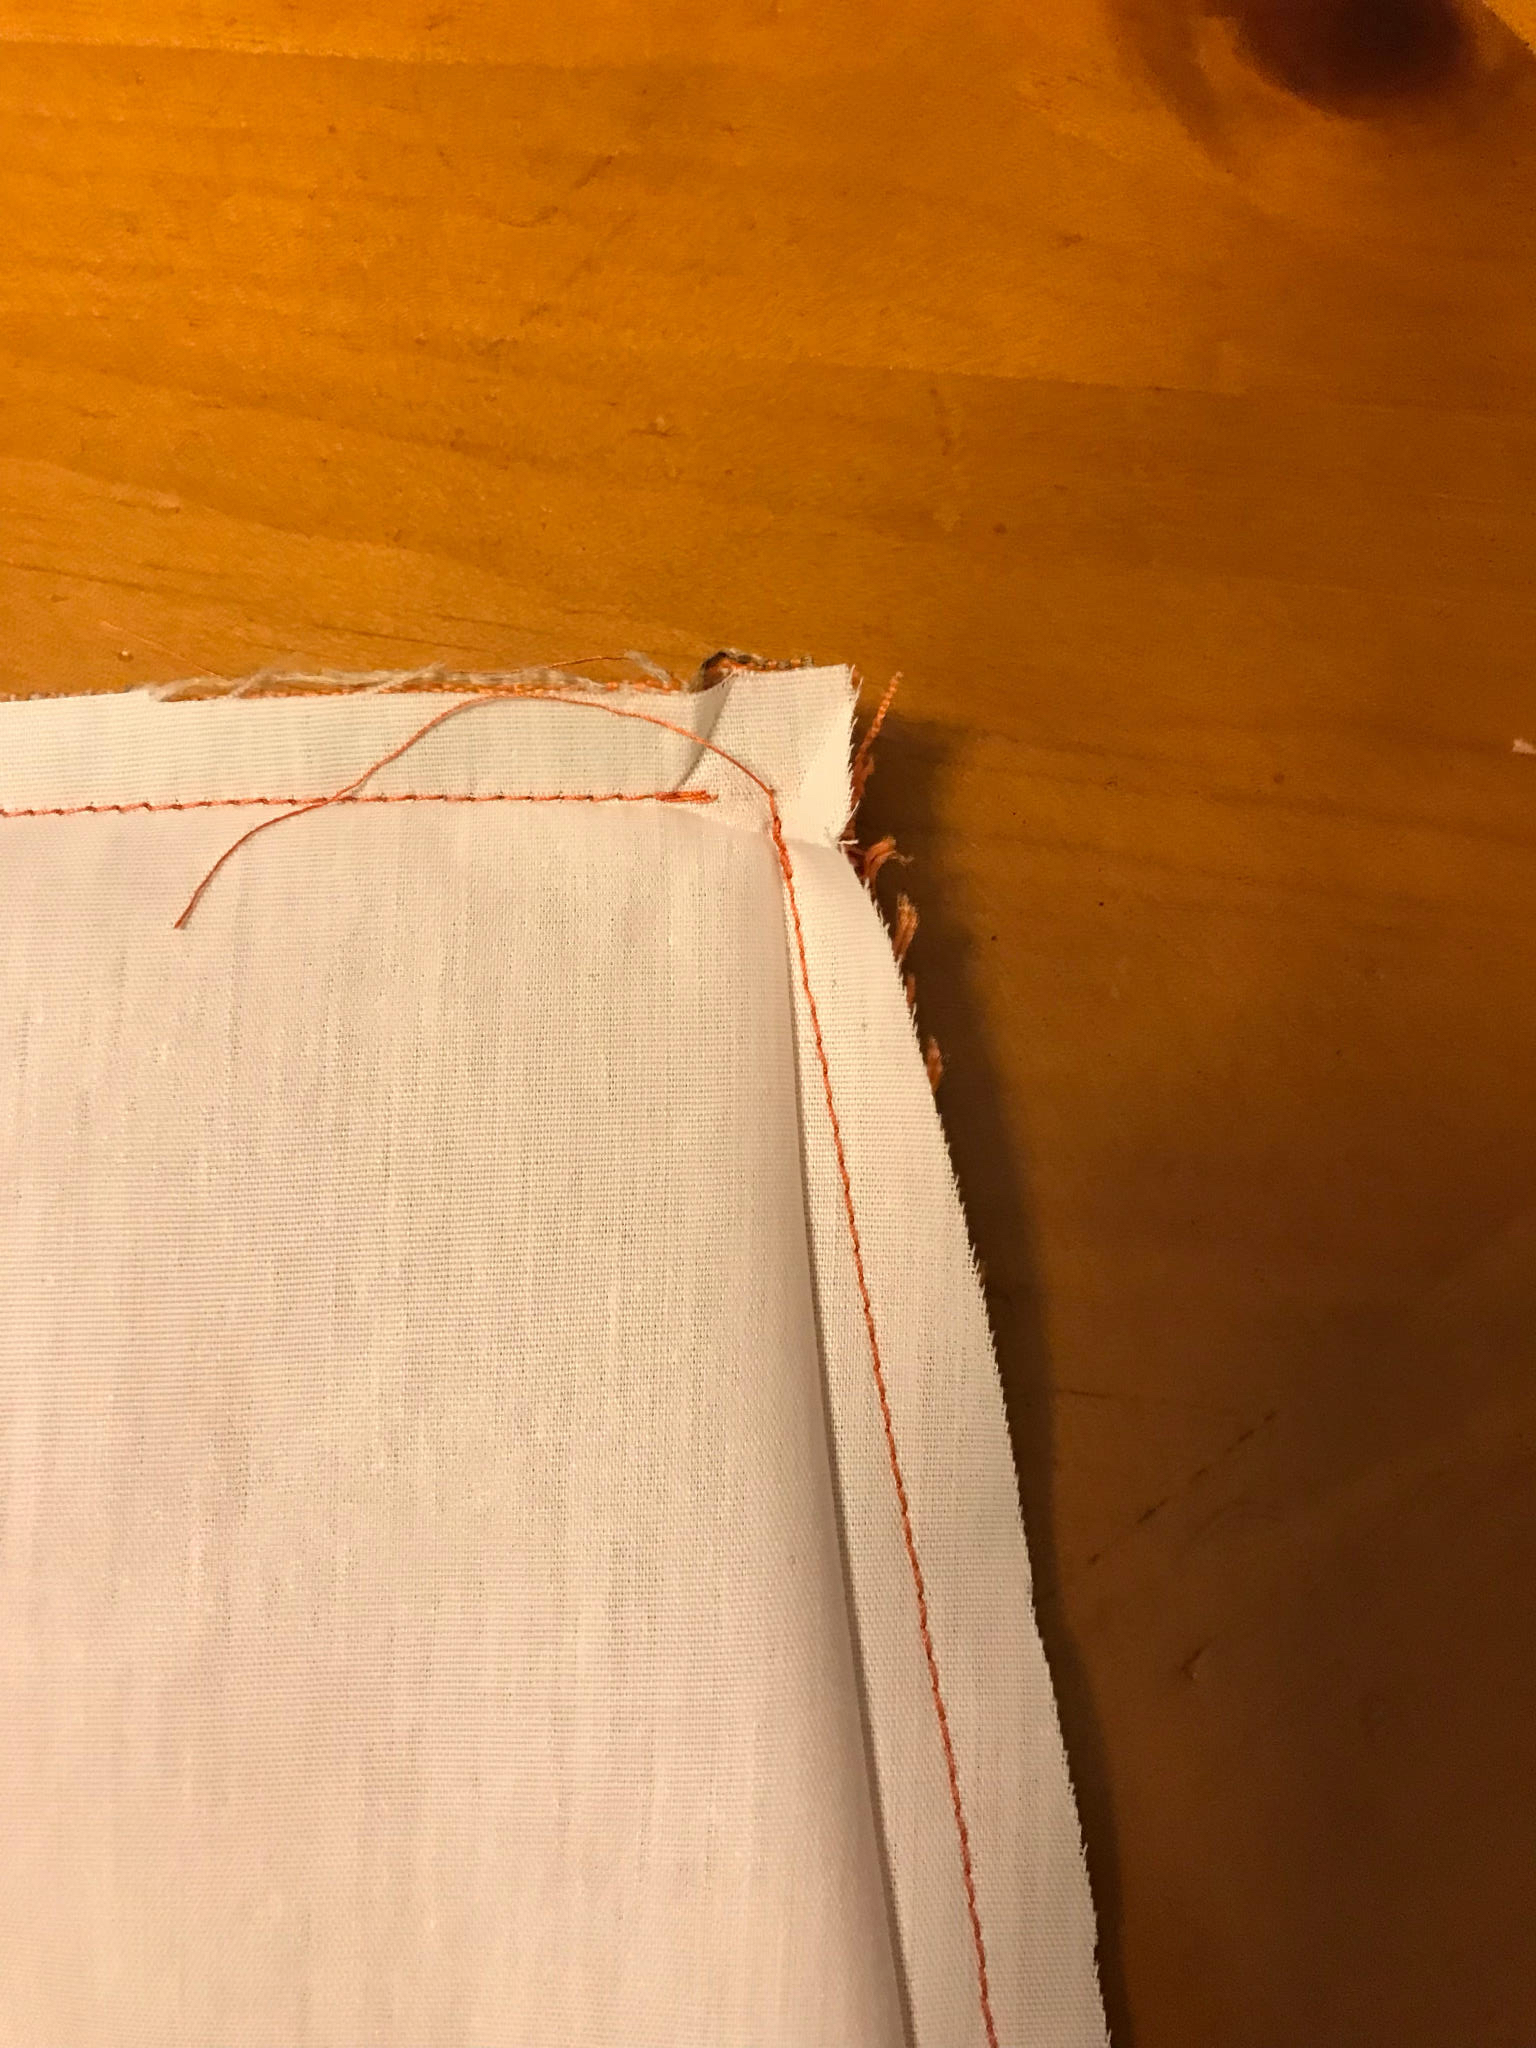
The idea is to sew around the two pieces of material leaving a 1.2” edge. Leave a gap large enough to put your hand in so you can pull the whole thing inside out.
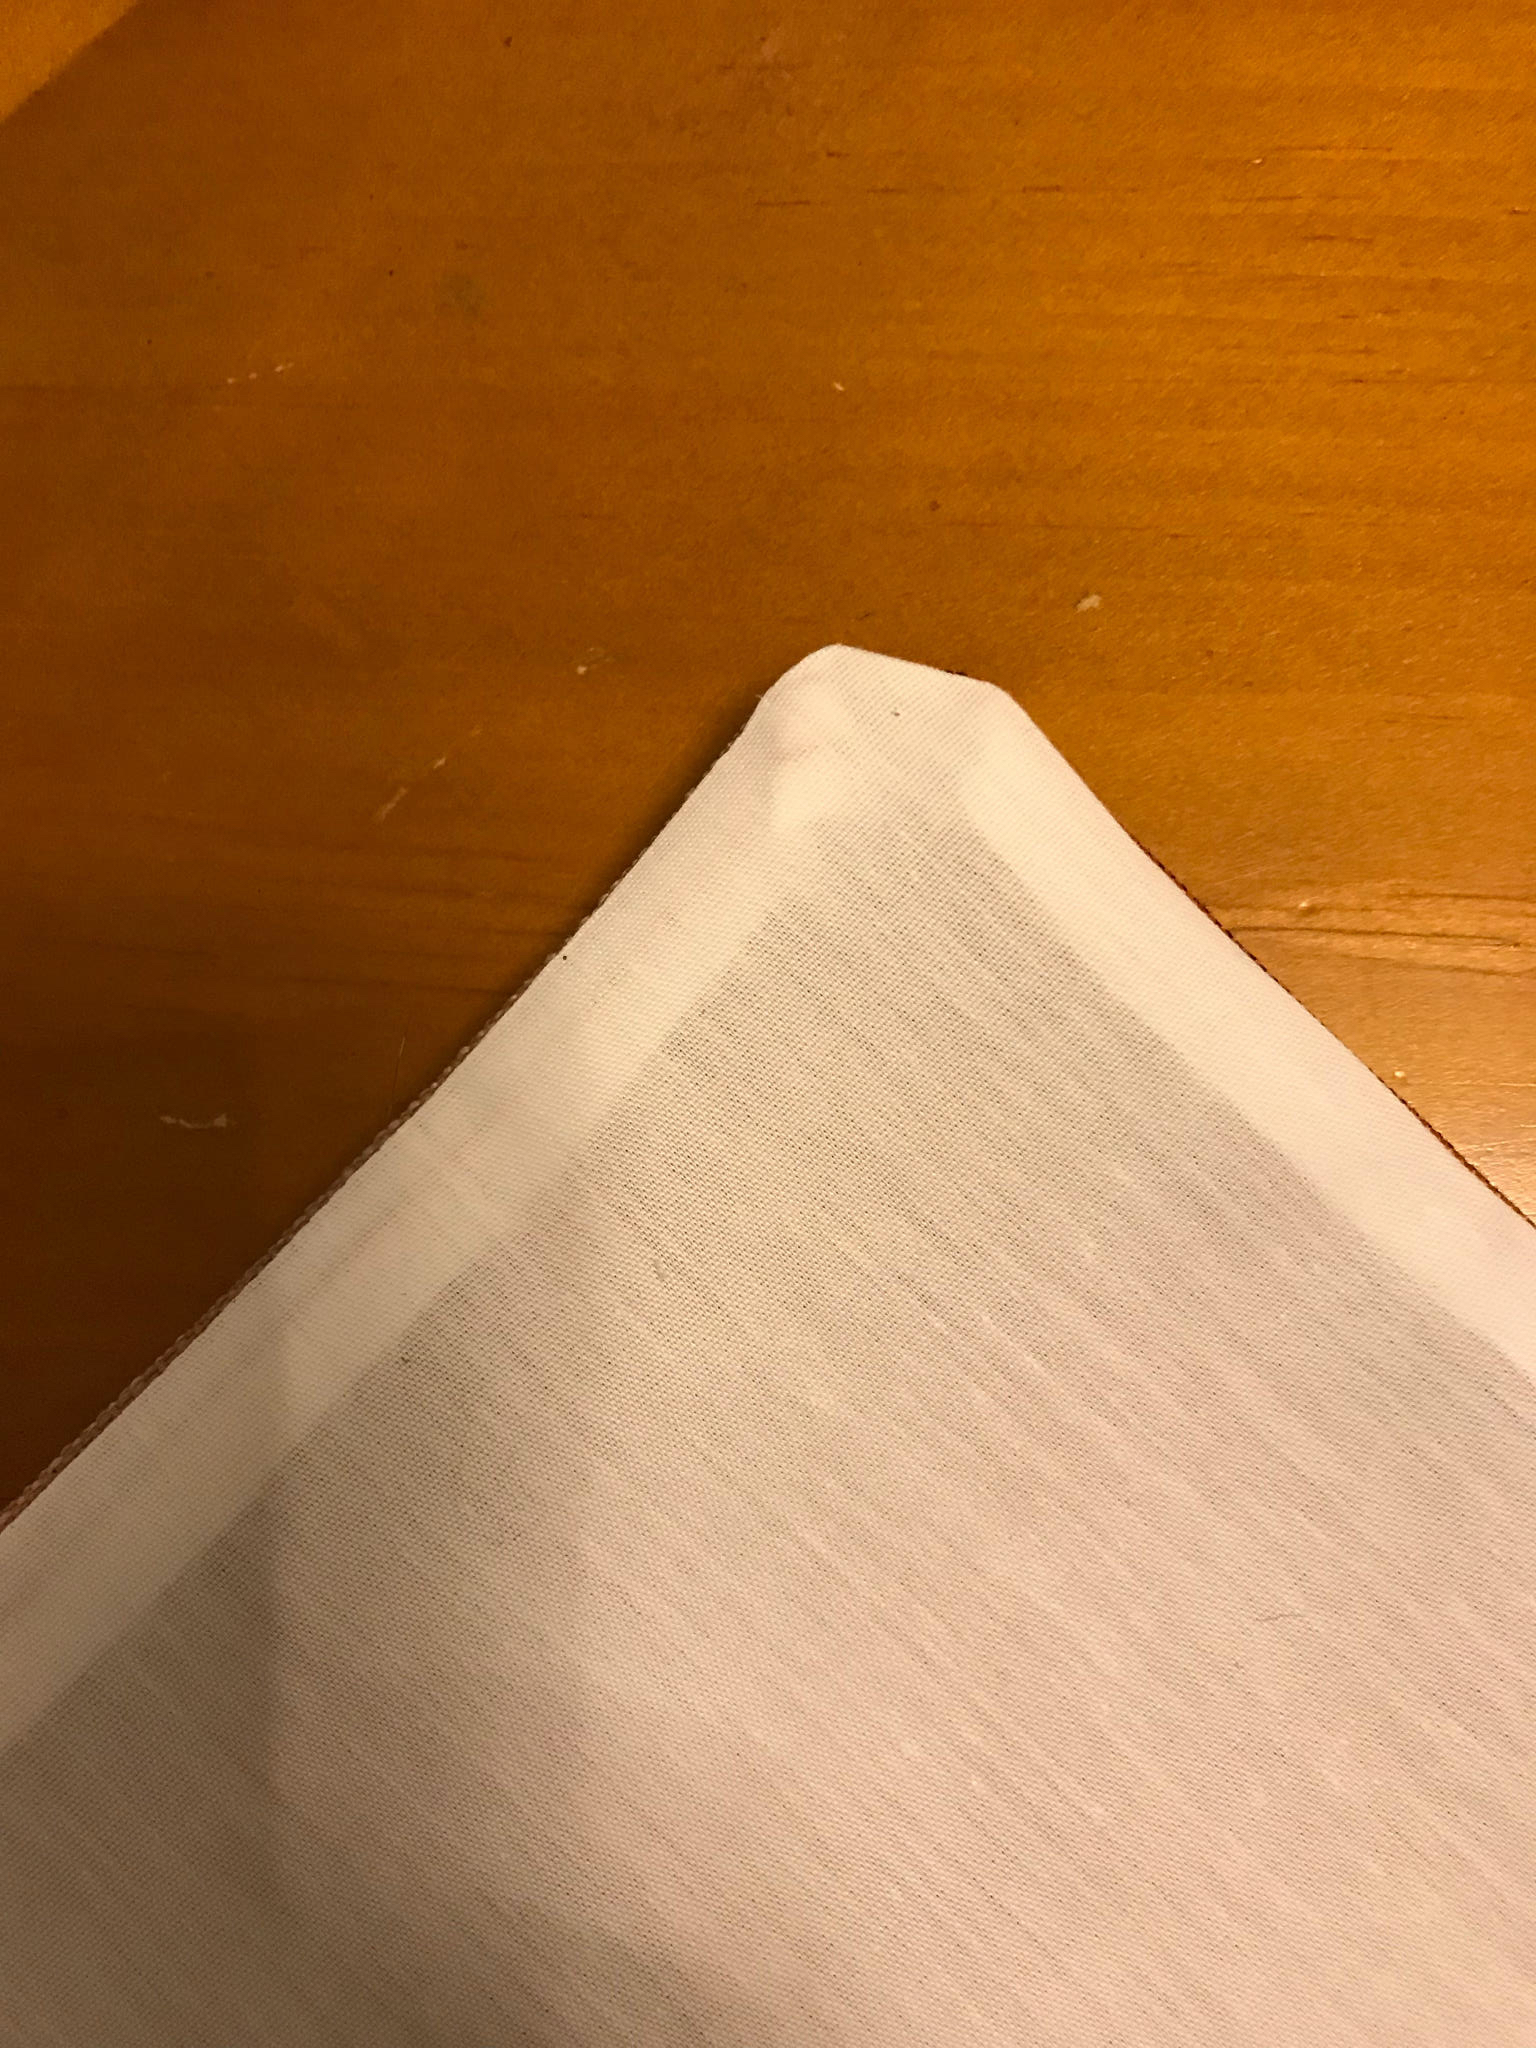
Here’s an example of the ‘inside out thing’. It’s helpful to iron the edges down.
Once the triangles are made, then sew them together and sew on the velcro. I’m missing out quite a few fiddly steps as I didn’t take pictures. Notes later.
Notes for my Future Self
Hello future self, are you going to try sewing again? Here are some notes
- make sure you have a bobbin setup with the same colour thread before you start
- read the manual before putting the bobbin in, the thread needs to go clockwise or counter-clockwise to work properly and you always get it wrong
- use a scrap piece of material to setup the stitch style and length on the machine
- when starting a new run of thread, go forwards, then backwards a bit, then forwards again
- to go round corners stop the needle when it is down, release the foot, rotate the fabric, put the foot down and then carry on
- don't go too fast, stop and check if you are following the line or have wandered